Configuring Wordpress Authenticator
The Wordpress authenticator is configured as a federated authenticator in WSO2 Identity Server to authenticate Wordpress users to log in to your organization’s applications. The diagram below illustrates the flow of the Wordpress federated authenticator.
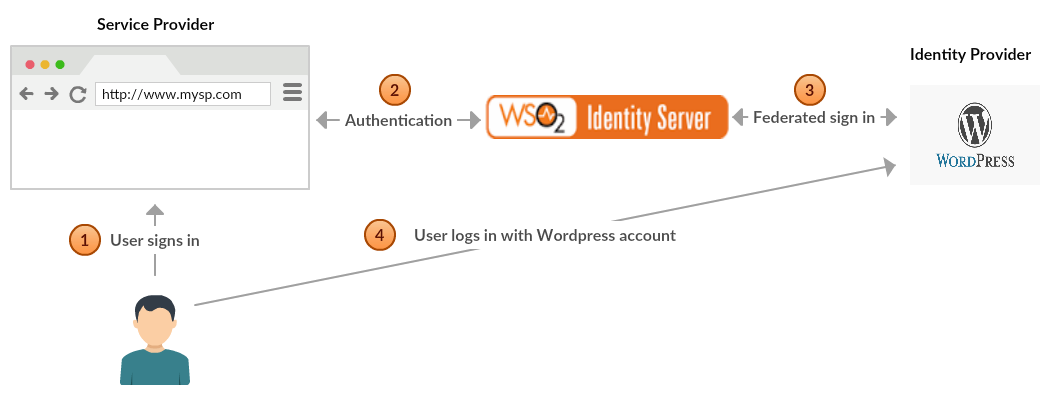
The Wordpress authenticator allows you to authenticate users using Wordpress through the WSO2 Identity Server. This page provides instructions on how to configure the Wordpress authenticator and the WSO2 Identity Server for logging into a sample app.
You can find more information in the following sections.
Info
This is tested for the Wordpress API version 1.0. Wordpress Authenticator is supported by Identity Server 5.1.0 upwards.
Configuring the Wordpress App
-
Place the authenticator .jar file into the
<IS_HOME>/repository/components/dropinsdirectory. You can download the .jar(org.wso2.carbon.identity.authenticator.wordpress) file from the wso2 store .Note
If you want to upgrade the Wordpress Authenticator in your existing IS pack, please refer upgrade instructions.
-
Navigate to https://developer.wordpress.com/apps and log in.
Note
You can either use your Wordpress developer account credentials or your own Google account credentials to log in.
-
Click Create New Application.
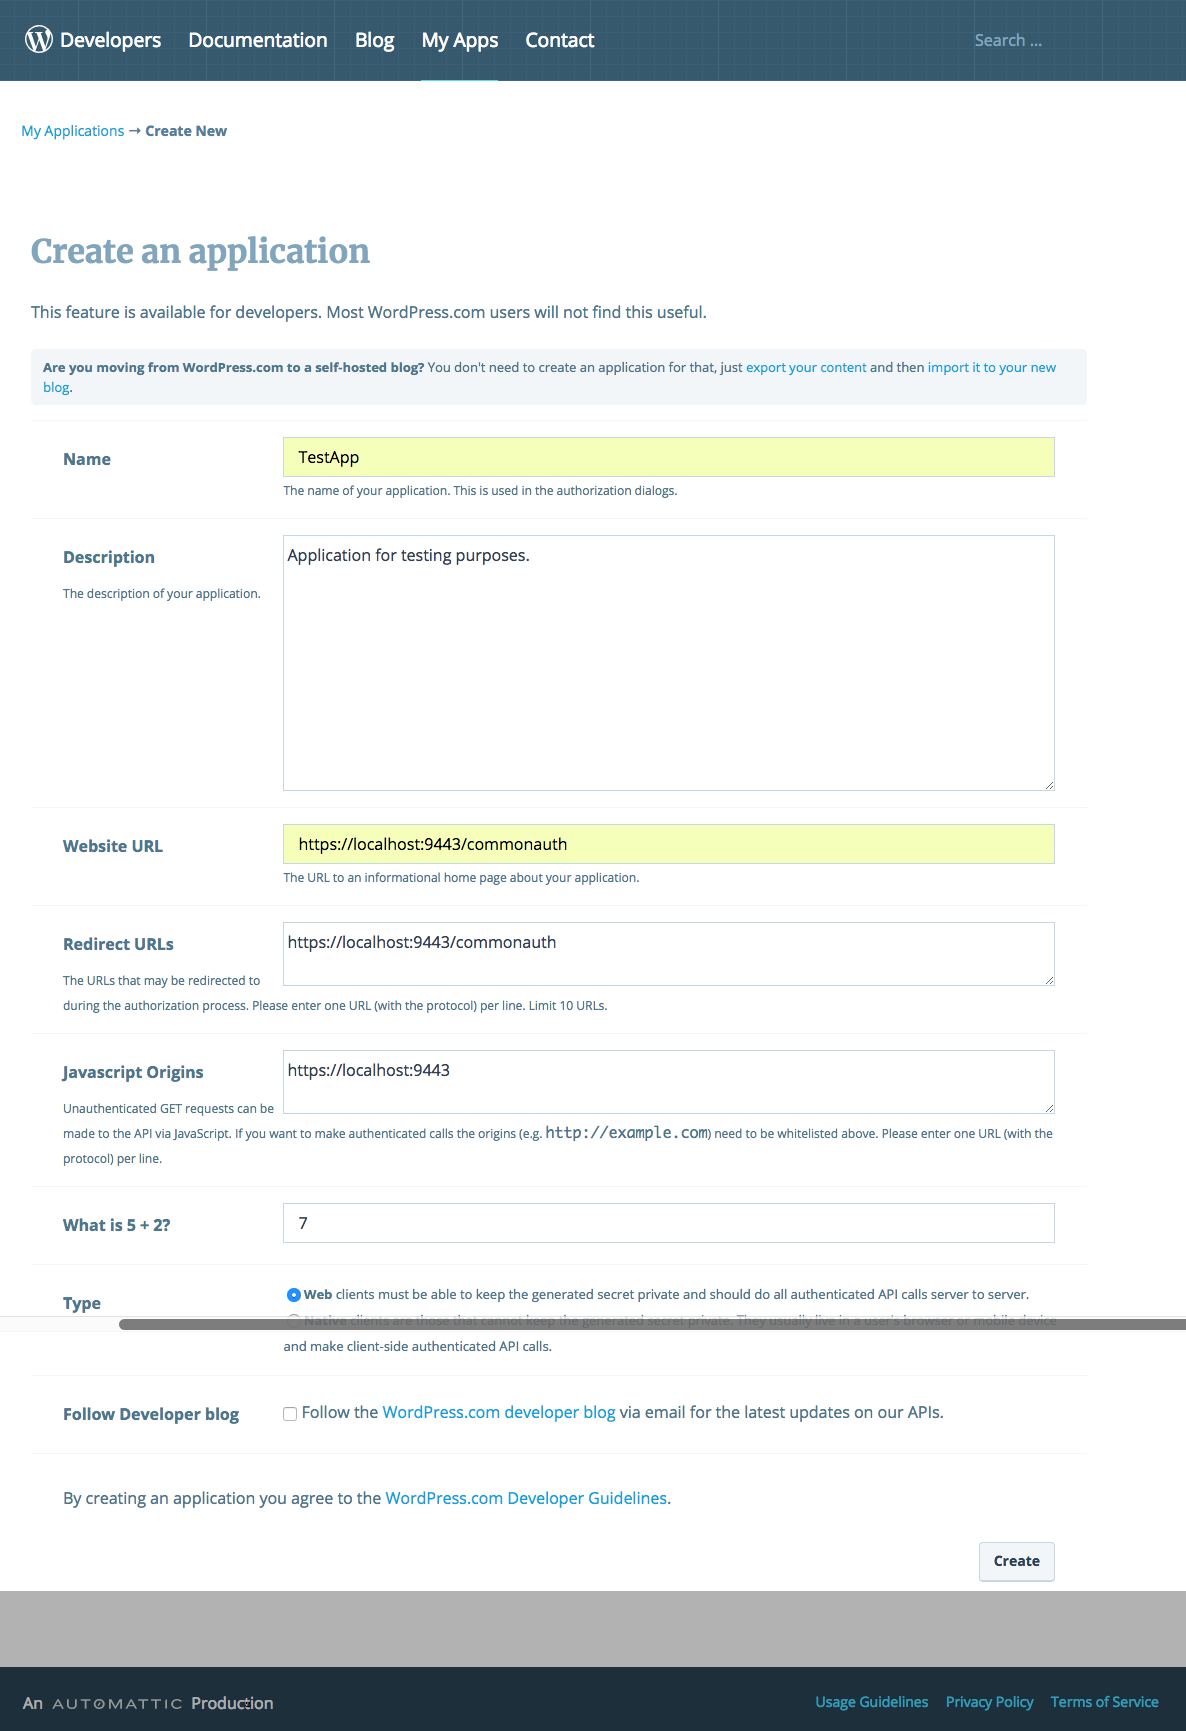
-
Enter the following details in the window that appears.
- Name - TestApp
- Description - Application for testing purposes
- Website URL - https://localhost:9443/commonauth
- Redirect URLs - https://localhost:9443/commonauth
- Javascript Origins - https://localhost:9443
-
Type - web client
Tip
Make sure to answer the mathematical question that is asked (e.g., What is 5+2 ?).
5. Click Create.
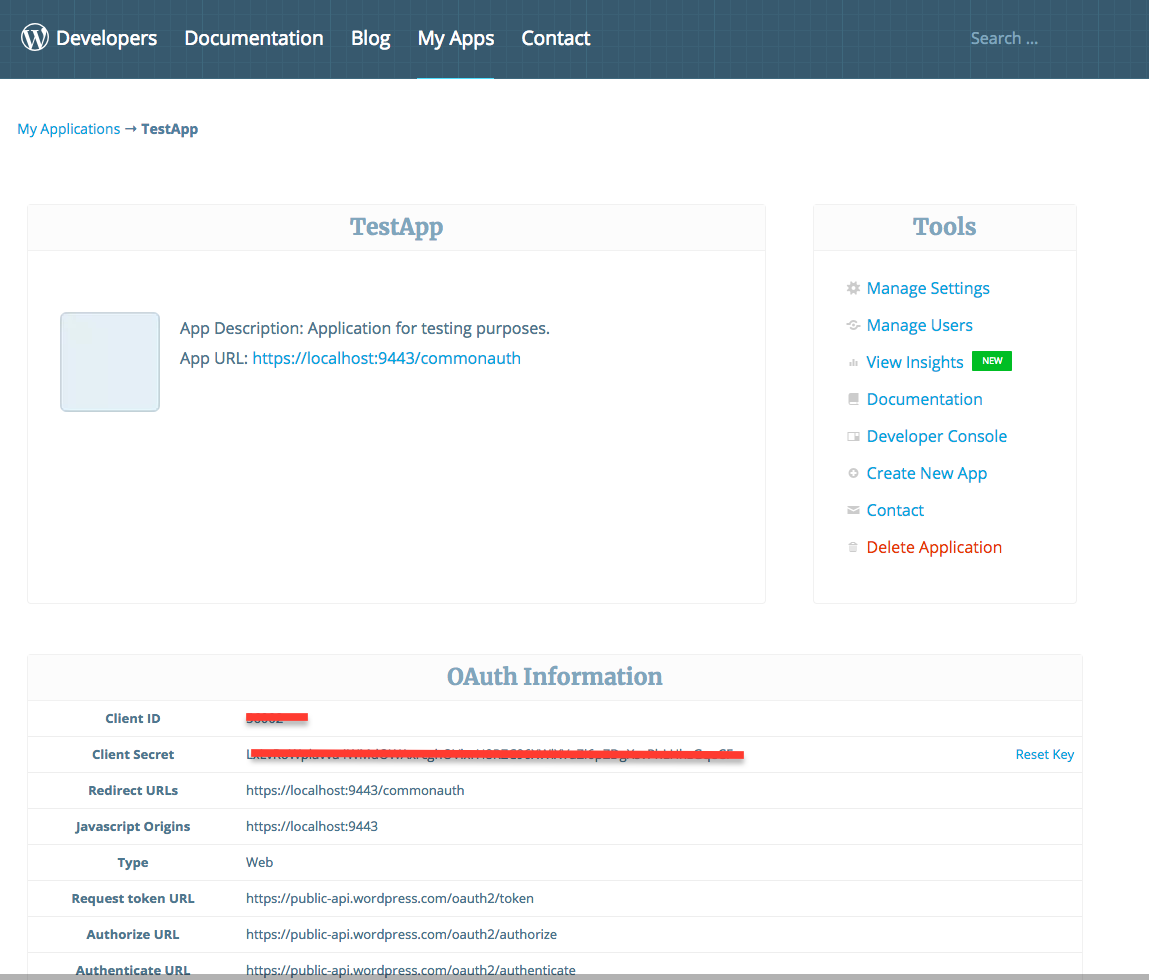
Now you have finished configuring Wordpress so copy the Client ID and Client Secret for use in the Identity Server.
Deploying travelocity sample application
The next step is to deploy and configure travelocity application. See deploy the sample app for more information on configuring travelocity application.
For deployment and configuration, see Deploying the Sample App.
Configuring the identity provider
Now you must configure the WSO2 Identity Server by adding a new identity provider.
- Download the WSO2 Identity Server from here and run it.
- Log in to the management console as an administrator.
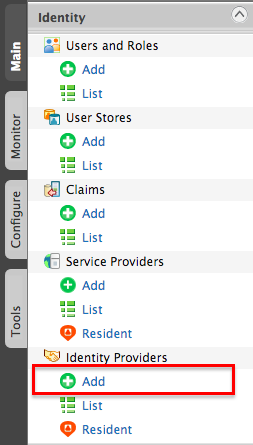
- In the Identity Providers section under the Main tab of the
management console, click Add.
-
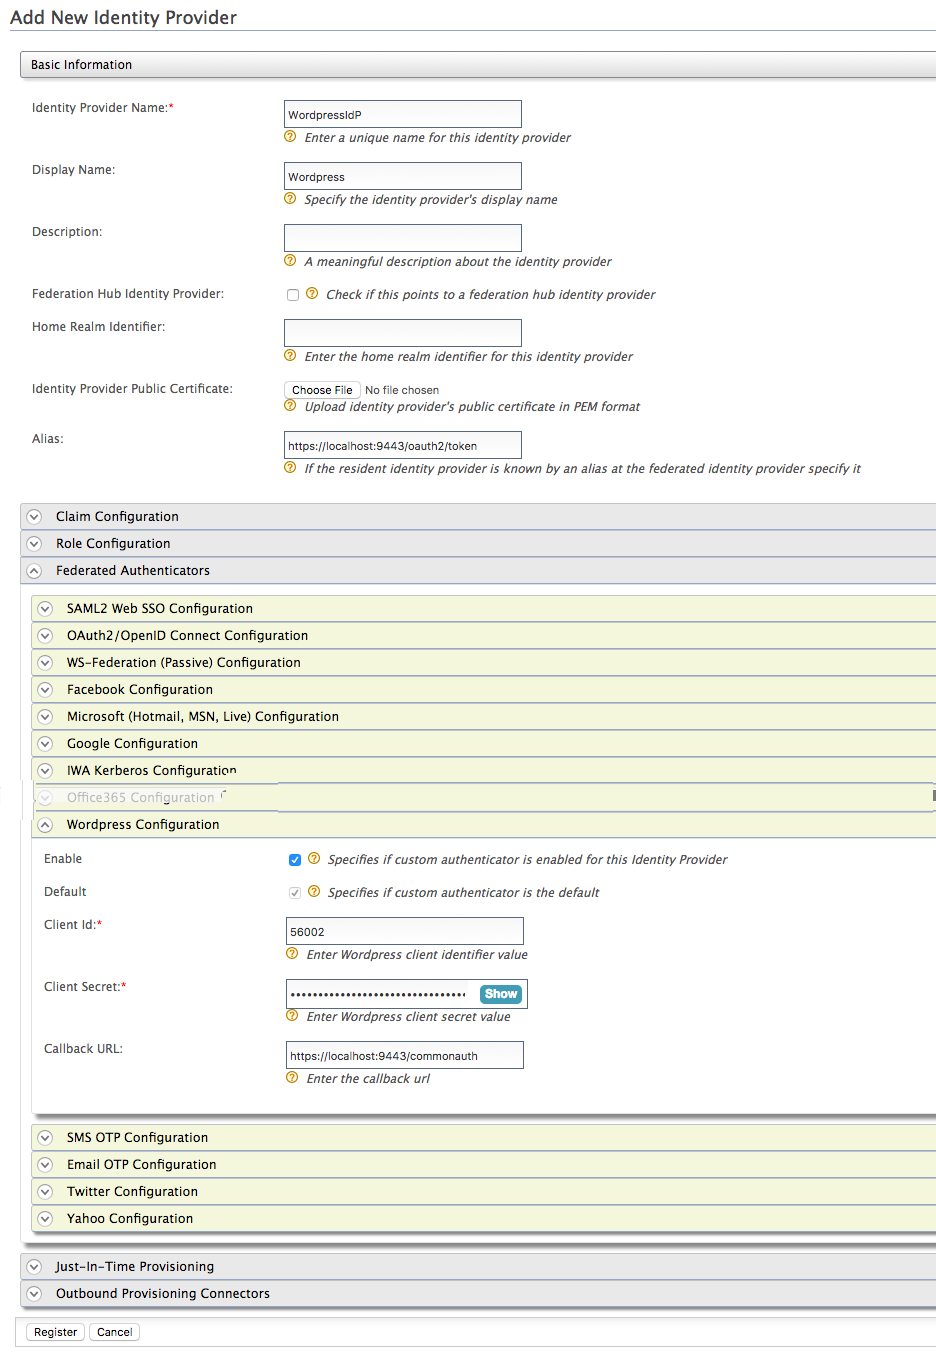
Enter the following details for the Identity Provider.
- Identity Provider Name - WordpressIdP
- Alias - https://localhost:9443/oauth2/token
-
Go to Wordpress Configuration under Federated Authenticators and enter the required details.
Tip
Make sure to enter the client Id, client secret, and callback URL based on the wordpress application that you created.
Field Description Sample value Enable Selecting this option enables Wordpress to be used as an authenticator for users provisioned to the Identity Server. Selected Default Selecting the Default checkbox signifies that Wordpress is the main/default form of authentication. This removes the selection made for any other default check-boxes for other authenticators. Selected Client Id This is the username from the Wordpress application. 56002 Client Secret This is the password from the Wordpress application. Click the Show button to view the value you enter. LxLvRoWplkvva4WMdOWAxrcghOVlxrH8RHJ96XWlXVaZi6pZDgXsvPhLHhzGqeCF Callback URL This is the URL to which the browser should be redirected after the authentication is successful. It should have the following format: https://(host-name):(port)/acshttps://localhost:9443/commonauth -
Click Register.
You have now added the identity provider.
Configuring the service provider
The next step is to configure the service provider.
-
In the previous section of this guide you have deployed and registered the
travelocity.comwebapp. Let's edit the same service provider to configuretwitteras the identity provider. -
Locate the "travelocity.com" service provider and navigate to the Local and Outbound Authentication Configuration section of the service provider.
-
Select the identity provider you created from the dropdown list under Federated Authentication.
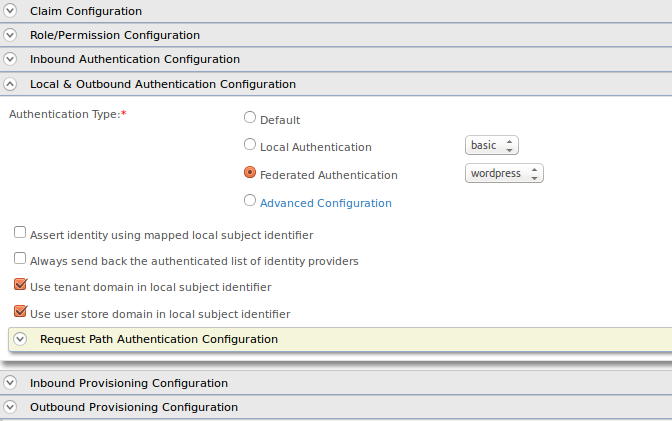 4. Ensure that the Federated Authentication radio button is selected
and click Update to save the changes.
4. Ensure that the Federated Authentication radio button is selected
and click Update to save the changes.
You have now added and configured the service provider.
Testing the sample
-
To test the sample, go to the following URL:
http://<TOMCAT_HOST>:<TOMCAT_PORT>/travelocity.com/index.jsp. E.g., http://localhost:8080/travelocity.com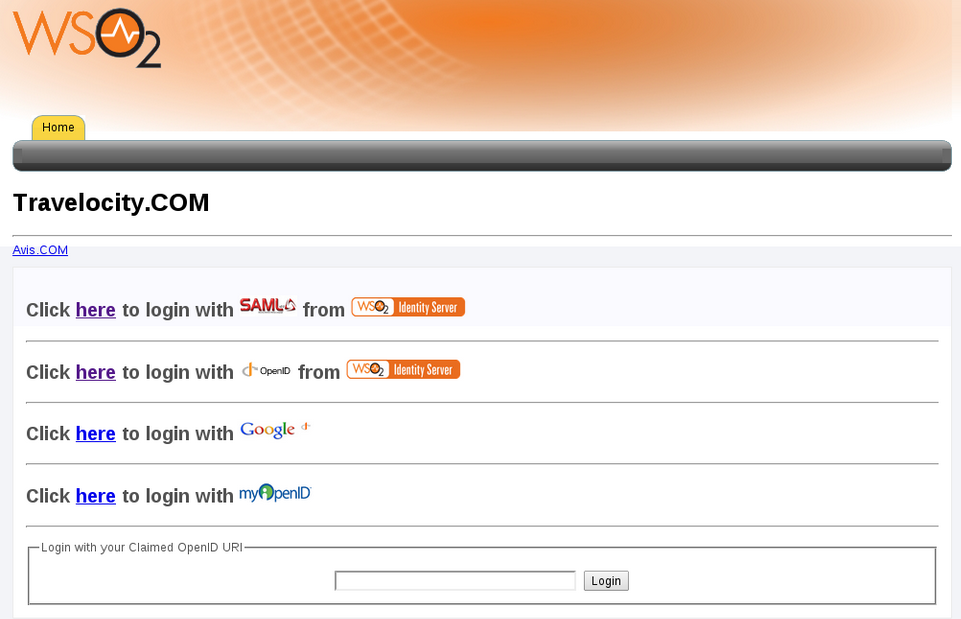
-
Click the link to log in with SAML from WSO2 Identity Server.
-
You are redirected to the Wordpress login page. Enter your Wordpress credentials.
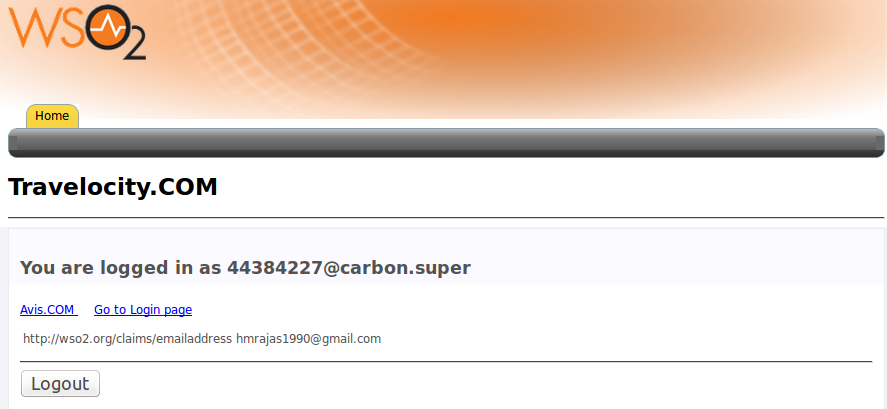
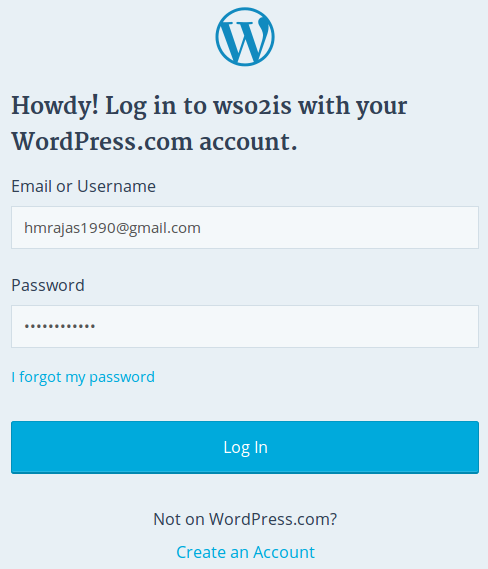 4. Click Log In to authenticate the user.
 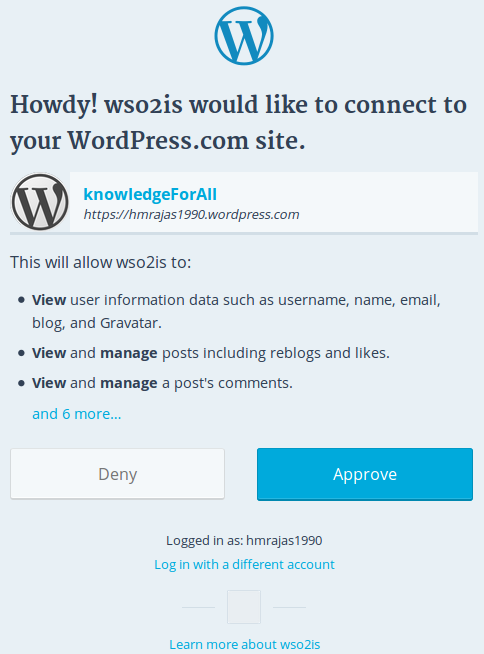 5. You will be taken to the home page of the travelocity.com app.