Set Up SAML2 Bearer Assertion Profile
This page guides you through using the SAML2 Bearer grant to exchange a SAML2 assertion for a valid OAuth access token.
Create a service provider
To register your application as a service provider in the WSO2 Identity Server:
-
Log in to the WSO2 Identity Server Management Console using administrator credentials.
-
Go to Main > Identity > Service Providers > Add.
-
Enter a Service Provider Name. Optionally, enter a Description.
-
Click Register.
Basic OAuth/OpenID Connect configuration
Make the following changes to the created service provider.
-
Expand Inbound Authentication Configuration > OAuth/OpenID Connect Configuration and click Configure.
-
Enter the Callback Url.
Note
The Callback Url is the exact location in the service provider's application to which an access token will be sent. This URL should be the URL of the page that the user is redirected to after successful authentication.
-
Click Add. Note the OAuth Client Key and OAuth Client Secret that appear.
Note
-
Make sure the SAML2 grant is enabled under Allowed Grant Types when configuring OAuth/OpenID Connect.
-
You can provide any valid URL as the Callback Url. This URL value is not used for any other operations during this sample.
Tip
To configure more advanced configurations, see OAuth/OpenID Connect Configurations.
SAML2 Web SSO configuration
-
In the Inbound Authentication Configuration section of the previously created service provider, click Configure under the SAML2 Web SSO Configuration section.
-
Now set the configurations as follows:
-
Issuer:
travelocity.com -
Assertion Consumer URL:
http://wso2is.local:8080/travelocity.com/home.jsp
Click Yes, in the message that appears.
-
-
Select the following check-boxes:
-
Enable Response Signing
-
Enable Single Logout
-
Enable Attribute Profile
-
Include Attributes in the Response Always
-
Enable Signature Validation in Authentication Requests and Logout Requests
-
-
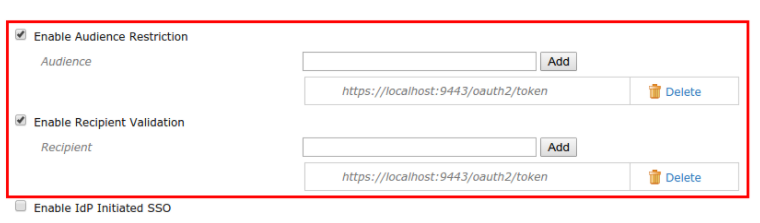
Select the the following check-boxes and enter the following values:
- Enable Audience Restriction
- Audience:
https://localhost:9443/oauth2/token
- Audience:
- Enable Recipient Validation
- Recipient:
https://localhost:9443/oauth2/token
- Recipient:
- Enable Audience Restriction
Tip
For more information on other advanced configurations refer, Advanced SAML Configurations
-
-
Click Register to save the changes.
Exchange SAML assertion for an OAuth access token
-
Use the following curl command to exchange the SAML assertion for an OAuth access token.
Request Format
curl -k -d "grant_type=urn:ietf:params:oauth:grant-type:saml2-bearer&assertion=<base64-URL_encoded_assertion>&scope=<scope>" -H "Authorization: Basic <base64_encoded_clientid:clientsecret>" -H "Content-Type: application/x-www-form-urlencoded" https://<host>:<port>/oauth2/token
Sample Request
curl -k -d "grant_type=urn:ietf:params:oauth:grant-type:saml2-bearer&assertion=PD94bWwgdmVyc2lvbj0iMS4wIiBlbmNvZczpUcmFuc2Zvcm1zPgo8ZHM6VHJhbnNmb3JtIEFsZ29yaXRobT0iaHR0cDovL3d3zOlRyYW5zZm9ybXMaW&scope=PRODUCTION" -H "Authorization: Basic TGZkcWt3eVNGVVNZVjNtUkNNaE5vNmw1cWZJYTpOb0JQZjZkZGhxS2pXdEpNWHVibU04bndqNW9h" -H "Content-Type: application/x-www-form-urlencoded" https://localhost:9443/oauth2/token -
Use the introspection endpoint of WSO2 Identity Server to get the token information.
Request Format
curl -k -u <username>:<password> -H 'Content-Type: application/x-www-form-urlencoded' -X POST --data 'token=<access token>' https://<IS_HOST>:<IS_PORT>/oauth2/introspect
Sample Request
curl -k -u admin:admin -H 'Content-Type: application/x-www-form-urlencoded' -X POST --data 'token=f3116b04-924f-3f1a-b323-4f0988b94f9f' https://localhost:9443/oauth2/introspect
Try it
Set up the sample application
Prerequisites
-
Download Apache Tomcat 8.x and install it. Tomcat server installation location will later be referred to as
<TOMCAT_HOME>in this guide. -
It is recommended that you use a hostname that is not
localhostto avoid browser errors. Modify your machine's/etc/hostsentry to reflect this.Info
Note that
wso2is.localis used in this documentation as an example, but you must modify this when configuring the authenticators or connectors with this sample application.- Download the
travelocity.com.warfile from the latest release assets.
- Download the
Deploy the sample
Deploy this sample web app on a web container.
-
Copy the
travelocity.com.warfile into thewebappsfolder. For example,<TOMCAT_HOME>/apache-tomcat-<version>/webapps -
Open a terminal window and add the following entry to the
/etc/hostsfile of your machine to configure the hostname.127.0.0.1 wso2is.localWhy is this step needed?
Some browsers do not allow you to create cookies for a naked hostname, such as
localhost. Cookies are required when working with SSO . Therefore, to ensure that the SSO capabilities work as expected in this tutorial, you need to configure theetc/hostfile as explained in this step.The
etc/hostfile is a read-only file. Therefore, you won't be able to edit it by opening the file via a text editor. Instead, edit the file using the terminal commands.
For example, use the following command if you are working on a Mac/Linux environment.sudo nano /etc/hosts -
Open the
travelocity.propertiesfile found in the<TOMCAT_HOME>/webapps/travelocity.com/WEB-INF/classesdirectory and configure the following property with the hostname (wso2is.local) that you configured above.#The URL of the SAML 2.0 Assertion Consumer SAML2.AssertionConsumerURL=http://wso2is.local:8080/travelocity.com/home.jsp -
Restart the Tomcat server.
To check the sample application, navigate to
http://<TOMCAT_HOST>:<TOMCAT_PORT>/travelocity.com/index.jsp
on your browser.
For example,
http://wso2is.local:8080/travelocity.com/index.jsp
Tip
If you wish to change properties like the issuer ID, consumer
URL, and IdP URL, you can edit the travelocity.properties file found
in the travelocity.com/WEB-INF/classes directory.
Also if the service provider is configured in a tenant you can use
"QueryParams" property to send the tenant domain.For example,
"QueryParams=tenantDomain=wso2.com".
This sample uses the following default values.
| Properties | Description |
|---|---|
SAML2.SPEntityId=travelocity.com |
A unique identifier for this SAML 2.0 Service Provider application |
SAML2.AssertionConsumerURL= http://wso2is.local:8080/travelocity.com/home.jsp |
The URL of the SAML 2.0 Assertion Consumer |
SAML2.IdPURL= https://localhost:9443/samlsso |
The URL of the SAML 2.0 Identity Provider |
SAML2.IsPassiveAuthn=true |
Set this to send SAML2 passive authentication requests |
If you edit the travelocity.properties file, restart the
Apache Tomcat server for the changes to take effect.
CORS configuration
SAML2 POST Binding requires CORS configurations to be set up.
Before configuring the service provider, add the following configurations to the deployment.toml file found in <IS_HOME>/repository/conf/. Adding this configuration allows HTTP POST requests.
``` toml
[cors]
allow_generic_http_requests = true
allow_any_origin = false
allowed_origins = [
    "http://localhost:8080"
]
allow_subdomains = false
supported_methods = [
    "GET",
    "POST",
    "HEAD",
    "OPTIONS"
]
support_any_header = true
supported_headers = []
exposed_headers = []
supports_credentials = true
max_age = 3600
tag_requests = false
```
Enable SAML2 grant in the sample
-
Open the
travelocity.propertiesfile found in the<TOMCAT_HOME>/webapps/travelocity.com/WEB-INF/classesfolder. -
Edit the following configurations.
Enter the client ID and client secret you received when registering the OAuth/OpenID Connect application.
EnableOAuth2SAML2Grant=true OAuth2.ClientId= (enter the client ID received at the application registration) OAuth2.ClientSecret= (enter the client secret received at the application registration) -
Restart the Tomcat server to apply the changes.
Log in with SAML
-
Start the Tomcat server and access the following URL on your browser:
http://wso2is.local:8080/travelocity.com -
Click Click here to login with SAML from Identity Server (Post binding or Redirect Binding).
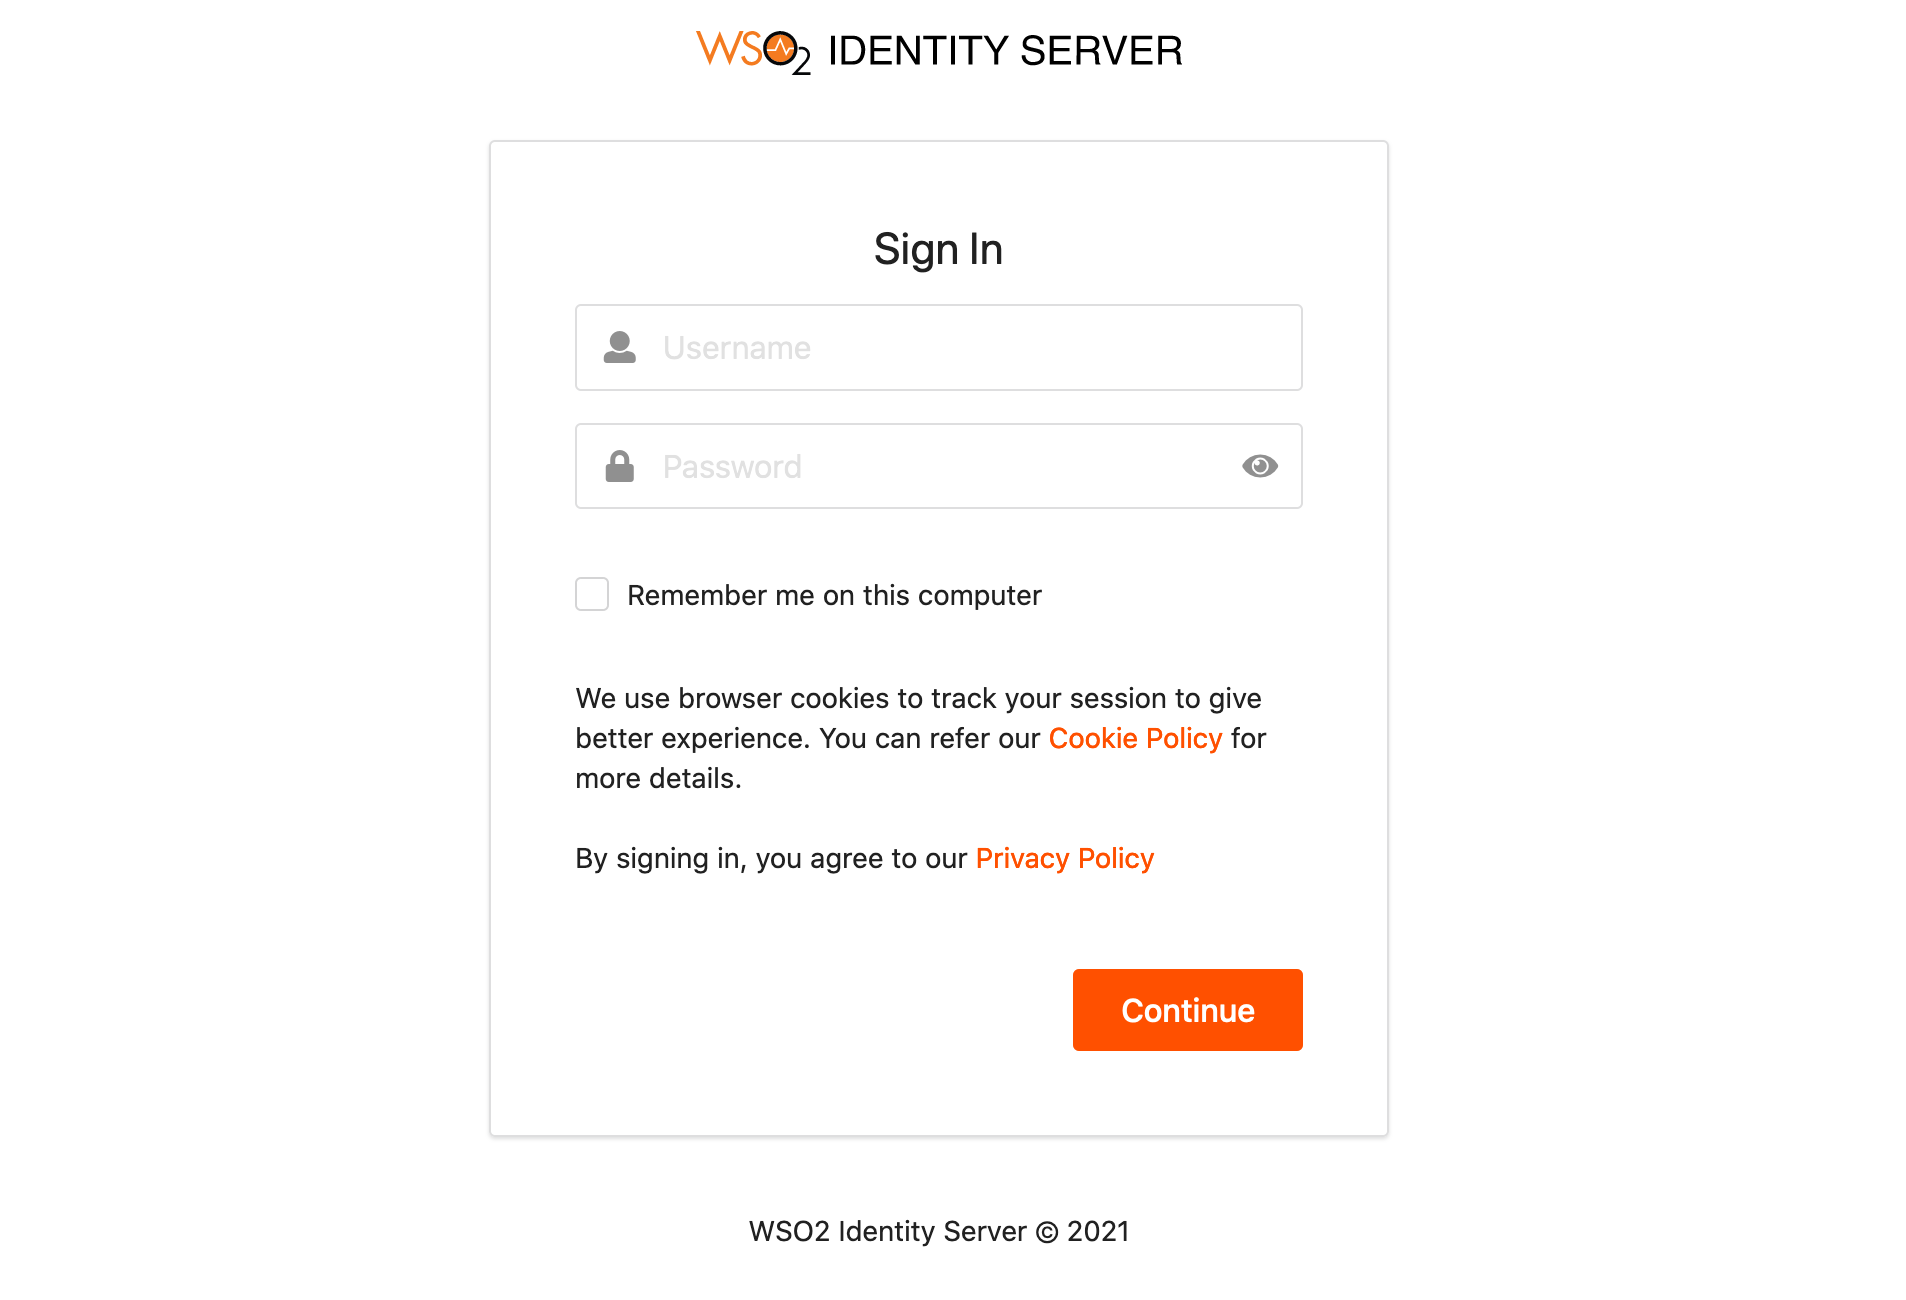
You are redirected to WSO2 Identity Server for authentication.
-
Enter the username and password and click Continue.
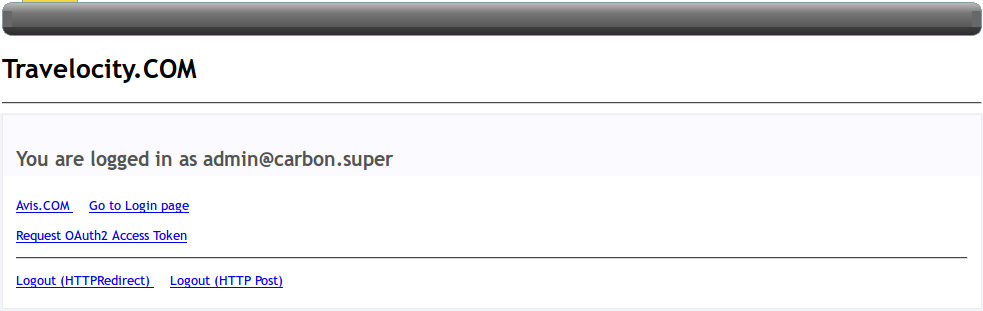
-
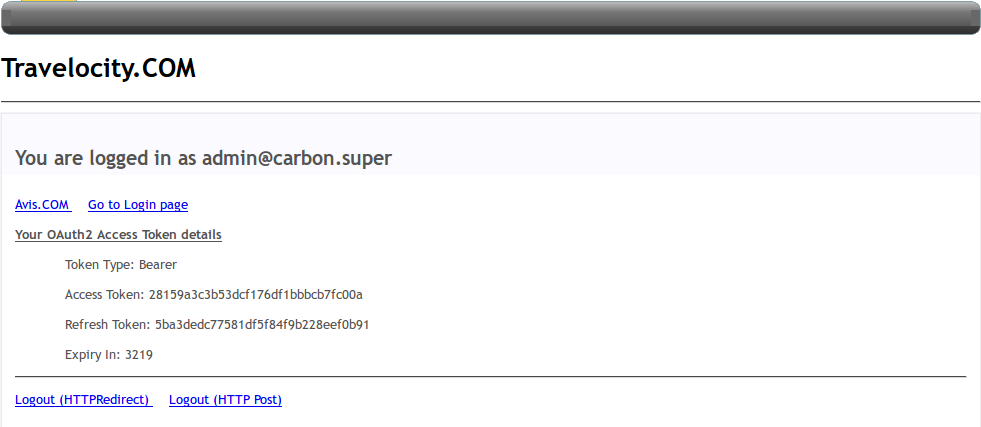
Click Request OAuth2 Access Token to receive the access token.
You will receive an access token as shown below.
-
Use the introspection endpoint of WSO2 Identity Server to get the token information.
Request
Request Format
curl -k -u <username>:<password> -H 'Content-Type: application/x-www-form-urlencoded' -X POST --data 'token=<access token>' https://<IS_HOST>:<IS_PORT>/oauth2/introspect
Sample Request
curl -k -u admin:admin -H 'Content-Type: application/x-www-form-urlencoded' -X POST --data 'token=f3116b04-924f-3f1a-b323-4f0988b94f9f' https://localhost:9443/oauth2/introspectResponse
{ "active":true, "token_type":"Bearer", "exp":1508927700, "iat":1508924100, "client_id":"EiqKsYfVH6dffF0b6LmrFBJW95Aa" "username":"[email protected]" } -
Since the Travelocity application has now exchanged the SAML assertion for a valid OAuth access token, you can use the received access token to access a protected resource in WSO2 Identity Server.
Use the SCIM User Endpoint which is secured with OAuth to retrieve users.
Request
Request Format
curl -v -k --header "Authorization: Bearer <access token>" https://<IS_HOST>:<IS_PORT>/wso2/scim/Users
Sample Request
curl -v -k --header "Authorization: Bearer 865c60a5-969b-36b4-95e2-721a1fb5c867" https://localhost:9443/wso2/scim/UsersResponse
¶{ "totalResults":1, "schemas":["urn:scim:schemas:core:1.0"], "Resources":[{ "meta":{ "created":"2017-11-15T11:23:25", "location":"https://localhost:9443/wso2/scim/Users/admin" "lastModified":"2017-11-15T11:23:25" }, "id":"0fb2af3f-03f2-4d6b-8340-957012df23f4", "userName":"admin" }] }
Related topics