Role-based Permissions
Permission can be granted to a role at two levels:
-
Super tenant level: A role with super tenant permissions is used for managing all the tenants in the system and also for managing the key features in the system which are applicable to all the tenants.
-
Tenant level: A role with tenant-level permissions is only applicable to individual tenant spaces.
You need to first have roles created in your tenant with the required permissions. You can then assign the role to users.
Users with the admin role are granted all permissions by default. Let's see how to configure a user with admin permissions.
Configure admin permissions for a user
Prerequisites
You need to create a new user on the management console.
To configure admin permissions for a user:
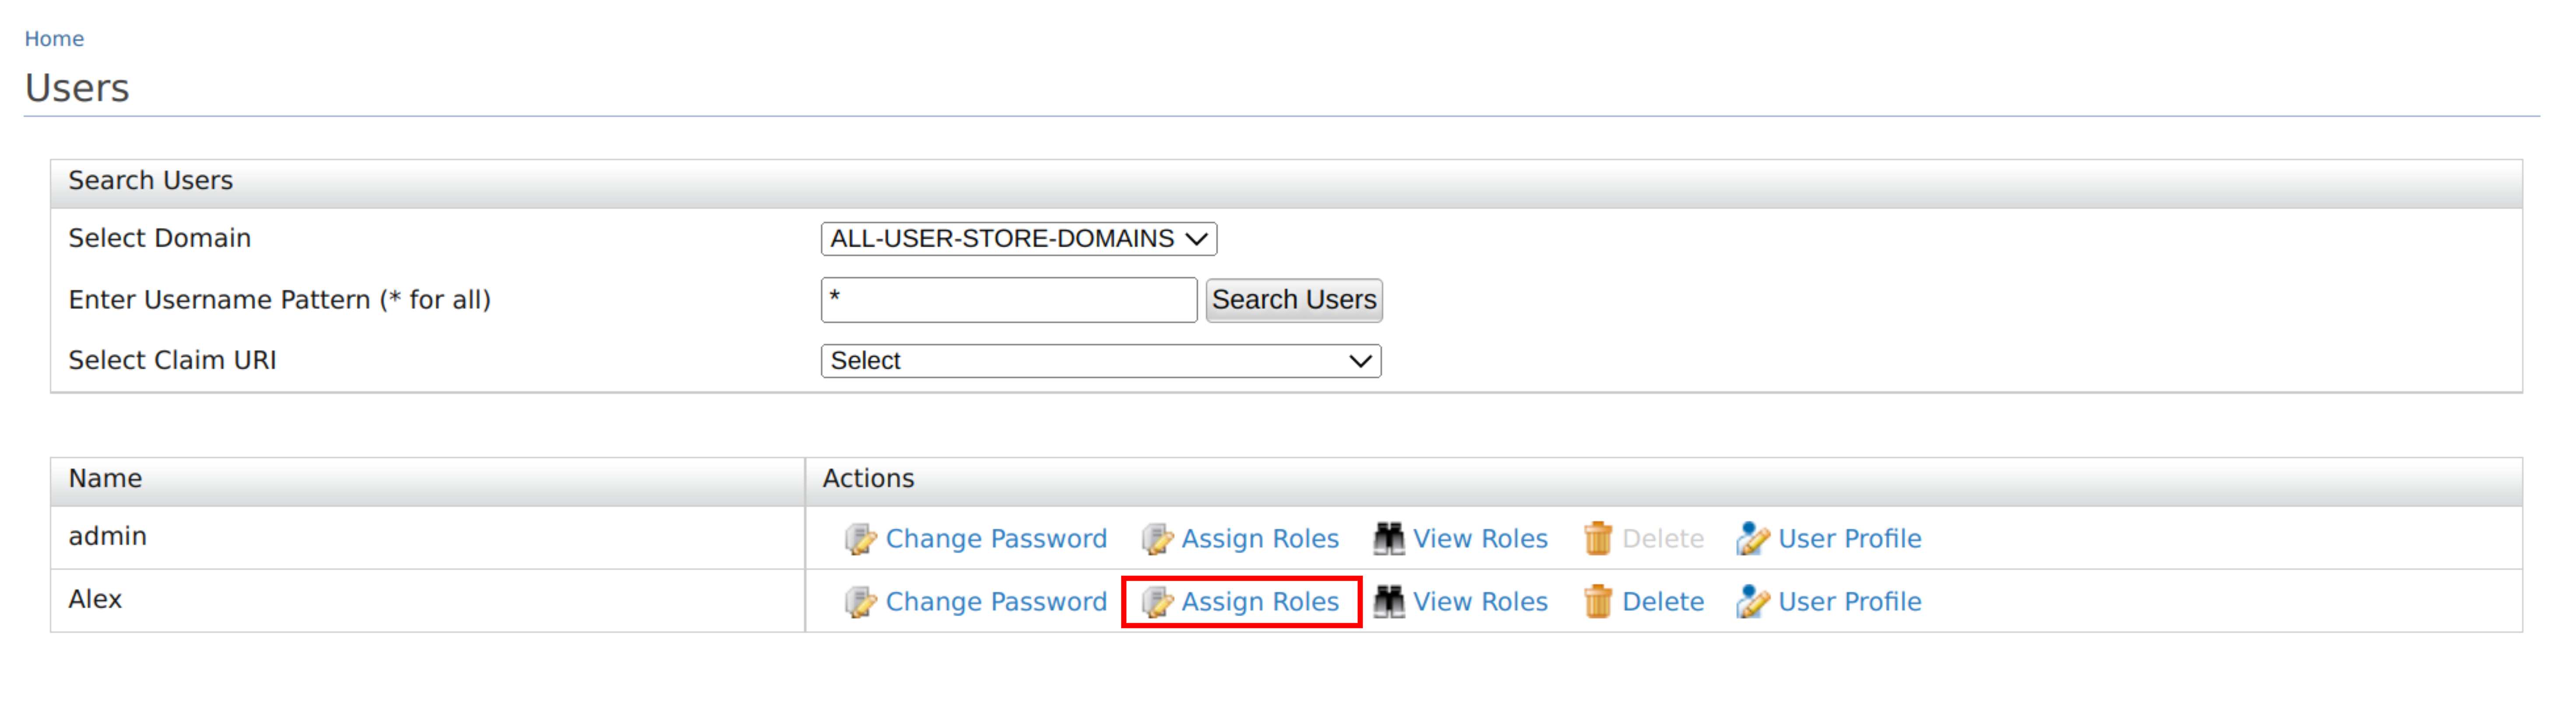
- On the Management Console, go to Users and Roles > List > Users.
- Click Assign Roles to assign all administrative permissions for the created user.
- Select admin and click Update.
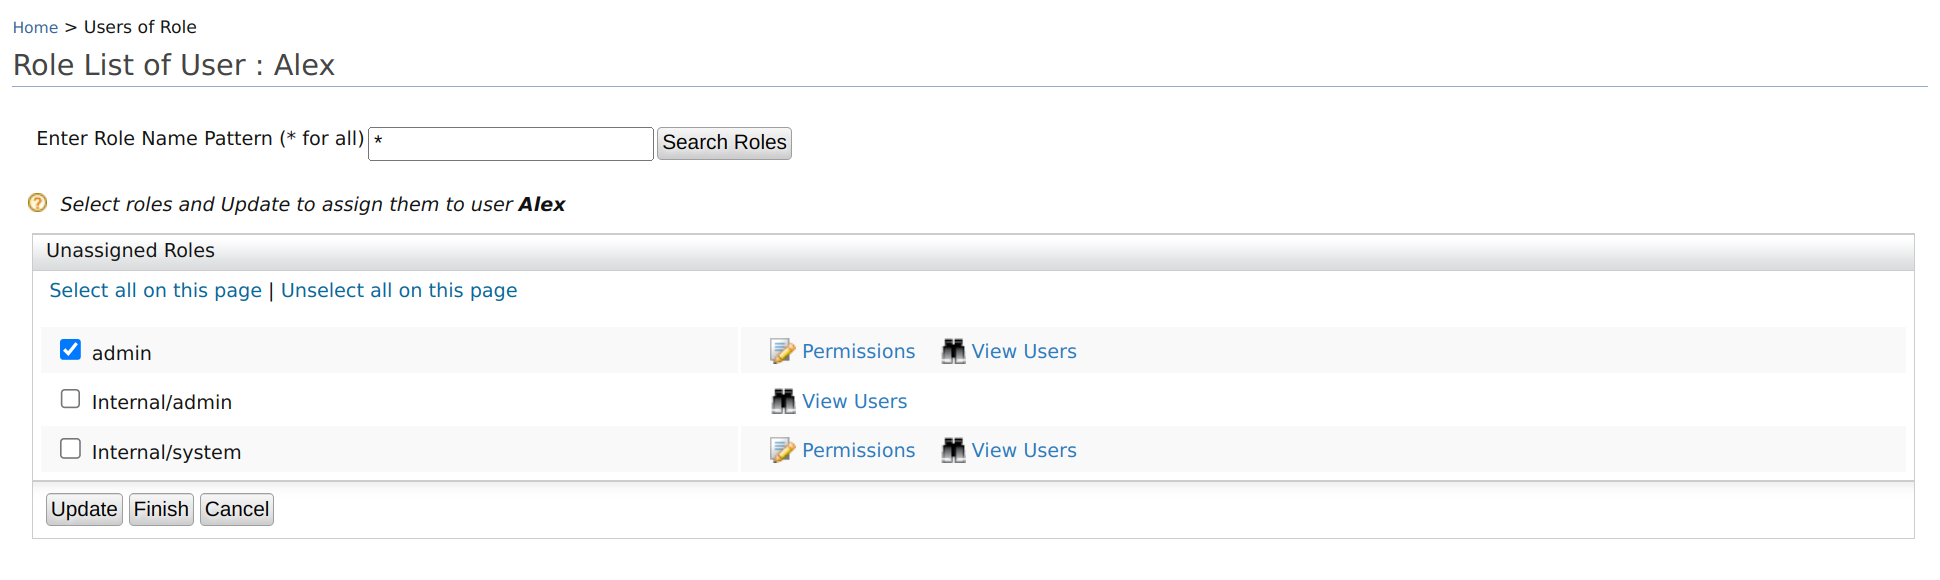
The user will be granted login permissions for the management console along with other admin permissions. See the complete list of access permissions given below.
Access permissions
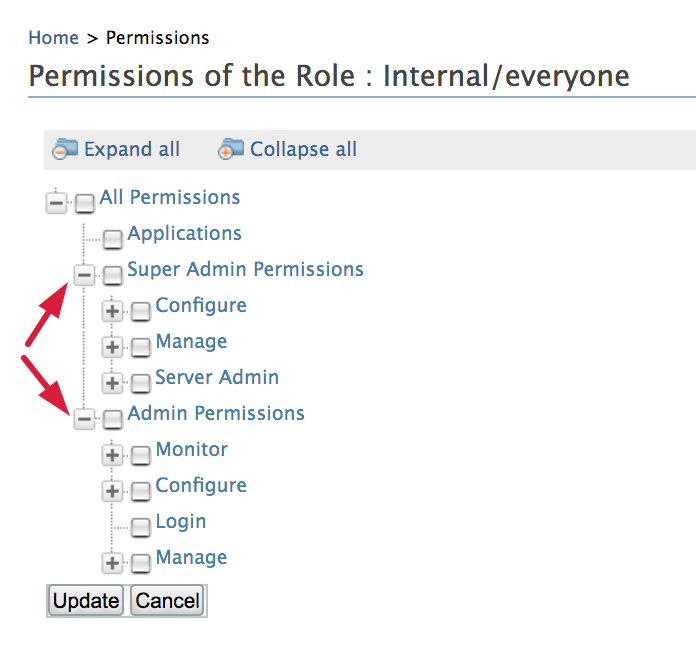
The permissions navigator that you use to enable permissions for a role is divided into two categories (Super Admin permissions and Admin permissions), as shown below. However, note that there may be other categories of permissions enabled for a WSO2 product depending on the type of features that are installed in the product.
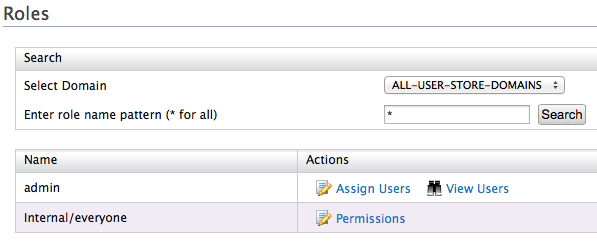
You can access the permissions navigator for a particular role by clicking Permissions as shown below.
By default, every WSO2 Identity Server comes with the default user and role.
-
The Admin role has all the permissions in the system enabled by default. Therefore, this is a super tenant with all permissions enabled.
Tip
You can change the default role name 'admin' of the Administrative role as described here
You can create new users and roles and configure permissions for the roles using the management console. However, note that you cannot modify the permissions of the Admin role. The possibility of managing users, roles, and permissions is granted by the User Management permission.
Permissions
The descriptions of permissions in the Permissions navigator are as follows:
-
The Login permission defined under Admin permissions allows users to log in to the product's management console. Therefore, this is the primary permission required for using the management console.
-
The following table describes the permissions at the Super Tenant level. These are also referred to as Super Admin permissions.
Permission Description of UI menus enabled Configuration permissions:
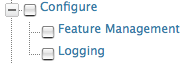
The Super Admin/Configuration permissions are used to grant permission to the key functions in a product server, which is common to all the tenants. In each WSO2 product, several configuration permissions will be available depending on the features installed in the product.
- Feature Management permission ensures that a user can control the features installed in the product using the management console. That is, the Features option will be enabled under the Configure menu.
- Logging permission enables the possibility to configure server logging from the management console. That is, the Logging option will be enabled under the Configure menu.Management permissions:
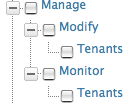
The Super Admin/Manage permissions are used for adding new tenants and monitoring them.
- Modify/Tenants permission enables the Add New Tenant option in the Configure menu of the management console, which allows users to add new tenants.
- Monitor/Tenants permission enables the View Tenants option in the Configure menu of the management console.Server Admin permissions:

Selecting the Server Admin permission enables the Shutdown/Restart option in the Main menu of the management console. -
The following table describes the permissions at the Tenant level. These are also referred to as Admin permissions.
Info
Note that when you select a node in the Permissions navigator, all the subordinate permissions that are listed under the selected node are also automatically enabled.
Note
Also, not all permissions in the permission tree are listed here. You can get the information related to them throughout the documentation wherever applicable.
Permission level Description of UI menus enabled Admin When the Admin permission node is selected, the following menus are enabled in the management console:
- User Store Management: This permission allows users to add new user stores and manage them with the management console. Note that only secondary user stores can be added using this option. See the topic on user store management for more details.
- Identity Providers:- All permissions listed under Admin in the permissions navigator are selected automatically.
Admin/Configure When the Admin/Configure permission node is selected, the following menus are enabled in the management console:
- Main menu /PAP: - Main menu /PDP: - Tools menu /Tryit (XACML): - All permissions listed under Configure in the permissions navigator are selected automatically.Admin/Configure/Security When the Admin/Configure/Security permission node is selected, the following menus are enabled in the Configure menu of the management console:
- Claim Management: See the topic on claim management for details on how to use this option.
- Keystores: See the topic on keystores for details on how to use this option.
- Email Templates: See the topics on email templates for details on how to use this option.
- This permission will also enable the Roles option under Configure/Users and Roles . See the topics on configuring Users, and roles for more information.
- Additionally, all permissions listed under Security in the permissions navigator are selected automatically.Admin/Configure/Security/Identity Management/User Management This permission allows adding users from the management console. That is, the Users option will be enabled under Configure/Users and Roles . Admin/Configure/Security/Identity Management/Password Management This permission enables the Change Password option for the users listed in the User Management/Users and Roles/Users screen, which allows the logged-in user to change the passwords Admin/Configure/Security/Identity Management/Profile Management This permission enables the User Profile option for the users listed in the User Management/Users and Roles/Users screen, which allows the logged-inuser to update user profiles. Admin/Manage When the Admin/Manage permission is selected, the following menus will be enabled in the management console:
- Main menu /Service Providers: - Tools menu /SAML:
- Additionally, all permissions listed under Admin/Manage in the permissions navigator will be enabled automatically.Admin/Manage/Resources/Browse This permission enables the Browse option under the Registry menu in the main navigator. This option allows users to browse the resources stored in the registry using the Registry tree navigator.
Admin/Manage/Search This permission enables the Search option under the Registry sub-menu in the Main menu. This option allows users to search for specific resources stored in the registry by filling in the search criteria.
Admin/Monitor When the Admin/Monitor permission node is selected, the following menus are enabled in the management console:
- Monitor menu /System Statistics: See the topic on system statistics for information on how to use this option.
- Additionally, all permissions listed under Admin/Monitor in the permissions navigator will be enabled automatically.Admin/Monitor/Logs When the Admin/Monitor/Logs permission node is selected, the following menus are enabled in the management console:
- Monitor menu /Application Logs
- Monitor menu /System Logs
See the topic on system logs for information on how to use these options.
Related topics