Log in to Salesforce using the Identity Server
This page guides you through using WSO2 Identity Server to log in to Salesforce.
Configure Salesforce
-
Sign up as a Salesforce developer.
- Fill out the relevant information found in the following URL: https://developer.salesforce.com/signup
- Click Sign me up.
- Click Allow to enable Salesforce to access your basic information. This message pops up only when you log in to Salesforce for the first time.
- You will be navigated to the lightening theme of Salesforce.
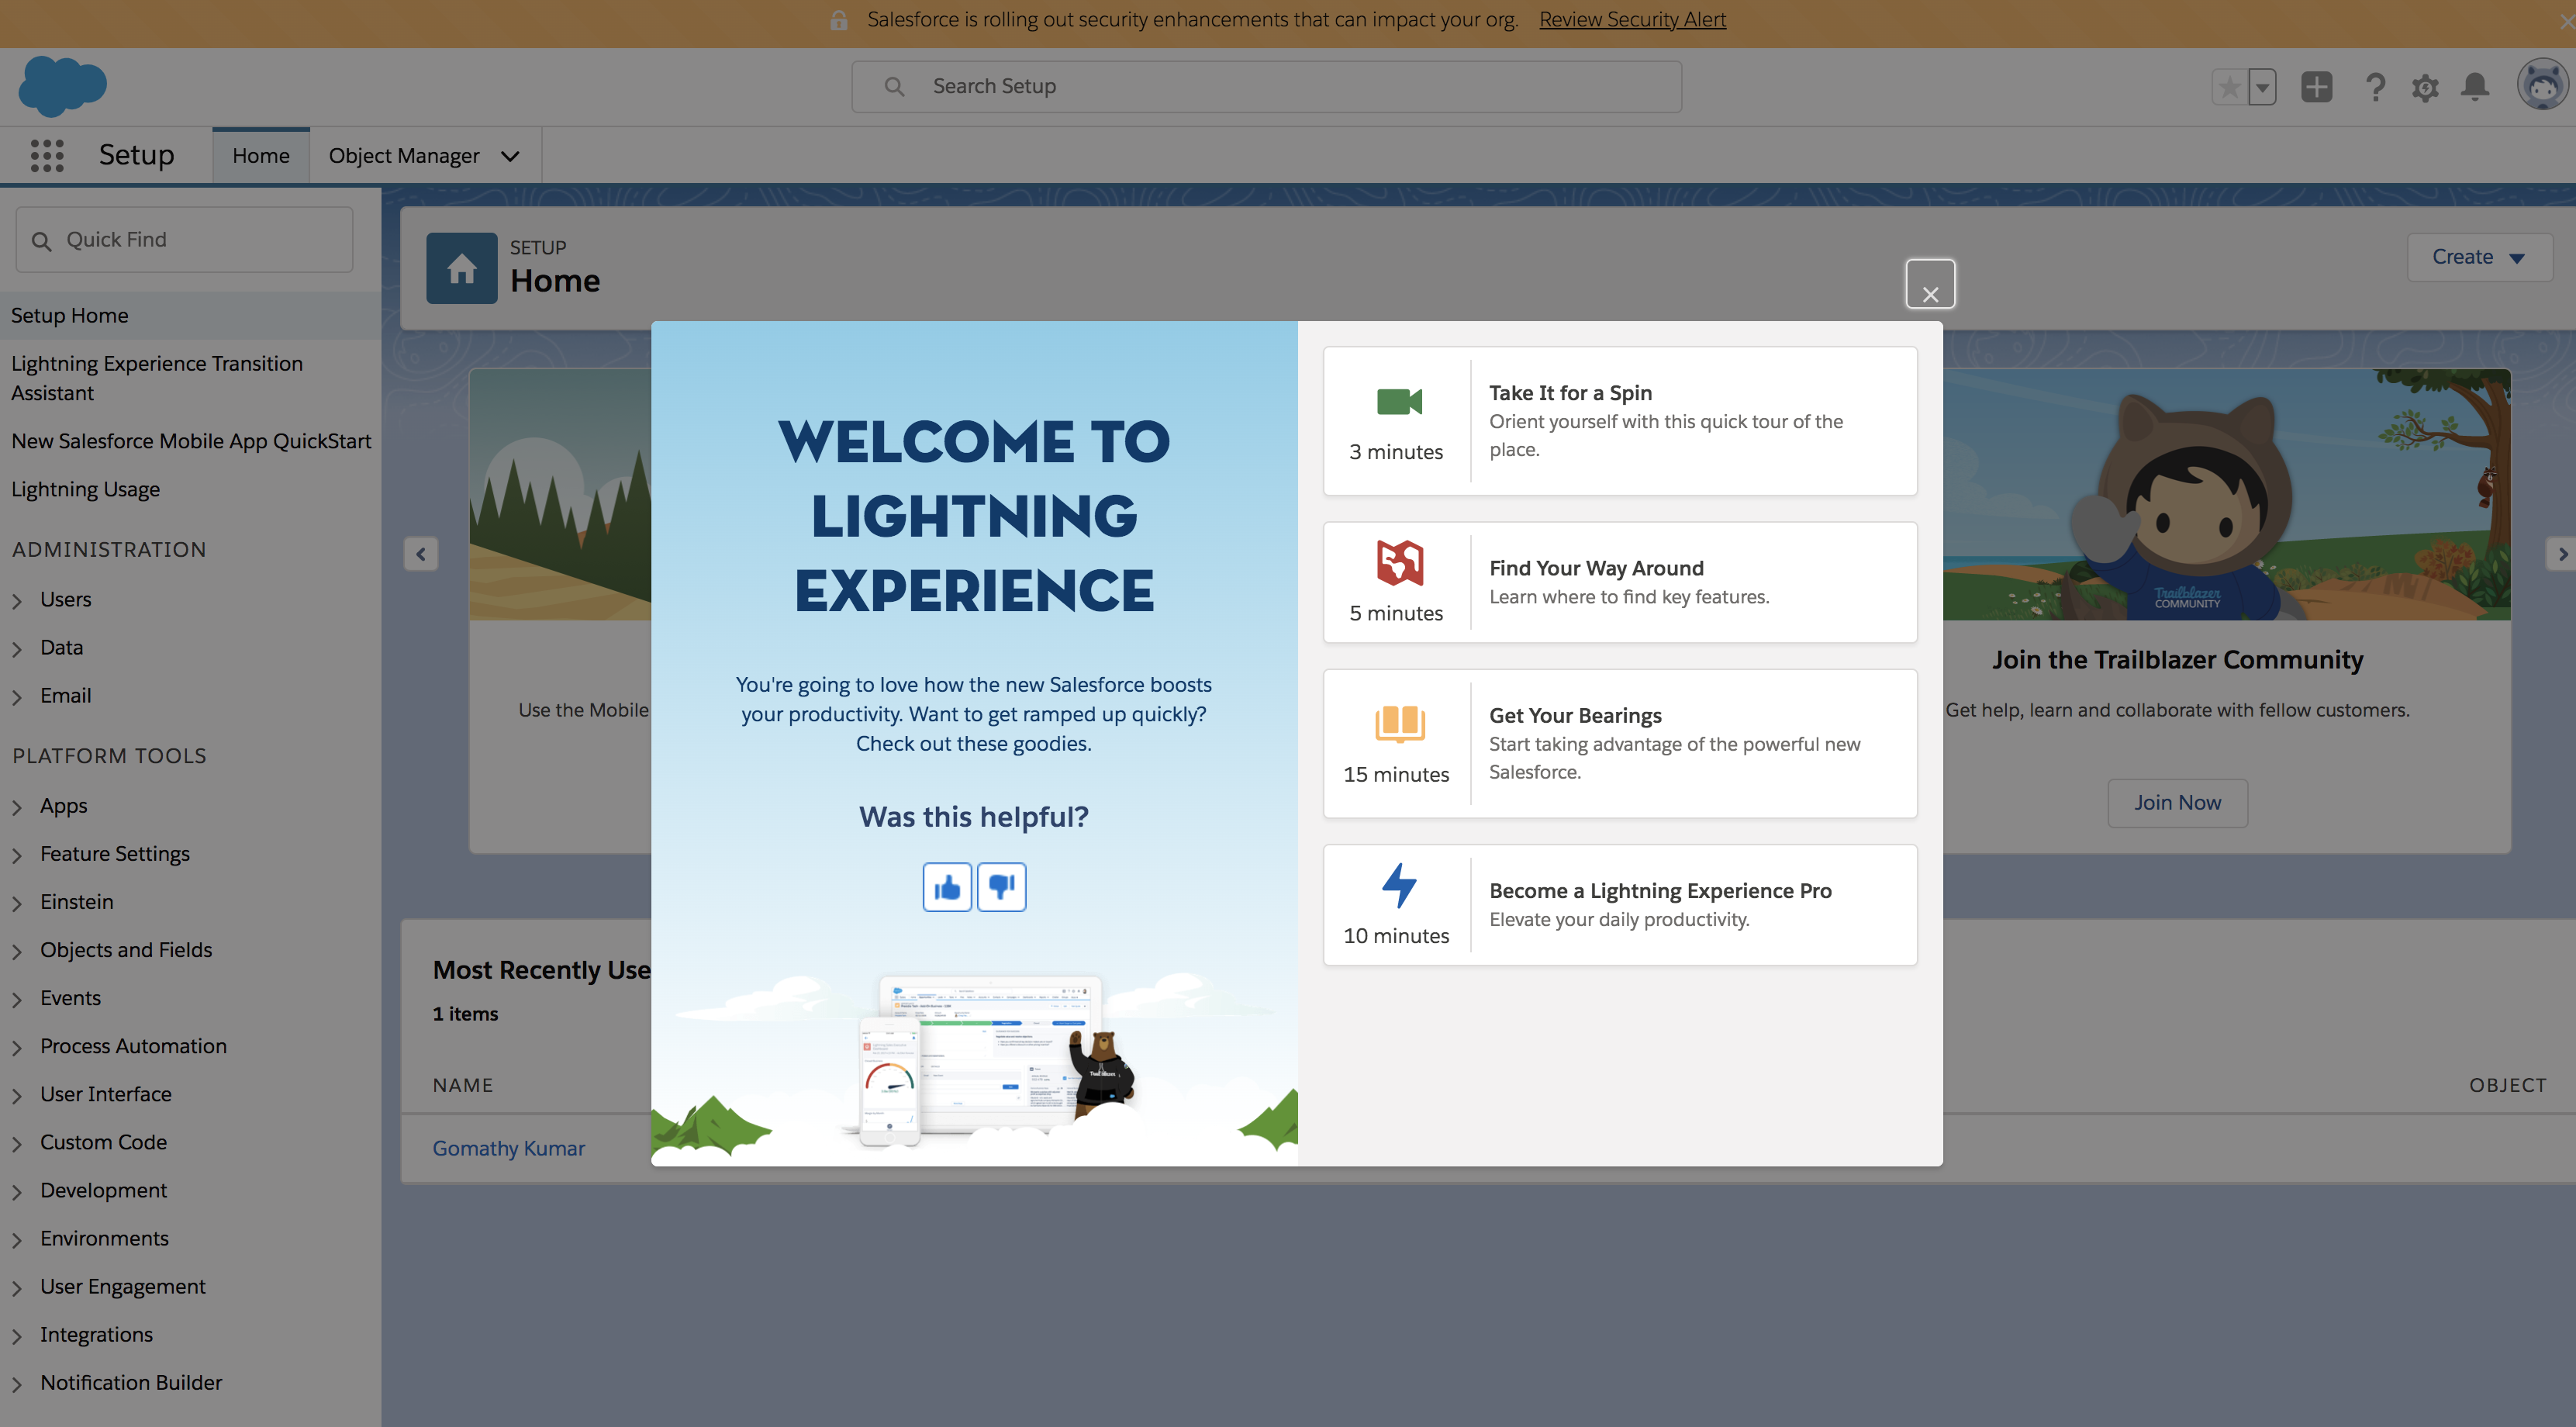
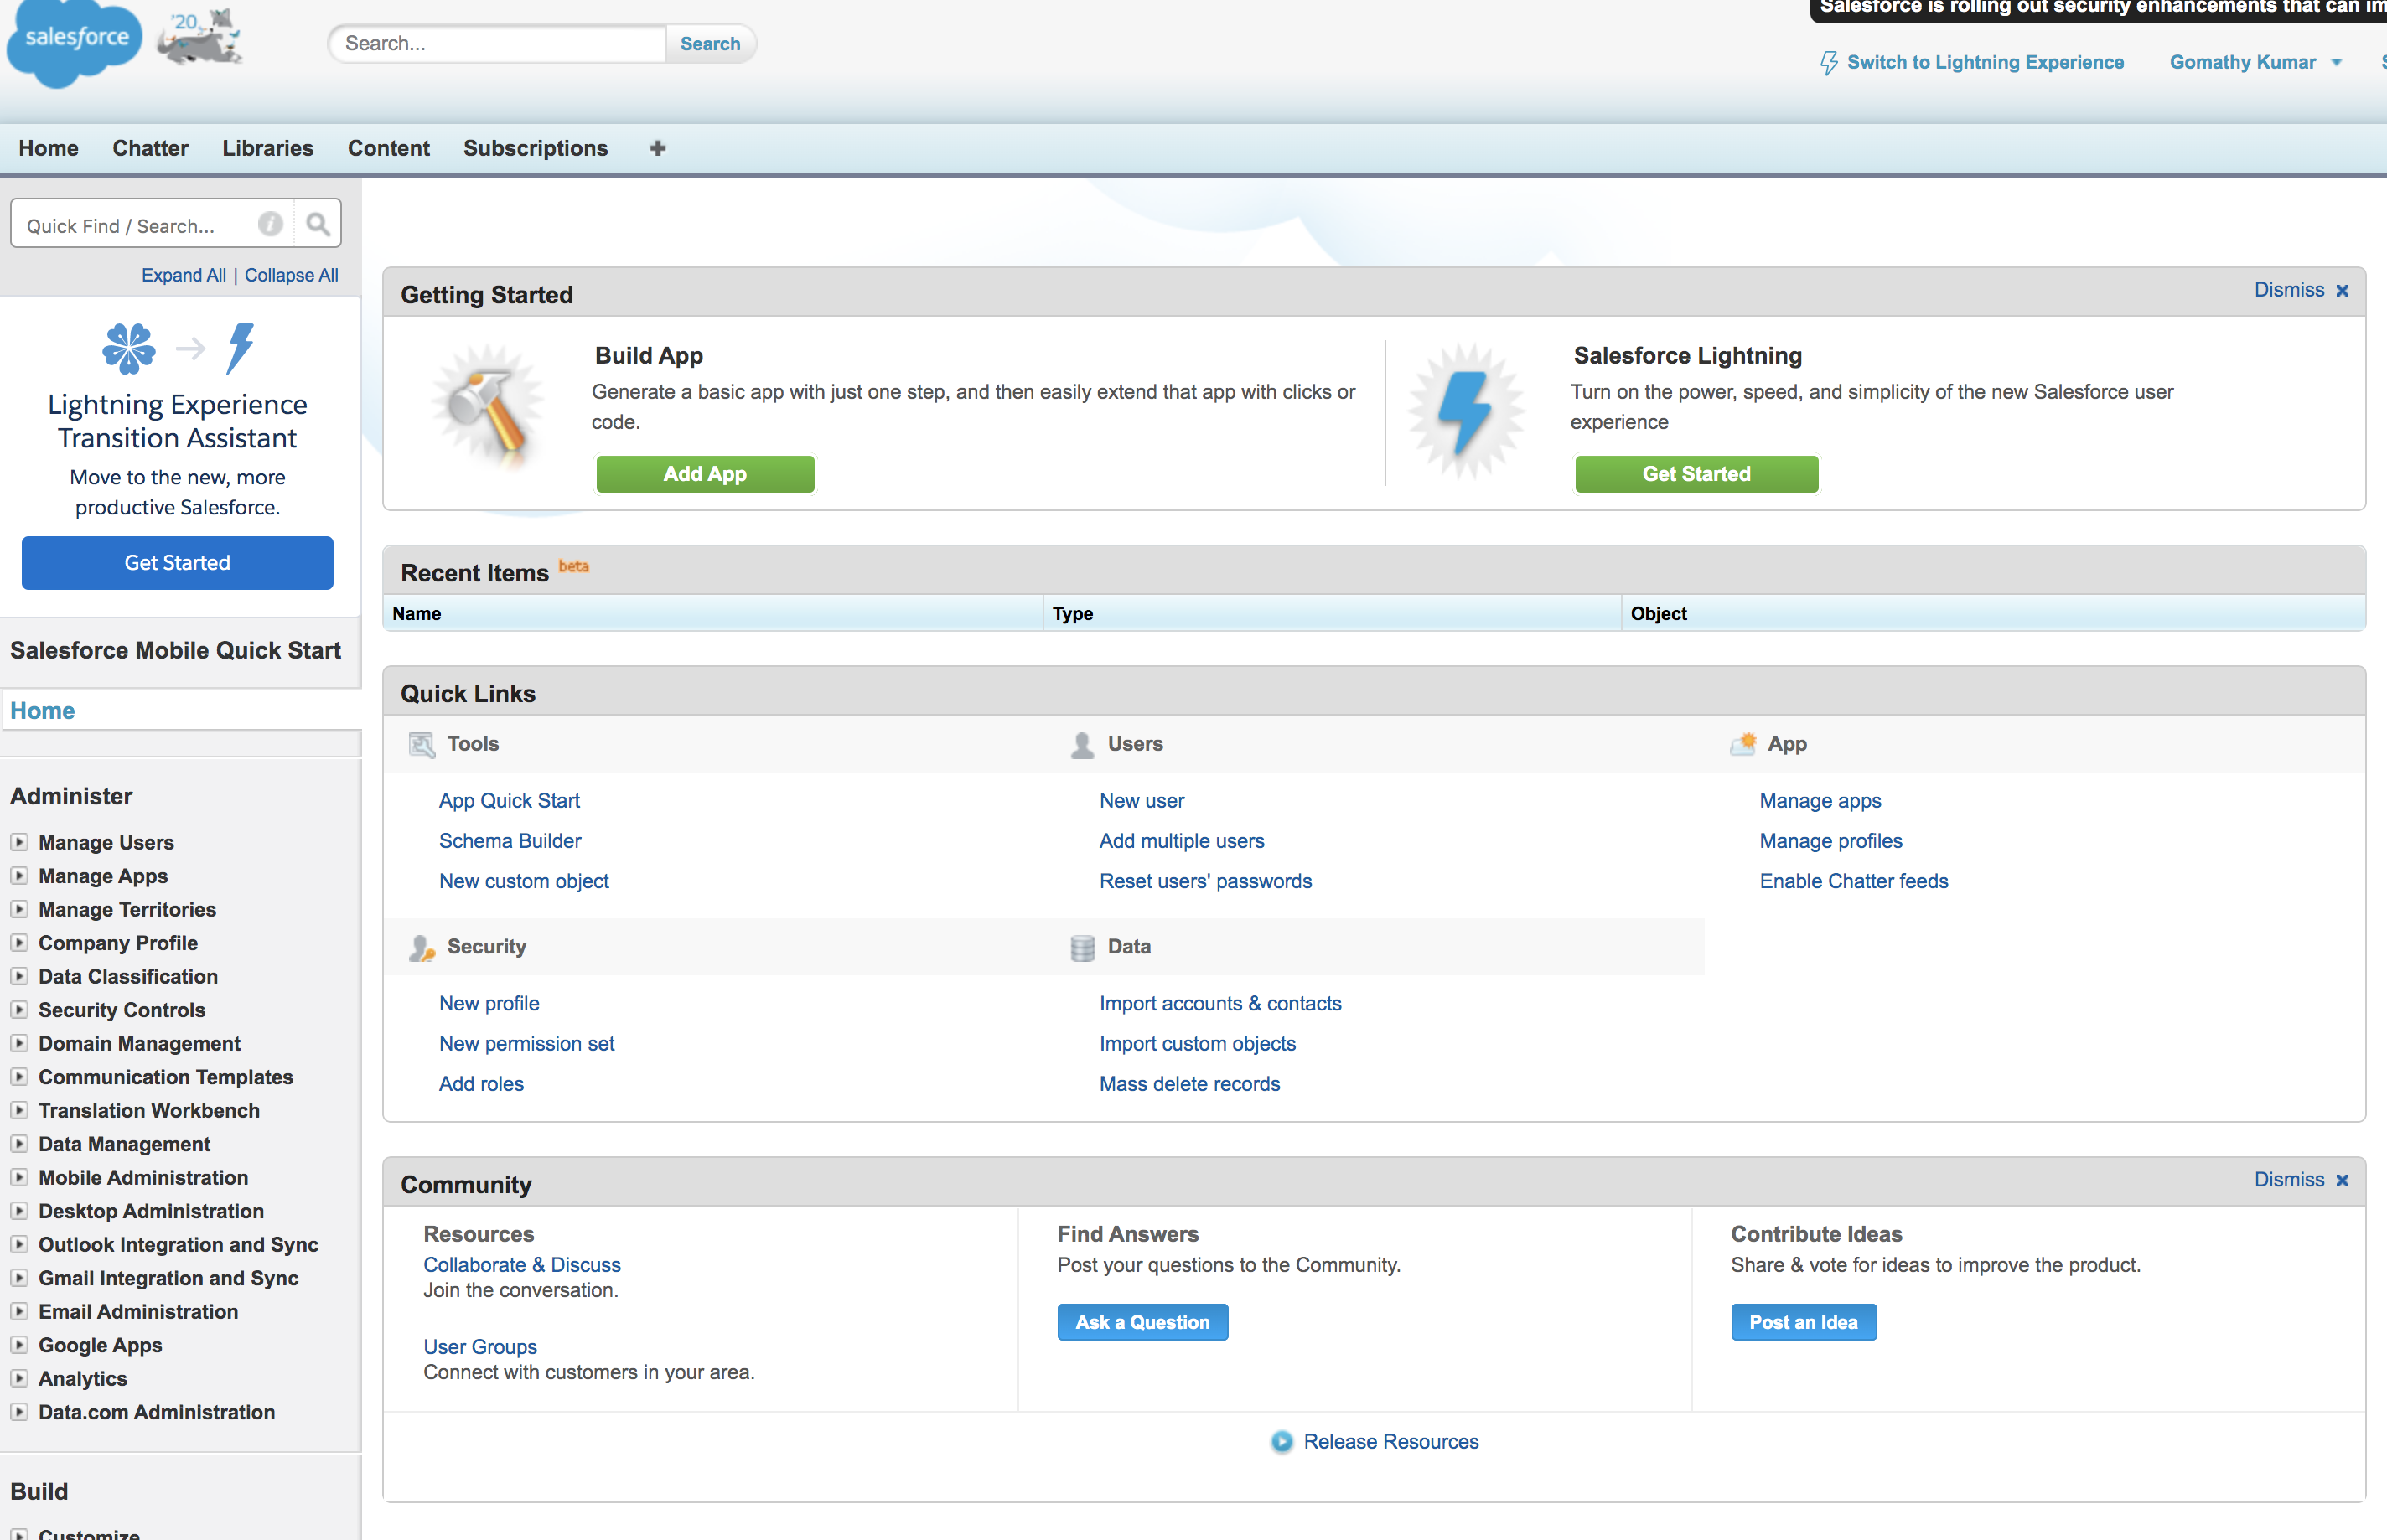
Note
This document is explained using the Salesforce lightning theme. If you are using the classic theme, click Switch to Lightning Experience on the top panel.
-
Once you are logged in, create a new domain and access it. To do this, do the following steps.
-
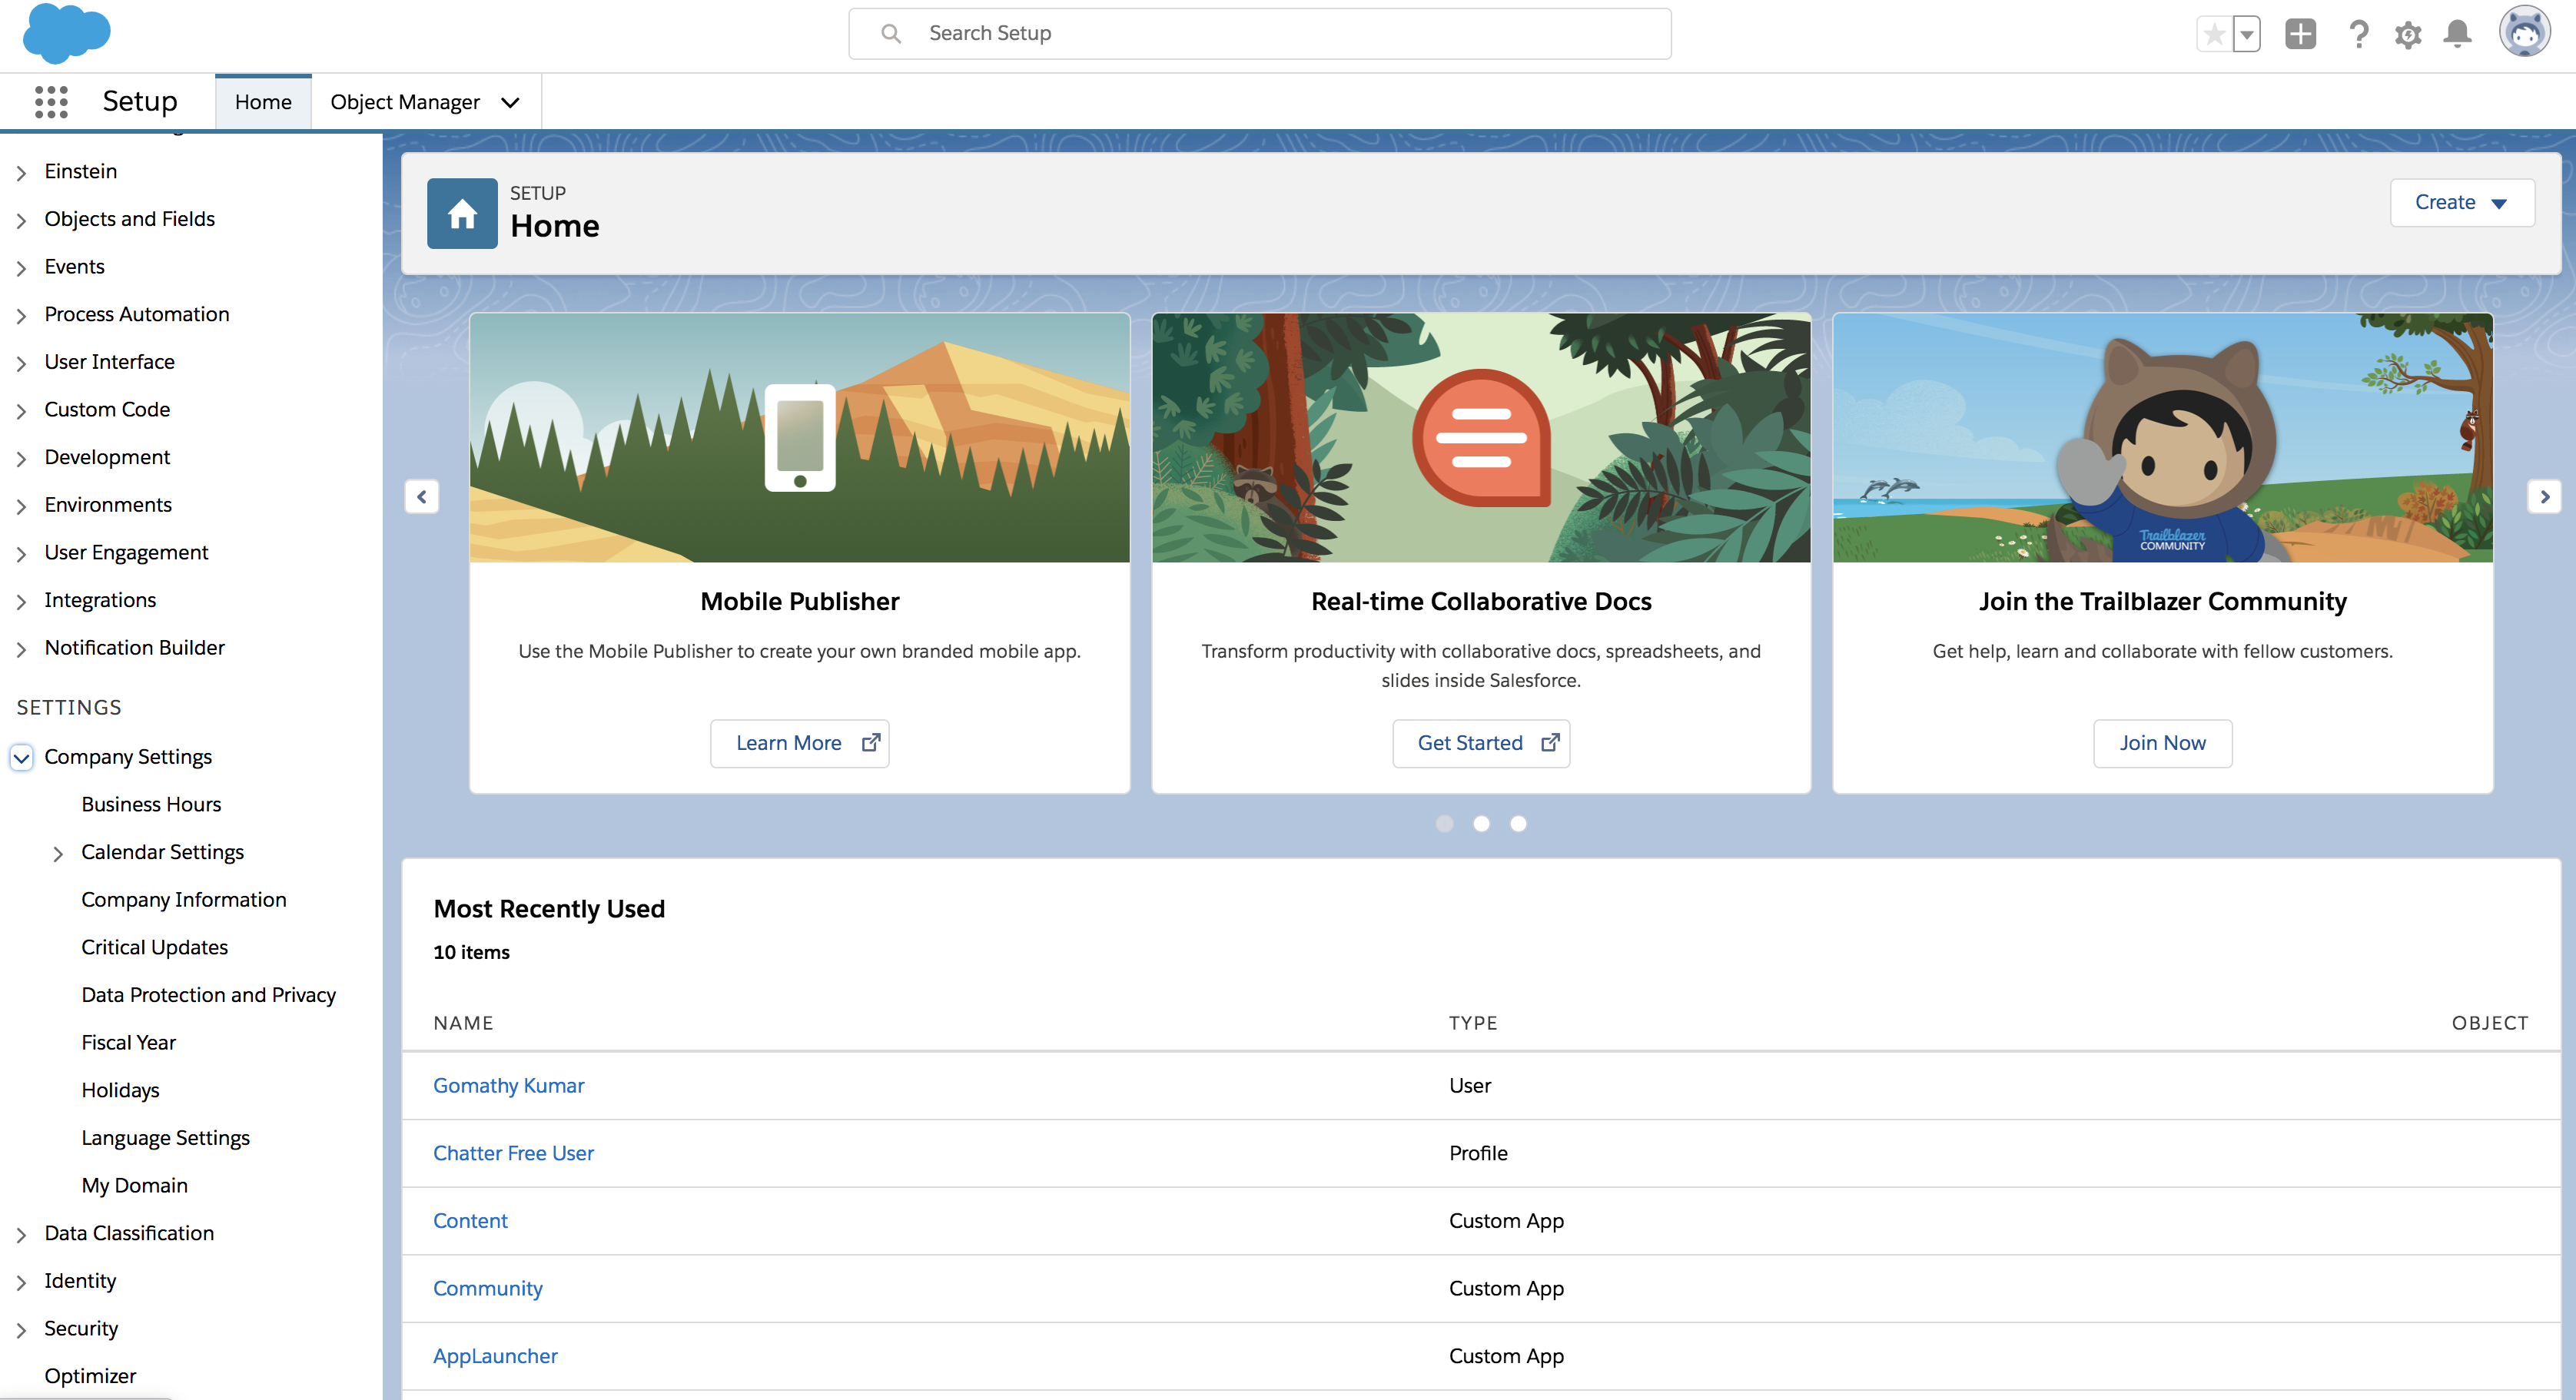
Search for My Domain in the search bar that is on the left navigation panel.
-
Click My Domain.
-
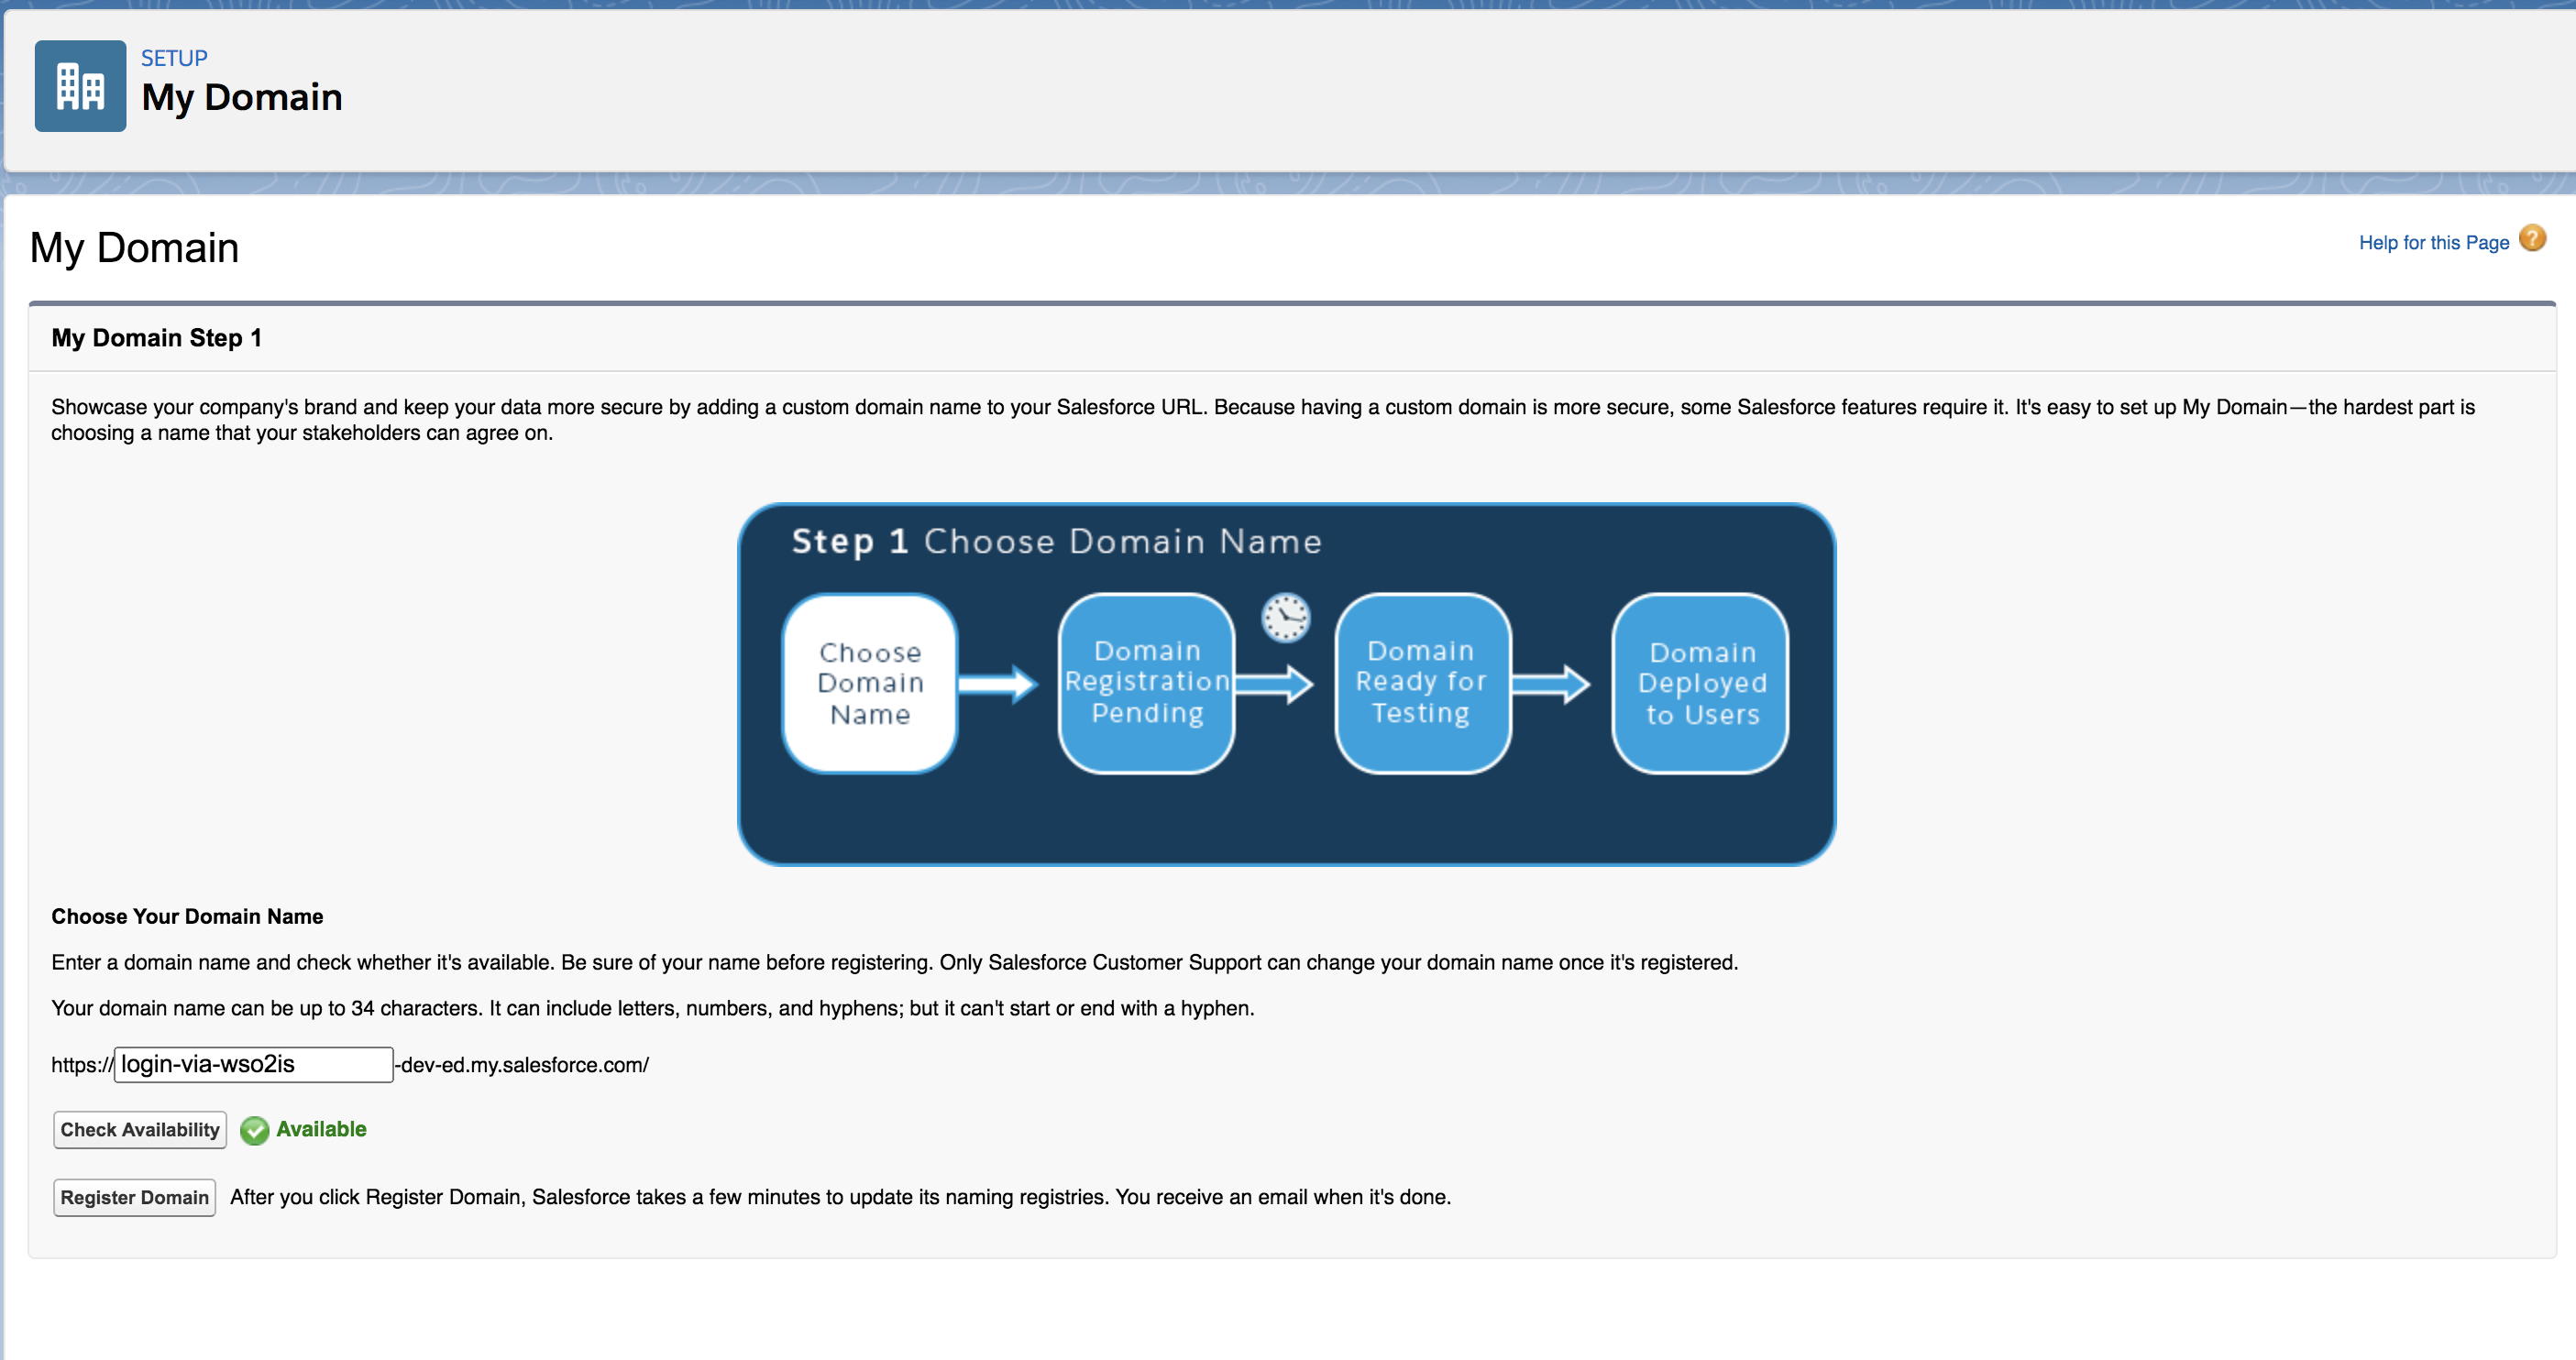
On the page that appears, come up with a name for your domain. You can check if the domain is available by clicking the Check Availability button.
Info
For the page given below to load on your browser, make sure that the Salesforce cookies are not blocked.
-
If the domain is available, click Register Domain to register your new domain.
-
The verification might take a few minutes. On successful verification, you will proceed to step 3 where you can test your login.
-
Click Log in.
-
-
On the left navigation menu, search for Single Sign-On Settings and click on it.
-
On the page that appears, click Edit and then select the SAML Enabled check box to enable federated single sign-on using SAML.
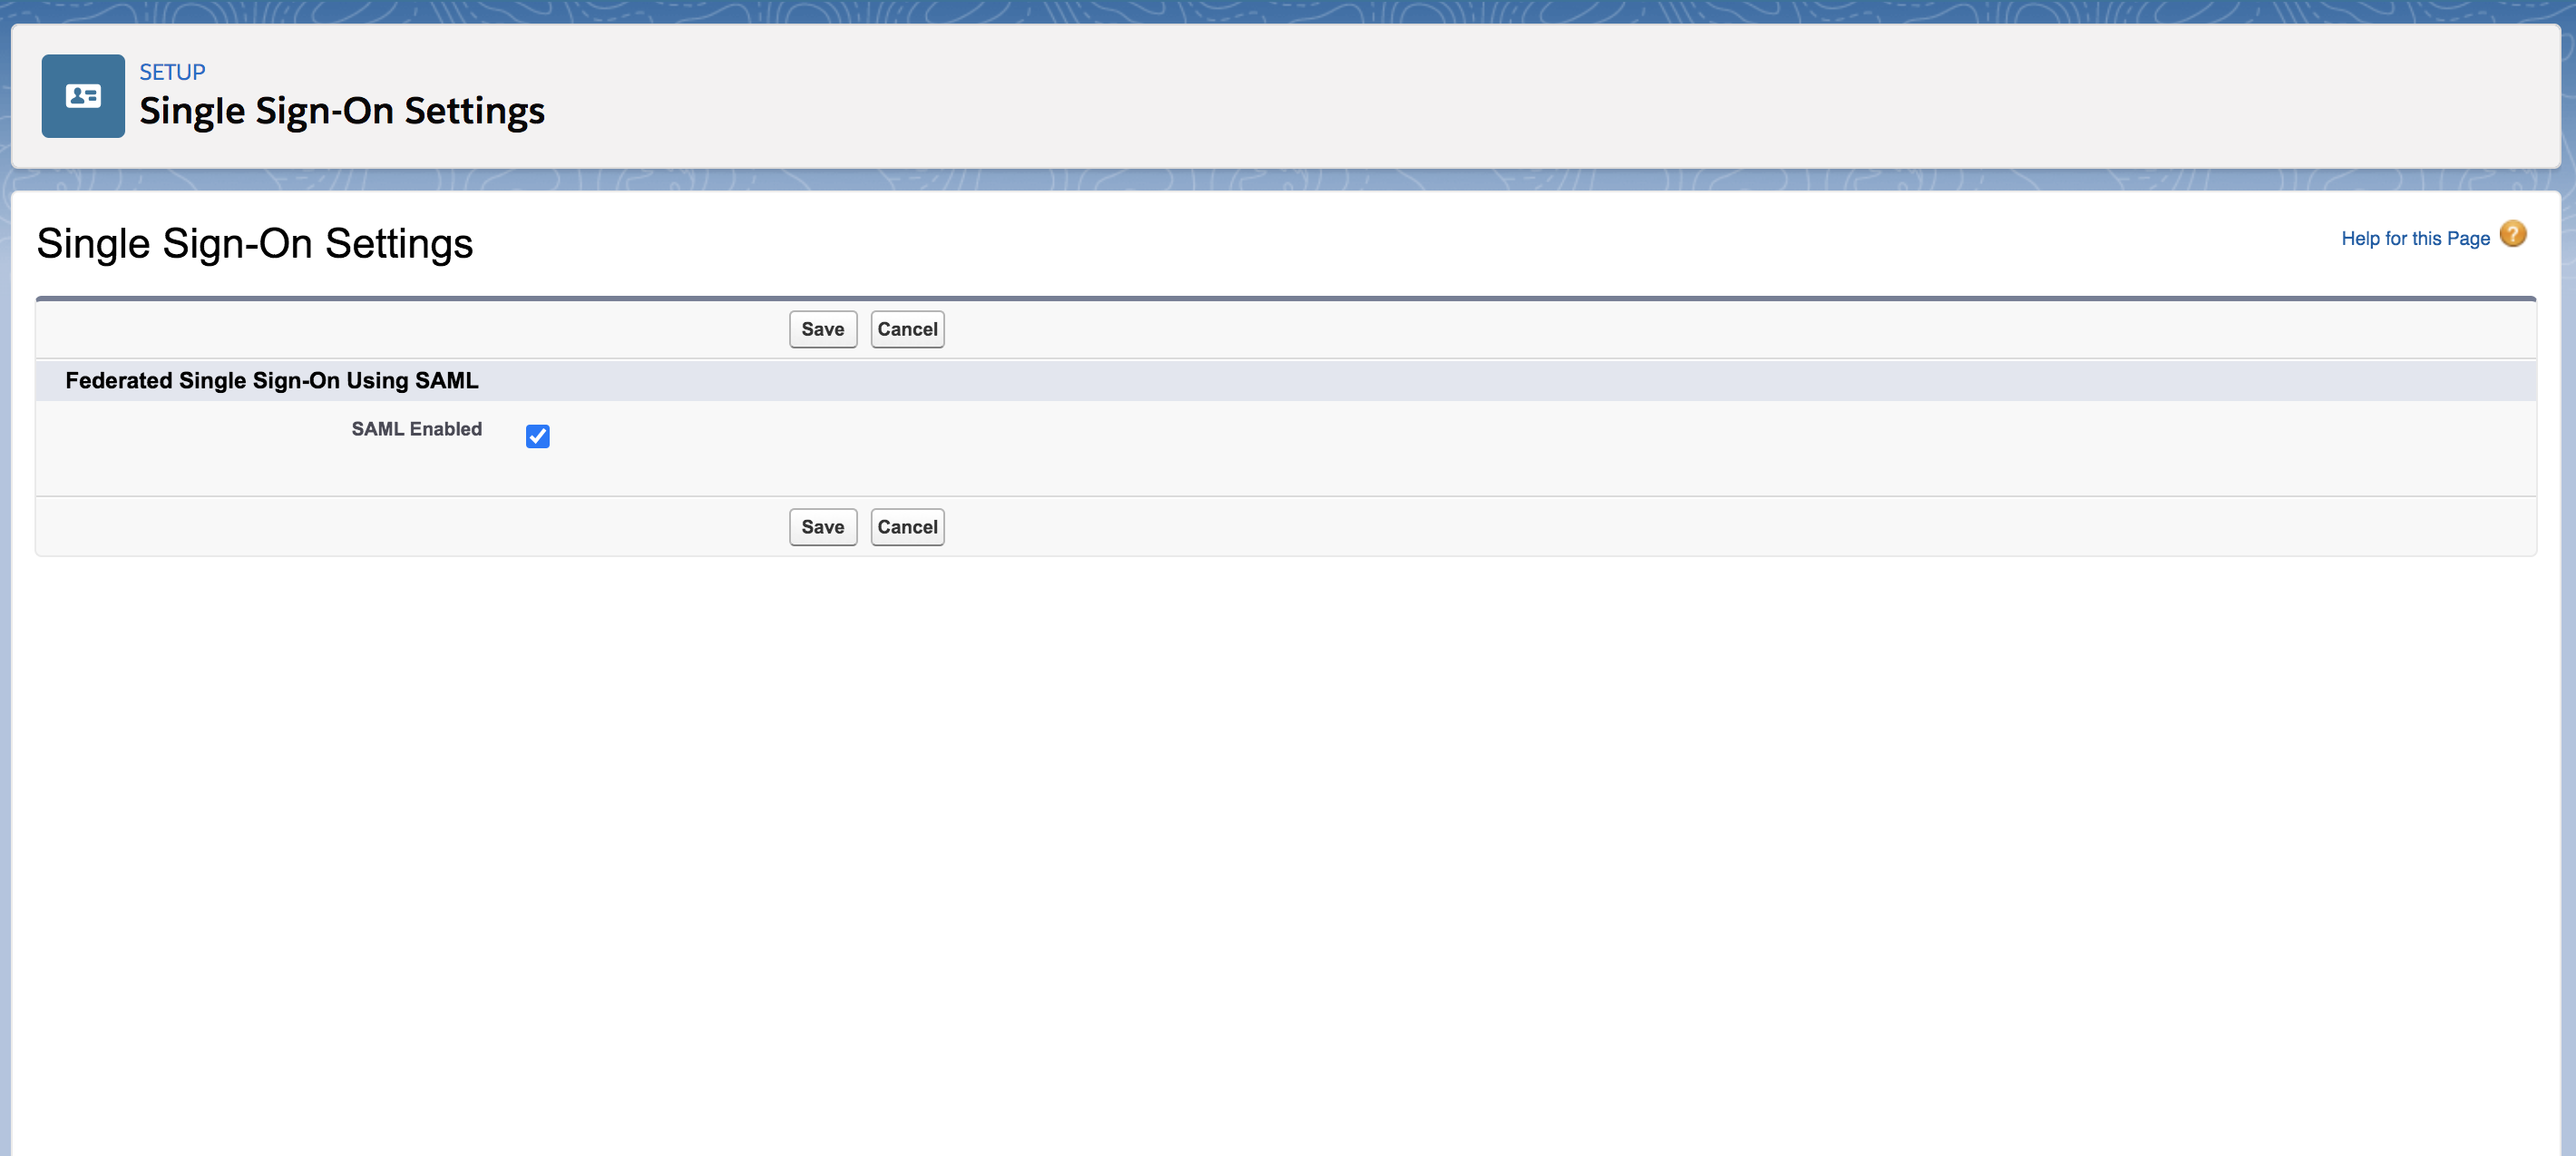
-
Click Save.
-
Click New under SAML Single Sign-On Settings. The following screen appears.
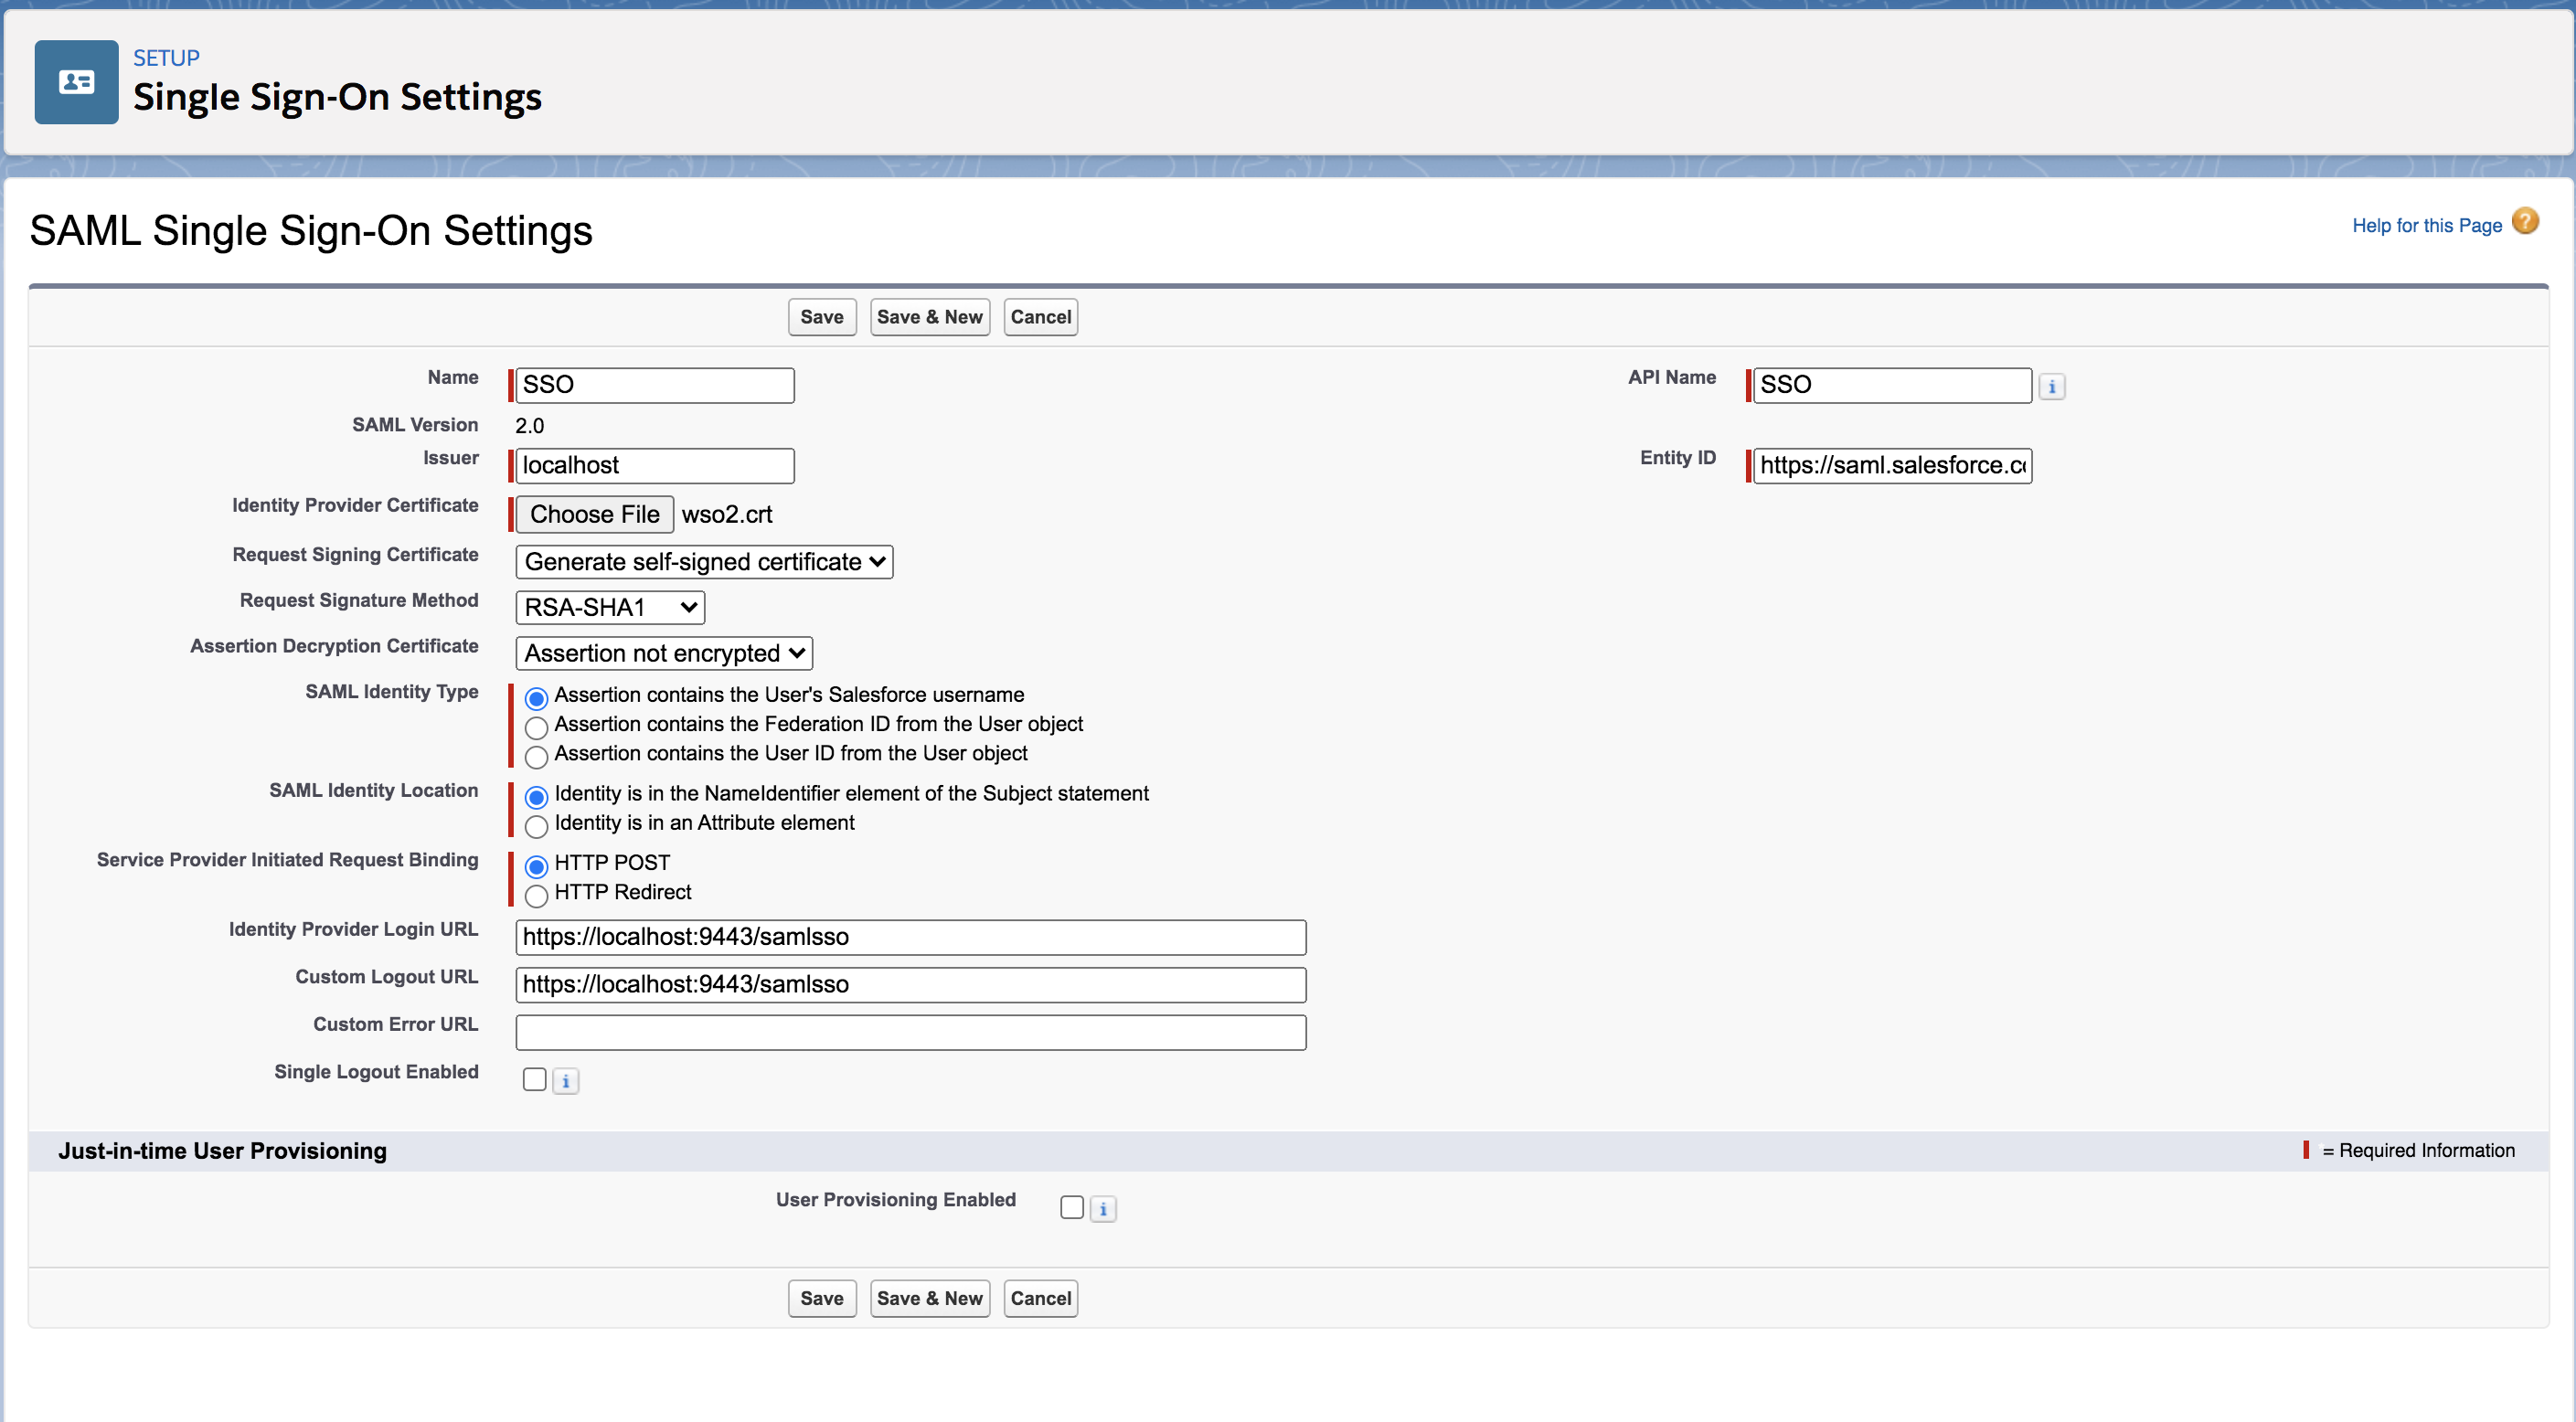
Ensure that you configure the following properties.
Click Save to save your configurations.
-
Navigate to Company Settings in the left navigation pane and click My Domain.
-
Click Deploy to Users. Click Ok to the confirmation message that appears.
-
On the page that appears, you must configure the Authentication Configuration section. Scroll down to this section and click Edit.
-
Under Authentication Service, select SSO instead of Login Page.
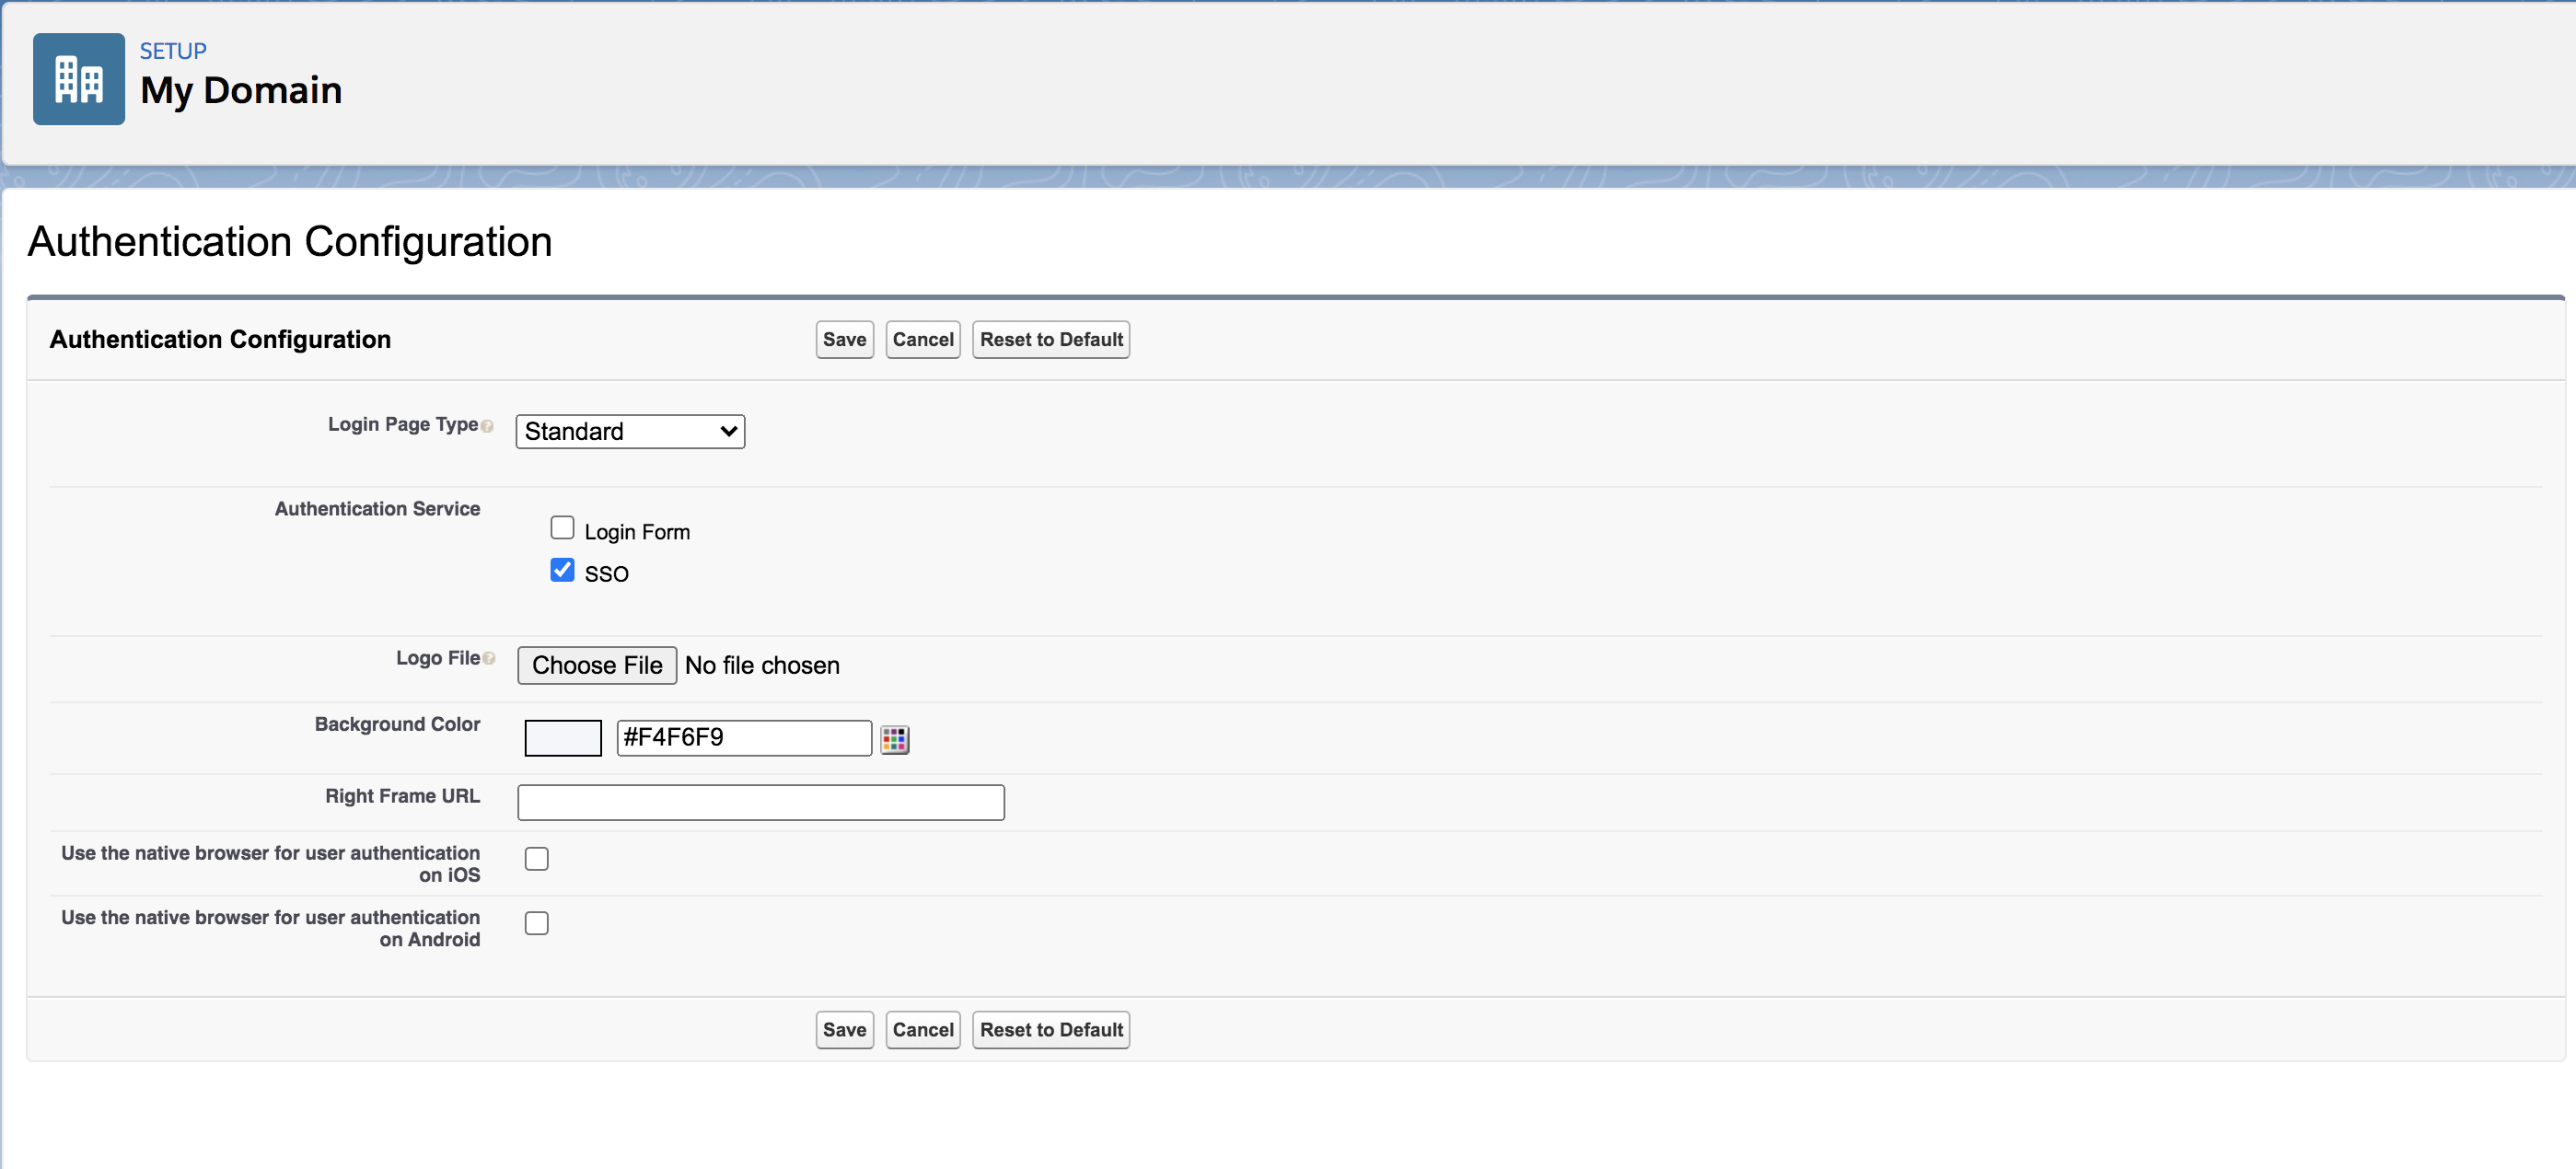
-
Click Save.
Configure Email Address as the Username
Warning
Configuring the email address as the username in an already running Identity Server is not the production recommended way. Therefore, make sure to configure it before you begin working with WSO2 IS.
-
Log in to the Management Console and click Claims > List > http://wso2.org/claims.
-
Click the Edit link corresponding to the Username claim and configure the
Mapped Attributeproperty tomail.
-
Click Update to save the changes.
-
Open the
<IS_HOME>/repository/conf/deployment.tomlfile. -
Add the following configuration to enable email authentication.
[tenant_mgt] enable_email_domain= true -
Configure the following set of parameters in the userstore configuration, depending on the type of userstore you are connected to (LDAP/Active Directory/ JDBC).
Parameter Description UserNameAttribute
Set the mail attribute of the user. LDAP/Active Directory only
[user_store]
user_name_attribute = "mail"UserNameSearchFilterUse the mail attribute of the user instead of
cnoruid. LDAP/Active Directory only
For example:In LDAP,
[user_store]
user_name_search_filter ="(&(objectClass=person)(mail=?))"
In Active Directory,[user_store]
user_name_search_filter ="(&(objectClass=user)(mail=?))"UserNameListFilterUse the mail attribute of the user if necessary. LDAP/Active Directory only
For example:In LDAP,
[user_store]
user_name_list_filter ="(&(objectClass=person)(!(sn=Service)))"
In Active Directory,[user_store]
user_name_list_filter ="(&(objectClass=user)(!(sn=Service)))"UsernameJavaScriptRegExChange this property that is under the relevant userstore manager tag as follows. This property allows you to add special characters like "@" in the username.
[user_store]
username_java_script_regex = '^[a-zA-Z0-9.-]+@[a-zA-Z0-9.-]+\.[a-zA-Z]{2,4}$'UsernameJavaRegExThis is a regular expression to validate usernames. By default, strings have a length of 5 to 30. Only non-empty characters are allowed. You can provide ranges of alphabets, numbers and also ranges of ASCII values in the RegEx properties.
[user_store]
username_java_regex = '^[a-zA-Z0-9.-]+@[a-zA-Z0-9.-]+\.[a-zA-Z]{2,4}'
Realm configurations The username must use the email attribute of the admin user.
[super_admin]
username = "[email protected]"
password = "admin"
Note
Before this configuration, the user having the username admin and password admin was considered the super administrator. The super administrator user cannot be deleted.
After this configuration, the user having the username
[email protected]is considered the super administrator. The user having the username admin is considered as a normal administrator.
Info
- With these configuration users can log in to super tenant with both
email username (
[email protected]) or non-email usernames (larry). However, for tenants, only email usernames are allowed. ([email protected]@wso2.com). - You can configure email username without enabling the
enable_email_domainproperty (step 5). Then users can log in to both the super tenant and the tenant using email and non-email usernames. However, super tenant users should always use @carbon.super at the end of usernames.
- With these configuration users can log in to super tenant with both
email username (
-
Restart the server.
Create the service provider
To register your application as a service provider in the WSO2 Identity Server:
-
Log in to the WSO2 Identity Server Management Console using administrator credentials.
-
Go to Main > Identity > Service Providers > Add.
-
Enter a Service Provider Name. Optionally, enter a Description.
-
Click Register.
SAML Configurations
Make the following changes to the created service provider.
-
Expand Inbound Authentication Configuration > SAML Configuration and click Configure.
-
Enter the Issuer as
https://saml.salesforce.com.Note
The Issuer is the unique identifier of the service provider. This is also the issuer value specified in the SAML Authentication Request issued by the service provider.
-
Enter Assertion Consumer URL and click Add.
Note
The Assertion Consumer URL is the URL of the page to which the browser is redirected to after successful authentication. To obtain the Assertion Consumer URL from Salesforce, follow the below provided steps.
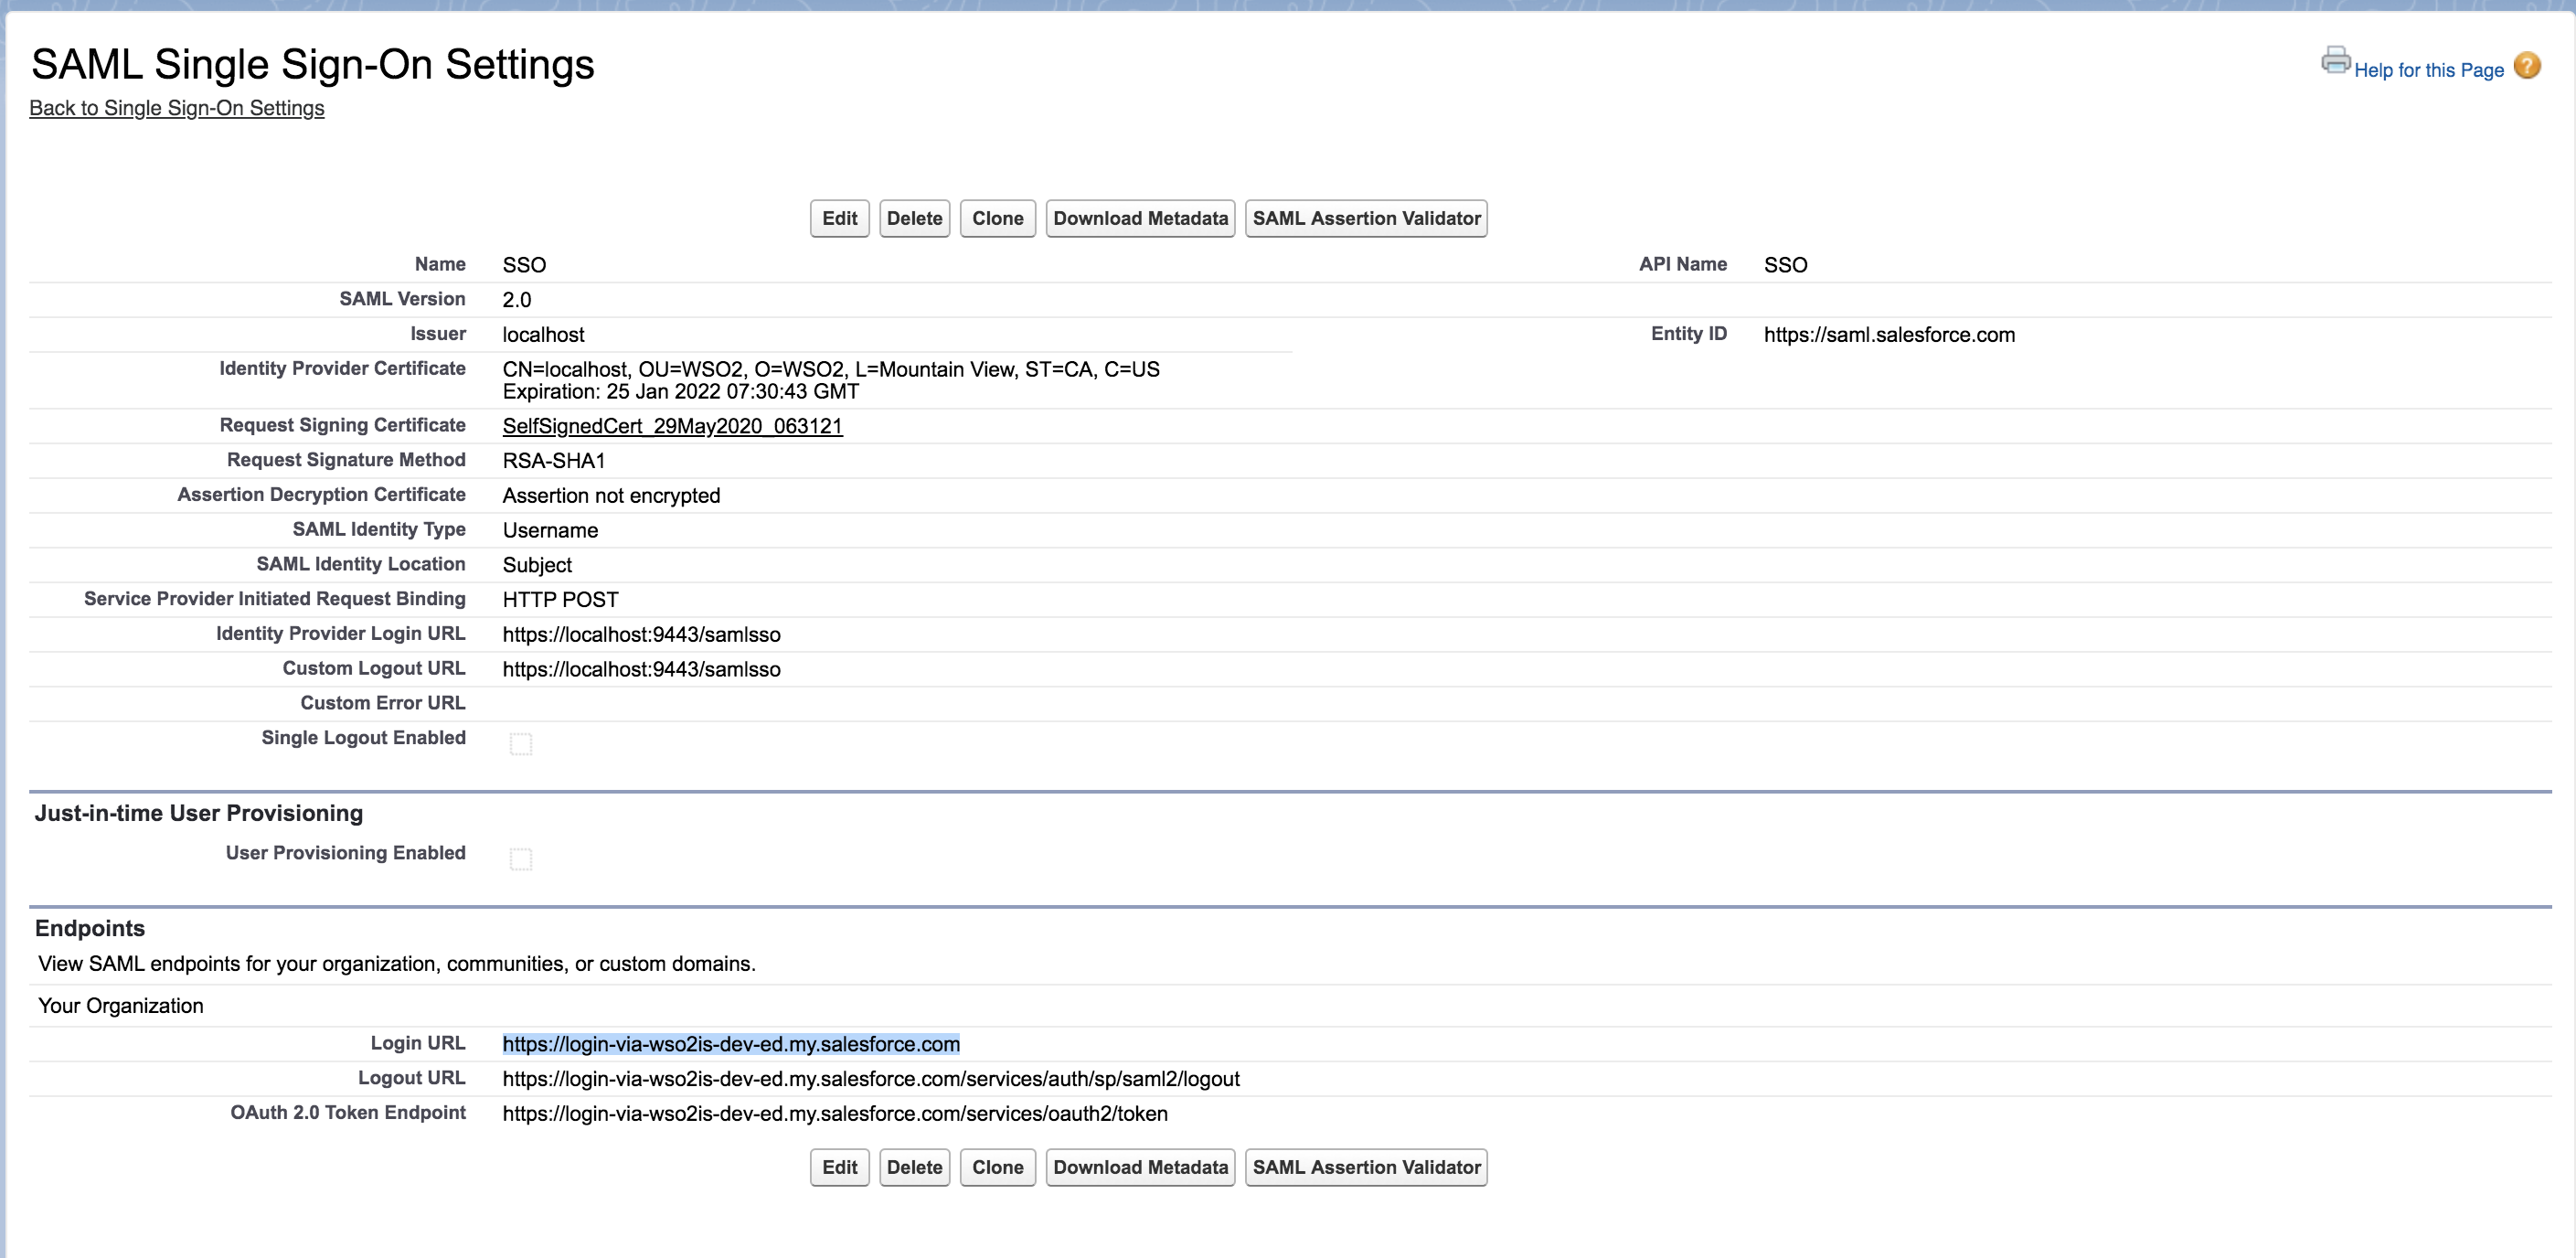
1. Navigate to Identity > Single Sign-On Settings from the left hand side panel.
2. Click on the name of the SAML SSO component created.
3. Note down the login URL. -
Select Enable Response Signing to sign the SAML2 Responses returned after the authentication process.
-
Select Enable Attribute Profile and Include Attributes in the Response Always so that the the identity provider will always include the attribute values related to the selected claims in the SAML2 attribute statement.
-
Click Register.
Tip
To configure more advanced configurations, see Advanced SAML Configurations.
Test the configurations
Do the following steps to test out the configurations for a new user in Salesforce and the Identity Server.
-
Create a user in WSO2 IS.
- Log in to the WSO2 Identity Server Management Console (
https://<IS_HOST>:<PORT>/carbon) using administrator credentials (admin:admin).
- Log in to the WSO2 Identity Server Management Console (
-
Navigate to Main > Identity > Users and Roles > Add.
-
Click Add New User and enter username and password. When adding a new user, use an email address as the username. Since it is not mandatory to assign a role to a user in this tutorial, click Finish.
-
Create a user in Salesforce. This user should have the same email address as the user in WSO2 IS
- Log in to the Salesforce developer account: https://login.salesforce.com/.
- On the left navigation pane, under ADMINISTRATION, click Users under Users.
- On the page that appears, click the New User button to create a new user.
-
Create a user with the same username as the one you created in WSO2 Identity Server. Click Save to save your changes. An email will be sent to the email address you provided for the user.
Note
This is mainly for testing purposes. In a real business scenario, you would be more likely to use Just-In-Time (JIT) provisioning to provision a user to Salesforce.
-
Access your Salesforce login URL on an incognito or private browser.
Info
The salesforce login URL is unique to your Salesforce application. Follow the steps given below to get this URL:
-
Search for My Domain in the search bar that is on the left navigation panel.
-
Click My Domain and you are navigated to the domain you created under the section, Configure Salesforce.
-
Click Edit under Authentication Configurations and you are navigated to a new page having the following URl:
https://<DOMAIN_NAME>/domainname/EditLogin.apexp. -
On the left navigation menu, expand Security Controls, and click, Single Sign-On Settings.
-
Click on the name of the created Single Sign-On Setting. For this example, click SSO.

-
Copy the URL that is defined for Login URL to access Salesforce.
-
-
Log in using the new credentials of the user you just created. You are then redirected back to Salesforce.
Troubleshooting guidelines
Additional troubleshooting information regarding any Salesforce side SSO failures can be retrieved by using Salesforce SAML Assertion Validator. Further information regarding the steps are available here.
Related topics