Configure email OTP for 2-Factor authentication
This page guides you through configuring two-factor authentication for a web application using email OTP as the second factor.
Set up email OTP
Email OTP is not set up on the Identity Server by default. If required, you can set up the email OTP by configuring the email OTP adaptor and the email OTP provider.
This guide section helps you set up email OTP on the identity server.
Setting up email OTP required the following two configurations to be made on the Identity Server:
- Configure email sending module
-
Configure the email OTP provider
You can use any of the following methods to configure the email OTP provider:
-
Identity Server as the email OTP provider
Configure Identity Server as the email OTP provider
To configure the email OTP provider on the IS:
-
Add the following codes to the
deployment.tomlfile found in the<IS_HOME>/repository/conffolder:- To avoid syntax errors.
[server] disable_addressing = true - To configure Email OTP:
[authentication.authenticator.email_otp]
name ="EmailOTP"
enable=true
- To avoid syntax errors.
-
Save the configurations.
-
-
Gmail as the email OTP provider
Configure Gmail as the email OTP provider
Create a Gmail project
- Log in to your Gmail account and go to Google's developer console.
- On the developer console, search for Gmail API and select Gmail API from the search result.
- Click Enable. Once enabled, you will be redirected to the developer console's API/Service details page.
-
Go to the project list and click a NEW PROJECT to create a new project.

-
Enter a Project name and click Create.
- Go to Credentials, click + CREATE CREDENTIALS, and select OAuth client ID.
- Select Web Application as the application type
- Add
https://localhost:9443/commonauthas the Authorized redirect URIs and click CREATE.
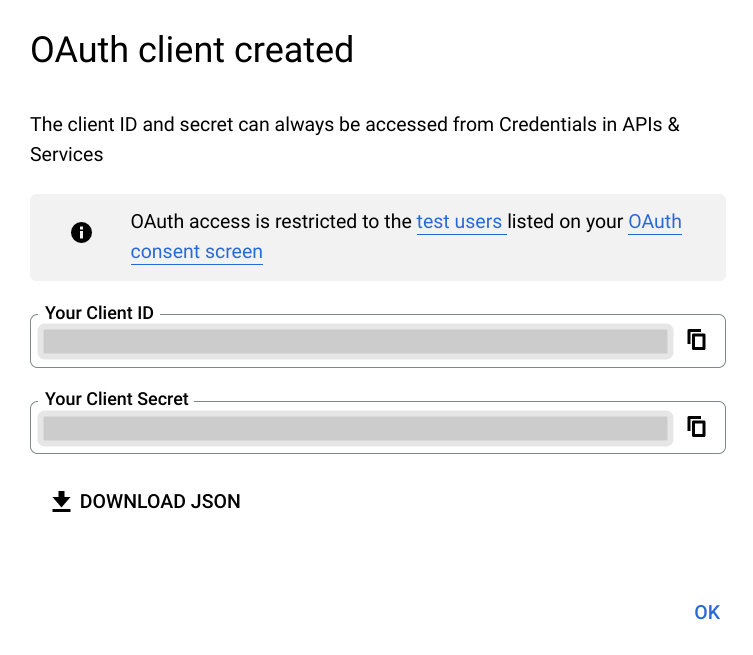
On successful creation, the application's Client ID and the Client Secret will be displayed.
Info
Note down the application's client ID and the client secret you will need in the next section.
Obtain the access token
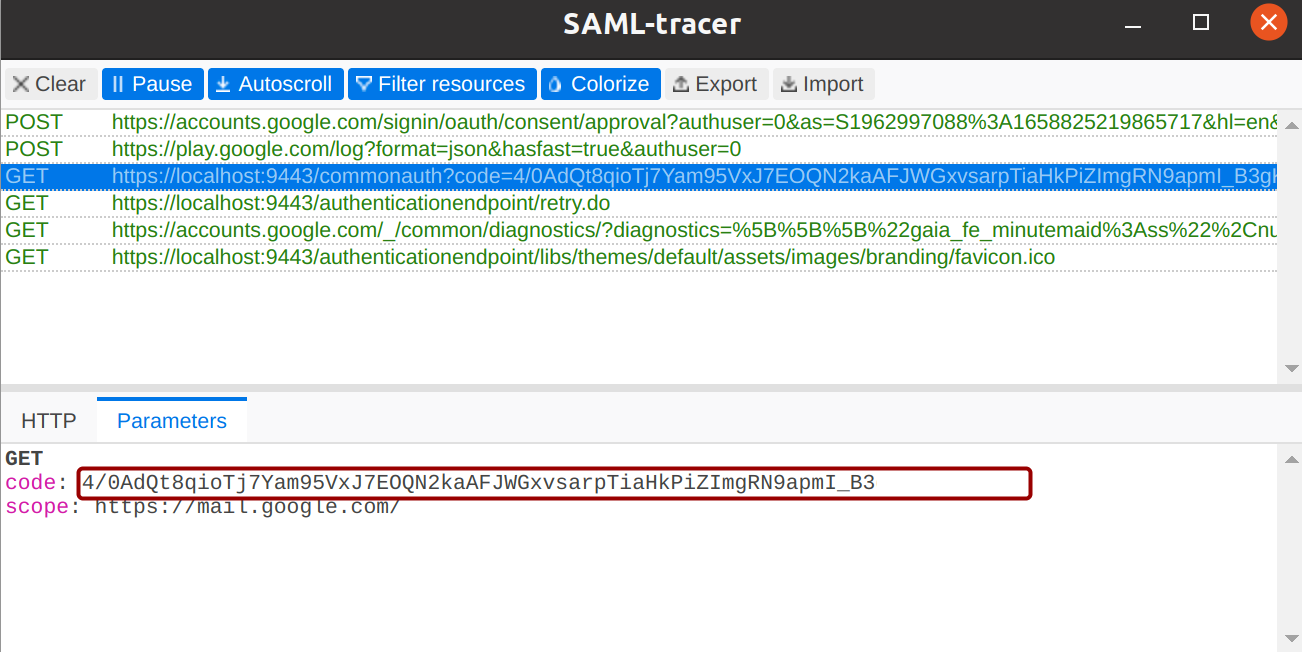
- Add SAML Tracer extension to your browser and open it.
- Access the following URL using a web browser. Replace the
<CLIENT_ID>with the client ID of your Gmail application.https://accounts.google.com/o/oauth2/auth?redirect_uri=https%3A%2F%2Flocalhost%3A9443%2Fcommonauth&response_type=code&client_id=<CLIENT_ID>&scope=http%3A%2F%2Fmail.google.com&approval_prompt=force&access_type=offline - Select the Gmail account you wish to proceed with, and click Continue.
- Click Continue on the consent page while the SAML tracer application is running.
- Get the authorization code from SAML tracer.
- Use the following
cURLcommand to obtain the access token and the refresh token. Replace the<CLIENT-ID>,<CLIENT_SECRET>and the<AUTHORIZATION_CODE>with values obtained in earlier steps.curl -v -X POST --basic -u <CLIENT-ID>:<CLIENT_SECRET> -H "Content-Type: application/x-www-form-urlencoded;charset=UTF-8" -k -d "grant_type=authorization_code&code=<AUTHORIZATION_CODE>&redirect_uri=https://localhost:9443/commonauth" https://www.googleapis.com/oauth2/v3/token - Take note of the access token and the refresh token.
Update IS configurations
-
Add the following codes to the
deployment.tomlfile found in the<IS_HOME>/repository/conffolder, and update the<gmail_client_id>,<gmail_client_secret>,<refresh_token>and<mail_address>.[authentication.authenticator.email_otp] name = "EmailOTP" enable= true [authentication.authenticator.email_otp.parameters] GmailClientId = "<gmail_client_id>" GmailClientSecret = "<gmail_client_secret>" GmailRefreshToken = "<refresh_token>" GmailEmailEndpoint = "https://www.googleapis.com/gmail/v1/users/<mail_address>/messages/send" accessTokenRequiredAPIs = "Gmail" GmailAuthTokenType = "Bearer" GmailTokenEndpoint = "https://www.googleapis.com/oauth2/v3/token" -
Save the configurations and restart the server.
-
-
Add the email template
After configuring the email OTP provider of your choice, you need to add an email template for email OTP.
To configure the email template:
-
Add the following email template to the
email-admin-config.xmlfile found in the<IS_HOME>/repository/conf/email.<configuration type="EmailOTP" display="EmailOTP" locale="en_US" emailContentType="text/html"> <targetEpr></targetEpr> <subject>WSO2 IS Email OTP</subject> <body> Hi, Please use this one-time password {OTPCode} to sign in to your application. </body> <footer> Best Regards, WSO2 Identity Server Team http://www.wso2.com </footer> <redirectPath></redirectPath> </configuration> -
Save the configurations and restart the server.
-
Enable email OTP for an SP
To enable email OTP for MFA, you need to configure the email OTP as an authenticator and add it to the authentication flow of the application.
Prerequisites
- You need to set up the sample application
- You need to configure local claims for the application:
- On the management console, go to the application you created and click Edit
- Expand Claim configuration.
- Select
http://wso2.org/claims/emailaddressas the Subject Claim URI. - Click Update to save the configurations.
- You need to update the User Profile of the users with an email address to which the user will receive the OTP.
- You need to register an Identity Provider named
emailOTP.
Configure the Email OTP authenticator
To configure the Email OTP authenticator:
- On the management console, go to Identity Providers > List.
- Click on Edit corresponding to the
emailOTPidentity provider. - Expand Federated Authenticators > Email OTP Configuration.
-
Enable the Email OTP authenticator by selecting the Enable option provided.

Info
- If you have configured an external email OTP provider, enter the provider's name in the Email API. Example:
GmailorSendGrid. - If you have used IS as the email OTP provider, you can leave this field blank.
- If you have configured an external email OTP provider, enter the provider's name in the Email API. Example:
-
Click Update to save the configurations.
Configure email OTP as the second factor
To configure email OTP as the second authentication factor:
-
On the management console, go to Main > Identity > Service Providers > List.
-
Click Edit on the
saml2-web-app-pickup-dispatch.comservice provider. -
Expand the Local and Outbound Authentication Configuration section and click Advanced Configuration.
-
You will be redirected to Advanced Configuration.
-
Click + Add Authentication Step twice to add two authentication steps.
-
Select the following authentication methods from the relevant dropdowns and click + Add Authenticator.
Authentication step Local Authenticator Federated Authenticator First step Username & PasswordN/A Second step N/A emailOTP -
Click Update to save the configurations.
Try it out
-
Access the following sample Pickup Dispatch application URL:
http://localhost.com:8080/saml2-web-app-pickup-dispatch.com -
Click Login and enter admin's credentials.
-
You will now be prompted to enter an email OTP code. The email OTP will be sent to the email address configured on the user's profile.
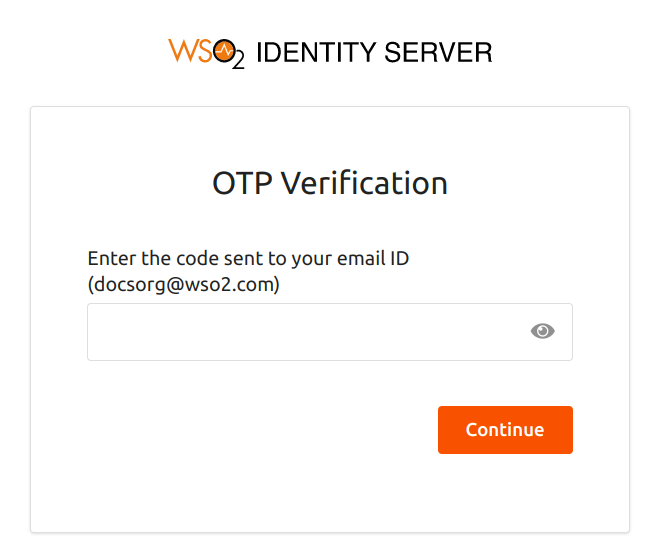
-
Enter the email OTP received, and click Continue.
You will now be logged into the application successfully.
Top