reCAPTCHA
reCAPTCHA is a service provided by Google that can be used for protection against spam or other forms of internet abuse by distinguishing human and automated requests. Currently, Identity Server supports reCAPTCHA v3 and invisible reCAPTCHA v2.
Choosing the type of reCAPTCHA
reCAPTCHA v2 (Invisible reCAPTCHA)
The invisible reCAPTCHA badge does not require the user to click a checkbox; instead, it is activated when the user clicks on an existing button on your site or via a JavaScript API call. Only the most suspicious traffic will be prompted to solve a captcha.
reCAPTCHA v3
With the reCAPTCHA v3, a score is returned for each request without requiring user interaction. It allows you the ability to take action inside the context of your website, such as adding more authentication factors, flagging a post for moderation, or slowing down scraping bots.
In the Identity Server implementation, you are required to select a threshold value by looking at the traffic at reCAPTCHA admin console. If the score is less than the threshold, the request will be blocked by the server. The default value for the threshold is 0.5.
Note
Since reCAPTCHA v3 learns from "actual traffic," the scores may vary between the development and production environments.
The following section guides you through setting up reCAPTCHA with WSO2 Identity Server.
Configure reCAPTCHA API keys
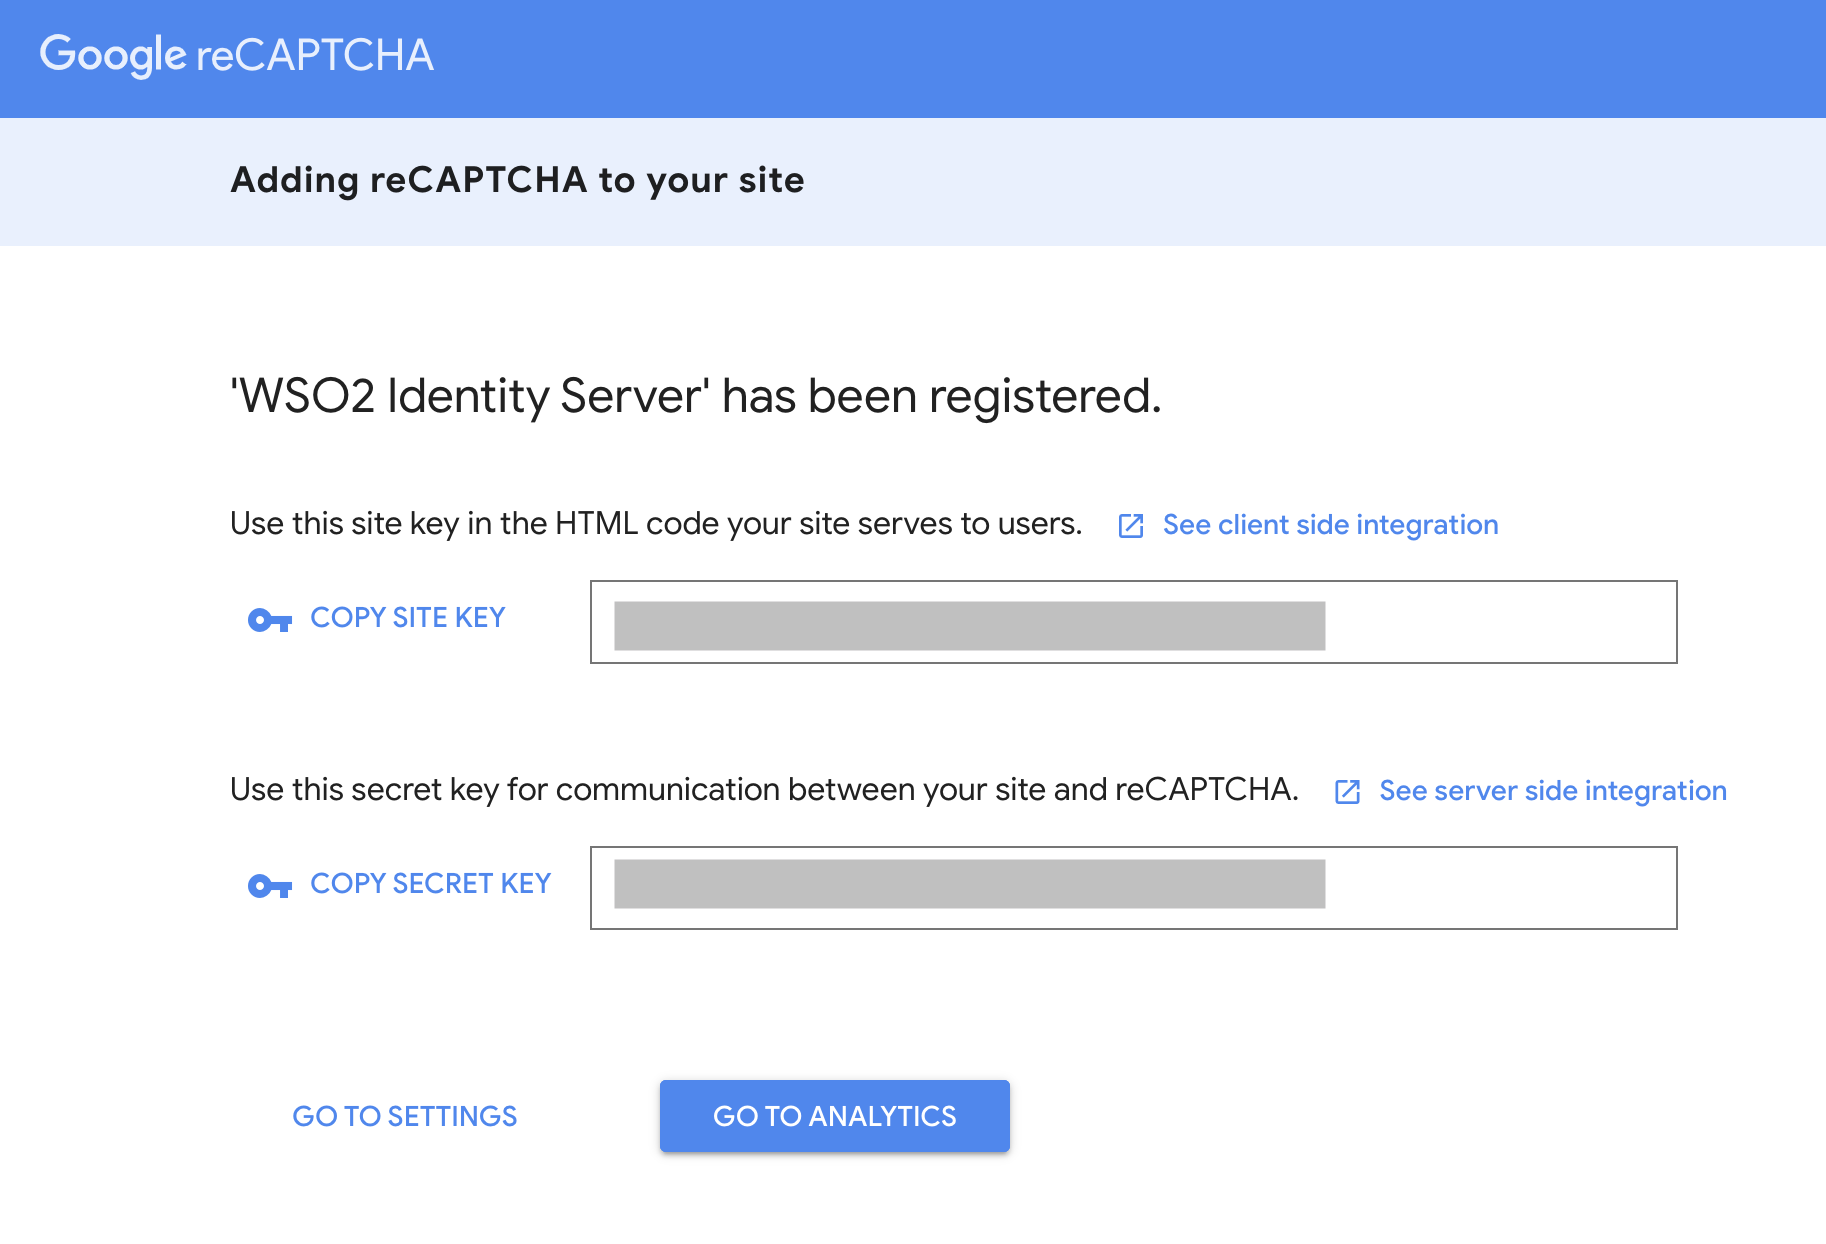
First, you need to register and create an API key pair for the required domain. The key pair consists of a site key and secret key. The site key is used to invoke reCAPTCHA on a page. A new parameter called g-recaptcha-response is embedded to the request when user submits. From the server side, you can verify the submitted captcha response by calling the Google API with the secret key.
-
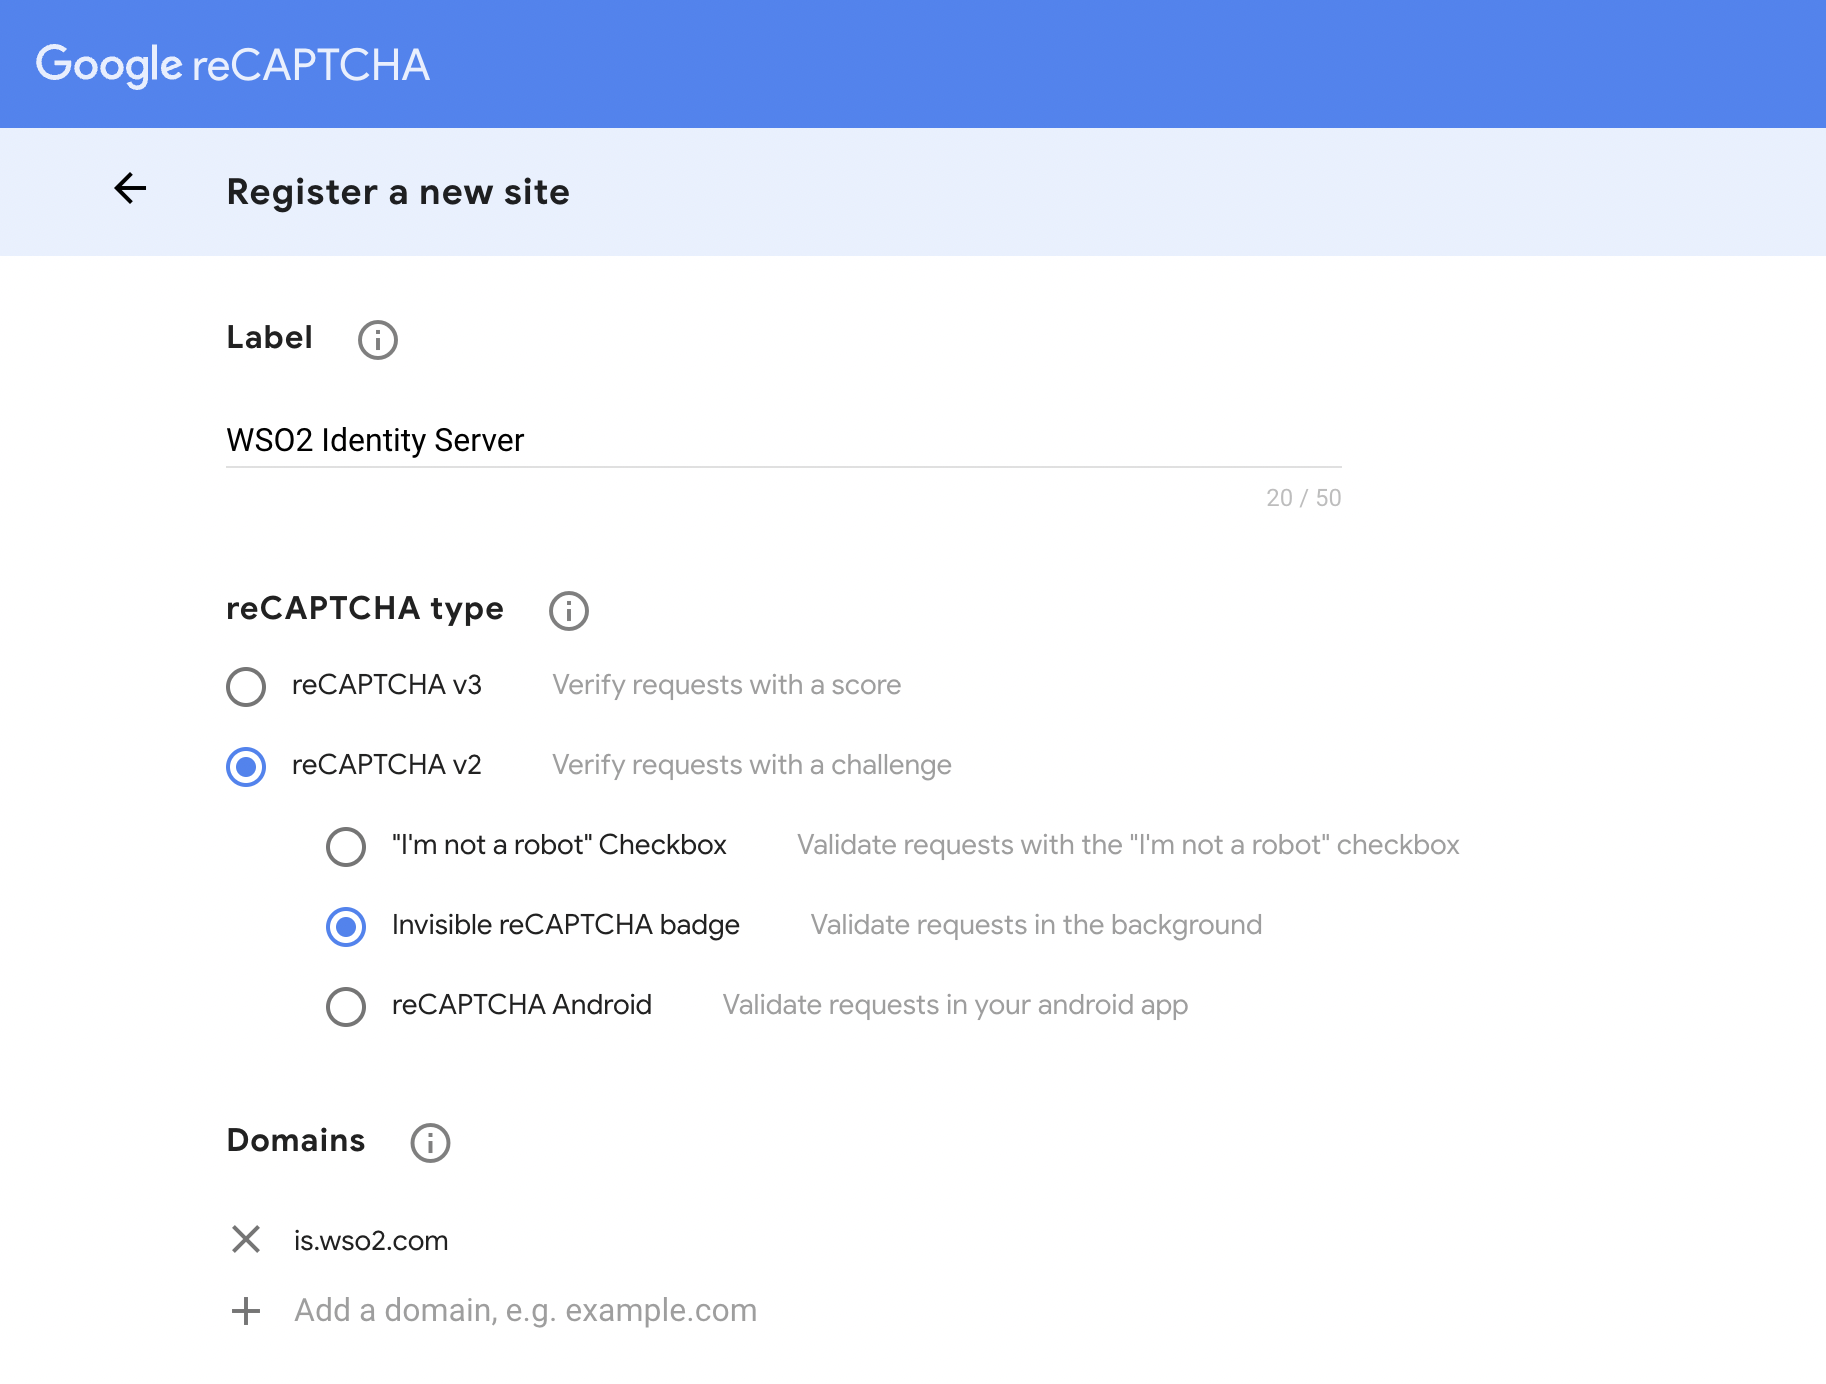
Fill in the fields to register your identity server domain and click Register. The following are sample values:
- Label: WSO2 Identity Server
- Select either invisible reCAPTCHA V2 or reCAPTCHA V3 option.
- Domains: is.wso2.com
-
Accept the terms of service.
-
Click Submit.
-
Take note of the site key and secret that you receive.
Configure reCAPTCHA in WSO2 IS
-
Open the
deployment.tomlfile located in the<IS_HOME>/repository/conf/directory and uncomment the following configuration block to Google reCAPTCHA settings. The values copied when configuring reCAPTCHA API keys should be added for thesite_keyandsecret_keyproperties.[recaptcha] enabled = true api_url = "https://www.google.com/recaptcha/api.js" verify_url = "https://www.google.com/recaptcha/api/siteverify" site_key = "" secret_key = ""Note
If you are using reCAPTCHA v3, you can set a custom
thresholdvalue for score. It should be value between 0 and 1. The default value is 0.5.threshold="0.5"Note
If you have additional authorization endpoints, you need to include the
login.doURL paths of these endpoints. Here, URL paths are the URLs without the host parameters. The URL paths should be comma seperated. Theredirect_urlsshould be added as a property of[recaptcha]in thedeployment.tomlfile.redirect_urls="url1_path,url2_path"Below is an example of how to include the URL paths of additional authorization end points.
redirect_urls="/authenticationendpointone/login.do,/authenticationendpointtwo/login.do" -
Restart the WSO2 IS server.
Enable reCAPTCHA globally for all configurations
If you want to enable reCAPTCHA globally for all the workflows, the forcefully_enabled_for_all_tenants should be added as a property of [recaptcha] in the deployment.toml file.
[recaptcha]
forcefully_enabled_for_all_tenants=true