Configure Twitter as a Federated Authenticator
This page guides you through configuring Twitter as a federated authenticator in WSO2 Identity Server.
Set up a Twitter app
Note
You can skip this section if you have already registered your application on Twitter.
-
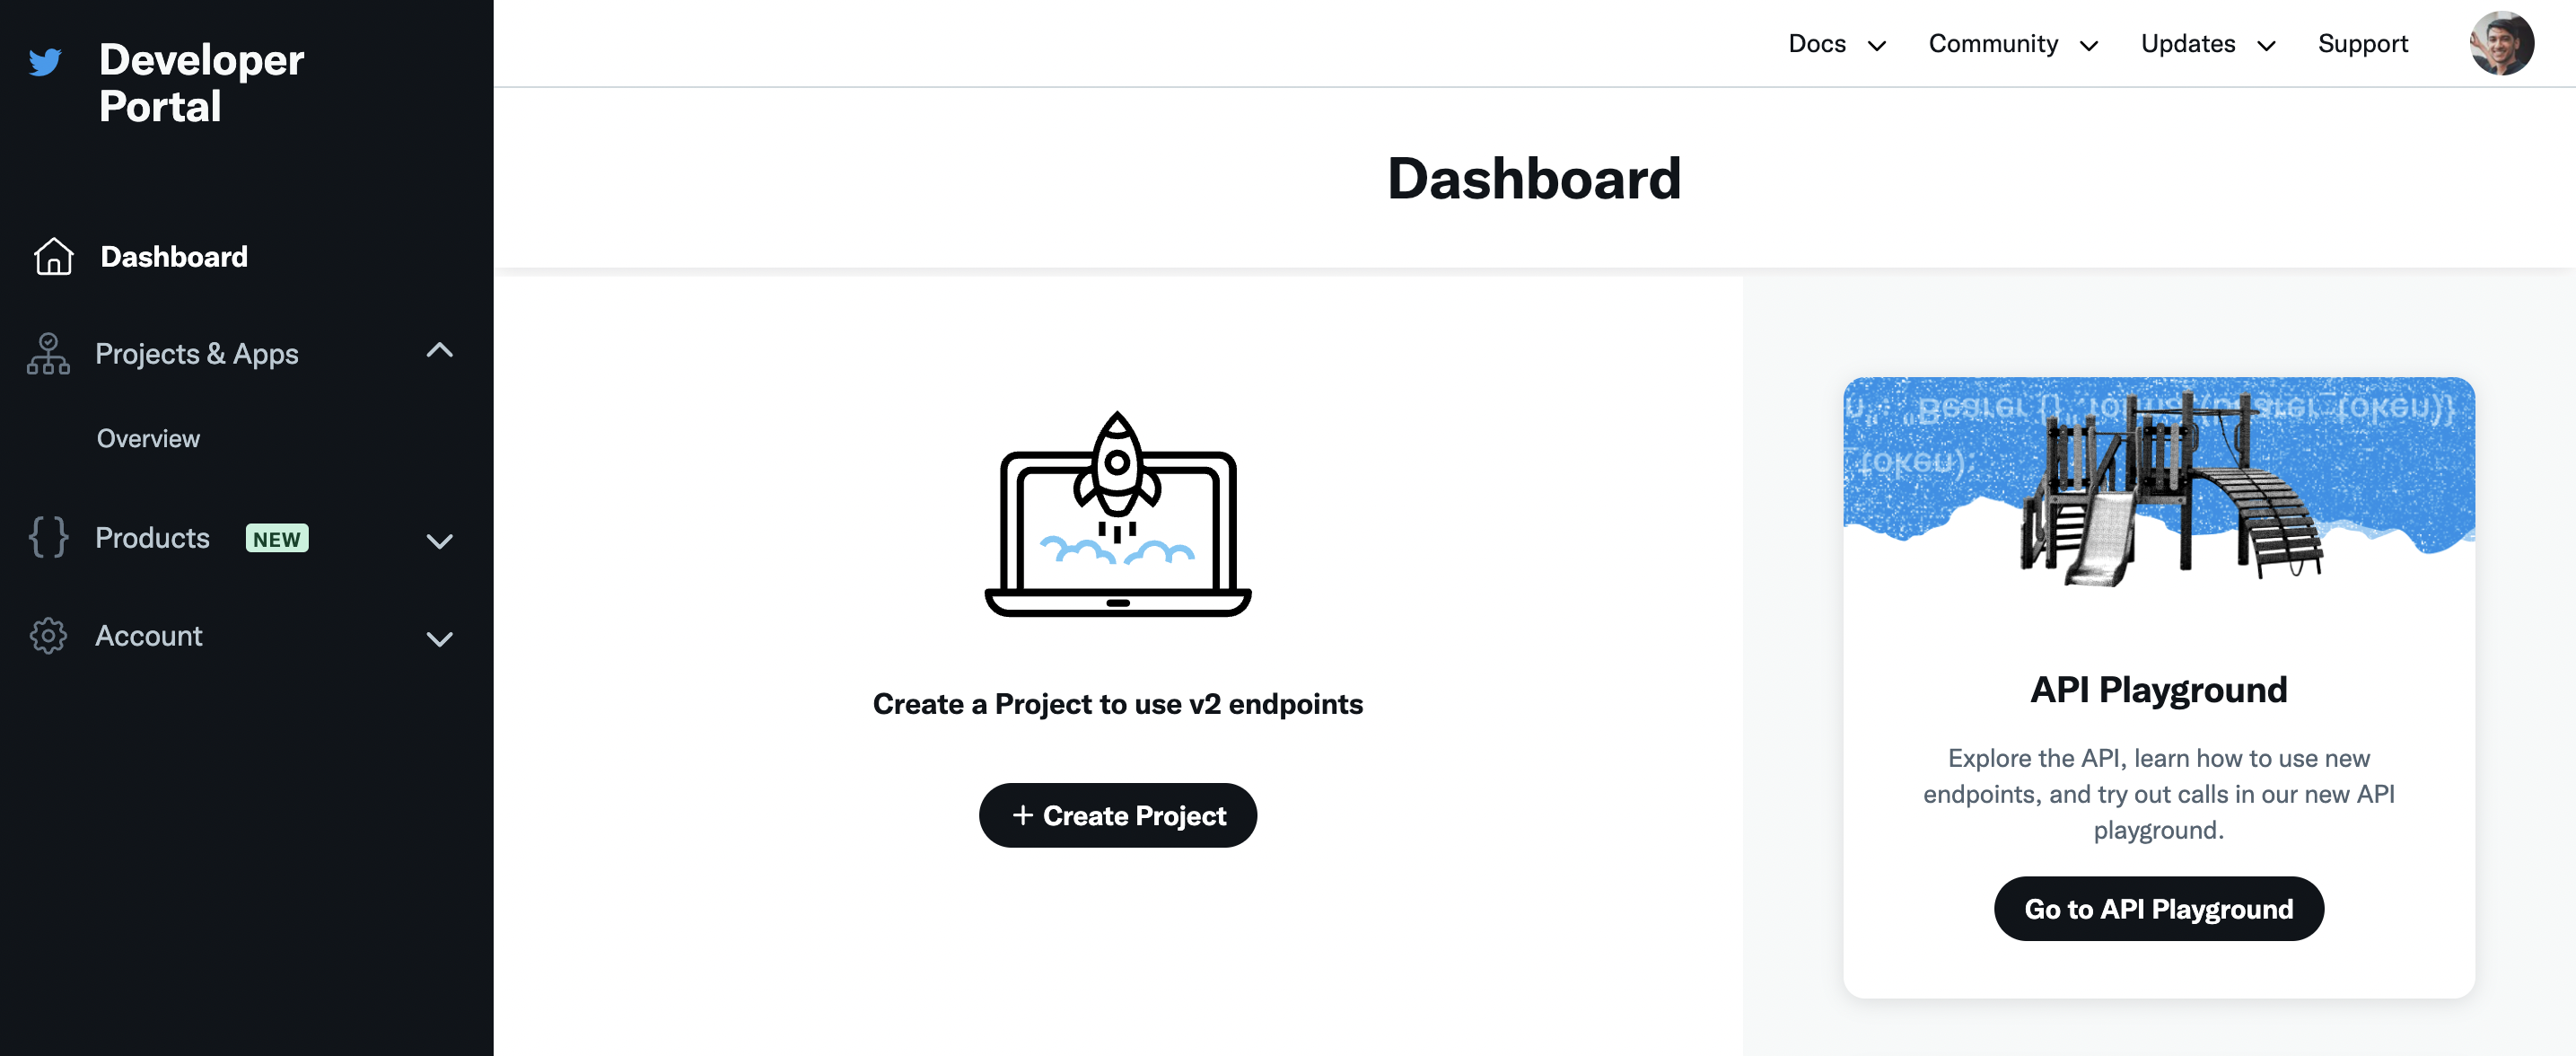
Log in to https://developer.twitter.com/ using your Twitter credentials.
-
Click Create project and set up your project.
-
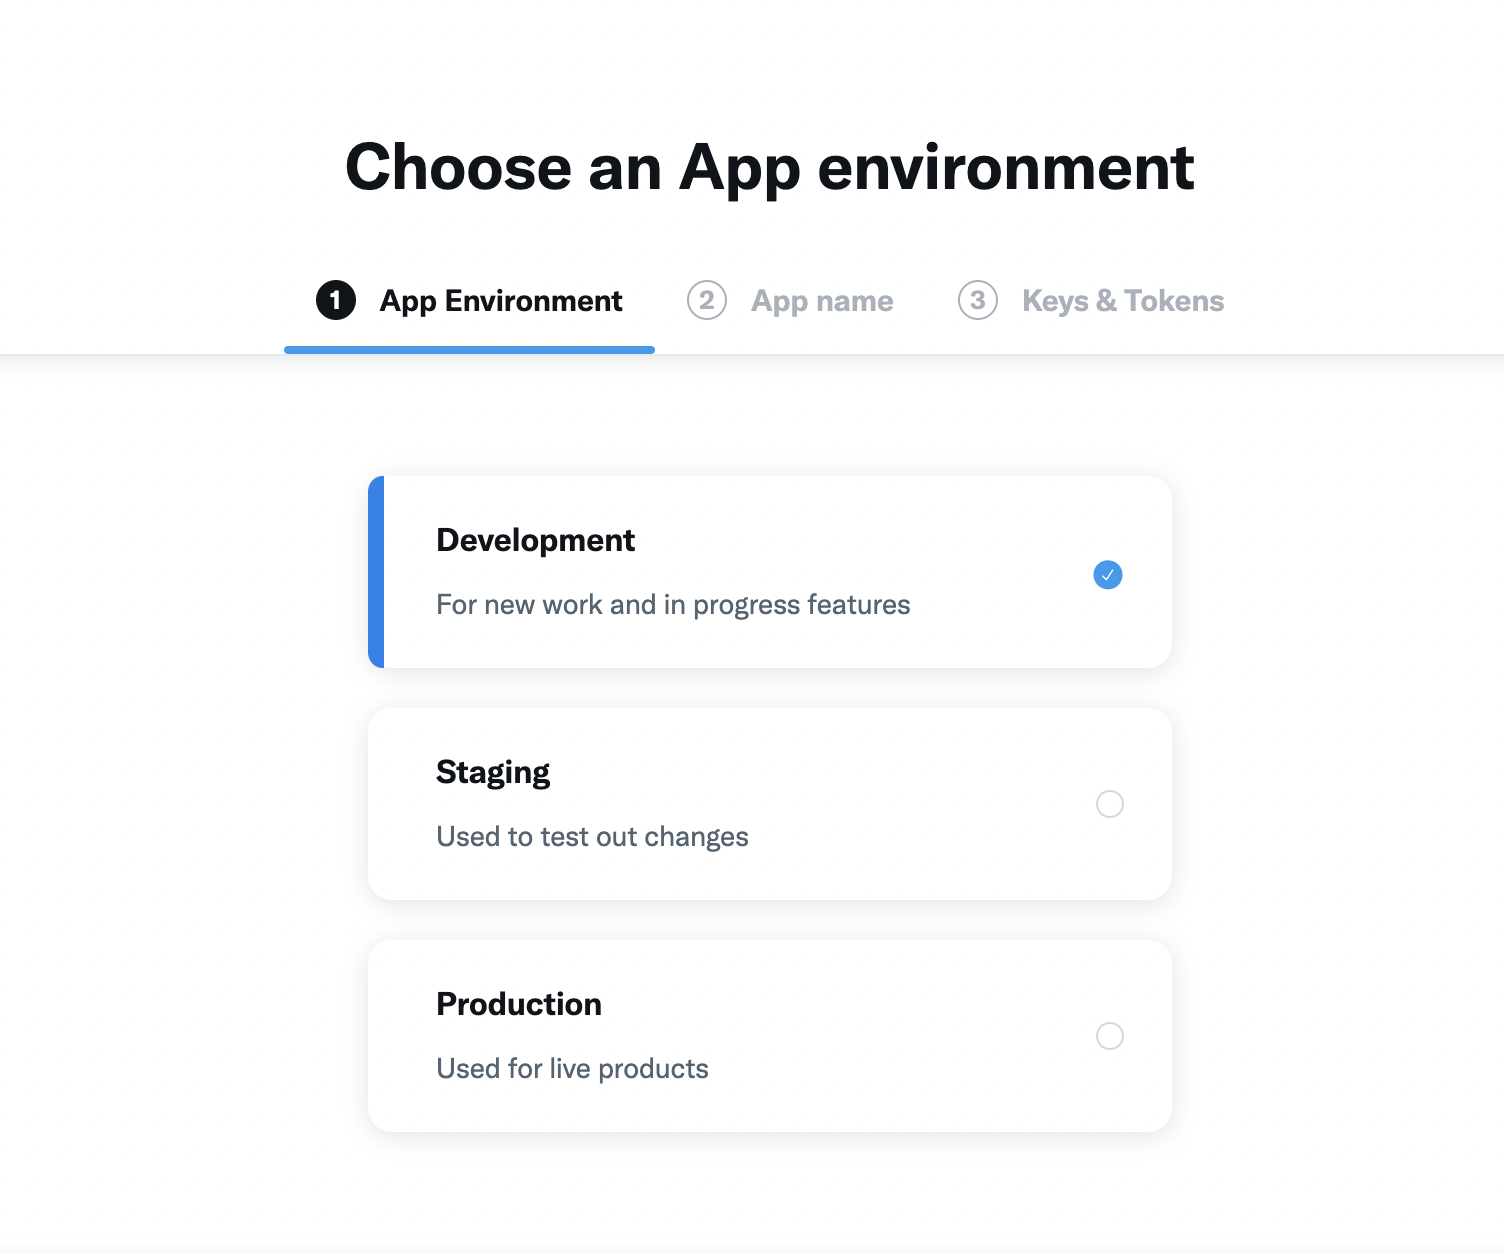
In App Set Up, follow the steps given below.
-
Select your preferred App Environment.
-
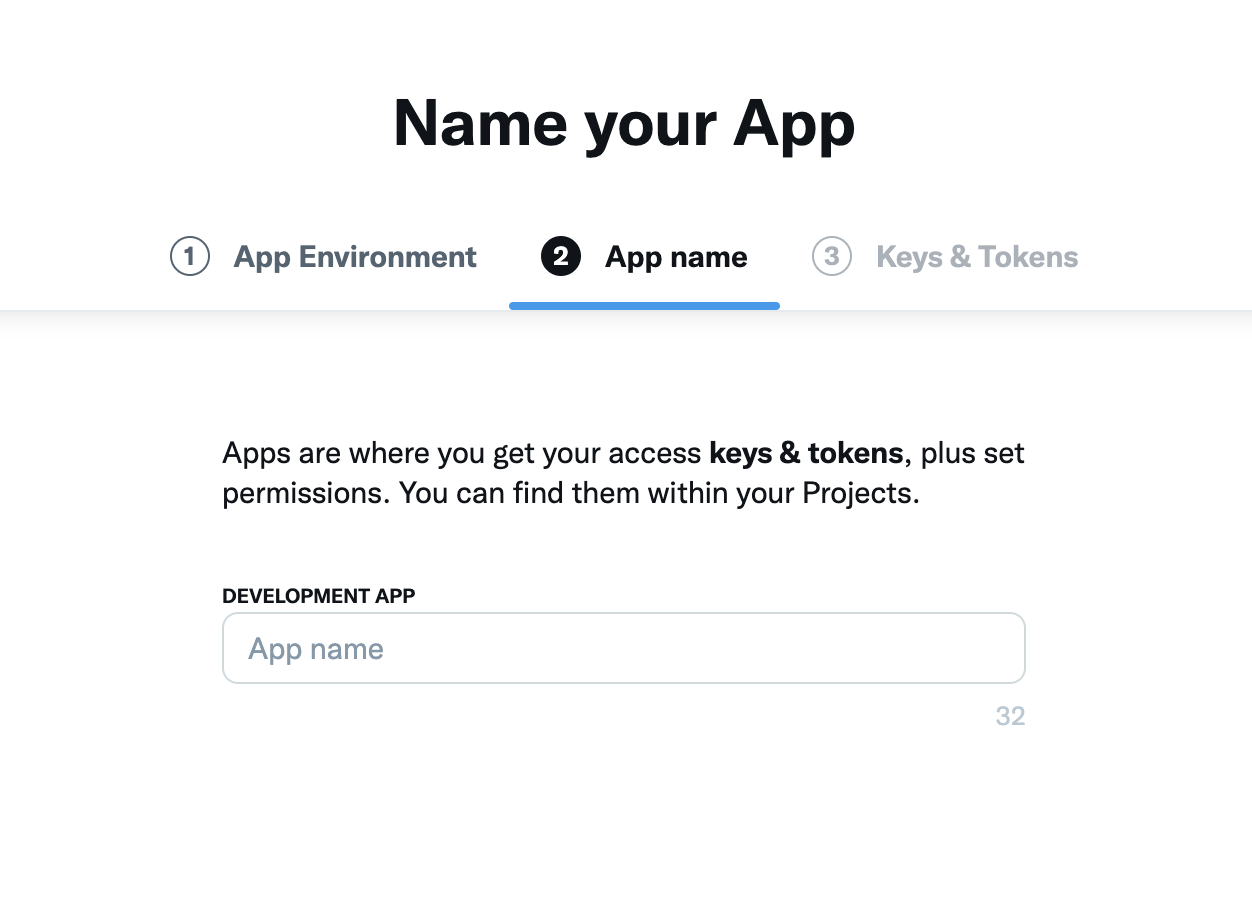
Set an App Name.
-
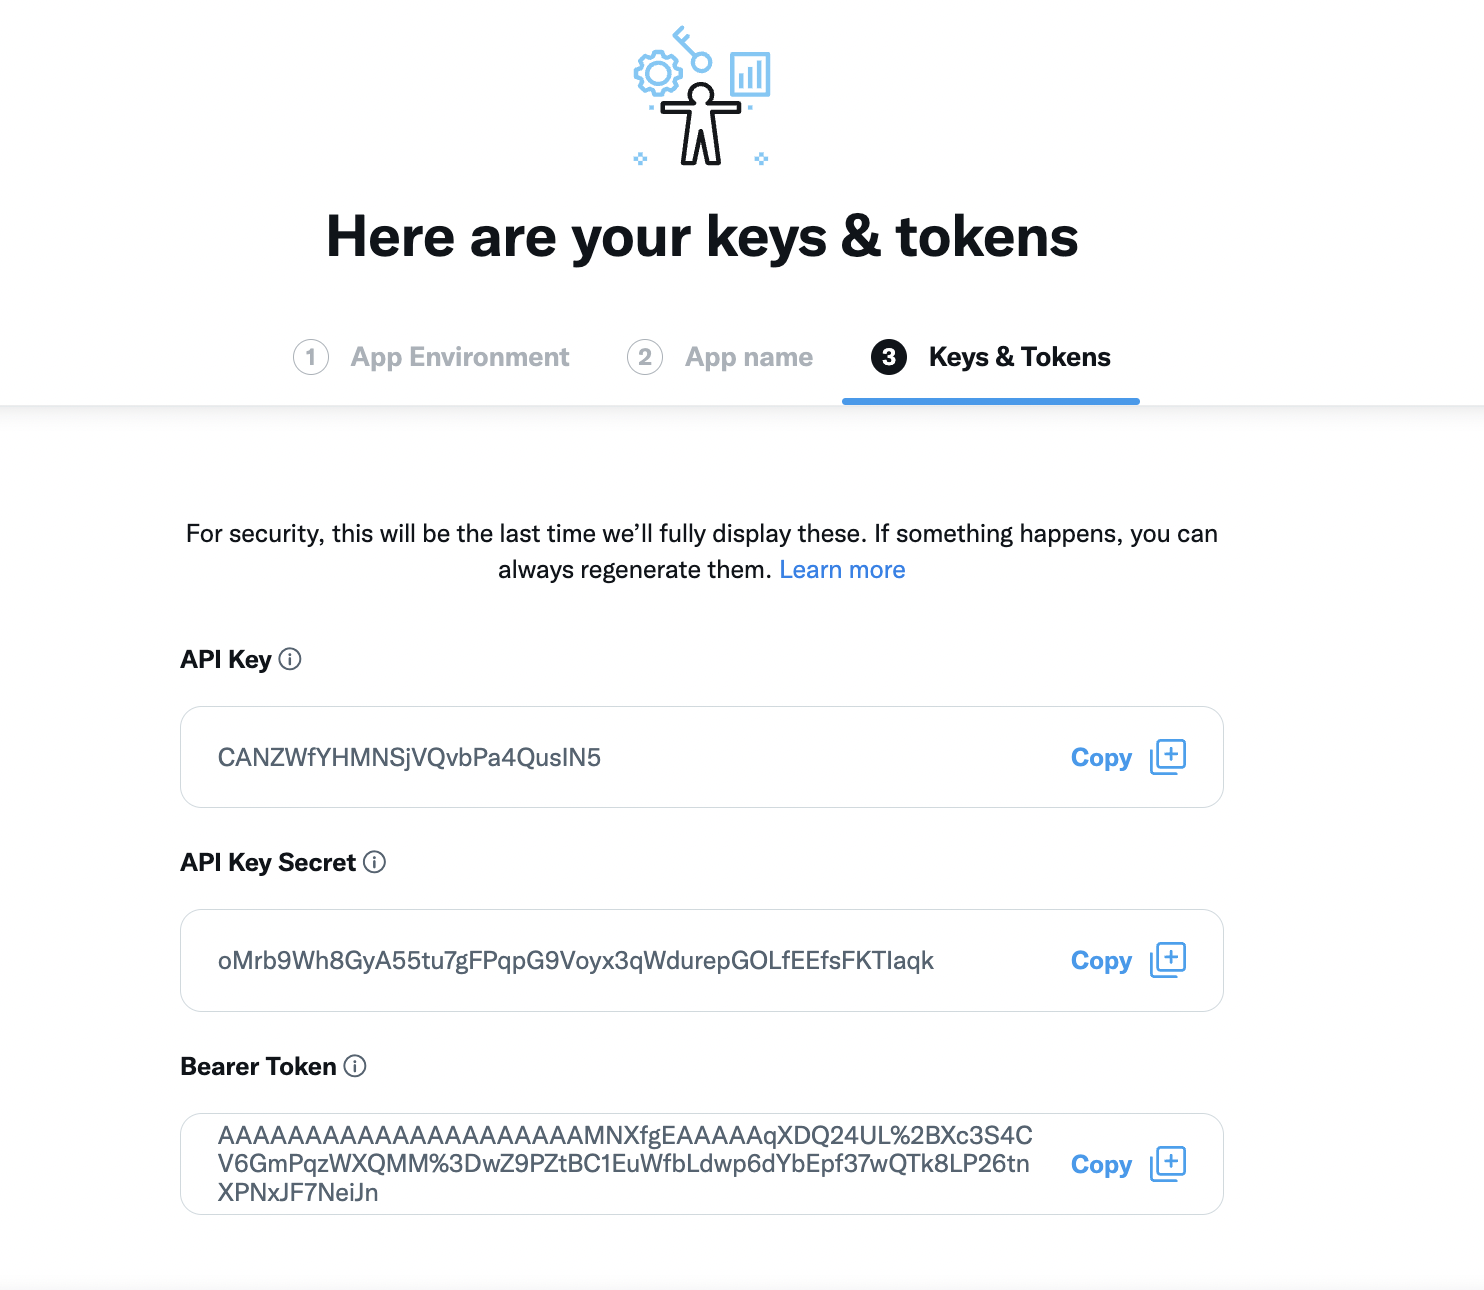
Take note of the client ID and client secret of the application.
-
-
Click App Settings at the bottom of the page.
-
Click Set up under User Authentication Settings.
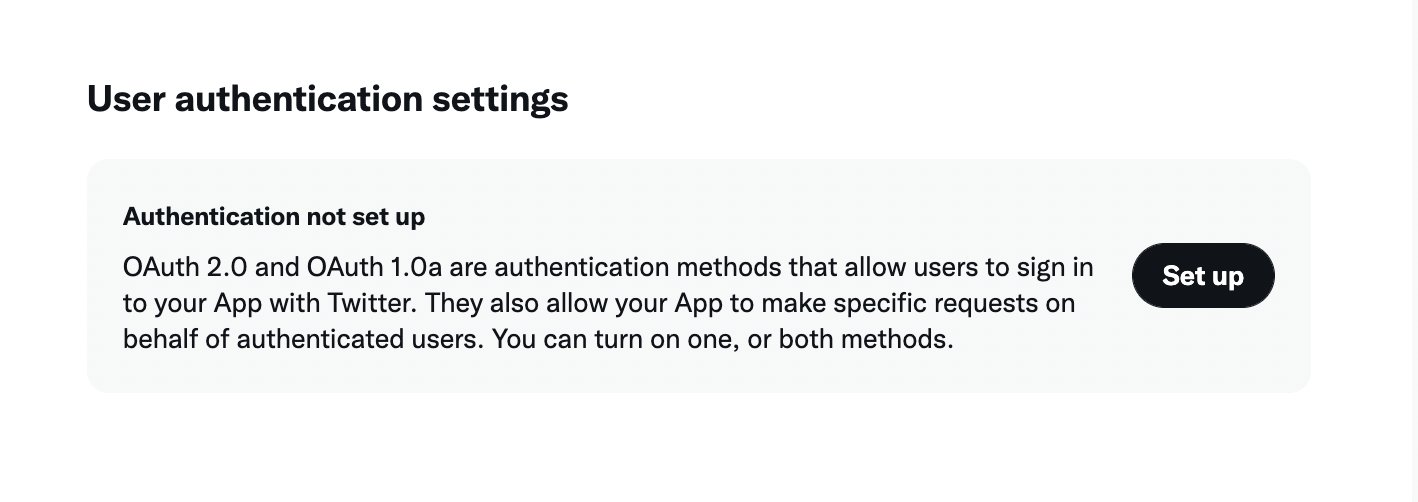
-
Fill in the user authentication details with the following values.
- Enabled OAuth 2.0
- Type of app - Web app
- Callback URI / Redirect URL -
https://localhost:9443/commonauth - Website URL -
http://localhost.com:8080/pickup-dispatch/home.jsp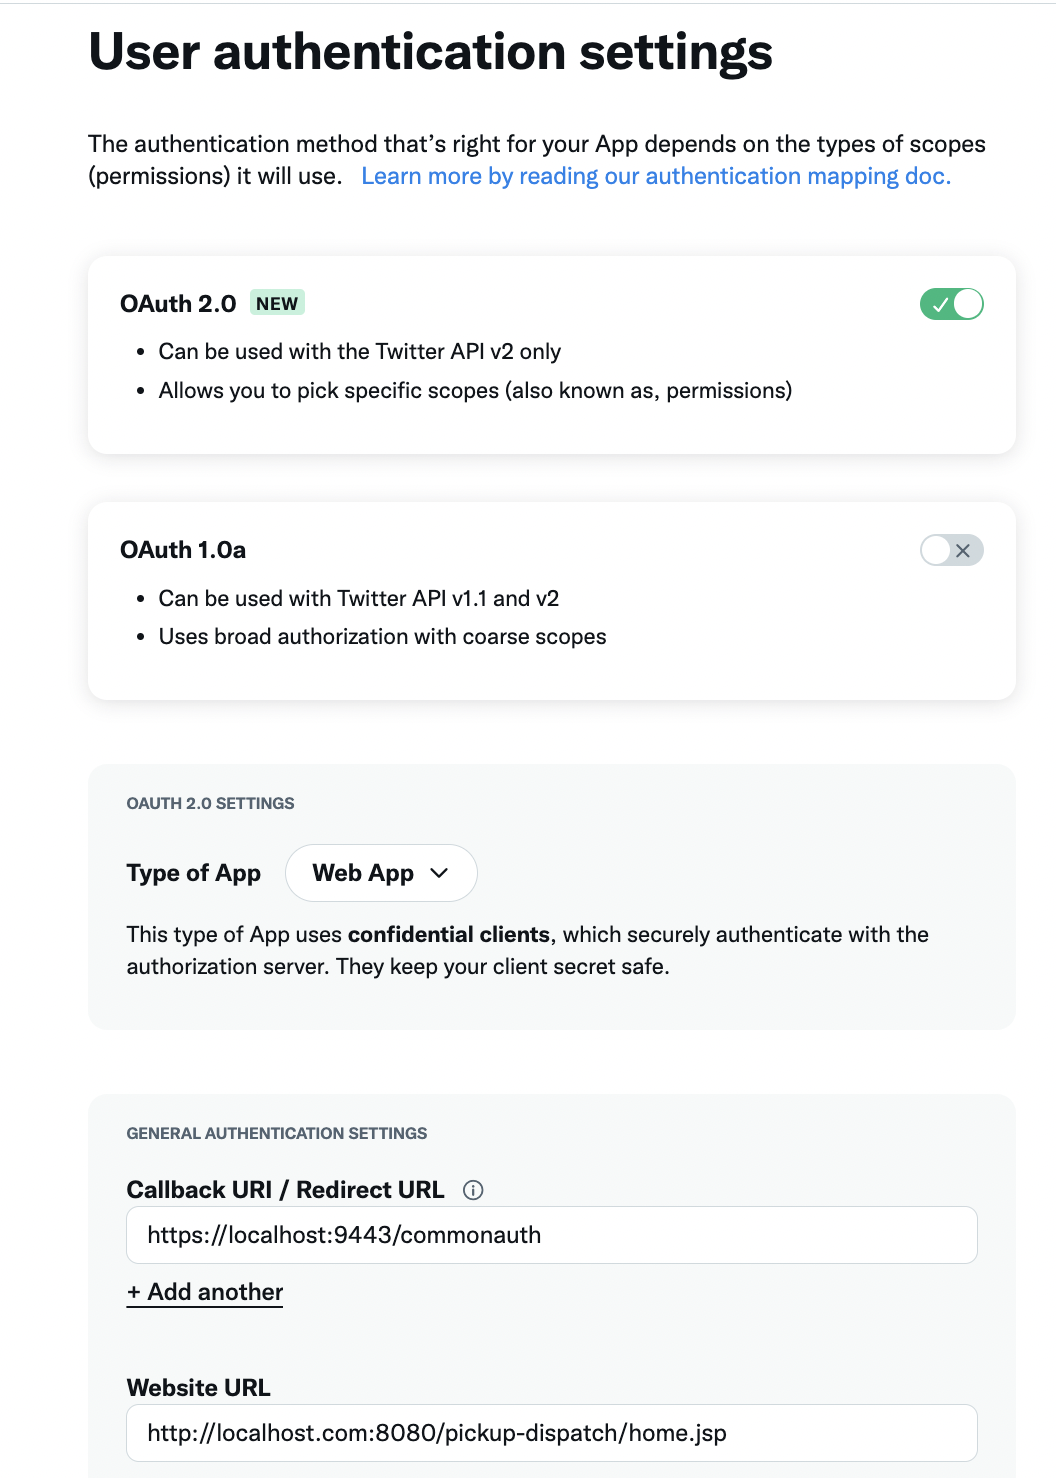
-
Click Save.
- The OAuth client key and secret presented by Twitter is not required in this flow.
-
You have now set up your Twitter application.
Register an identity provider
-
Log in to the Management Console(
https://<IS_HOST>:<PORT>/carbon) using admin/admin credentials. -
Navigate to Main > Identity > Identity Providers > Add.
-
Enter an Identity Provider Name, Display Name, and Description.
-
Expand Twitter Configuration under Federated Authenticators .
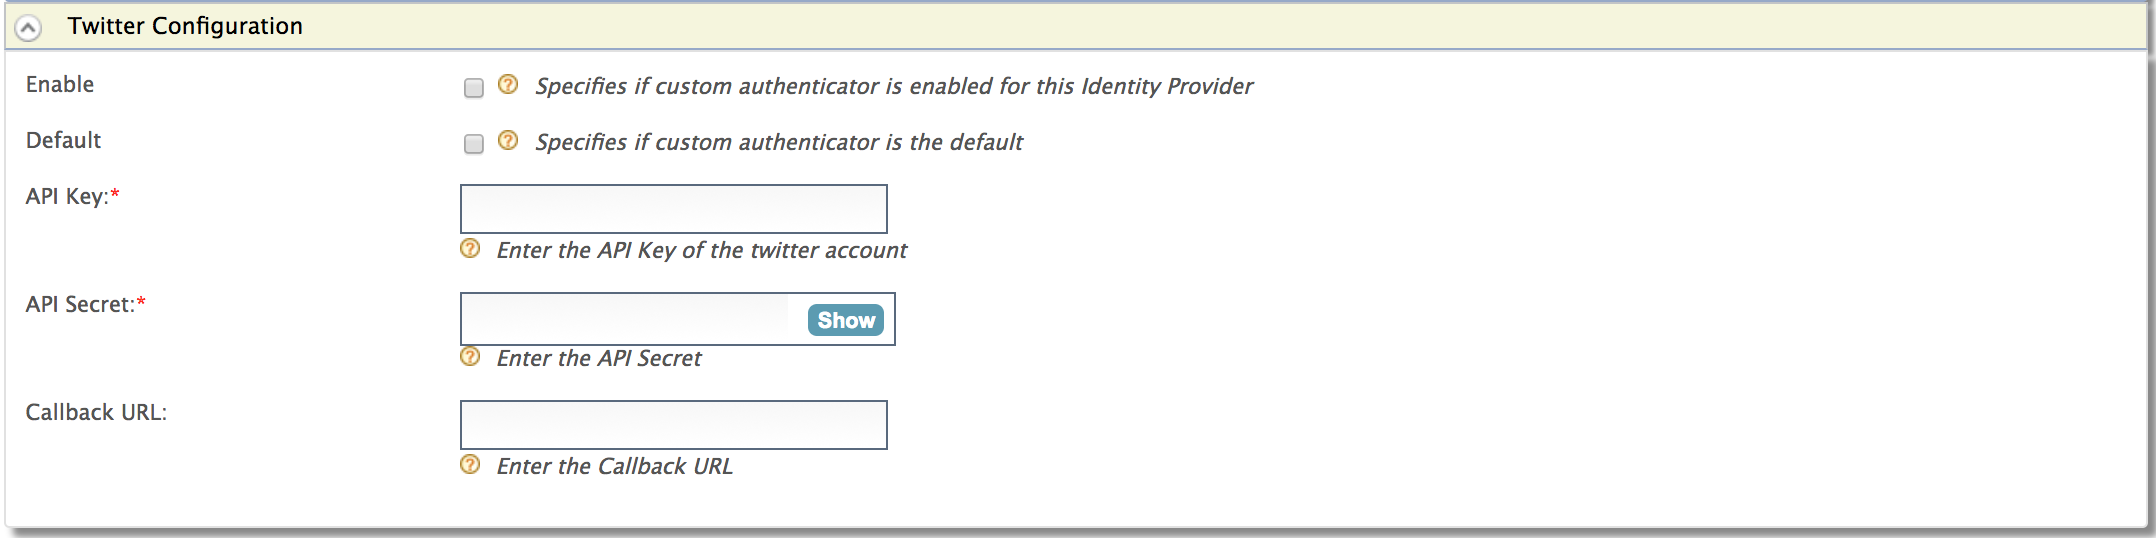 Fill in the following fields details according to the application created above.
Field Description Sample Value Enable This option enables Twitter to be used as an authenticator for user provisioned to the WSO2 Identity Server. Checked Default This options sets the Twitter to be used as the default authentication mechanism. If you have already selected any other Identity Provider as the default federated authenticator, selecting this option deselects it. Checked API Key This is the consumer keygenerated at the Twitter application registration.wuerRmdgwlqX0oE1WNDdsh17oAPI Secret This is the consumer secretgenerated at the Twitter application registration.771tqnkpcbRyTBSCRQvVud1x8j1uQlCDpNZo3hRG0s4cEtsFkyCallback URL This is the Callback URL you entered at the Twitter application registration. This is the URL to which the browser should be redirected after the authentication is successful.
URL format:
https://<host-name>:<port>/acsThe acs indicates the Assertion Consumer Service URL of the WSO2 Identity Server endpoint that accepts the responses sent by Twitter.
https://wso2.com:9443/commonauth -
Click Register.
Configure the service provider
To register your application as a service provider in the WSO2 Identity Server:
-
Log in to the WSO2 Identity Server Management Console using administrator credentials.
-
Go to Main > Identity > Service Providers > Add.
-
Enter a Service Provider Name. Optionally, enter a Description.
-
Click Register.
-
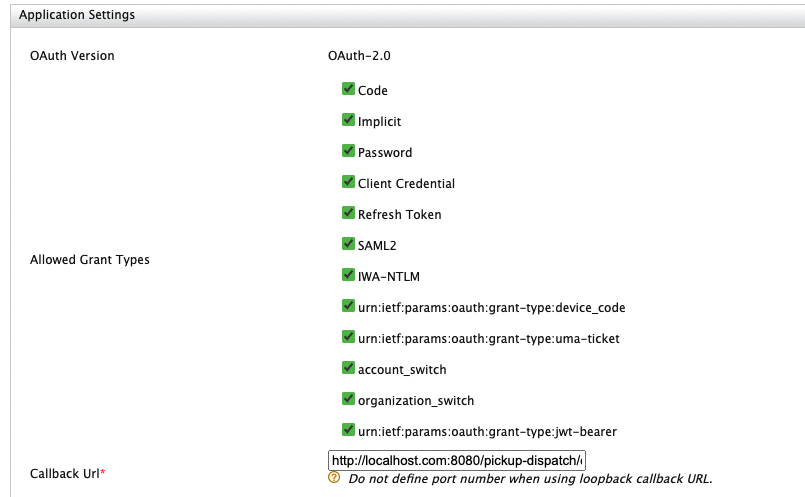
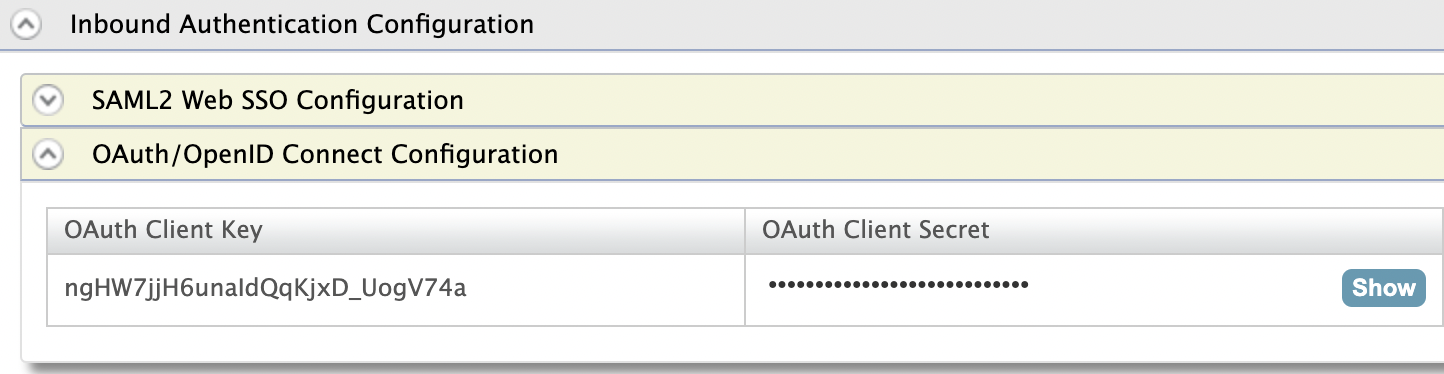
In the Inbound Authentication Configuration section, click Configure under the OAuth/OpenIDConnect Configuration section and set the configurations as required.
-
Configure the Callback URL of the sample application (
http://localhost.com:8080/pickup-dispatch/oauth2client).
-
Keep the other configurations as default and click Add
-
Click Register. Now you will be sent back to the Service Providers page.
- Take a copy of the OAuth Client Key and the OAuth Client Secret for later usages
-
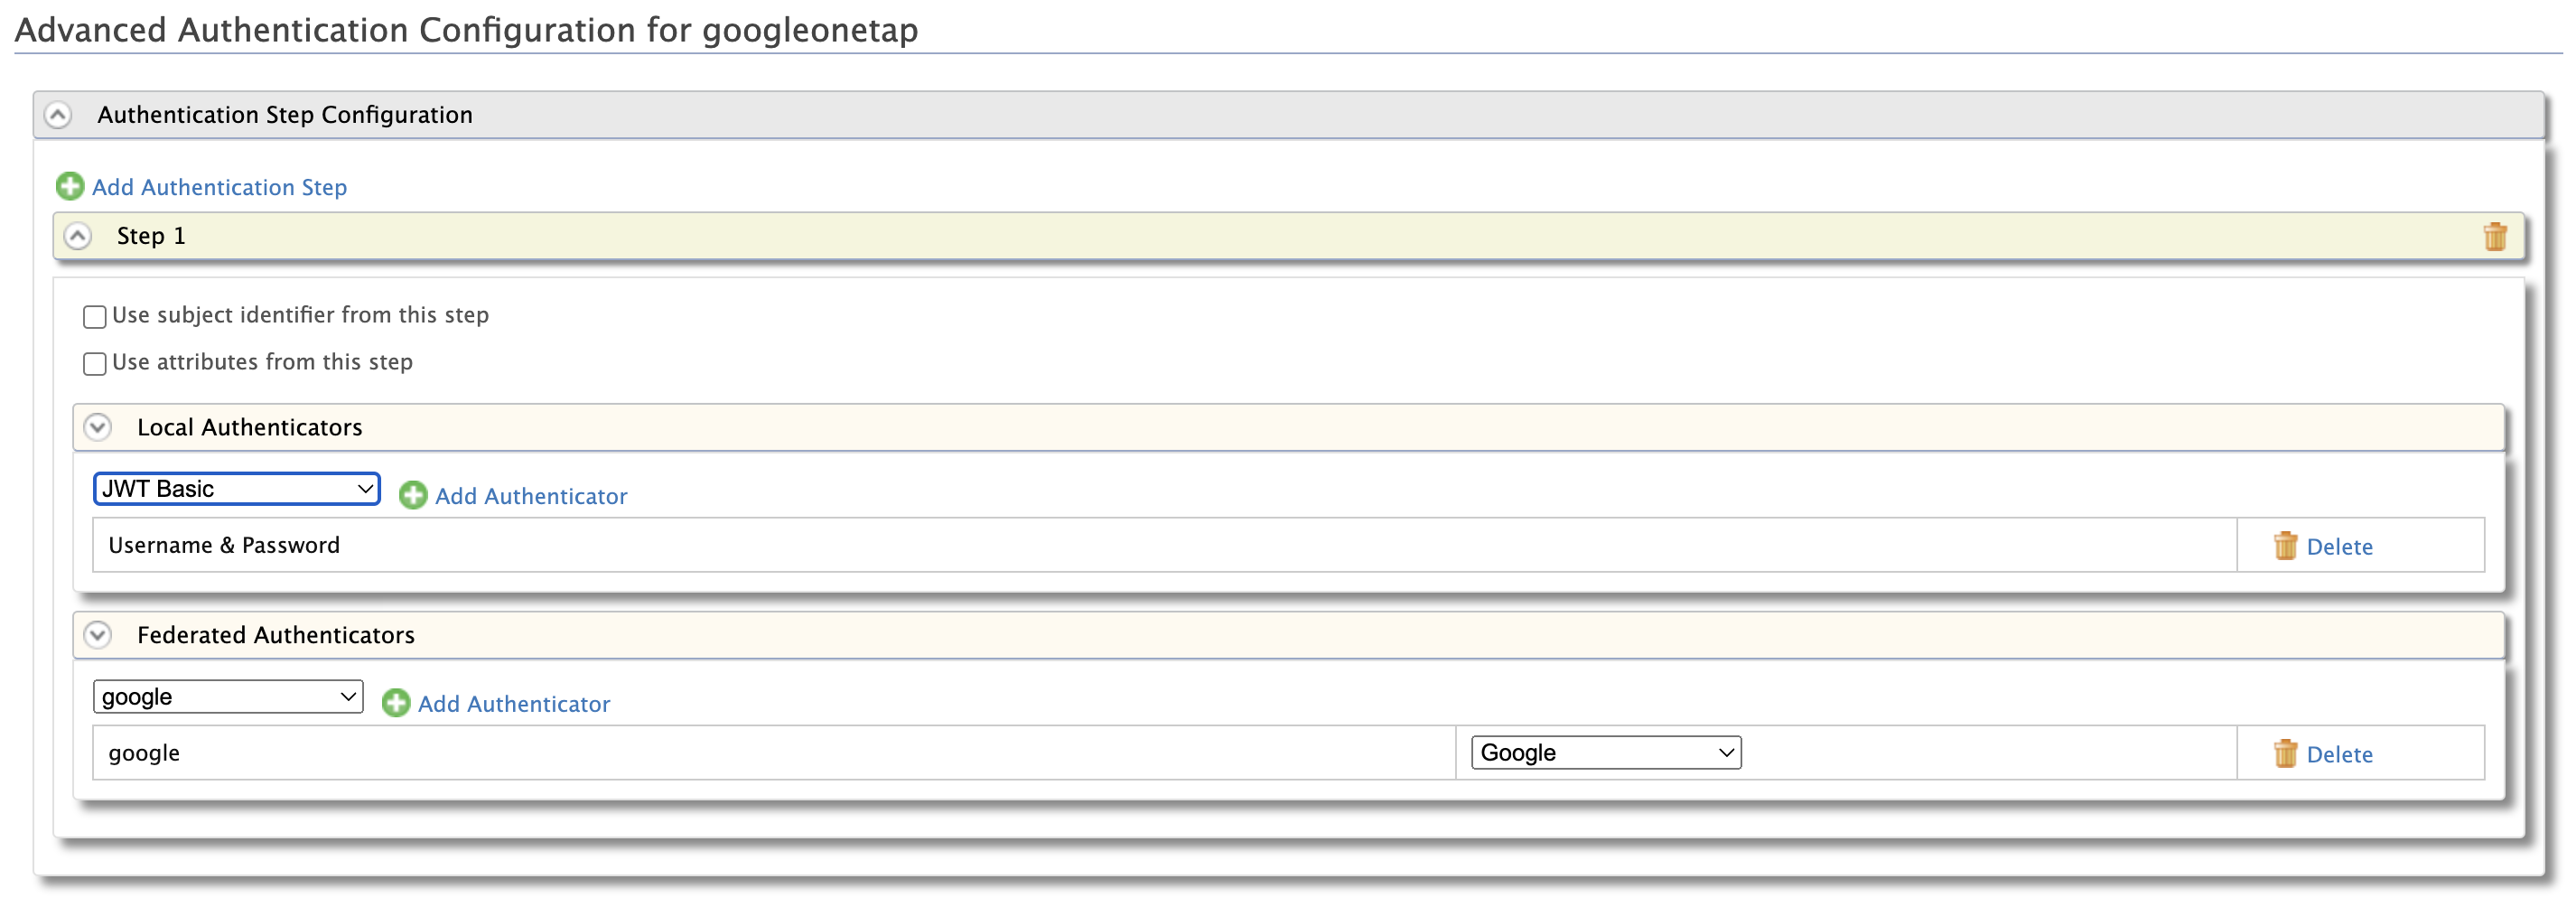
Go to the Local and Outbound Authentication Configuration section.
-
For Authentication Type, select Federated Authentication and select the Identity Provider you created from the dropdown list under Federated Authentication.
-
Click Update to save the changes.
You have now added and configured the service provider.
Try it
You have successfully configured Twitter as your federated authenticator. Now, when you try to log in to your application, it should redirect to the Twitter login page. On successful authentication with your Twitter credentials, you will be able to access your application.
Set up the sample app
-
Download Apache Tomcat 9.x from here and install. Tomcat server installation location will be referred as
<TOMCAT_HOME>later in this guide. -
It is recommended that you use a hostname that is not
localhostto avoid browser errors. Modify the/etc/hostsentry in your machine to reflect this. Note thatwso2is.localis used in this documentation as an example, but you must modify this when configuring the authenticators or connectors with this sample application. -
Download the sample from GitHub.
- Navigate to WSO2 Identity Server Samples.
- Download the
pickup-dispatch.warfile from the latest release assets.
Deploy the sample app
Deploy this sample web app on a web container.
-
Copy the
pickup-dispatch.warfile into thewebappsfolder. For example,<TOMCAT_HOME>/apache-tomcat-<version>/webapps -
Open a terminal window and add the following entry to the
/etc/hostsfile of your machine to configure the hostname.127.0.0.1 wso2is.local 127.0.0.1 localhost.comWhy is this step needed?
Some browsers do not allow you to create cookies for a naked hostname, such as
localhost. Cookies are required when working with SSO . Therefore, to ensure that the SSO capabilities work as expected in this tutorial, you need to configure theetc/hostfile as explained in this step.The
etc/hostfile is a read-only file. Therefore, you won't be able to edit it by opening the file via a text editor. Instead, edit the file using the terminal commands.
For example, use the following command if you are working on a Mac/Linux environment.sudo nano /etc/hosts -
Open the
dispatch.propertiesfile found in the<TOMCAT_HOME>/webapps/pickup-dispatch/WEB-INF/classesdirectory and edit the consumerKey and consumerSecret with the values obtained from the OAuth configuration. -
Restart the Tomcat server.
Log in
- To test the sample, go to the following URL:
http://<TOMCAT_HOST>:<TOMCAT_PORT>/pickup-dispatch.
For example.http://localhost.com:8080/pickup-dispatch

-
Click the LOGIN button.
-
You are redirected to the Twitter Login page. Enter your Twitter credentials and you will be taken to the home page of the pickup-dispatch app.
Related topics