Enable and Disable User Accounts
Account locking and account disabling are security features in WSO2 Identity Server (IS) that can be used to prevent users from logging in to their account and from authenticating themselves using their WSO2 IS account.
Enable account disabling
Follow the below steps to do this configuration.
- Start the Identity Server and log into the management console (
https://<IS_HOST>:<PORT>/carbon) using your tenant credentials. - Click Main > Identity > Identity Providers > Resident.
- Expand the Account Management tab.
-
Expand the Account Disable tab and select the Enable account disabling checkbox. Click Update to save changes.

Disable the account disabling feature
To disable the account disabling option, unselect the Enable Account Disabling in each of the tenants that you wish to disable this option for.
Alternatively, disable this feature for all tenants by adding the following configuration to the
<IS_HOME>/repository/conf/deployment.tomlfile. This will remove the account disabling option from all tenants.[identity_mgt.account_disabling] enable_account_disabling=false
Enable claims
Follow the steps below to disable a user account through the WSO2 IS management console.
-
Navigate to Main > Identity > Claims > List and click on
http://wso2.org/claims. -
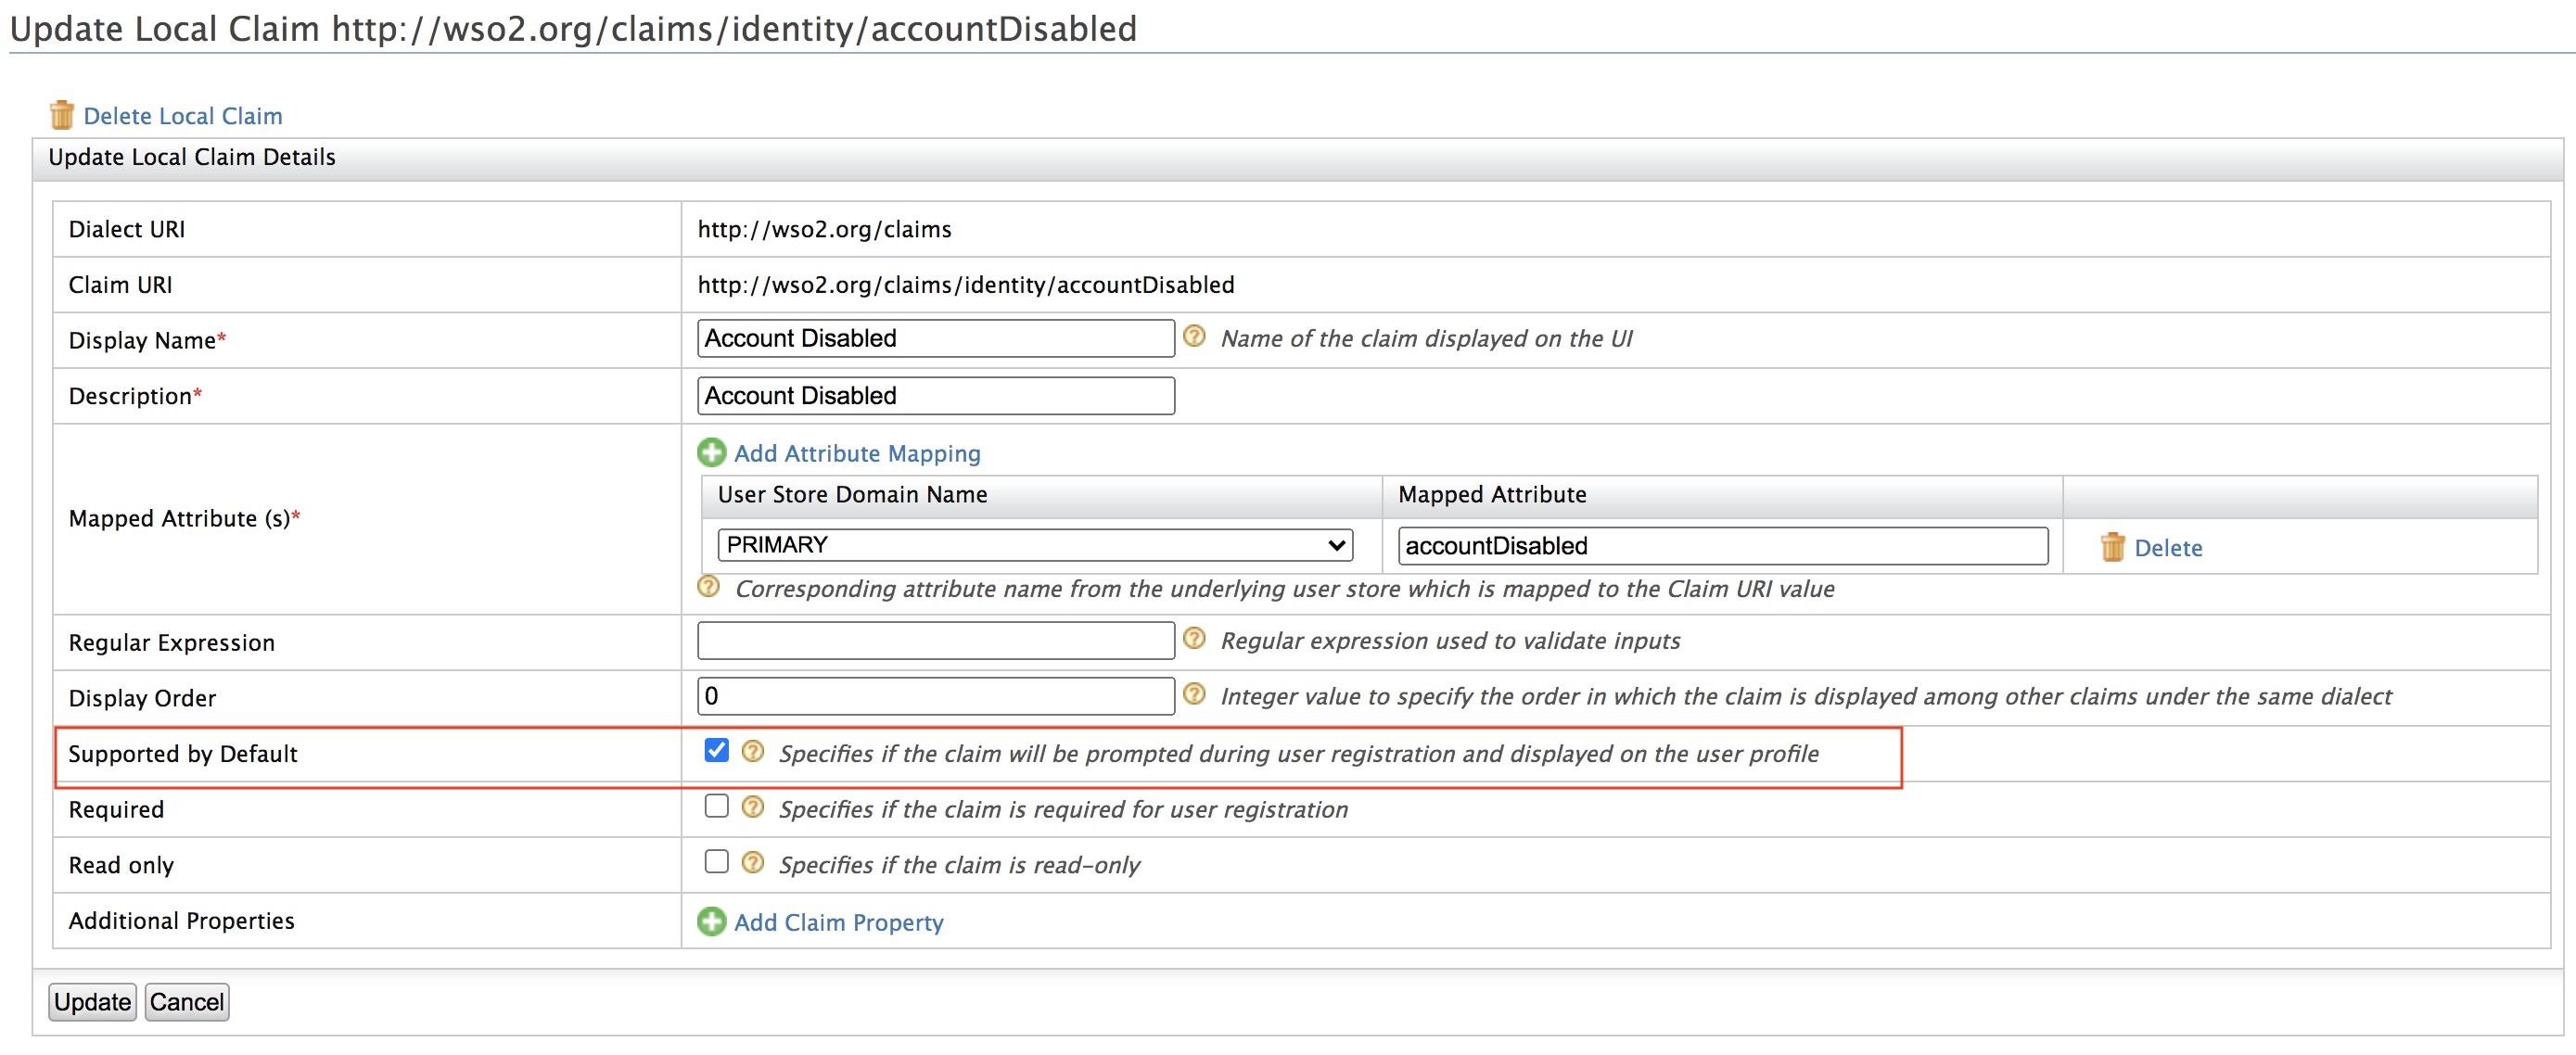
Edit the Account Disabled claim. See Edit Claim Mapping for more information on how to do this.
-
Tick the checkbox Supported by Default and click Update.
-
Navigate to Main > Identity > Users and Roles > List > Users and click on User Profile of the user account that you want to disable.
-
Tick the Account Disabled checkbox and click Update.
Configure the email sender
Enable the email sending configurations of the WSO2 Identity Server.
Info
The email template used to send the email notification for account locking is the AccountLock template and the template used for account disabling is the AccountDisable template. You can edit and customize the email template. For more information on how to do this, see Customize Automated Emails.
Try it out
Use the Management Console
Use the SCIM2 Rest API
-
In order to update the status of a user account, we need to obtain the SCIM ID of that particular user. Therefore, we first call the GET users API to get the user details. The following curl command gives details of alk the users including the SCIM IDs.
Request
curl -v -k --user <username>:<password> 'https://<HOST>:<PORT>/scim2/Users'
Sample
curl -v -k --user admin:admin 'https://localhost:9443/scim2/Users'Alternatively, you can also obtain it from the management console.
-
Navigate to Main > Identity > Claims > List.
-
Select
http://wso2.org/claims. -
Edit User ID.
-
Select Supported by Default.
-
Click Update.
-
Navigate to Main > Identity > Users and Roles > List and select Users.
-
Click User Profile adjecent to the user that needs to be enabled or disabled. The User ID value will be mentioned by default now.
-
-
After obtaining the SCIM ID of the user, invoke the following curl command with the
accountDisableattribute set totrueorfalseto disable or enable the user account respectively.curl -v -k --user admin:admin -X PATCH -d '{"schemas":["urn:ietf:params:scim:api:messages:2.0:PatchOp"],"Operations":[{"op":"replace","value":{"urn:ietf:params:scim:schemas:extension:enterprise:2.0:User":{"accountDisable":"true"}}}]}' --header "Content-Type:application/json" https://localhost:9443/scim2/Users/<User-ID>
After setting the disable status to true for a particular user, the server should reject any authentication attempts done by that account.
Related topics