Log in to Microsoft 365 using WSO2 Identity Server
This page guides you through integrating WSO2 Identity Server for Single Sign-On (SSO) with Microsoft 365.
Before you begin
- Have an Office 365 Business account with admin access.
- Add a domain by following the Microsoft documentation.
- Install PowerShell on your system.
Create the Microsoft 365 application
Follow the steps given below to register the Microsoft 365 application in WSO2 Identity Server.
-
On the WSO2 Identity Server Console, go to Applications.
-
Click New Application and under SSO Integrations, select Microsoft 365.
-
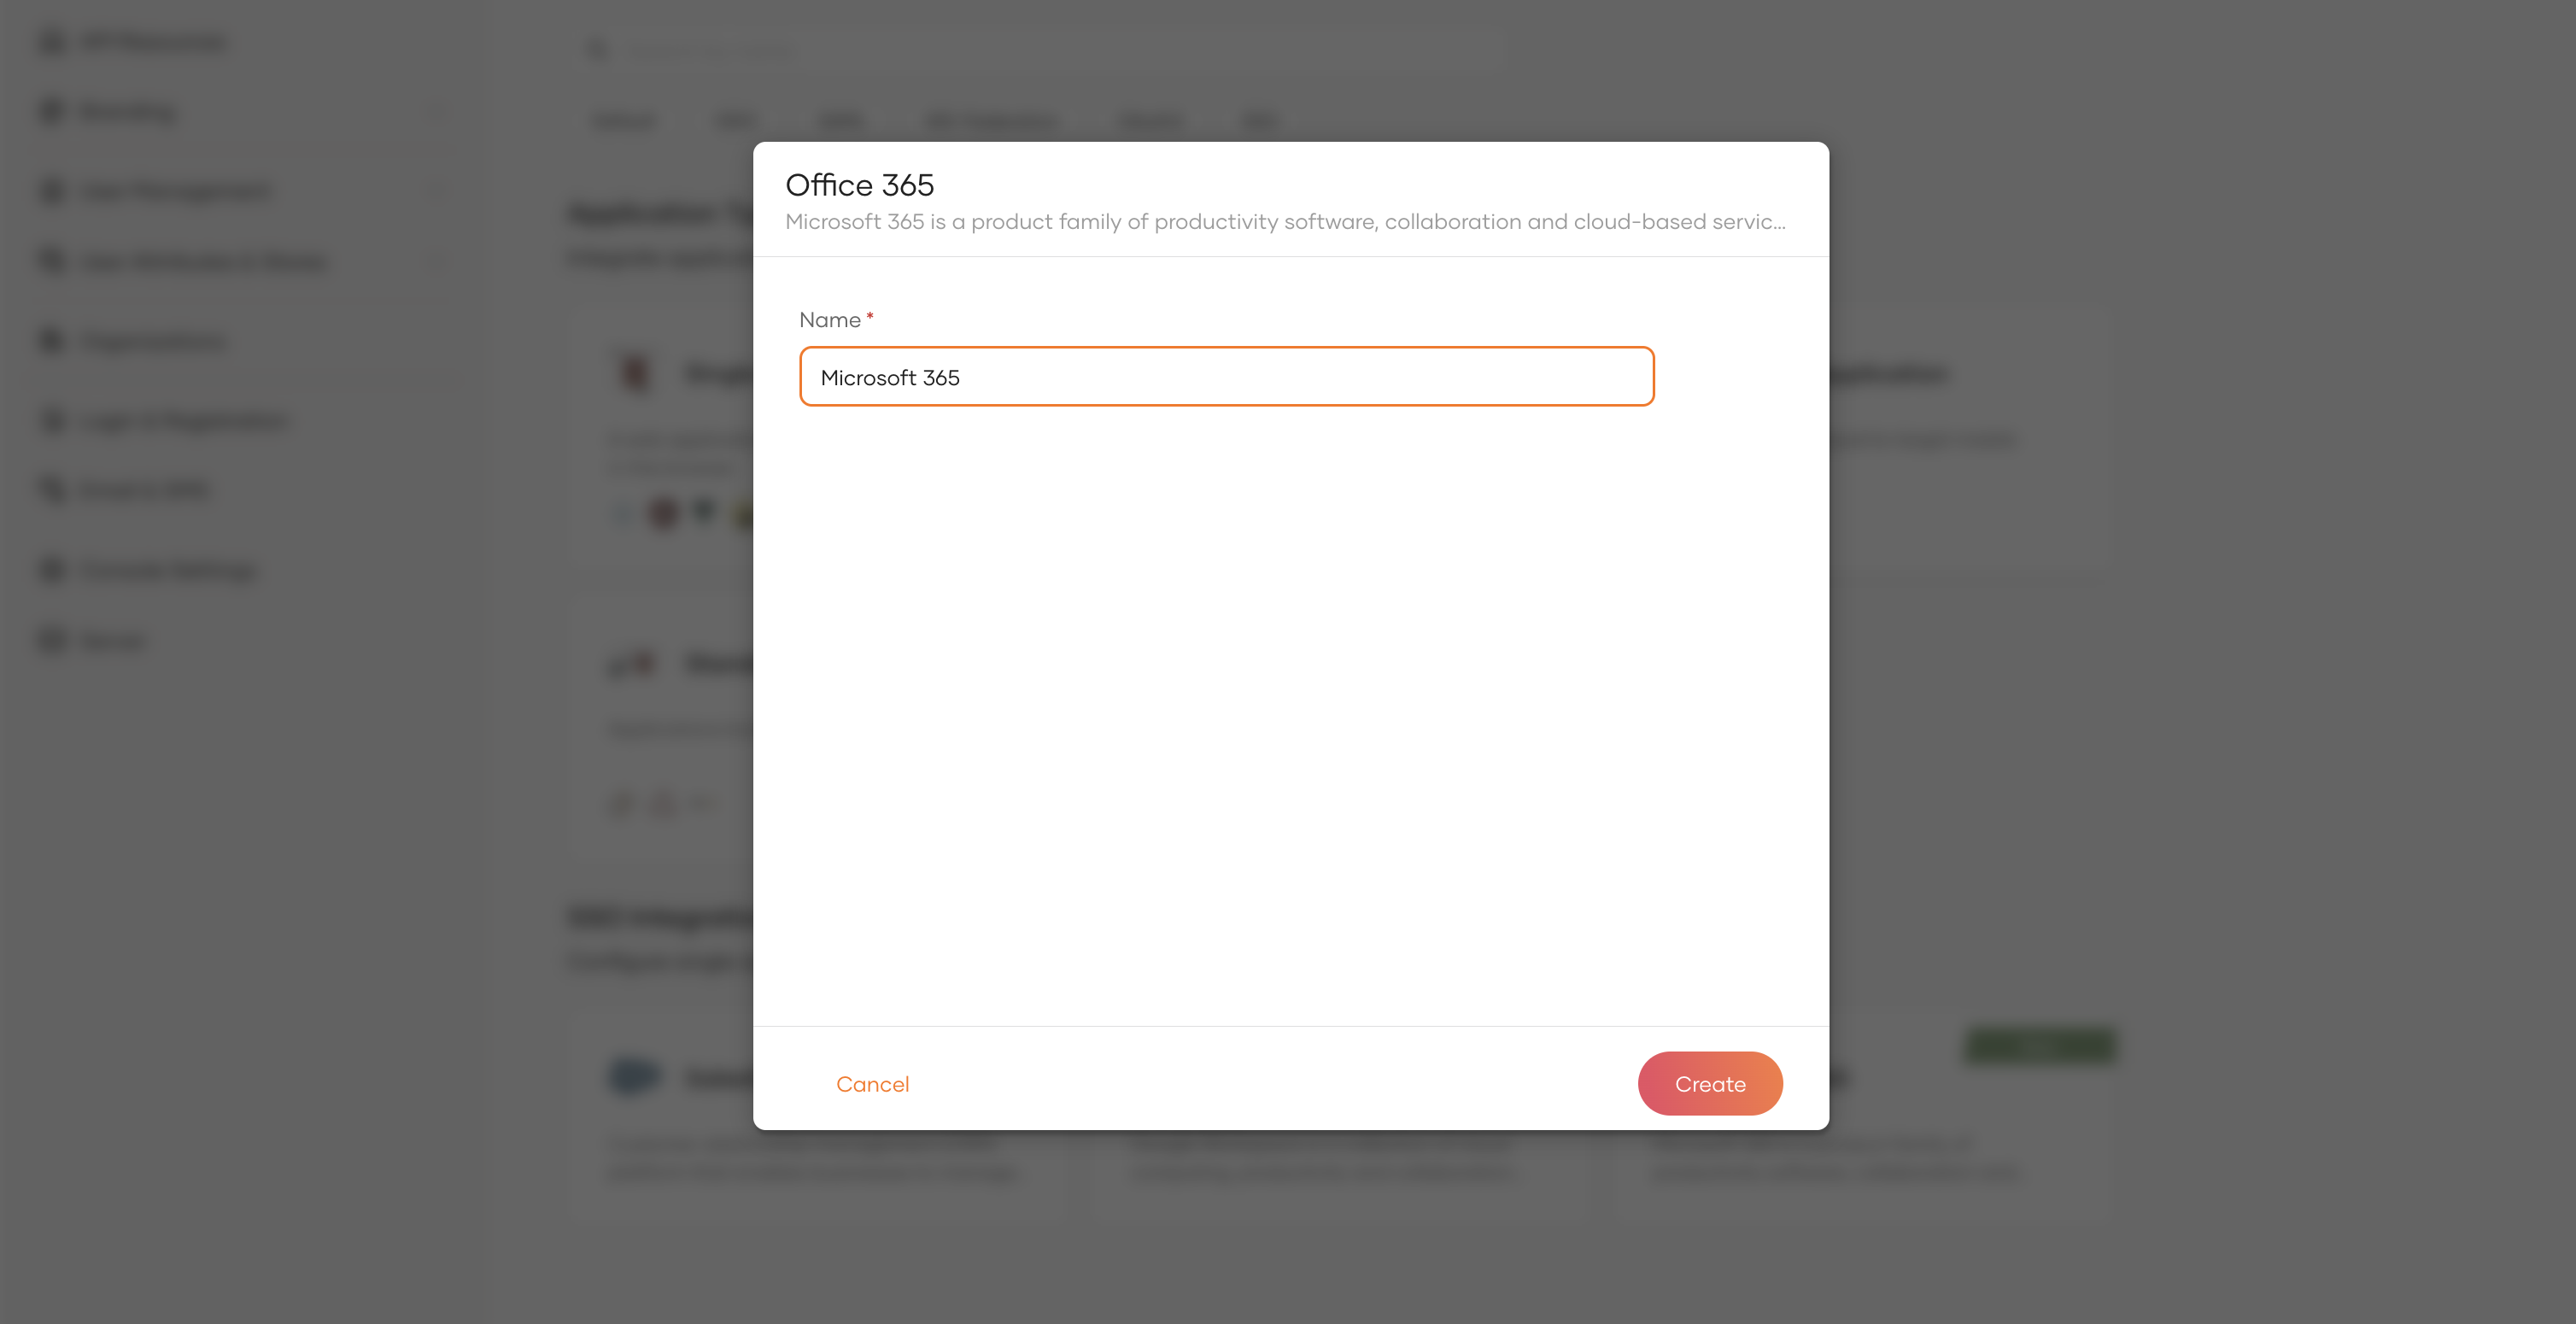
Provide a name for the application.
-
Click Create to complete the registration.
Configure Microsoft 365
Follow the steps below to configure Microsoft 365.
Install modules
Start Powershell and install the Microsoft Graph Powershell SDK.
Verify that the Microsoft Graph Powershell SDK is installed.
Configure Azure Acitve Directory Domain Federation
-
Run the following command to connect to the Active Directory.
-
Configure the domain as a federated domain by providing the respective federation settings that match the WSO2 Identity Server. Store the federation settings as parameters.
$Domain="yourdomain.com" $DisplayName="Login with ${productName}" $LogOnUrl="https://localhost:9443/samlsso" $LogOffUrl="https://localhost:9443/samlsso" $IssuerName="https://localhost:9443" $Protocol="saml" $MfaBehavior="rejectMfaByFederatedIdp"-
Store the IdP certificate. You can get the certificate value from the Guide of the created Microsoft 365 application.
$IDPResponseSigningCert = "MIIDCDCCAfCgAwIBAgIEtUo9DDANBgkqhkiG9w0BAQsFADBGMQ0wCwYDVQQGEwROb25lMRQwEgYDVQQKEwtOb25lIEw9Tm9uZTENMAsGA1UECxMETm9uZTEQMA4GA1UEAxMHYWxmaGVpbTAeFw0yNDAyMTgwODM0MzNaFw0zNDAzMTcwODM0MzNaMEYxDTALBgNVBAYTBE5vbmUxFDASBgNVBAoTC05vbmUgTD1Ob25lMQ0wCwYDVQQLEwROb25lMRAwDgYDVQQDEwdhbGZoZWltMIIBIjANBgkqhkiG9w0BAQEFAAOCAQ8AMIIBCgKCAQEAk3tgNcSqohc3Qt1AOYXXUklP1jIgxUBfjV7gWo5NXO9dBjI3ljbATeSP+1QKT9KfOYmz8IcJH00t8dlXeRMeLKywbp3Q2nFLGljL/iBdfzeU8TgyT68M6Evg21STAFx1uQmNwrXpnaB06UcTx2P/Fh5hiMewYpLf907VgQPPTFyMdh+3SanJ1jOX9GtyvUvYWcd2VUh0qeAXw4cei04VzsREhW6Dyx9UxybeqqT54dGOz+QGhkMyY56rwhZdVEHZH1ootdth09aCp66vNaYqIFwBXquyvRuHrG+WvX7oLcxOIwPutajvCXbdO9SepmFZJ5dFteC+Zbi5qYqOMjNPwwIDAQABMA0GCSqGSIb3DQEBCwUAA4IBAQAd/3JJecUOXYbVezUbpq1ICUqZrkDznGBcvjjeUq7NMYtbogC0JlOh+mVRPCn9ypicsF1R5OUfxRG6Bsu3AeyfelEHF870NAS1e5+zprBpWdlHdgznifVs02+1/JBDLWn9uFr35MyC4AE82yOdV5SQ9Xzn3igaXb+4/UtzHKknenHqhdXJ4LfTMVKSDwT8Uxte/XD0NpUZ7YjeOiBcALow7Nbt1JdFqnQ90j79gpJXA3Cz0ar0P58KwPDMurTwAiGaAetYY38XOYNtsyzK9LxLKPH7RX3FOLYYjF4PAZWEGUu7Wxk5t0462Srlru3fMWUksPO6pMEAIm88j7C1LCNc"
-
-
Run the following command to define a new domain federation configuration.
-
Run the following command to verify the federation settings.
You have now successfully set up trust between WSO2 Identity Server and the Azure Active Directory. If you wish to redo the configurations, run the following command to move your domain back to the Managed authentication mode:
Remove-MgDomainFederationConfiguration `
  -DomainId "yourdomain.com" `
  -InternalDomainFederationId "2a8ce608-bb34-473f-9e0f-f373cbc5a"
Try it out
Now that you have integrated WSO2 Identity Server with Microsoft 365, follow the steps below to test it.
- Create a user in WSO2 Identity Server.
-
Add the same user to Microsoft using the following command. Here, the
OnPremisesImmutableIdshould be the UUID of the user.$Password = "p@ssword*123" $PasswordProfile = @{ Password = "$Password" } New-MgUser ` -UserPrincipalName "[email protected]" ` -DisplayName "John Doe" ` -GivenName "John" ` -Surname "Doe" ` -AccountEnabled ` -MailNickName "JohnDoe" ` -OnPremisesImmutableId "4ae2cb728-bb34-433f-4e0f-r489cbe4p" ` -PasswordProfile $PasswordProfile ` -UsageLocation "US"
Note
Alternatively, you can automate the user synchronization using Powershell Cmdlets as well. For more information, refer to the Microsoft Entra ID documentation.
You can access Microsoft 365 portal via https://portal.office.com. When you enter the user's email address (eg: [email protected]), you'll be automatically redirected to the WSO2 Identity Server login page to complete the authentication.