Set up outbound provisioning
To start provisioning users, you must first create a provisioning connection and configure an outbound connector, then enable it at the organization or application level.
Step 1: Create a provisioning connection
-
On the WSO2 Identity Server Console, go to Connections and click New Connection.
-
Click Create Connection and select Outbound Provisioning Connection.
-
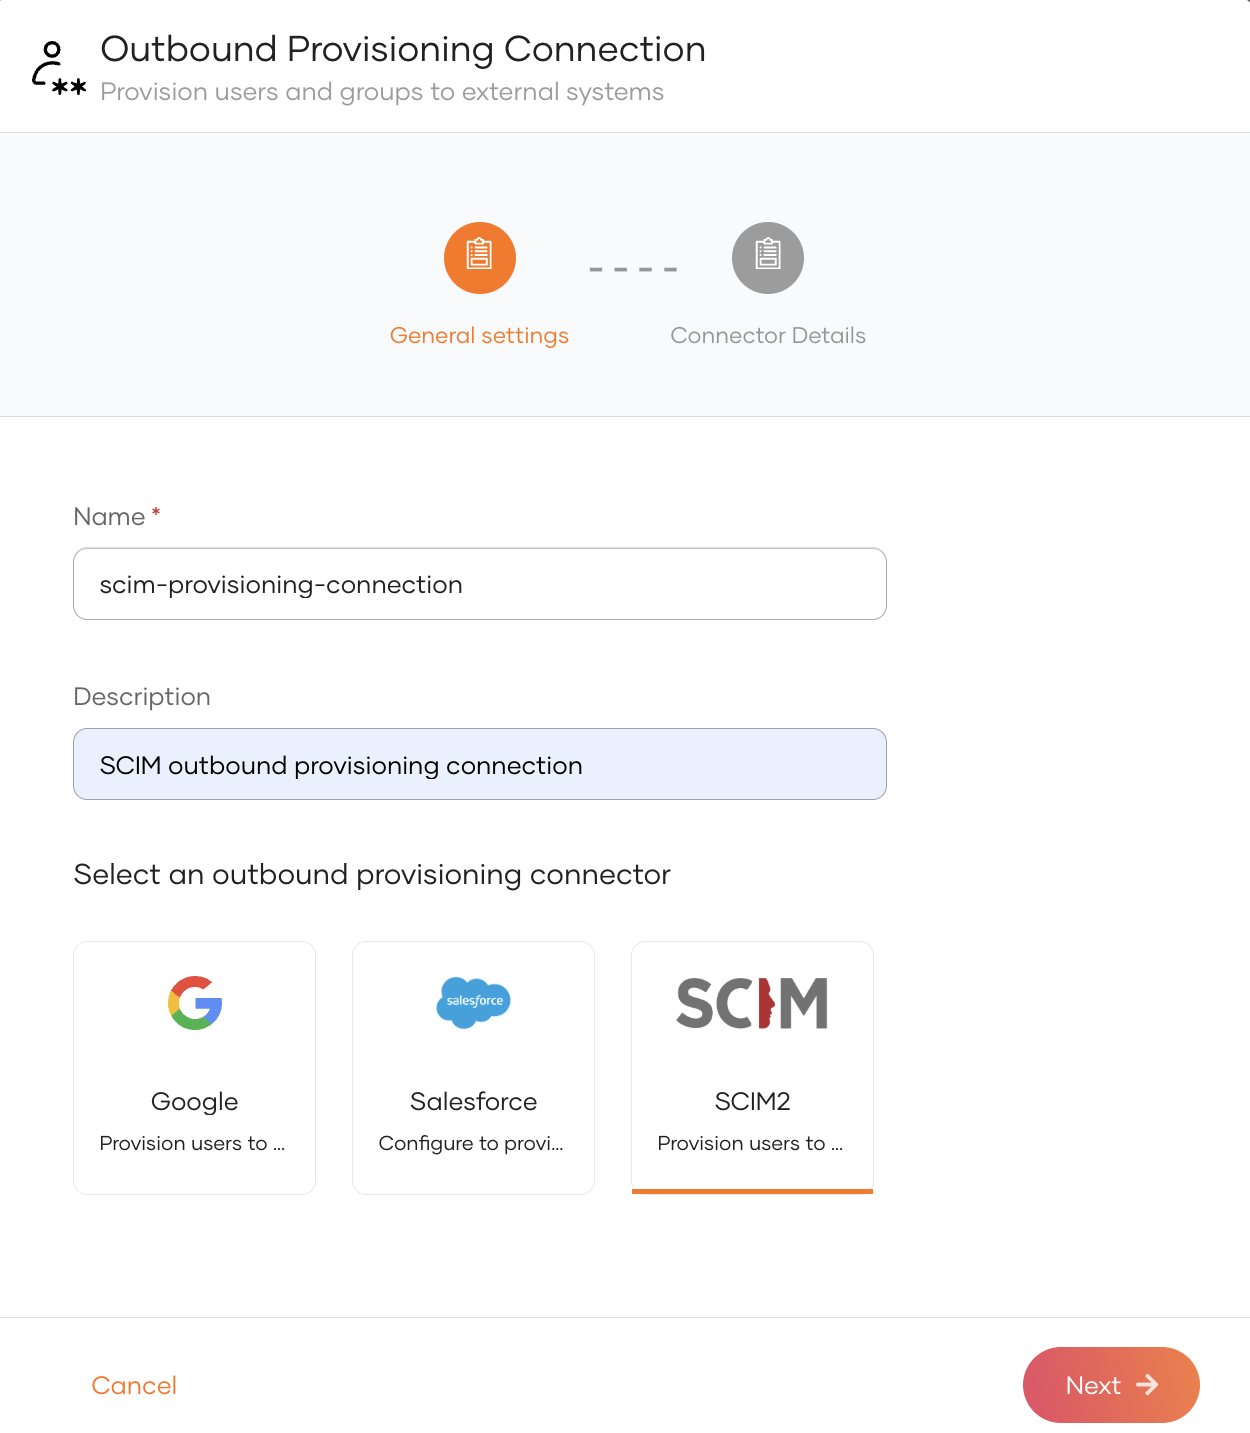
Select a provisioning connector (e.g., Salesforce, Google, or SCIM2).
-
Provide the required properties for the selected connector and click Finish.
Step 2: Enable outbound provisioning
Once the connection is created, enable outbound provisioning at the required level. Organization-level provisioning acts as the default for all applications, while application-level provisioning applies only to a specific application and overrides the organization-level configuration for that application.
Organization-level outbound provisioning acts as the default provisioner for all applications. Users are automatically provisioned to the external system when:
- a user is provisioned in WSO2 Identity Server over an API.
- an administrator onboards a user from the WSO2 Identity Server Console.
- a user self-signs up from a WSO2 Identity Server sign-in page.
- a user is JIT (Just-In-Time) provisioned in WSO2 Identity Server.
To enable organization-level outbound provisioning in WSO2 Identity Server:
-
On the WSO2 Identity Server Console, go to Login & Registration.
-
Under Provisioning Settings, click Outbound Provisioning Configuration and click New Provisioner.
-
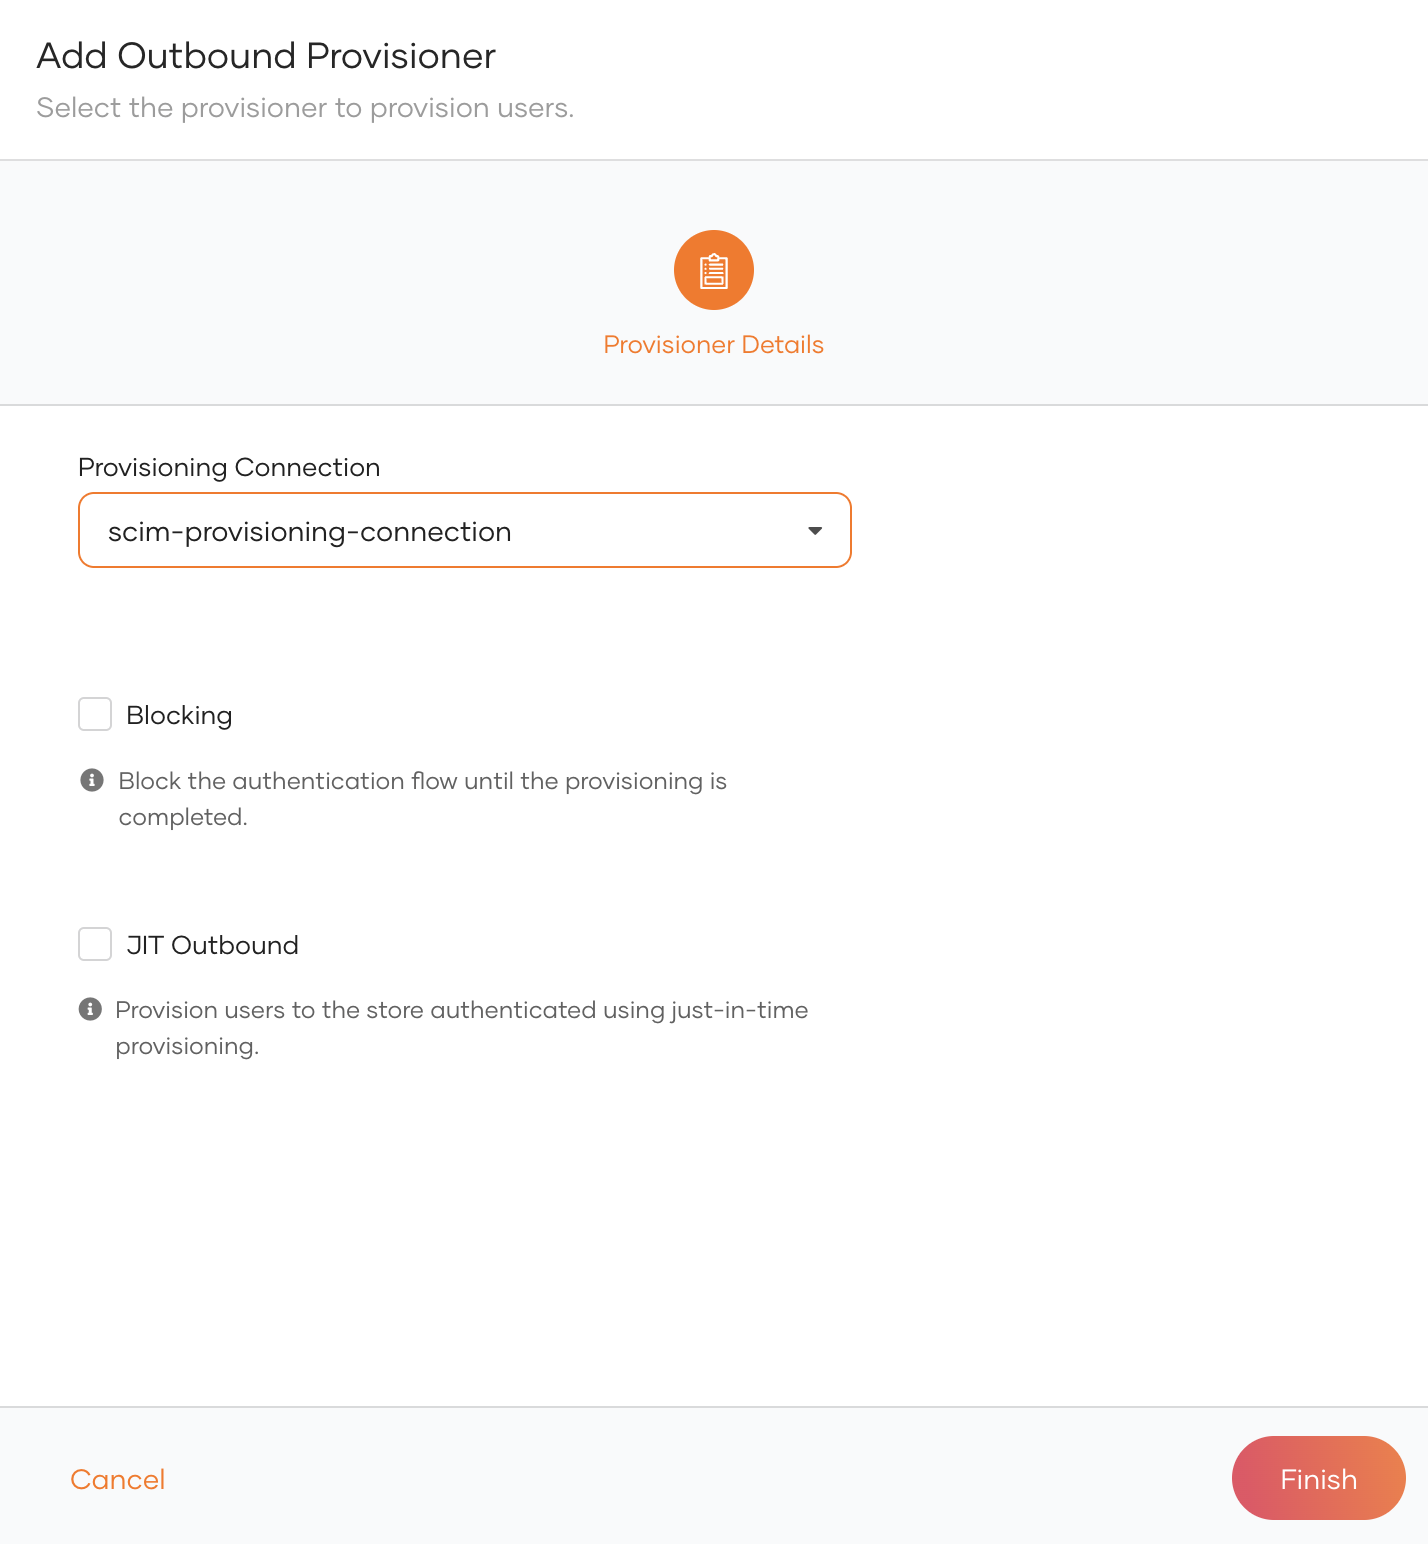
Select the connection in which you have configured outbound provisioning as the Connection and the relevant outbound connector as the Provisioning Connector.
-
Enable any of the following.
Option Description Blocking Makes the user onboarding process synchronous with the outbound provisioning process. WSO2 Identity Server waits for the response from the external system before proceeding with the user creation. JIT Outbound Enables outbound provisioning for JIT provisioned users during authentication. -
Click Finish.
Try it out
-
On the WSO2 Identity Server Console, do one of the following.
- Use a SCIM API to create a user.
- Create a user from the Console
- Enable self-registration and let a user self-register to WSO2 Identity Server.
- Enable JIT-provisioning and let a user sign in with an external identity provider.
Note
Onboarding a user with any of the above methods automatically triggers outbound provisioning to the external system.
-
Delete the user. The user will be removed from the external system.
Application-level outbound provisioning is specific to an individual application. If an application does not have its own outbound provisioner configured, it defaults to the organization-level configuration.
To configure an application in WSO2 Identity Server:
-
On the WSO2 Identity Server Console, go to Applications.
-
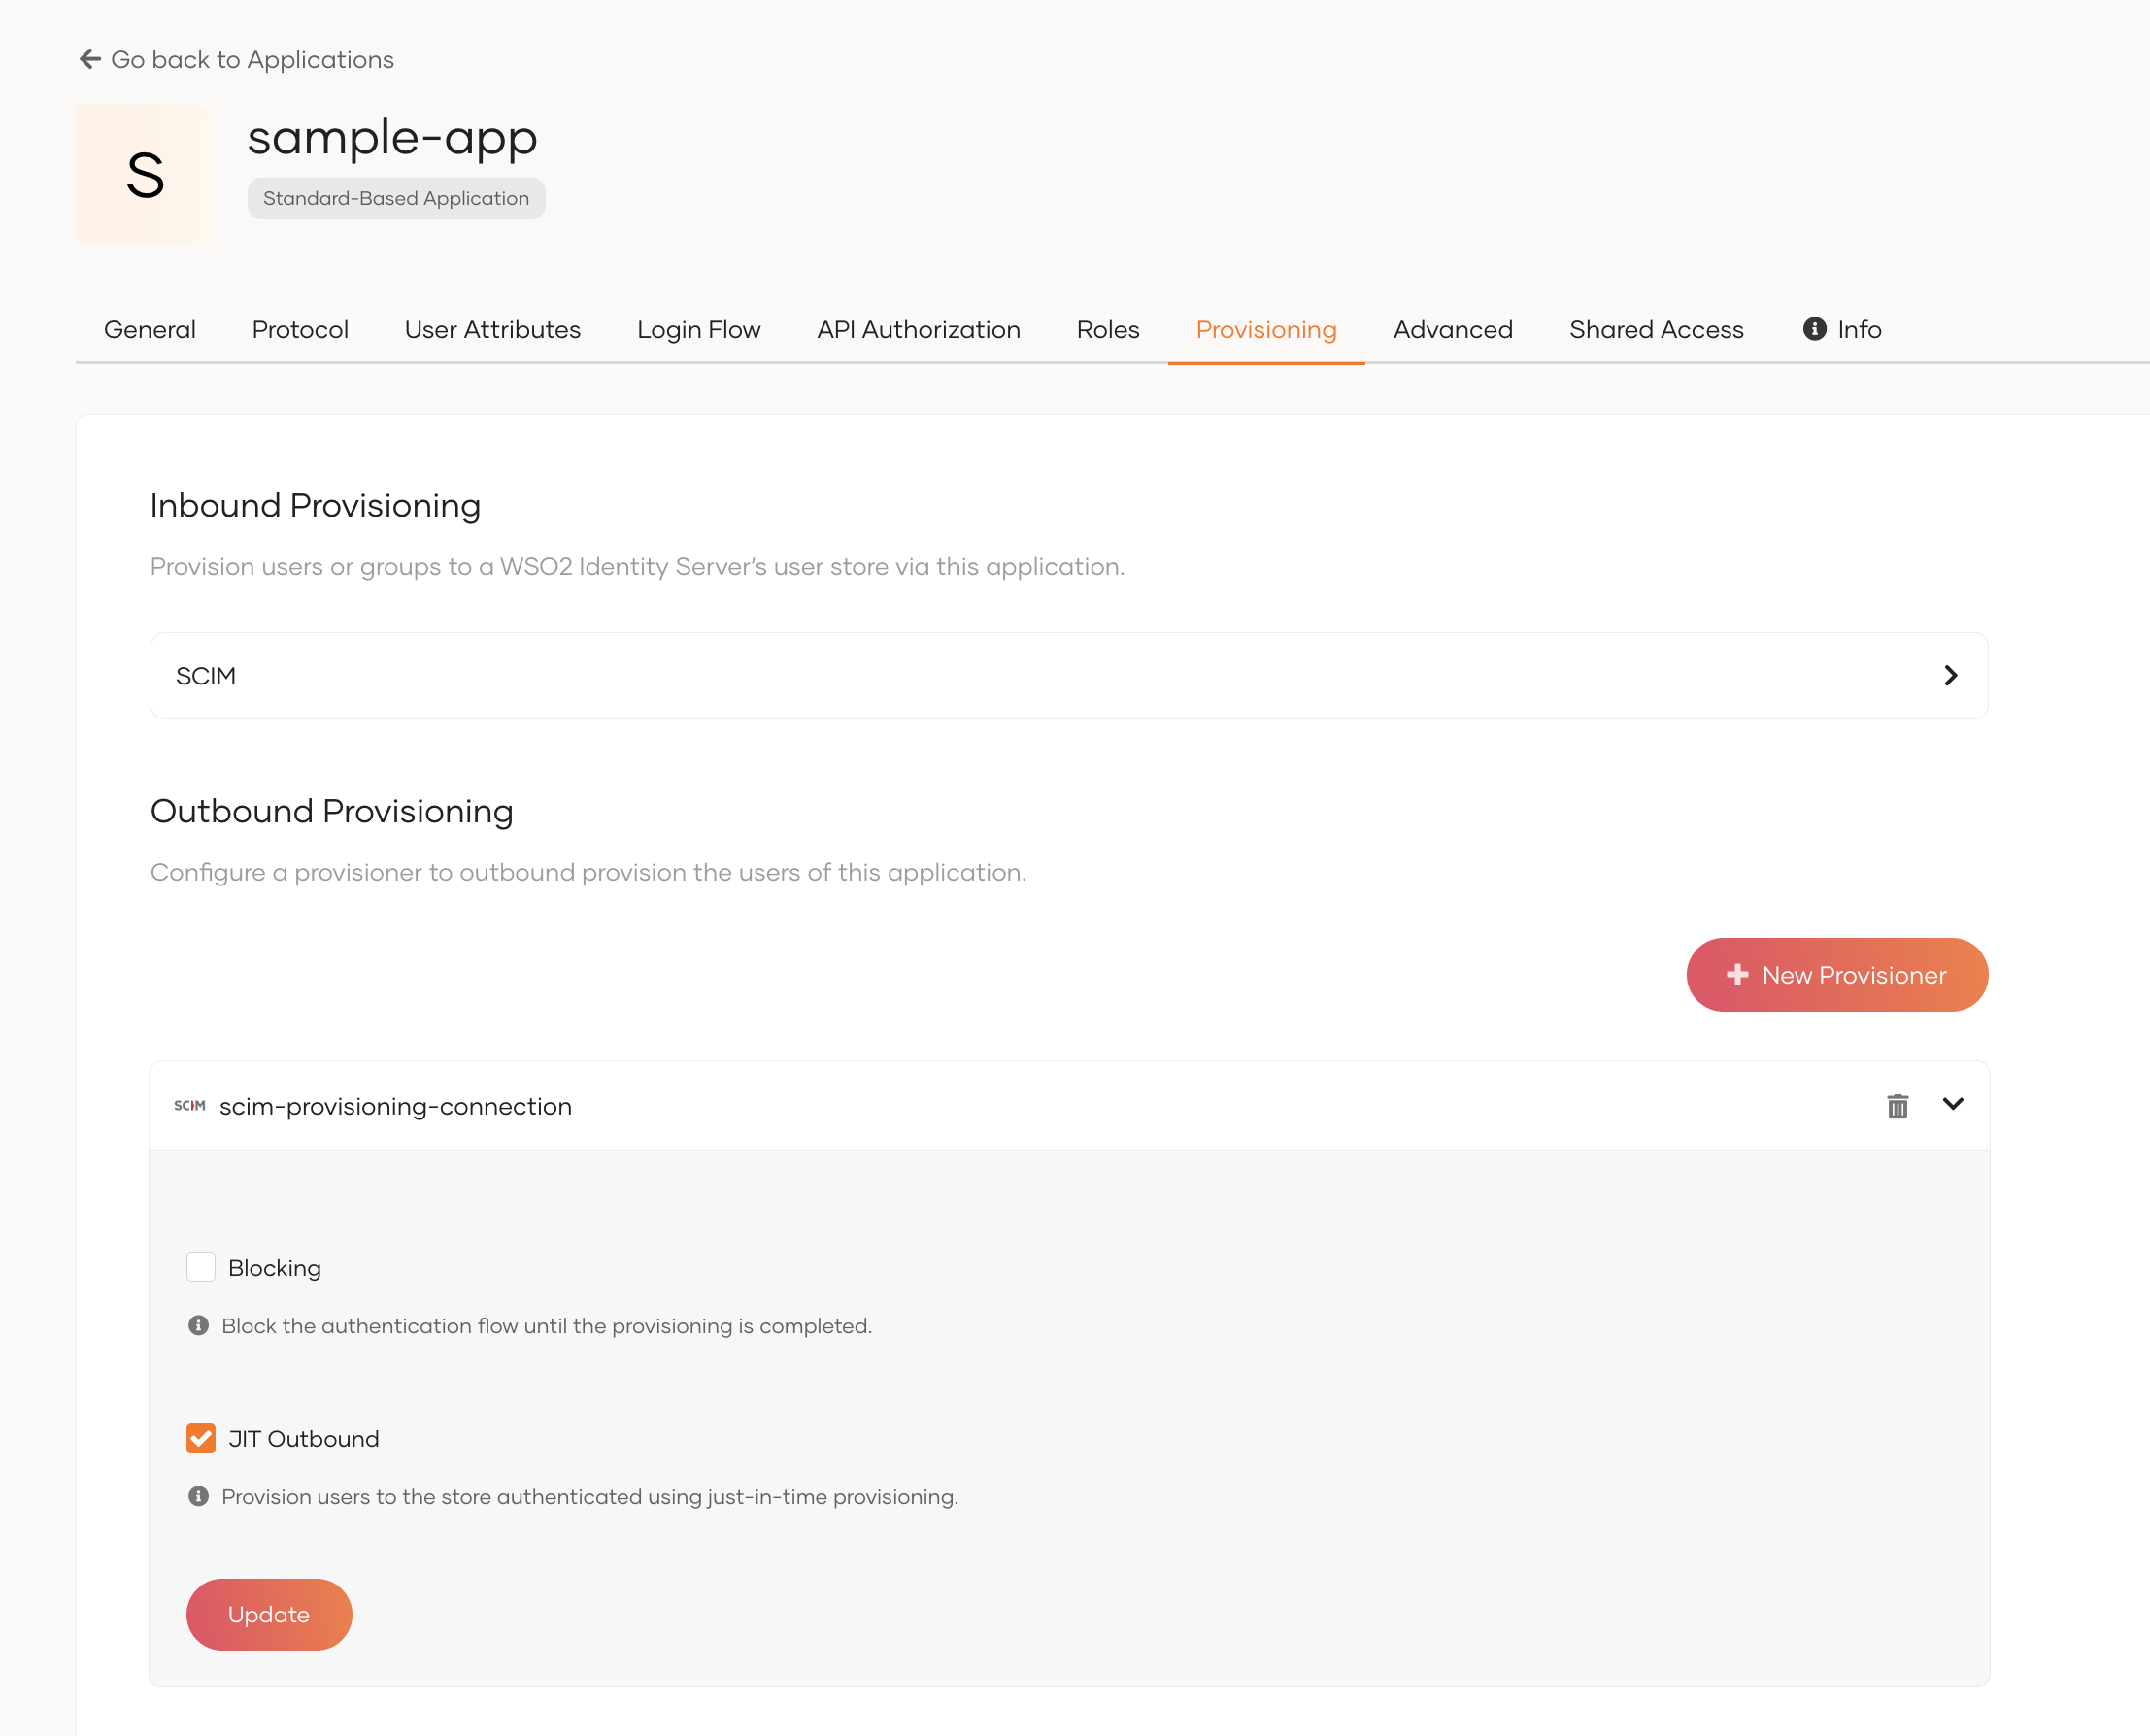
Select your application from the list and navigate to its Provisioning tab.
-
Under Outbound Provisioning Configuration, click New Provisioner.
-
Select the connection in which you have configured outbound provisioning as the Connection and the relevant outbound connector as the Provisioning Connector.
-
Optionally, enable any of the following options.
Option Description Blocking Makes the user onboarding process synchronous with the outbound provisioning process. WSO2 Identity Server waits for the response from the outbound connector before proceeding with the user creation. JIT Outbound Enables outbound provisioning for JIT-provisioned users during authentication. -
Click Add.
Try it out
Application-level outbound provisioning is triggered when a user is provisioned through the application. This can happen in the following ways:
-
JIT provisioning: Configure JIT user provisioning for the application. When a user signs in through a federated identity provider, the user is JIT provisioned in WSO2 Identity Server, which triggers outbound provisioning to the external system.
-
User creation via API: Use a SCIM API with an access token obtained for the application to create a user. This triggers outbound provisioning to the external system.