Lock accounts by failed login attempts
WSO2 Identity Server can be configured to lock a user account when a number of consecutive failed login attempts are exceeded. First, you need to configure WSO2 Identity Server for user account locking and disabling. The following section explain how to configure this.
If you want to configure different settings for another tenant, log out and follow the same steps to configure these properties for the other tenants.
Note
- A user account locked by failed login attempts can be unlocked by setting the Account Unlock Time period.
- If the lock time is set to 0, the account has to be unlocked by an admin
user. For more information about this, see Lock and Unlock User Accounts.
- If a user is assigned the Internal/system role, the user can bypass account locking even if the user exceeds the specified number of Maximum failed login attempts.
Enable account locking
-
Ensure that the identity listener with the
priority=50is set to false and the identity listener with thepriority=95is set to true by adding the following configuration to the<IS_HOME>/repository/conf/deployment.tomlfile.Note
If you haven't changed these configurations previously, you can skip this step since these are the default values.
[event.default_listener.identity_mgt] priority= "50" enable = false [event.default_listener.governance_identity_mgt] priority= "95" enable = true -
Start the Identity Server and log into the management console (
https://<IS_HOST>:<PORT>/carbon) using your tenant credentials. -
Click Main > Identity > Identity Providers > Resident.
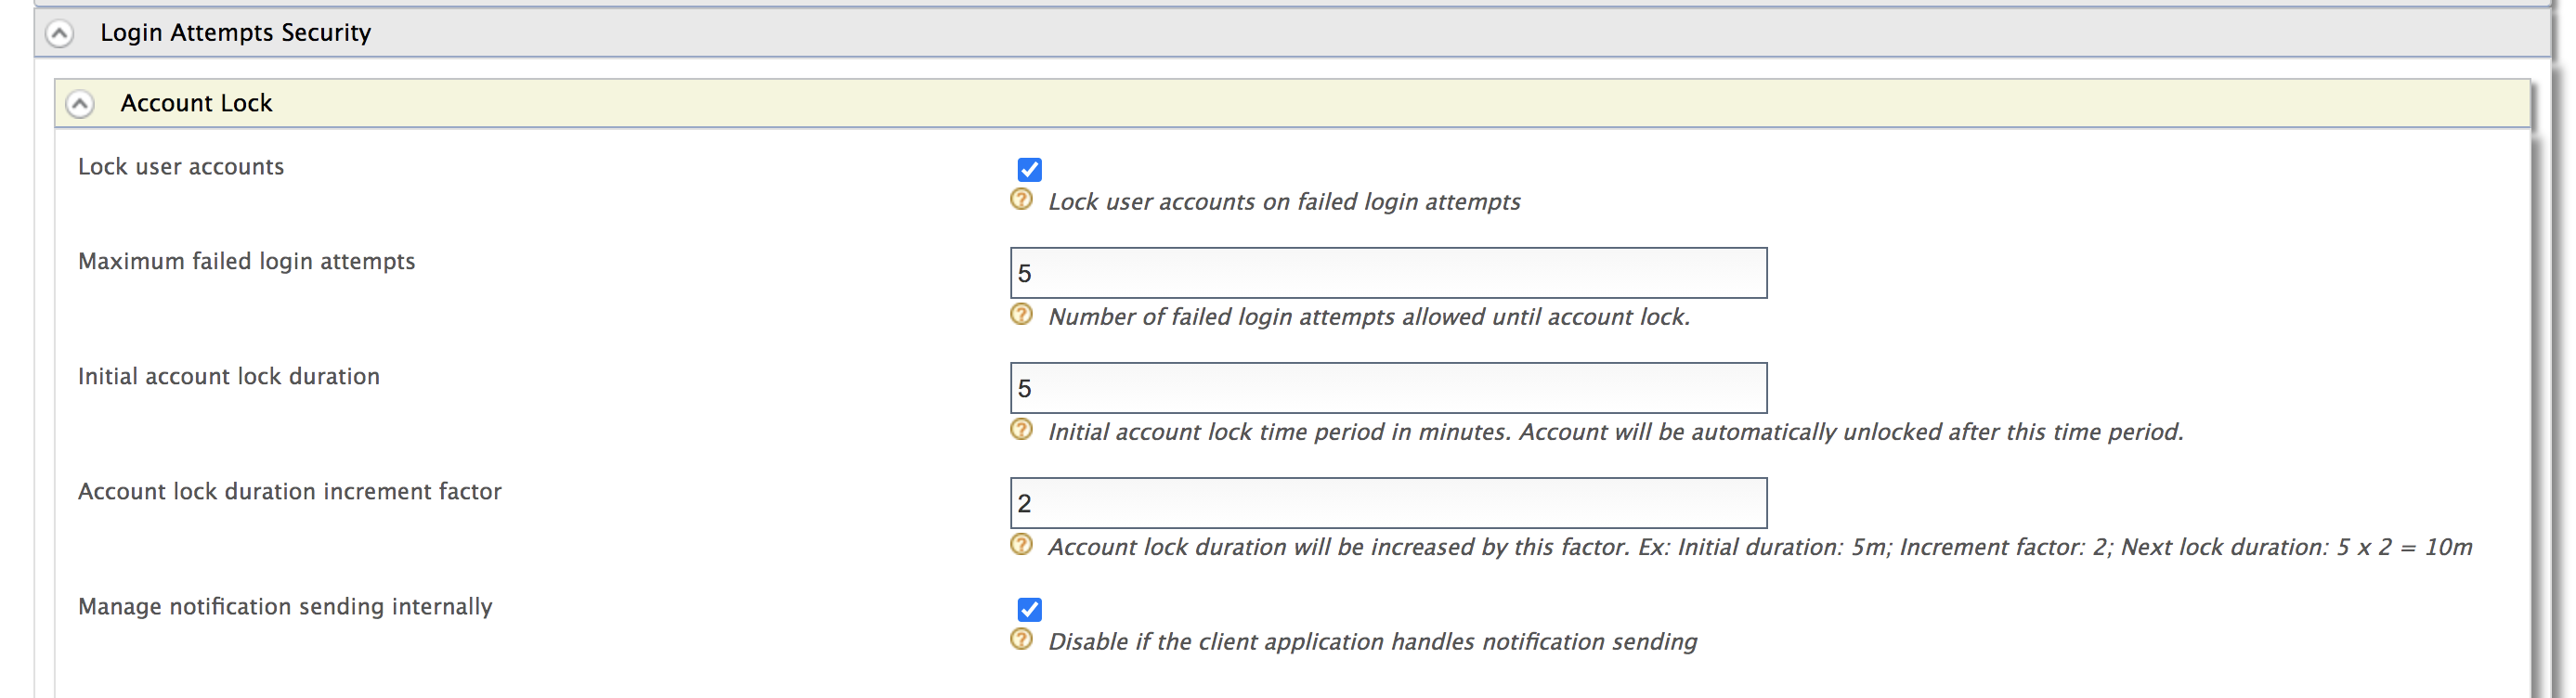
- Expand the Login Attempts Security tab.
-
Expand the Account Lock tab and select the Lock user accounts checkbox. Click Update to save changes.
Tip
If a user is assigned the Internal/system role, the user can bypass account locking even if the user exceeds the specified number of Maximum failed login attempts.
Note
WSO2 Identity Server has the Internal/ki8system role configured by default. However, generally a new user is not assigned the Internal/system role by default. Required roles can be assigned to a user depending on the set of permission a user needs to have. For more information on roles and permission, see Configuring Roles and Permissions
Although the Internal/system role is configured by default in WSO2 Identity Server, you can delete the role if necessary. To allow users with the Internal/system role to bypass account locking, you need to ensure that the role exists in WSO2 Identity Server.
-
To enable account locking for other tenants, log out and repeat the steps given above from step 2 onwards.
The following table describes the configuration properties and descriptions you need to configure:
Configuration |
Description |
|---|---|
Maximum Failed Login Attempts |
This indicates the number of consecutive attempts that a user can try to log in without the account getting locked. If the value you specify is 2, the account gets locked if the login attempt fails twice. Tip Add the following configuration to the <IS_HOME>/repository/conf/deployment.toml file to configure the Maximum Failed Login Attempts property by default for all the tenants at tenant creation.
|
Lock Timeout Increment Factor |
This indicates how much the account unlock timeout is incremented by after each failed login attempt. For example, according to the values configured in the above screen, when a user exceeds the specified limit of 4 Maximum Failed Login Attempts, the account is locked for 10 minutes. This account unlock timeout is calculated as follows. Account unlock timeout = Configured Account Unlock Time * (Lock Timeout Increment Factor ^ failed login attempt cycles) i.e.,10 minutes = 5 * ( 2 ^ 1 ) Tip Add the following configuration to the <IS_HOME>/repository/conf/deployment.toml file to configure the Lock Timeout Increment Factor property by default for all the tenants at tenant creation.
If the user attempts to log in with invalid credentials again after the wait time has elapsed and the account is unlocked, the number of login attempt cycles is now 2 and the wait time is 20 minutes. |
Account Unlock Time |
The time specified here is in minutes. According to the values in the screenshot above, the account is locked for 5 minutes after the user's second failed attempt and authentication can be attempted once this time has passed. Tip Add the following configuration to the <IS_HOME>/repository/conf/deployment.toml file to
configure the Account Unlock Time property by default for all the tenants at tenant creation.
|
Account Lock Enabled |
This enables locking the account when authentication fails. Tip Add the following configuration to the <IS_HOME>/repository/conf/deployment.toml file to Enable Account lock on failed login by default for all the tenants at tenant creation.
|
Configure the email sender
Enable the email sending configurations of the WSO2 Identity Server.
Try it out
To mimic account locking:
-
Access the WSO2 Identity Server My Account at
https://localhost:9443/myaccount/. -
To mimic three consecutive erroneous login attempts, log in with Alex's user name and the following as passwords sequentially:
test123test234test345
-
An email that informs about the account locking is sent to the given email address.
-
Wait for 15 minutes and try to log in again with the correct credentials. The WSO2 Identity Server User Portal home screen appears.