Configure attributes
This guide walks you through the available configuration options for default and custom attributes.
To configure attributes,
- On the WSO2 Identity Server Console, go to User Attributes & Stores > Attributes.
- Under Manage Attributes, click Attributes to view the list of all attributes.
- Click Edit for the attribute you want to update.
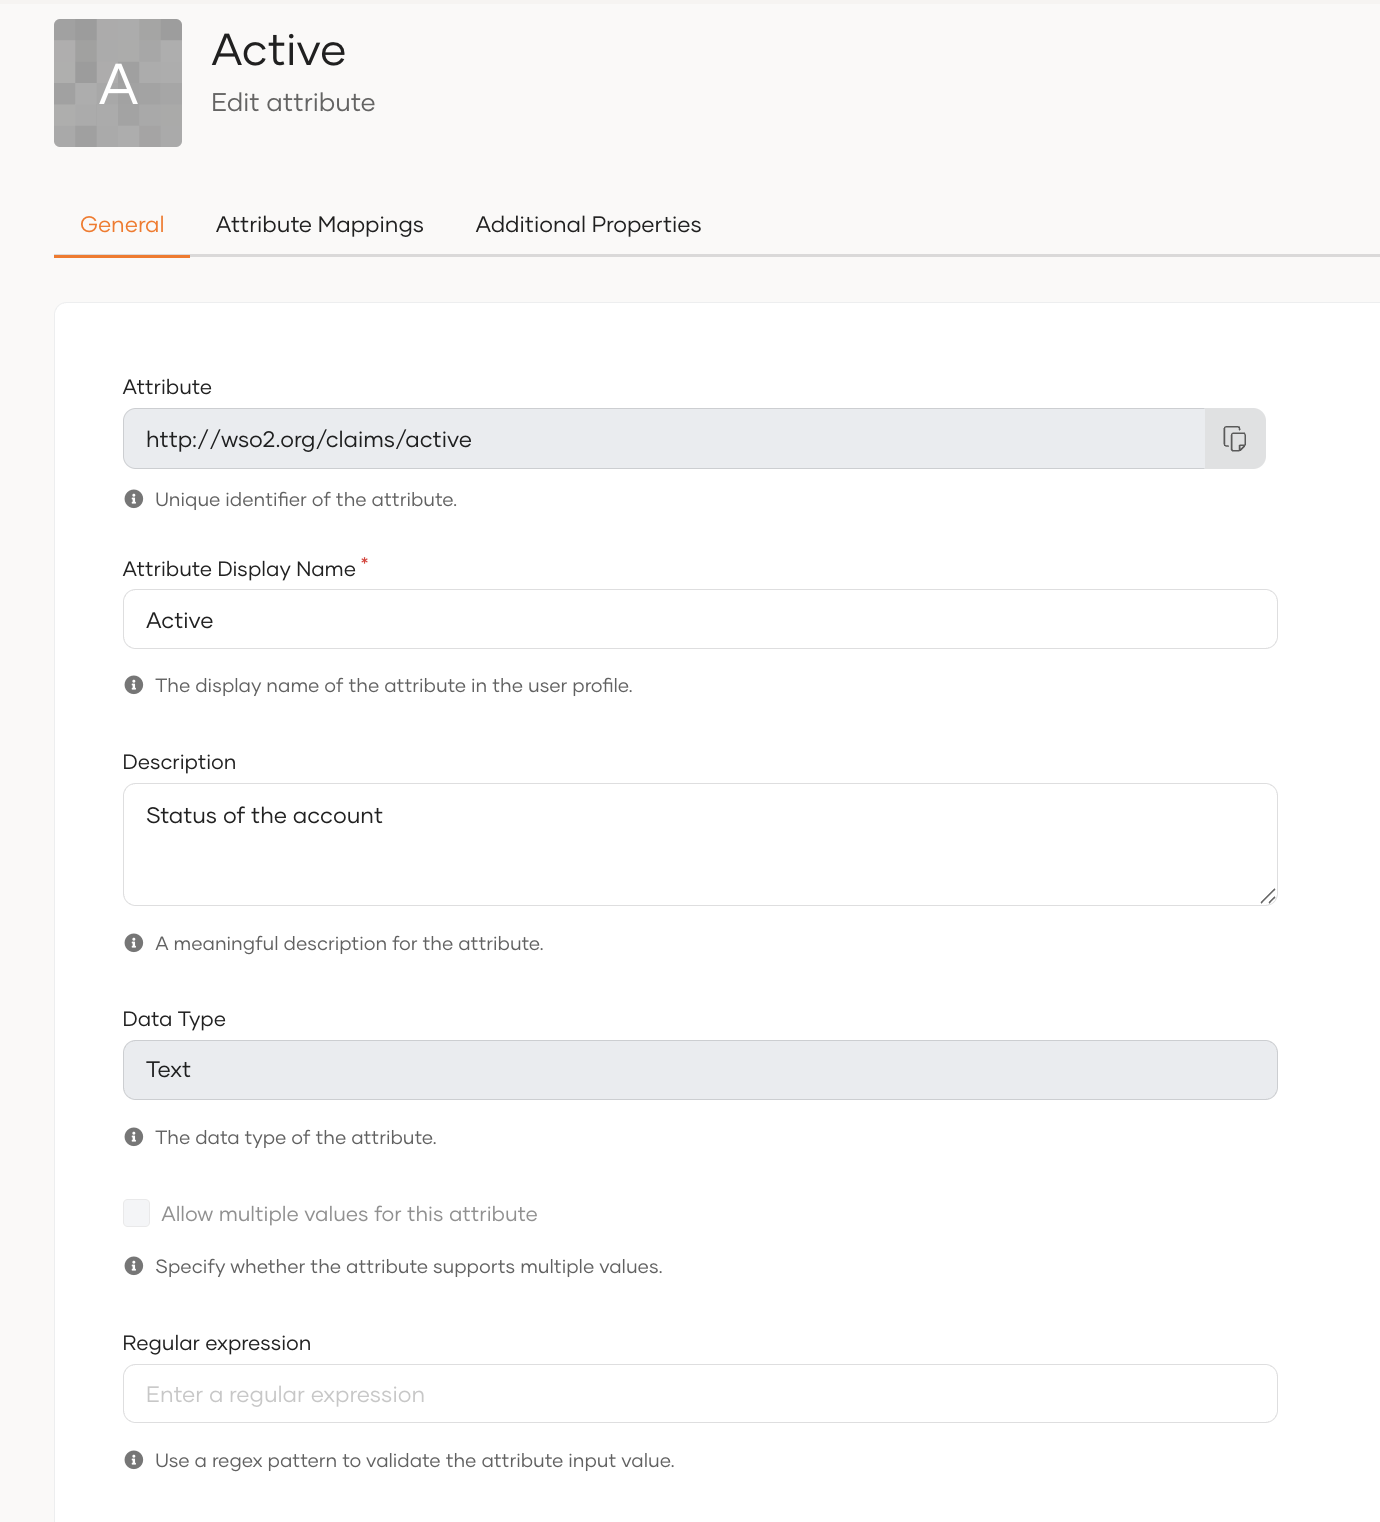
General settings
Use the following settings to change details and behavior of an attribute. To configure them, go to the General tab of the attribute.
Note
The Attribute field specifies the unique identifier of the attribute. It always starts with http://wso2.org/claims and not editable.
| Attribute Display Name | Update the display name of the attribute that will show in user profiles. |
| Description | Update the description for the attribute. |
| Data Type | Refers to the kind of value it holds. Refer to reference for more details. |
| Allow multiple values for this attribute | Specify whether to support multiple values for this attribute. |
| Input Format | Specify the kind of input it supports. Refer to reference for more details. |
| Regular expression | The attribute value will be validated against the regex pattern specified here. |
| Select Source for Attribute Value of Shared Users | When a user's profile is shared across multiple organizations, the value of this attribute will be taken from the selected source.
|
| Uniqueness Validation | Select one of the following scopes to validate attribute uniqueness:
|
Display settings
These settings control where an attribute appears in the WSO2 Identity Server Console, and whether the attribute is required or read-only.
To update these settings, open the General tab of your attribute and use the table in the Attribute Configurations section.
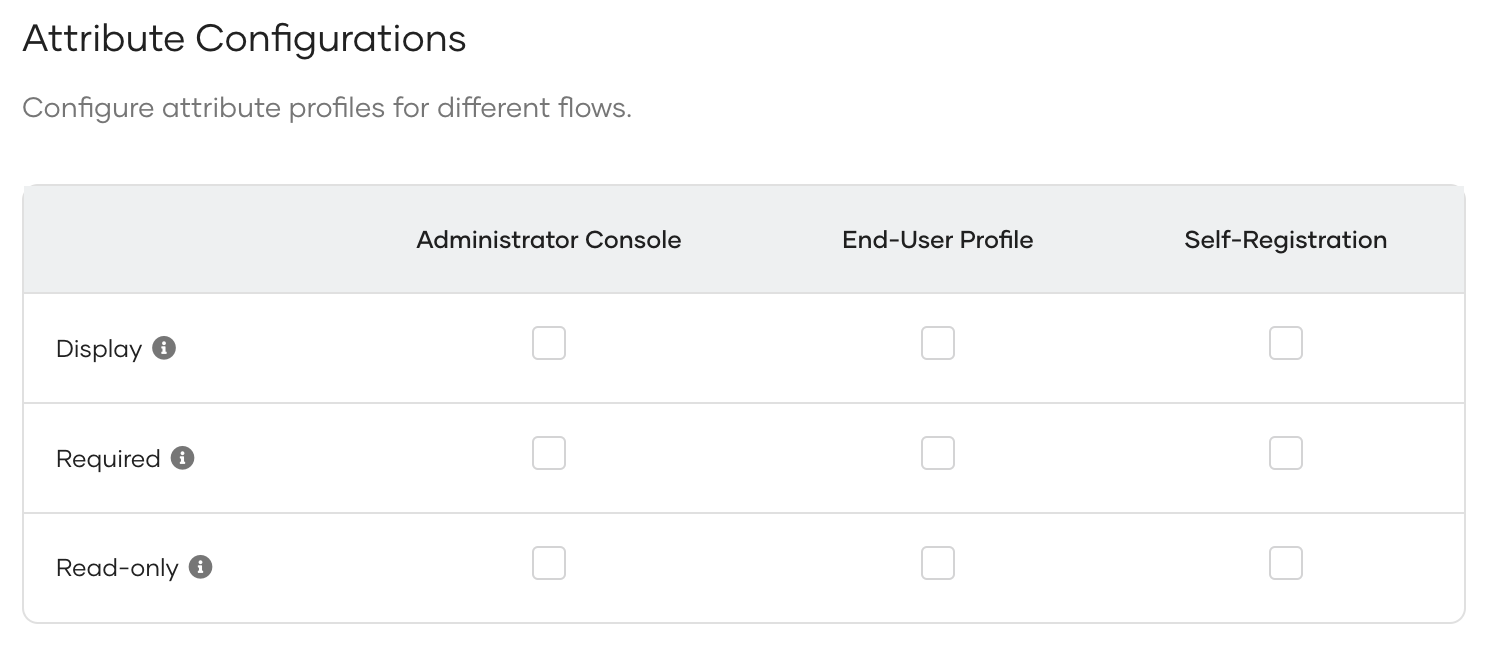
The table manages these settings across the following user interfaces:
- Administrator Console: User profiles as seen from the administrator's Console.
- End-User Profile: User profiles as seen from the users' My Account portal.
- Self-Registration: The form presented to users during self-registration.
| Display | If selected, the attribute is displayed in the entity. |
| Required | If selected, the entity must contain a value for this attribute. |
| Read-only | If selected, the value will be read-only for the entity and can't be modified. |
Only for display purposes
These settings only control how the attributes behave in WSO2-managed user interfaces. They do not affect backend or API validation.
Refer these settings from your own end-user UI
If you create a custom end-user profile UI, you can reference these configurations to apply the same rules (Display, Required, Read-only) in your own forms.
Display attributes in the user creation form
You can control whether to display this attribute when onboarding users from the Console. To do so, select both Display and Required for Administrator Console.
Additional settings
Apart from the properties in the General tab, you can configure the following additional settings for an attributes.
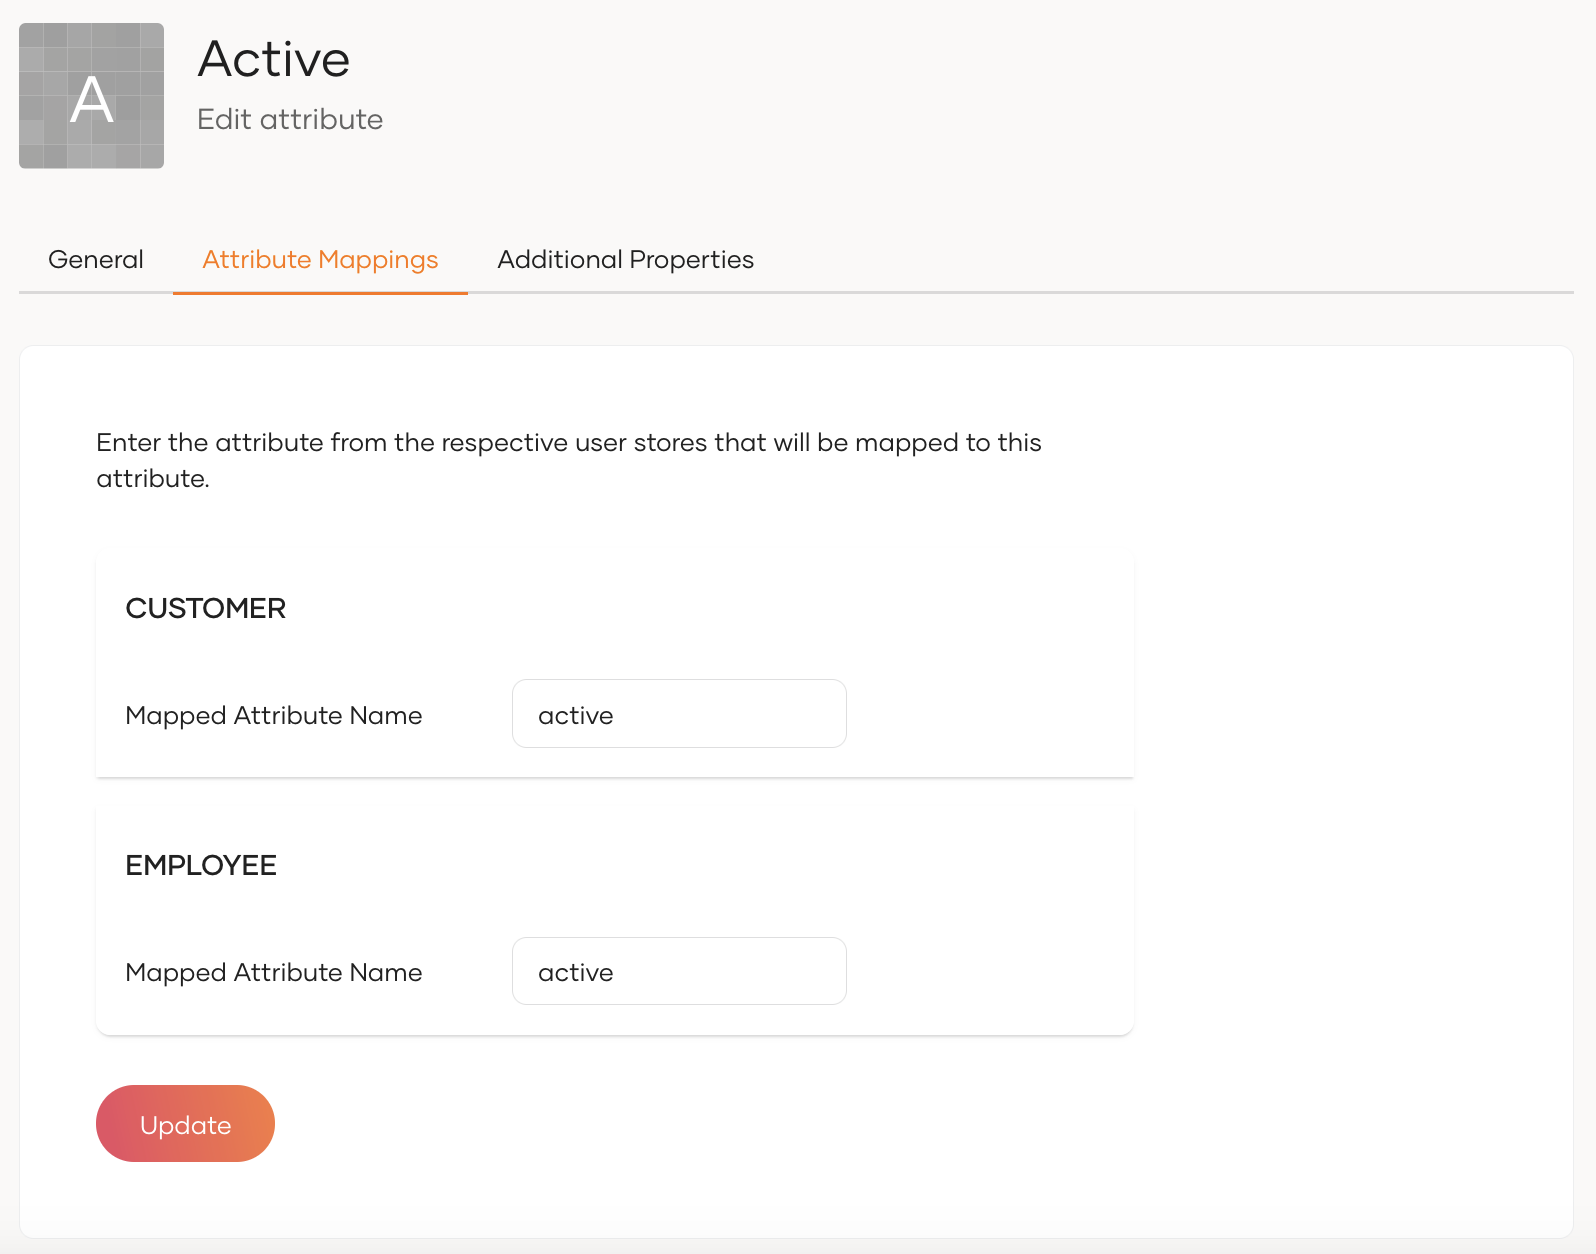
Attribute mappings
The Attribute Mappings tab lets you map attributes from each connected user store to the user attribute in WSO2 Identity Server. This makes sure the attribute is stored and updated in the correct user store field.
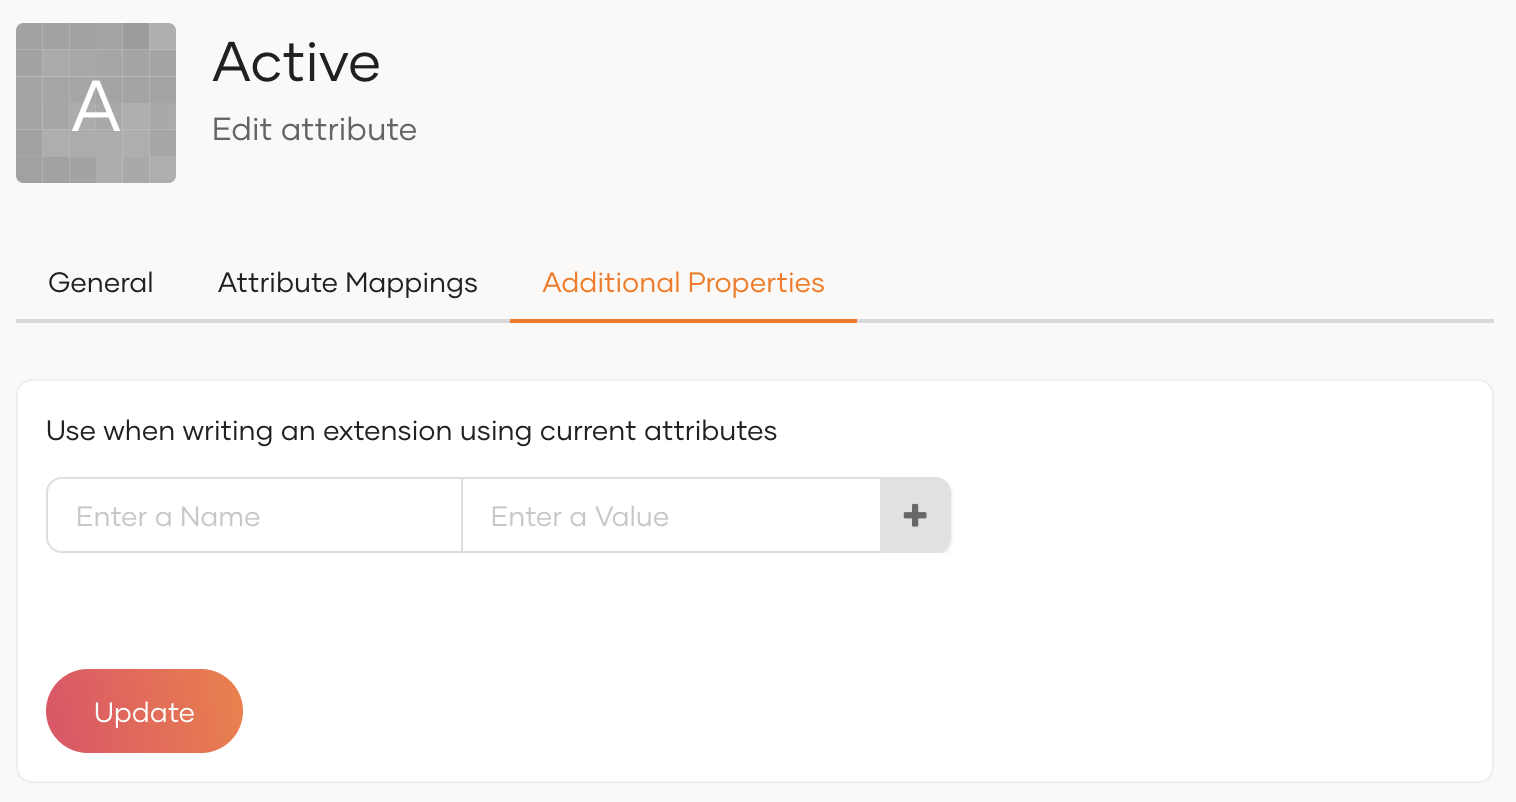
Addition properties
You can use the Additional Properties tab to add any extra properties you need when writing an extension.
Configure the storage location of attributes
WSO2 Identity Server gives you freedom to choose in what databases each attribute gets stored. You can divide attributes into two broad categories and WSO2 Identity Server manages each of them differently as explained in the following sections.
-
User attributes - Personal information that identifies a user, such as their name, email, or phone number.
-
Identity attributes - Information that describes the state or status of a user account rather than personal details. Unlike user store attributes, identity attributes focus on account-related properties, such as whether the account is verified, locked, active, or disabled.
Change the default identity attribute store
By default, WSO2 Identity Server stores identity attributes internally in the user store configured in the <IS_HOME>/repository/conf/deployment.toml file. To change this,
-
Add the following configuration to the
deployment.tomlfile. TheIdentityDataStoreServiceOSGi service uses this value to determine which data store implementation to access.Note
The class name configuration for the identity data store is now separate from the listener configurations. If you're using a custom data store class, it's crucial to update your
deployment.tomlfile to reflect this choice. This update ensures that your custom class will override the default configuration.To either maintain the previous behavior or use your custom data store, simply follow these steps and update your deployment.toml:
By making this configuration adjustment, you can ensure that your system aligns with your preferred data store class, whether it's the previous default or a custom class you've implemented. This helps you tailor the system to your specific needs.
-
For each attribute below, open its Attribute Mappings tab and map it to the corresponding attribute in the connected store.
-
http://wso2.org/claims/identity/accountLocked: Stores the locked status of the user's account. -
http://wso2.org/claims/identity/unlockTime: Time at which the user’s account gets unlocked. -
http://wso2.org/claims/identity/failedLoginAttempts: Tracks the number of consecutive failed login attempts. Account locking happens based on this value.
-
Select storage location for selected attributes
WSO2 Identity Server, by default, stores identity attributes internally and user attributes in the connected user stores. If you want to store and manage an identity attribute in your user stores or a user attribute in the identity store, you can do so by following the steps below.
-
On the WSO2 Identity Server Console, go to User Attributes & Stores > Attributes.
-
Under Manage Attributes, click Attributes to view the list of all attributes.
-
Click Edit for the attribute you want to update.
-
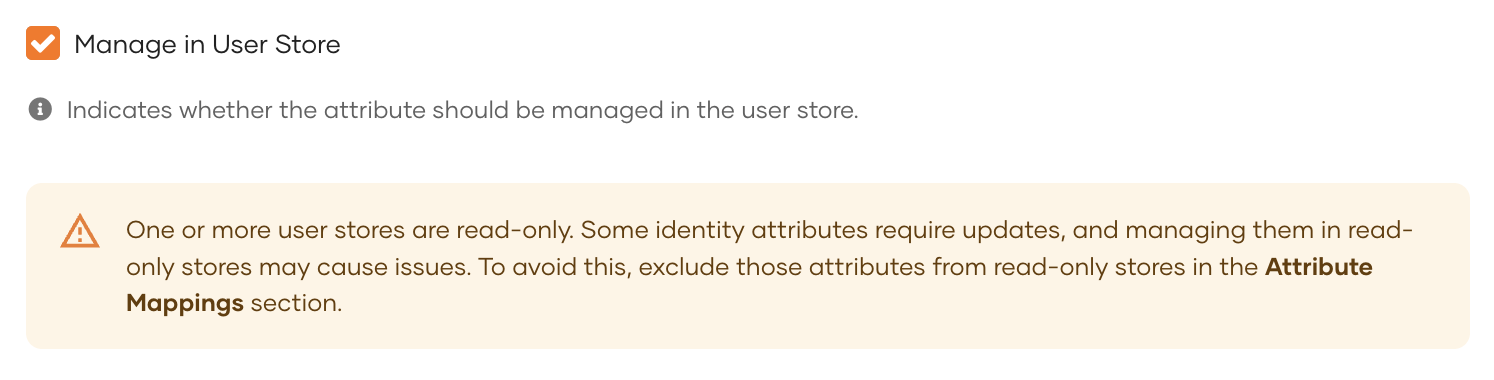
In the General tab, check/uncheck the Manage in User store checkbox. If,
-
checked: The attribute values for all user stores will be managed in the user store.
-
unchecked: The attribute values for all user stores will be managed internally by the system.
Note
This checkbox is, by default,
- checked for user attributes.
- unchecked for identity attributes.
-
-
Go to the Attribute Mappings tab and further customize the storage behavior. To do so,
-
Against each connected user store, check/uncheck the Manage in user store checkbox. If,
-
checked: The attribute values for this user store will be managed in the user store.
-
unchecked: The attribute values for this user store will be managed internally by the system.
-
-
Map the attribute from each user store that corresponds to the specific attribute.

Warning
Changing the attribute storage location may cause any existing attribute values stored in the user store or managed internally to become inaccessible. Ensure that you understand the impact before making this change.
If you have configured a Read-Only User Store and enable Manage in User Store for an identity attribute, the attribute will not be editable in the user profile. Consequently, certain internal functions that rely on updating these attributes may not work as expected.
-
-
Click Update to save the changes.
Configure hidden attributes
WSO2 Identity Server includes hidden identity attributes that support internal functionality but don't appear in the Console UI by default. These attributes typically don't require mapping with Service Providers (SPs) or Identity Providers (IdPs).
You can customize the set of hidden identity attributes by adding the following configuration to the <IS_HOME>/repository/conf/deployment.toml file:
-
To add new attributes to the hidden list, include their URIs in the hidden_claims array.
-
To unhide default hidden attributes, override the configuration with an empty list or remove the relevant URIs.