Get started with the login flow builder
A login flow defines the step-by-step journey a user takes when signing in to your application. This guide introduces the Login Flow Builder. It is a visual canvas where you can design and customize authentication journeys to meet your security and user experience goals without writing complex code.
The Login Flow Builder lets you assemble multi-step, multi-factor, and conditional login experiences using drag-and-drop authenticators and a rich library of predefined templates.
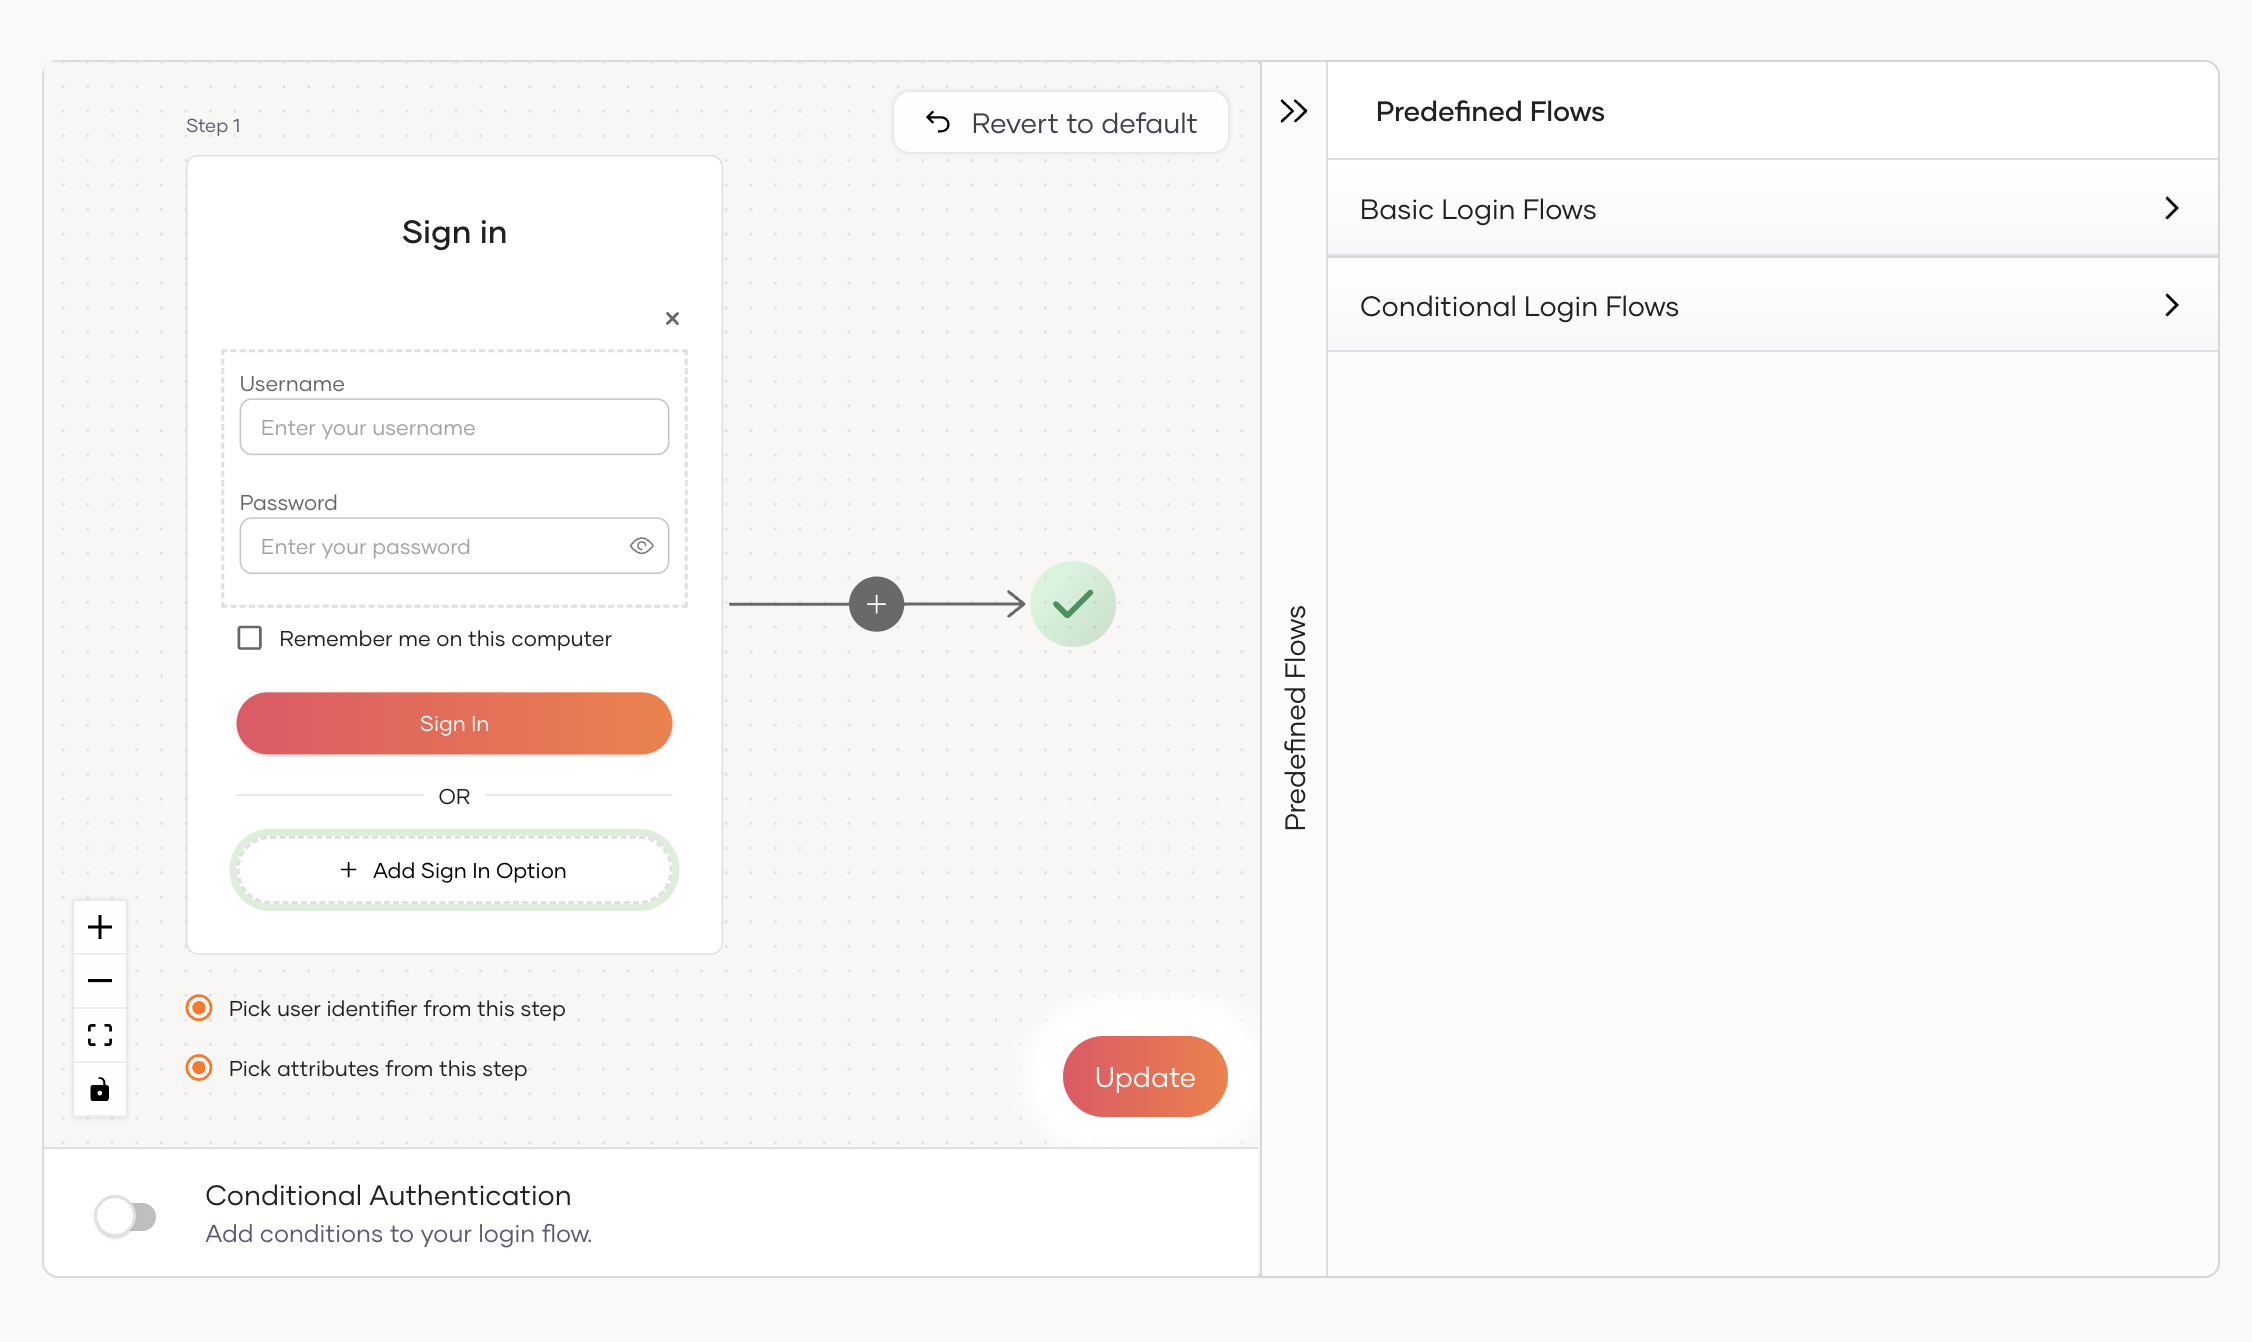
Design a login flow
The following sections outline the process for designing the login flow of your application.
Step 1: Access the login flow builder
To access the login flow builder:
-
On the WSO2 Identity Server Console, go to Applications.
-
Select your application and go to its Login Flow tab.
Step 2: Build the login flow
The Login Flow Builder provides all the building blocks you need to compose a login journey. To start building, choose one of the following methods and customize the flow with flow elements.
-
Start from a predefined flow
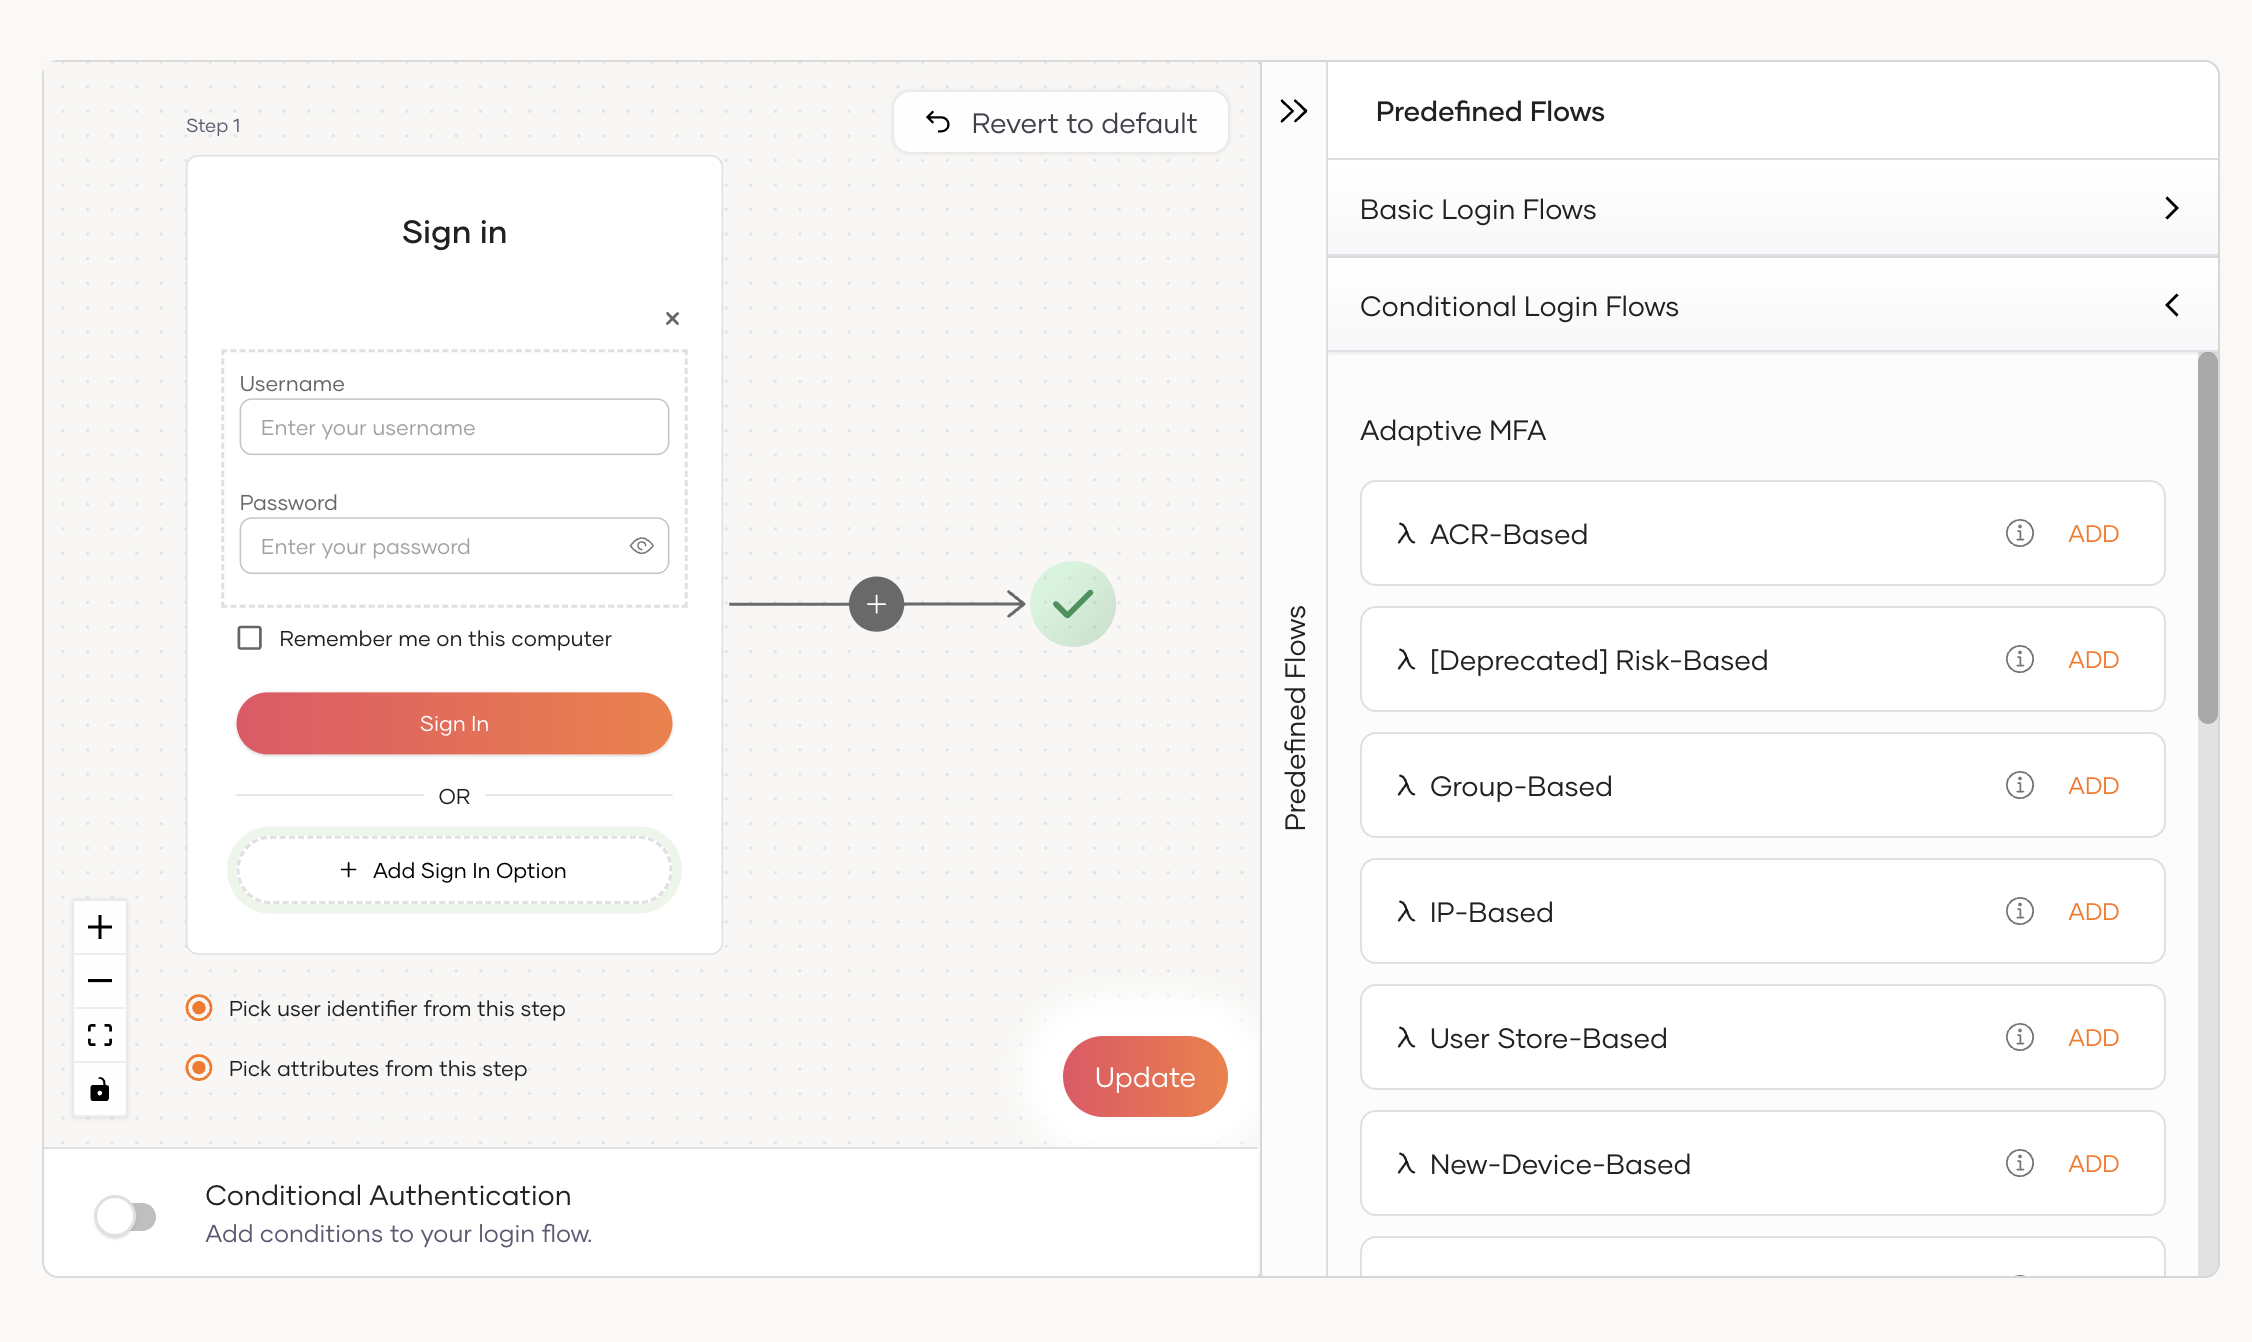
Expand the Predefined Flows panel on the right of the canvas and pick a ready-made template to apply it to the canvas. Templates are grouped into two categories:
-
Basic Login Flows – Common single-step and multi-factor combinations, such as
Username & Password,Username & Password → Email OTP, and passwordless options.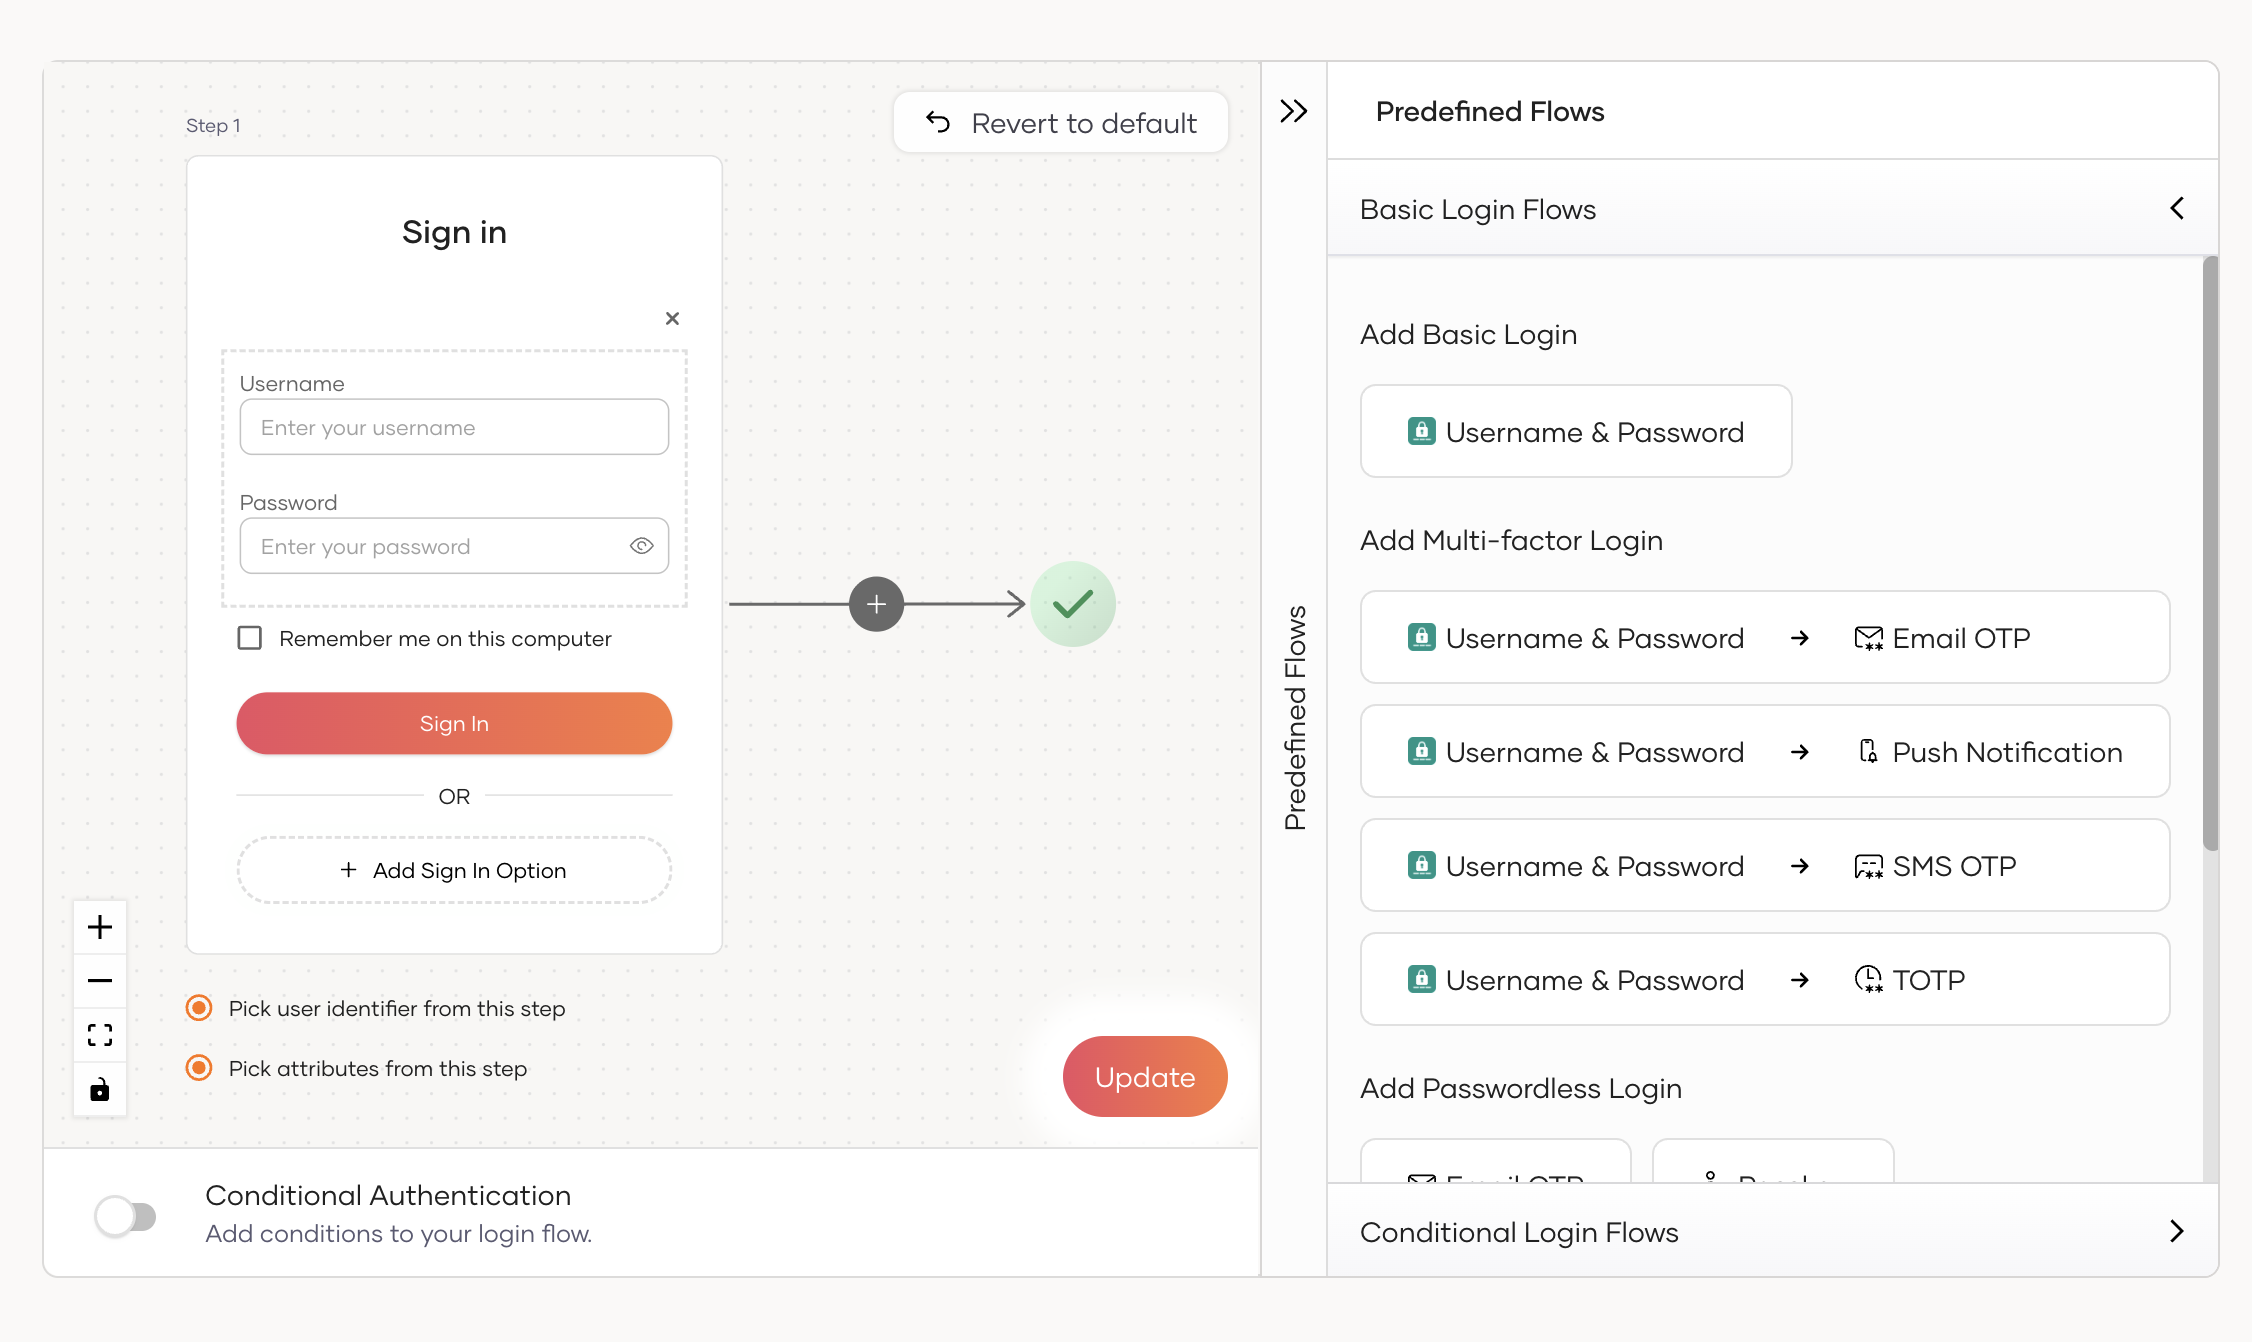
-
Conditional Login Flows – Adaptive scenarios such as role-based, group-based, IP-based, and device-based authentication that come with a matching conditional authentication script.
-
-
Build from scratch
For complete control, start with the default
Username & Passwordstep and extend it with the required authenticators.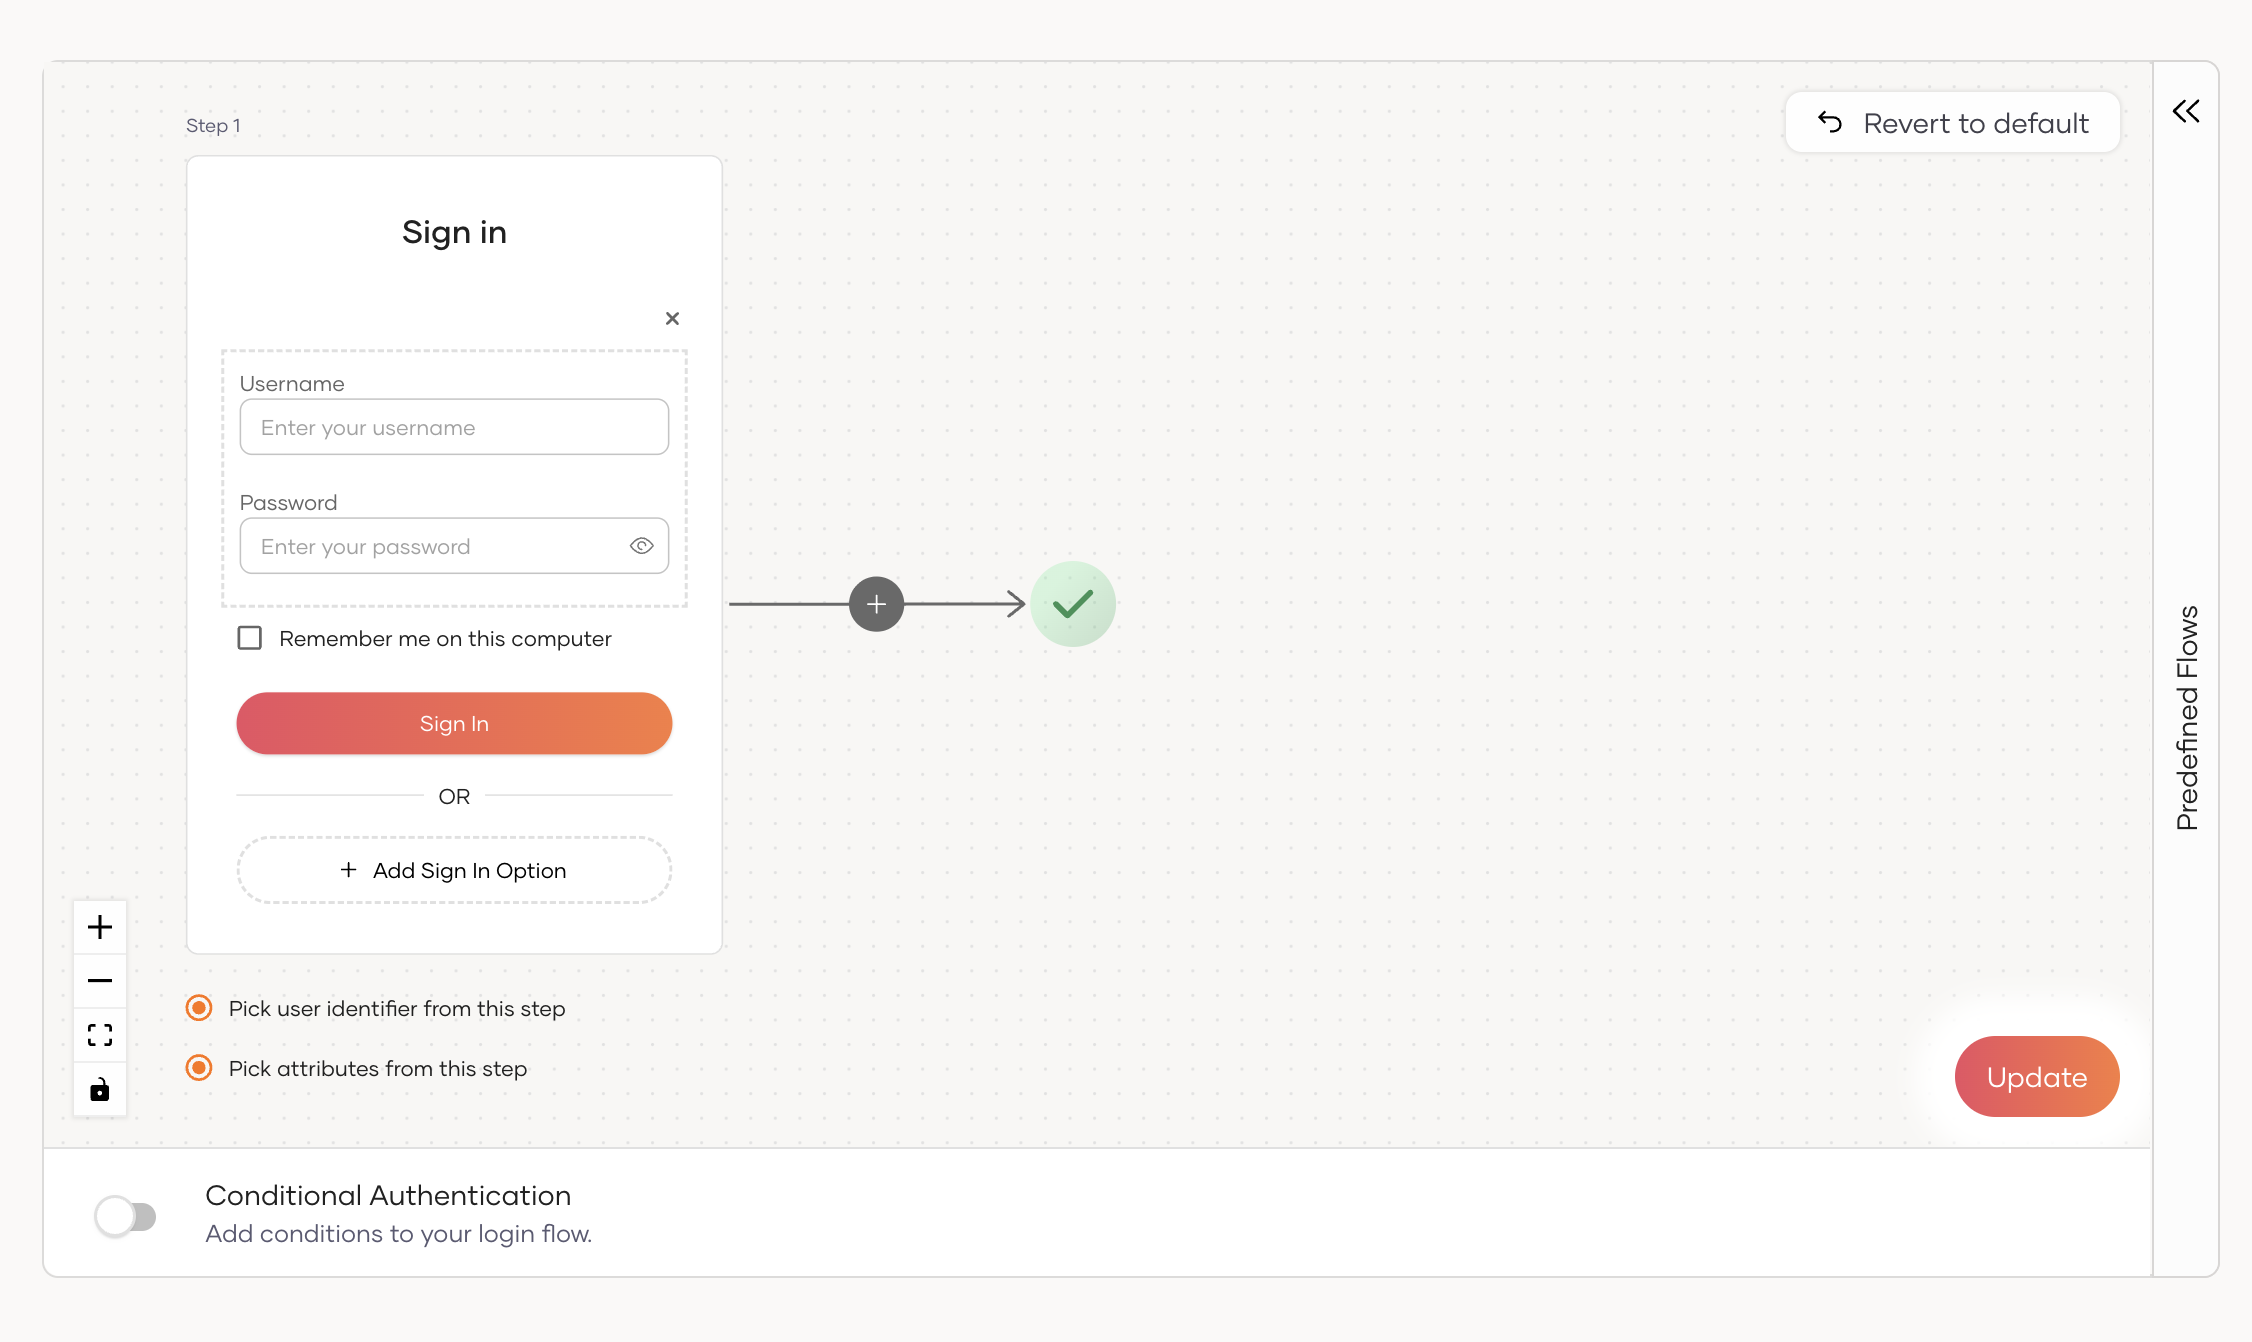
-
Click + Add Sign In Option to add another authenticator to the current step.
-
Click the + icon between steps to insert a new step and add the required authenticators to it.
-
-
Generate with Login Flow AI
Describe your login flow in plain language, and let the AI engine assemble it for you. You can then refine the generated flow using the same building blocks. See Login Flow AI for details.
Step 3: Apply the login flow
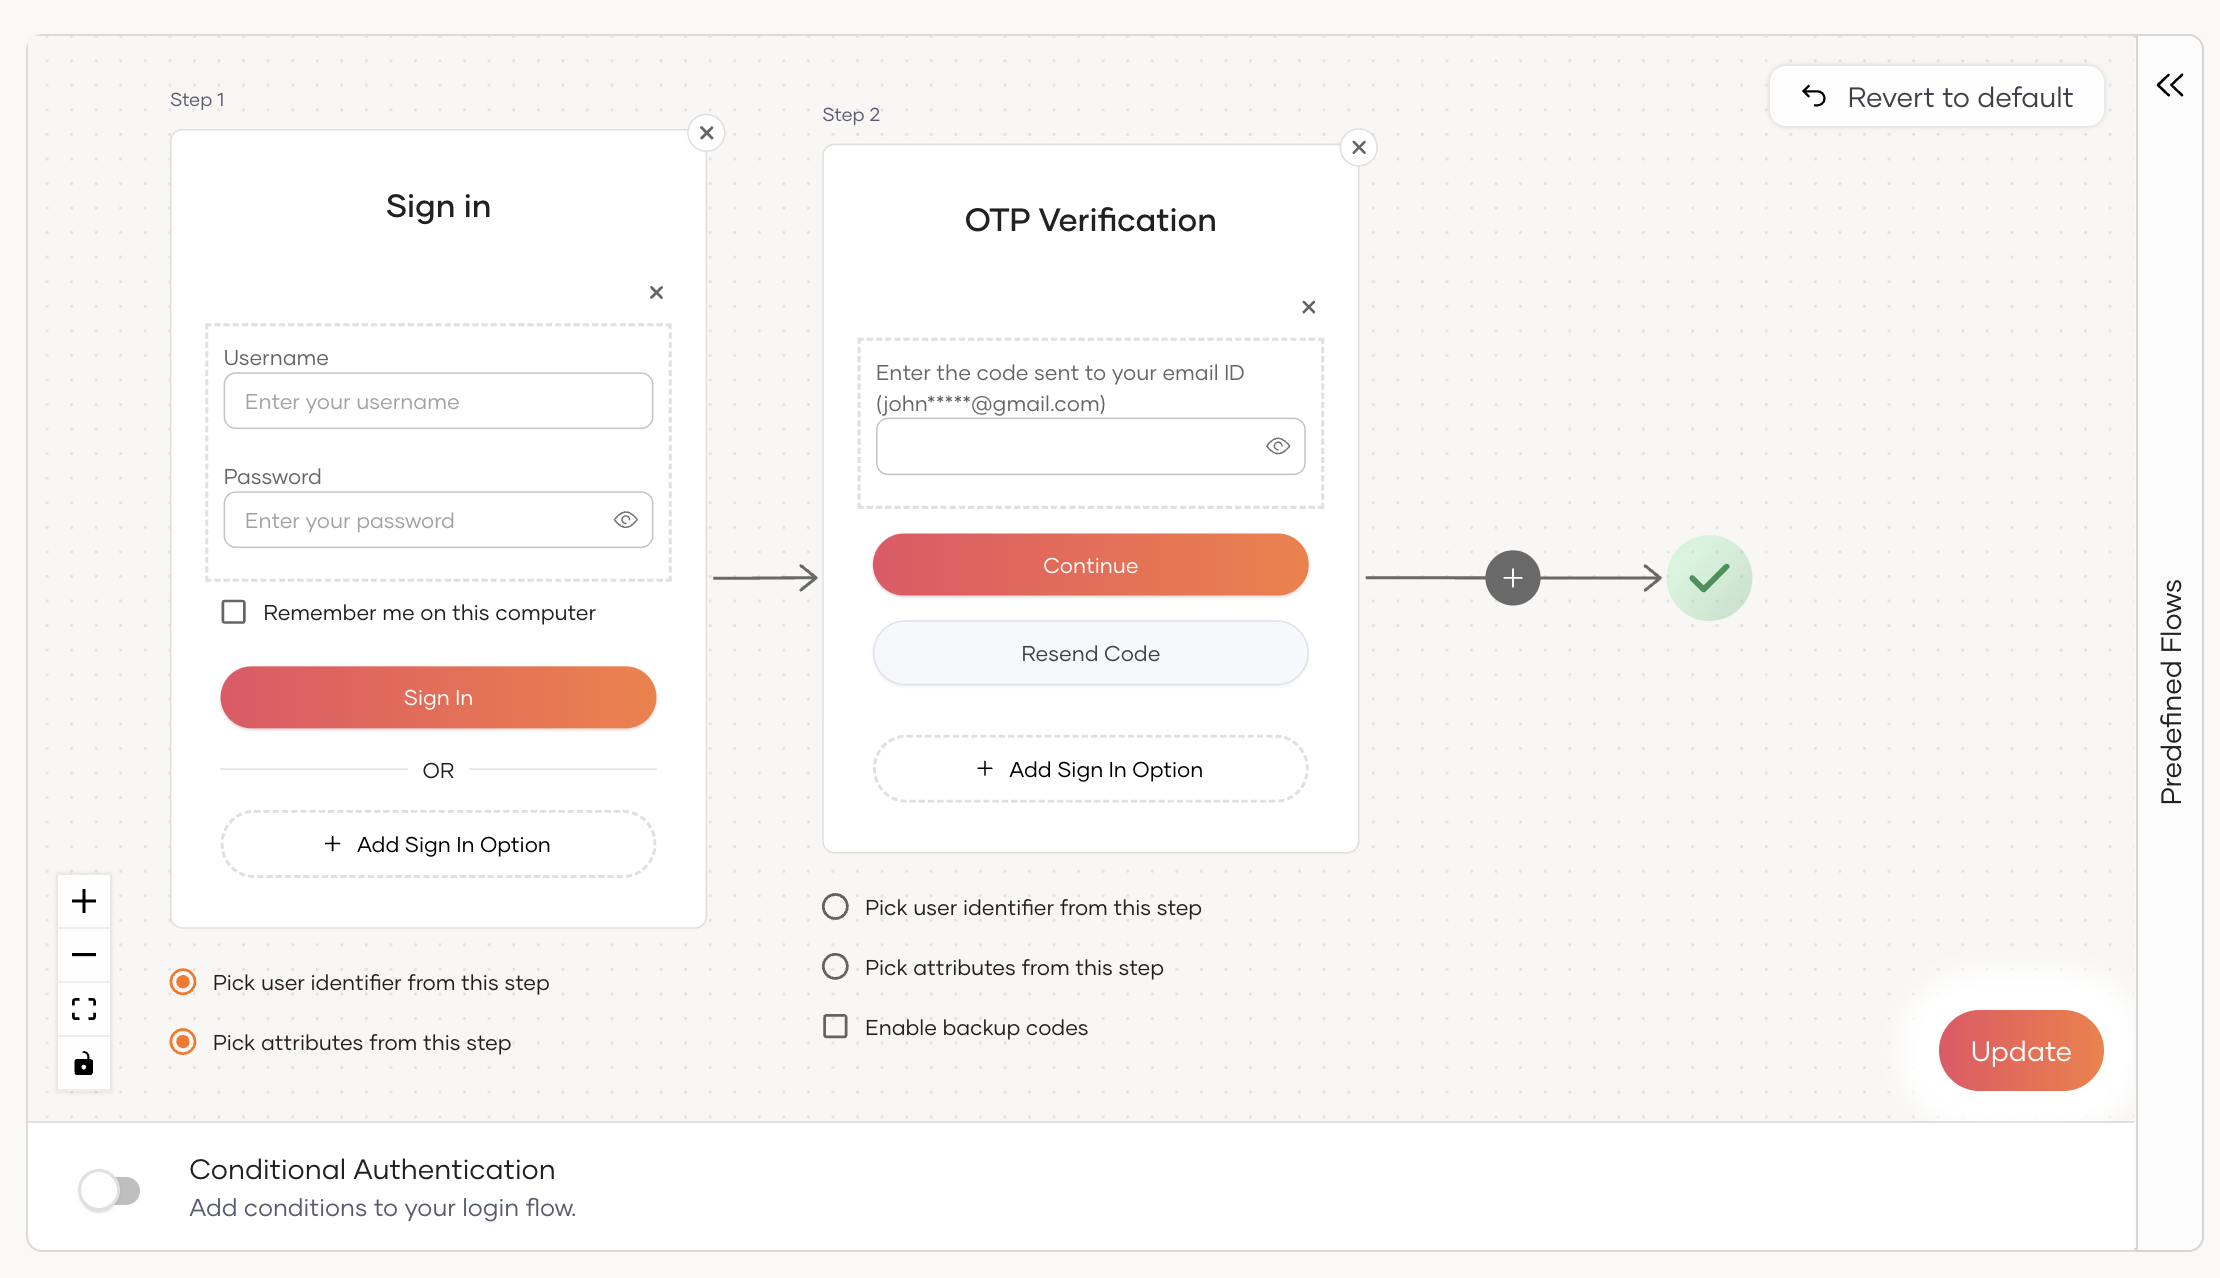
Click Update at the bottom right of the canvas to save your changes. The next time a user signs in to the application, they will experience the updated login flow.
To discard your changes and roll back to the initial version, click Revert to default at the top right of the canvas.
Flow elements
The Login Flow Builder provides a set of reusable elements to compose a login journey. The following sections describe the key elements.
Steps
A step represents a distinct authentication stage in the login flow. A login flow contains one or more steps, and each step can host one or more authenticators. Users progress through the steps in order.
Use the + icon between steps to add a new step and the x icon on a step to remove it.
Authenticators
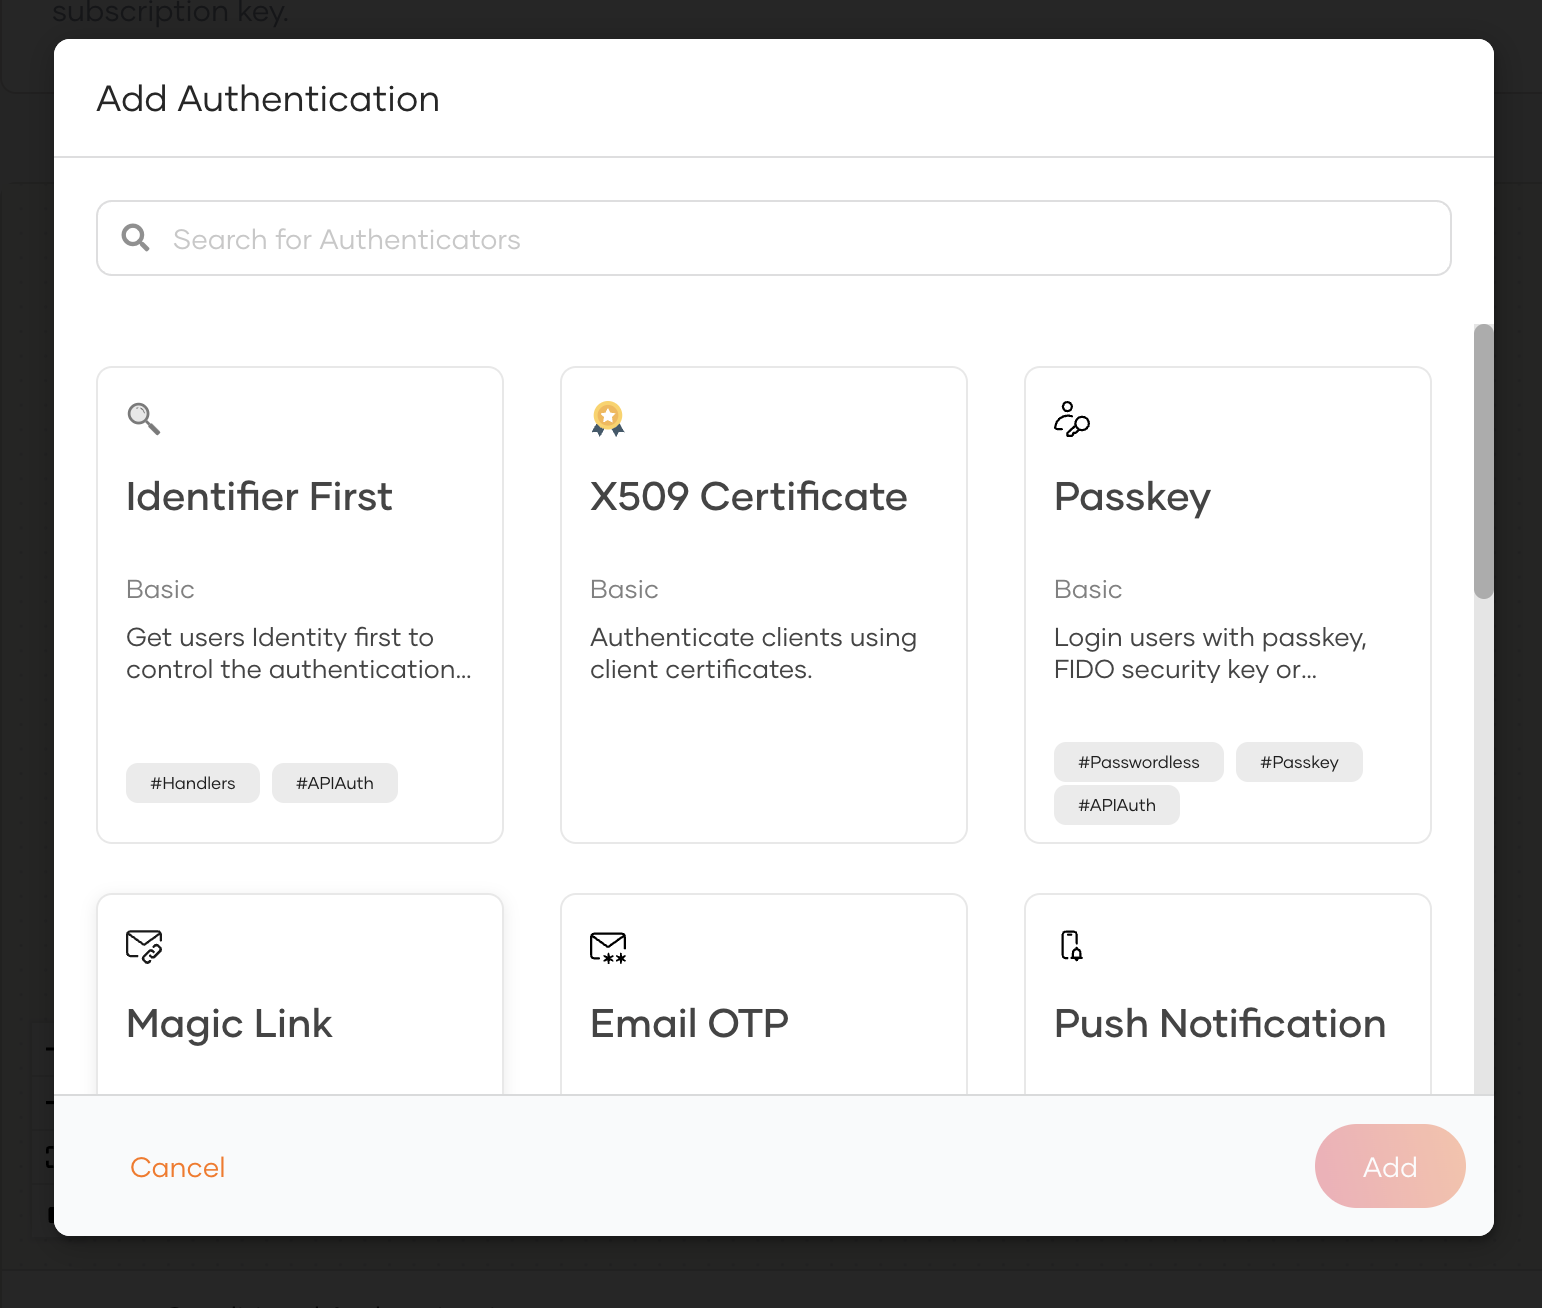
Authenticators are the identity verification components you place inside a step, such as Username & Password, Email OTP, Passkey, Identifier First, or any configured social/enterprise connection.
To add an authenticator to a step:
-
Click + Add Sign In Option on the target step.
-
Search for or select the authenticator you want to add, and click Add.
Note
Only enabled connections and authenticators are available in the picker. To make additional authenticators available, first set up the required connection.
Step attribute selection
Each step exposes two options that control how identity information is resolved during authentication:
-
Pick user identifier from this step – The username of the authenticated user is taken from this step.
-
Pick attributes from this step – User attributes are read from the identity provider used in this step.
These options are especially useful in multi-step and federated login flows where the identifier and profile attributes may come from different steps.
Conditional authentication
Turn on Conditional Authentication to add an adaptive authentication script that controls how the login flow behaves at runtime. Scripts can branch based on user attributes, device information, group membership, session risk, and more.
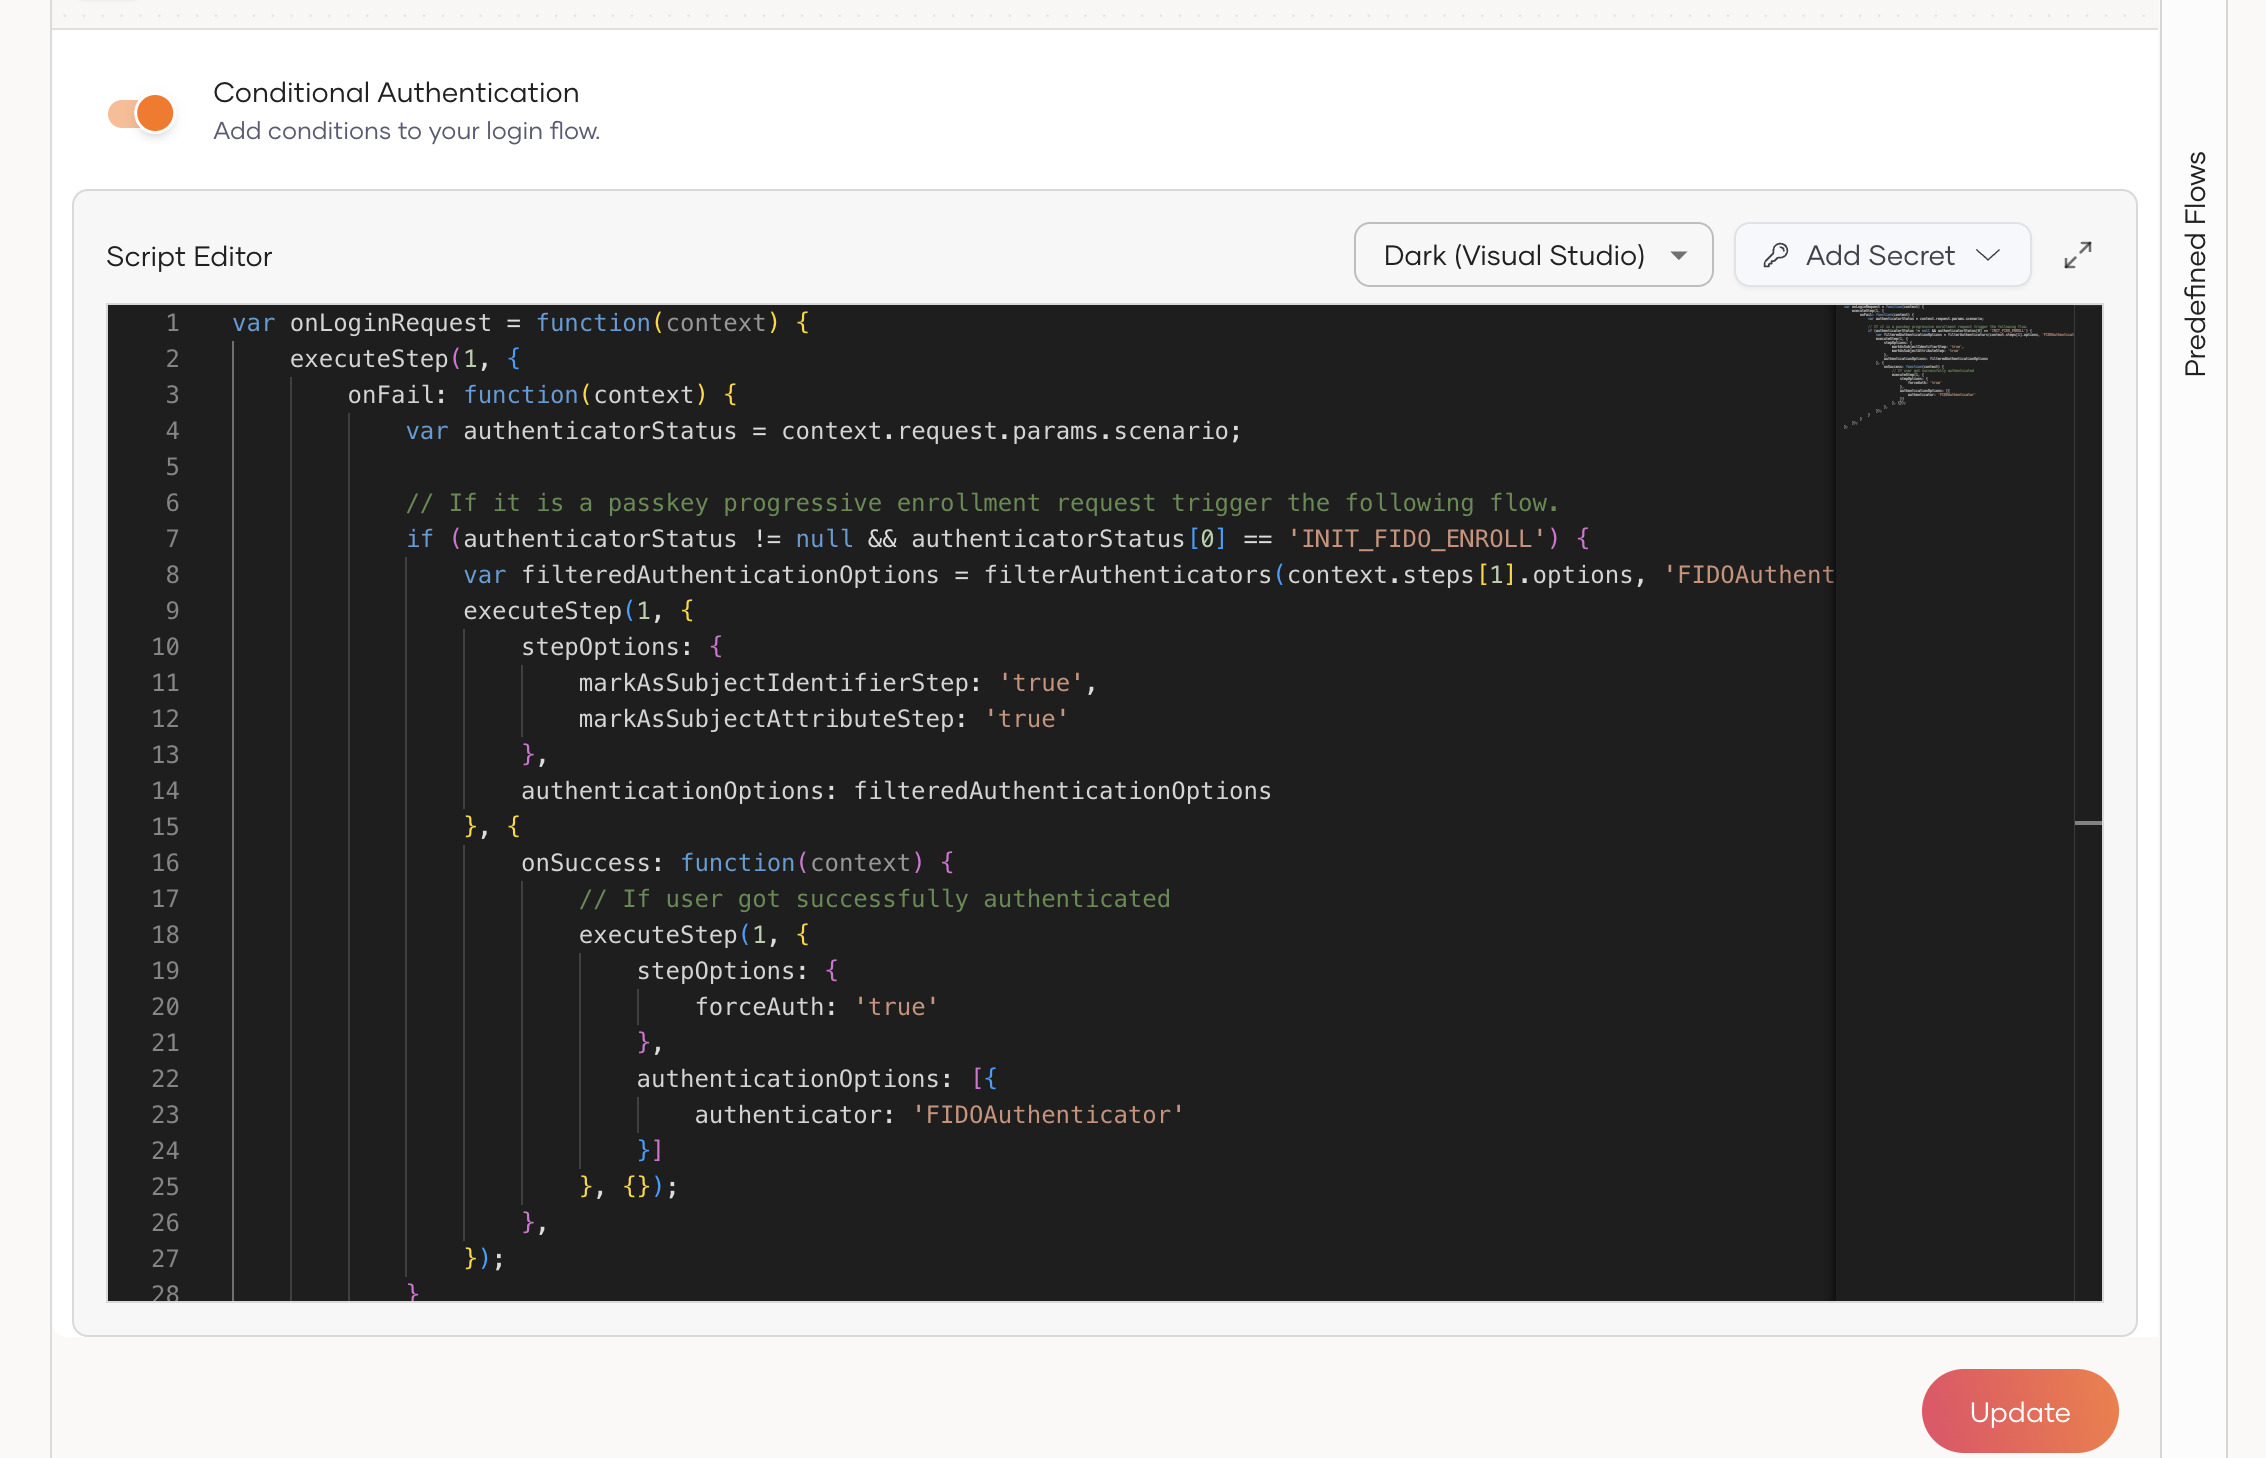
To learn how to write and apply scripts, see Add conditional authentication.