Configure SAML federated IdP-Initiated Single Sign-On (SSO)
Single Sign On (SSO) is an authentication process which allows users to log in once and gain access to an organization's applications without having to authenticate to each individual application.
Federated IdP-initiated SSO extends this capability and enables a user belonging to an external organization to seamlessly access applications within your organization. In this scenario, your organization's Identity Provider (IdP) and the external organization's IdP establish a trust relationship. Therefore, external users can conveniently log in to their own IdP and access applications in another organization without having to create accounts in that organization.
This guide explains how you can implement federated IdP-initiated SSO using WSO2 Identity Server.
Scenario
The steps below implement the following example scenario.
- Two instances of WSO2 Identity Server running on two different ports (e.g. 9443 and 9444), represent the internal and external IdPs respectively.
- The first instance (internal IdP) has an application called
travelocity. - A user belonging to the second instance (external IdP) should be able to access
travelocitywithout creating an account in the internal IdP.
Prerequisites
Before you begin, be sure to set up the following:
-
Set up two instances of WSO2 Identity Server.
-
Set a port offset for the external IdP so that it runs on port 9444.
Info
Learn how to set an offset.
-
Since there can be cookie issues when the same hostname is configured for both WSO2 Identity Server instances, it is recommended that you configure different hostnames for the servers.
Info
Learn how to change the hostname for a WSO2 Identity Server instance. In this guide, the hostname of the external IdP is changed to
localhost.com.
Create the application
The travelocity.com application should reside in the internal IdP. Follow the steps below in the internal IdP to register it as an application.
-
On the WSO2 Identity Server (which is running on 9443 port) Console, go to Applications.
-
Click on New Application and select Standard-Based Application.
-
Configure the following:
Name travelocity.com Protocol SAML Issuer travelocity.com Assertion consumer service URLs http://localhost:8080/travelocity.com/home.jsp Name travelocity.com Protocol OIDC Allowed Grant Types Code Authorized redirect URLs http://localhost:8080/travelocity.com/home.jsp -
Click Create.
-
Go to the Protocol tab of the created application and under Single Sign-On Profile, select the Enable IdP initiated SSO checkbox.
-
Click Update to save the changes.
Configure the identity providers
When performing federated IdP-initiated SSO, the two WSO2 Identity Server instances exhibit different behaviors as explained below.
-
The
external IdPperforms the actual user authentication since the user's account resides in it. Therefore, the external IdP acts as the identity provider and sends the SAML assertion of the authenticated user to the internal IdP. -
The
internal IdPdelegates the authentication to the external IdP. Therefore, the internal IdP acts as a service provider and consumes the SAML assertion sent by the external IdP.
To establish this connection, we need to register the external IdP as an identity provider (connector) in the internal IdP and register the internal IdP as a service provider (application) in the external IdP.
Register the external IdP as a connector
The external IdP needs to be registered as a connector in the internal IdP. This enables the external IdP to act as an identity provider and be used as a login option for the travelocity.com application.
To do so, follow the steps below in the internal IdP.
-
On the WSO2 Identity Server (which is running on 9443 port) Console, go to Connections.
-
Click New Connection > Standard-Based IdP
-
Provide
Externalas the name and select SAML as the protocol. -
Click Next and enter the following details:
Parameter Description Value Service Provider Entity ID The ID of the application that will consume the SAML assertion sent by this connector. This value should match the Issueryou configure when registering the internal IdP as an application (steps in the section below).Internal Mode of configuration You may either configure settings manually or use file/url-based configurations. Manual Configuration Identity Provider Single Sign-On URL The URL of the identity provider used for performing SSO. https://localhost:9444/samlsso Identity Provider entity ID The ID of the identity provider. In this instance, the external IdP is an instance of WSO2 Identity Server. Therefore, the ID defaults to localhost.localhost -
Click Next and upload the external IdP certificate.
-
Click Finish to create the connection.
-
On the WSO2 Identity Server Console, return to Applications and select the
travelocity.comapplication you registered in step 1. -
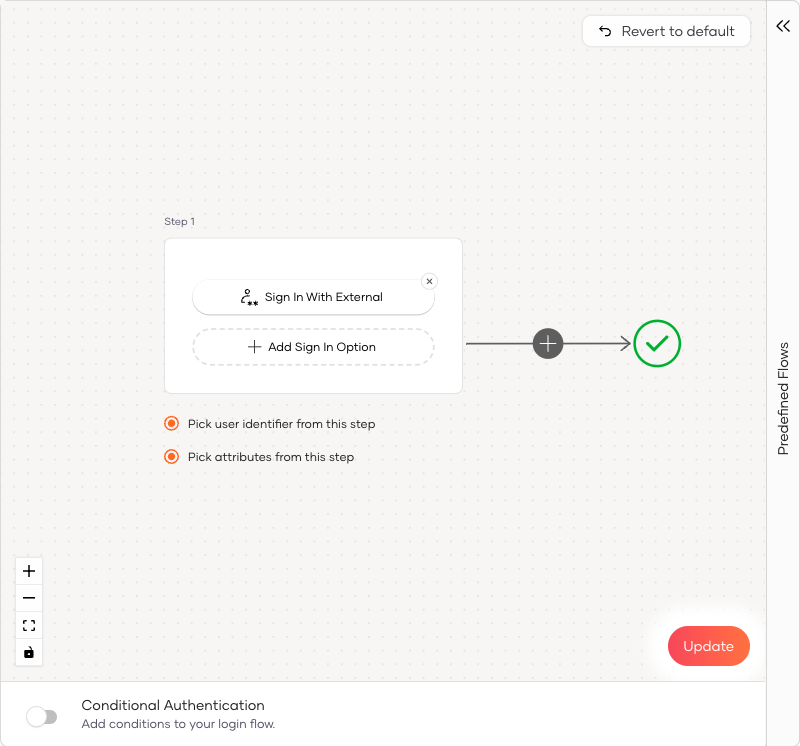
Go to the application's Login Flow tab, click Add Sign In Option for the first step of authentication and add the configured connection as a sign in option.
-
Click Update to save the changes.
Register the internal IdP as an application
The internal IdP needs to be registered as an application in the external IdP. This enables the internal IdP to consume the SAML assertion sent by the external IdP after user authentication.
To do so, follow the steps below in the external IdP.
-
On the WSO2 Identity Server (which is running on 9444 port) Console, go to Applications.
-
Click on New Application and select Standard-Based Application.
-
Configure the following:
Name Internal Protocol SAML Issuer Internal Assertion consumer service URLs https://localhost:9443/samlsso?spEntityID=travelocity.com
Default Assertion Consumer URL https://localhost:9443/samlsso?spEntityID=travelocity.com Name Internal Protocol SAML Issuer Internal Assertion consumer service URLs https://localhost:9443/oauth2/authorize?response_type=code&client_id= &scope=openid&redirect_uri= Default Assertion Consumer URL https://localhost:9443/oauth2/authorize?response_type=code&client_id= &scope=openid&redirect_uri= Note
Add
https://localhost:9443/commonauthendpoint to Assertion consumer service URLs support the SP initiated SSO flow as well. -
Click Create.
-
Go to the Protocol tab of the created application and under Single Sign-On Profile, select the Enable IdP initiated SSO checkbox.
-
Click Update to save the changes.
Try it out
You have now made the application in your internal IdP accessible to the users belonging to the external IdP. Follow the steps below to try out logging into the internal application as an external user.
Deploy the application
Follow the steps below to download and run the travelocity.com application:
Before you begin
-
Make sure you have Apache Tomcat 8.x.x. The
webappsdirectory in the Tomcat installation will be referred to as<WEBAPPS>. -
It is recommended to change the hostname to something other than
localhostto avoid browser errors. Modify your machine's/etc/hostsentry to reflect this.
-
Download the sample application
-
Copy the
travelocity.warfile into<WEBAPPS>.Note
In order to be consistent with the configurations above,
-
Rename the
travelocity.warfile astravelocity.com.war. -
Change the following configs in the
<WEBAPPS>/travelocity.com/WEB-INF/classes/travelocity.properties.
In order to be consistent with the configurations above,
-
Rename the
travelocity.warfile astravelocity.com.war. -
Change the following configs in the
<WEBAPPS>/travelocity.com/WEB-INF/classes/travelocity.properties.
-
-
Restart the Tomcat server.
Sign in with the Federated IdP-initiated flow
Before your begin
Make sure you have created a user in the external IdP. Refer to manage users to learn more.
-
Initiate IdP-initiated SSO using the following command. You will be redirected to the login screen of the
travelocity.comapplication. -
Click Login with External. You will be redirected to the login screen of the external IdP.
-
Enter the user's credentials to login. You will be redirected to the home page of
travelocity.comNote
If you already have a user session in your browser, you will be redirected right into the application as an authenticated user.