WSO2 Identity Server user roles
Roles define the permissions required for the users to access the WSO2 Identity Server resources such as functions available on the WSO2 Identity Server Console, REST APIs, etc.
When you assign a role to a user, you control what the user can do in WSO2 Identity Server.
By default, WSO2 Identity Server has the admin user role. This role includes all administrative permissions in the organization. An organization can have many users with the admin role. An admin represents a privileged user who has full access to the organization.
The following list contains the permissions enabled for an admin:
User management
- View users
- Onboard users
- Update user profiles
- Delete users
- Terminate sessions
- View groups
- Create groups
- Update and delete groups
- View assigned users to groups
- Assign users to groups
- View roles
- Create roles
- Update and delete roles
- Assign users to roles
- Assign groups to roles
Application management
- View apps and app settings
- Register apps
- Update and delete apps
- Update Sign-in methods
- Update protocol settings
Connections management
- View connections and connection settings
- Create new connection
- Update and delete connections
Organization management
- Create new organizations
- View all the organizations created
- As the organization creator, update and delete organizations that you created
- Switch to the organizations that you created
- Share applications from the organization (root) to its organizations
Managing attributes and scopes
- View attributes
- Create new attributes
- Update and delete attributes
- View scopes
- Add new attributes to scopes
- Update and delete scopes
Managing organization settings
- View account recovery scenario and settings
- Configure account recovery scenarios
- View self registration related settings
- Configure self registration for users
- View account security related settings and configurations
- Configure account security related settings
Create custom console roles
WSO2 Identity Server allows you to create custom roles with specific permissions to tailor the Console experience to privileged users in your organization.
Follow the steps below to configure a custom console role in WSO2 Identity Server.
- On the WSO2 Identity Server Console, go to Console Settings > Roles.
-
Click on New Role and provide the following details:
- Role Name: Provide a name for the role.
- Permissions: Select the required permissions for the role.
Note
You can select either View or Edit permission for each resource. Selecting Edit will automatically inherit the View permission for that resource.
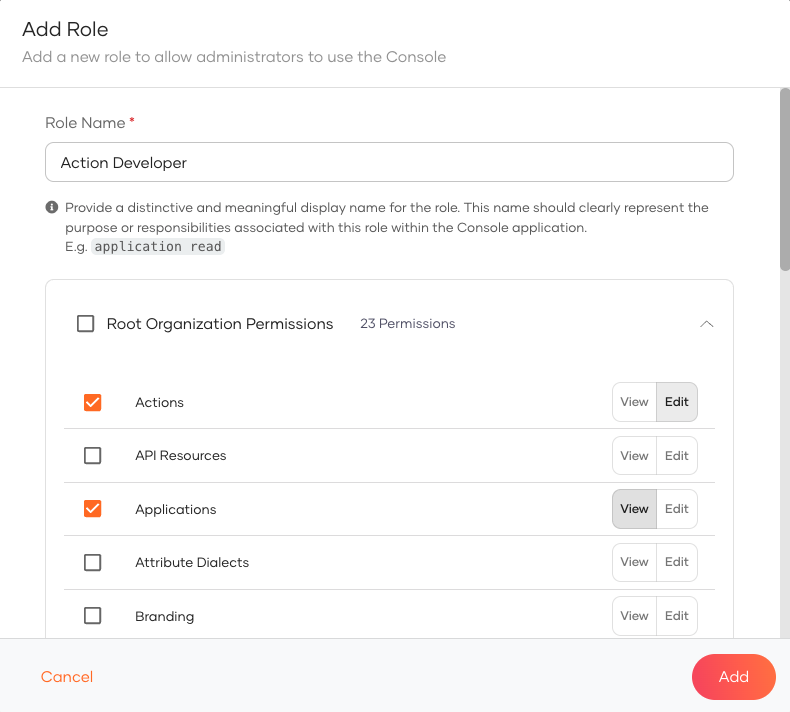 3. Click Add to create the custom role.
Assign users to console role
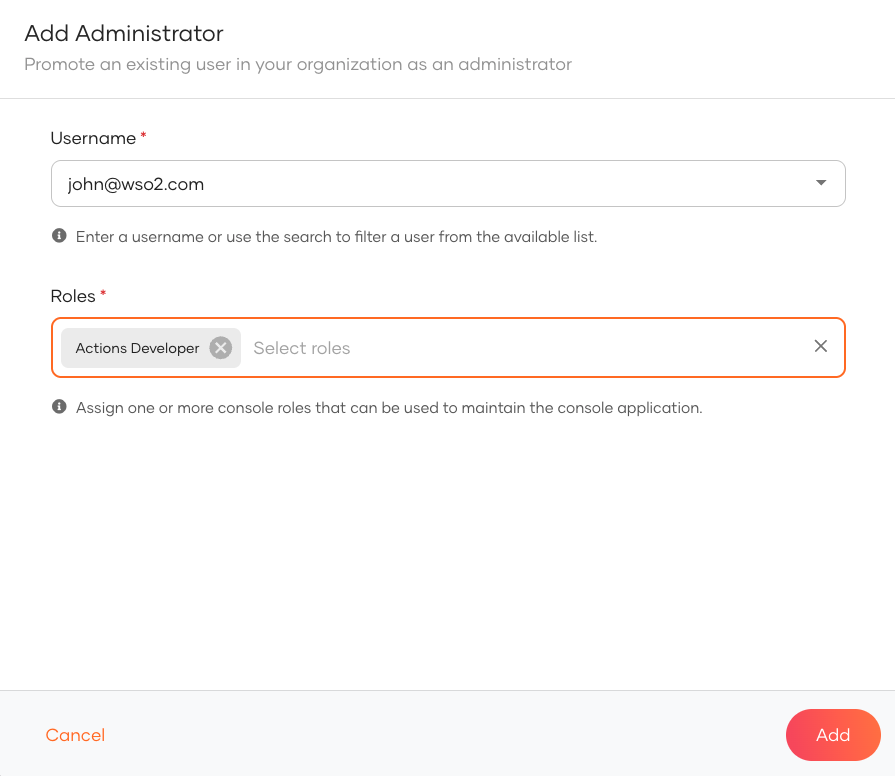
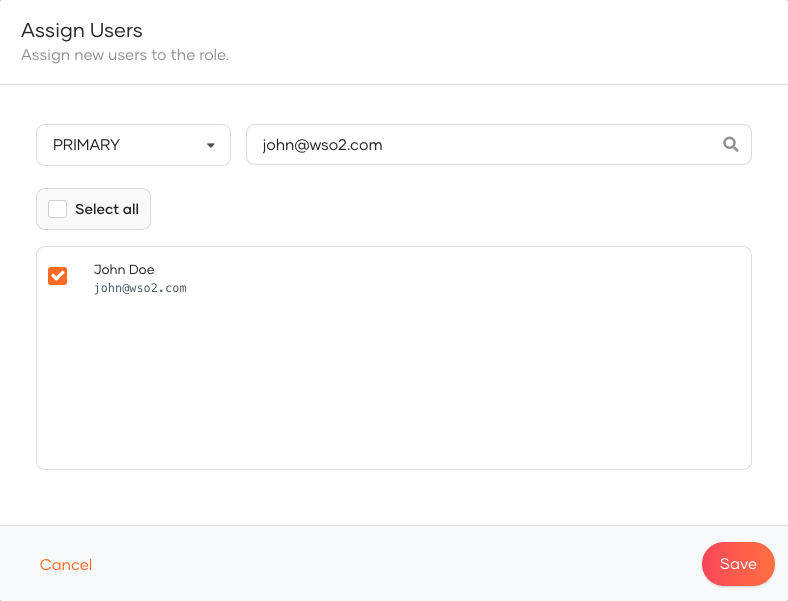
You can assign users to roles using either of the following methods:
- On the Console Settings > Administrators tab, click Add Administrator, then select the user and the role to assign.
- On the Console Settings > Roles tab, click on the role you want to assign. In the Role Settings page, go to the Users tab and click Assign User to assign users to the role.
Try it out
- Copy the Console URL from the Console Settings page.
- Share it with the assigned users to log in to the WSO2 Identity Server Console.