Set up outbound provisioning
Follow the steps below to create a custom connection, configure an outbound connector, and enable outbound provisioning for your organization.
Step 1: Create a provisioning connection
-
On the WSO2 Identity Server Console, click Connections and click New Connection.
-
Click Create Connection and select Custom Connector.
-
Provide a name and a description for the connector and click Finish.
-
On the Outbound provisioning tab of the created connection, select New Connector.
-
Configure the outbound connector of your choice and click Finish.
Note
WSO2 Identity Server supports the following outbound connectors. Learn how to configure the connector of your choice by following the relevant guide.
-
Switch on the toggle to enable the configured outbound connector.
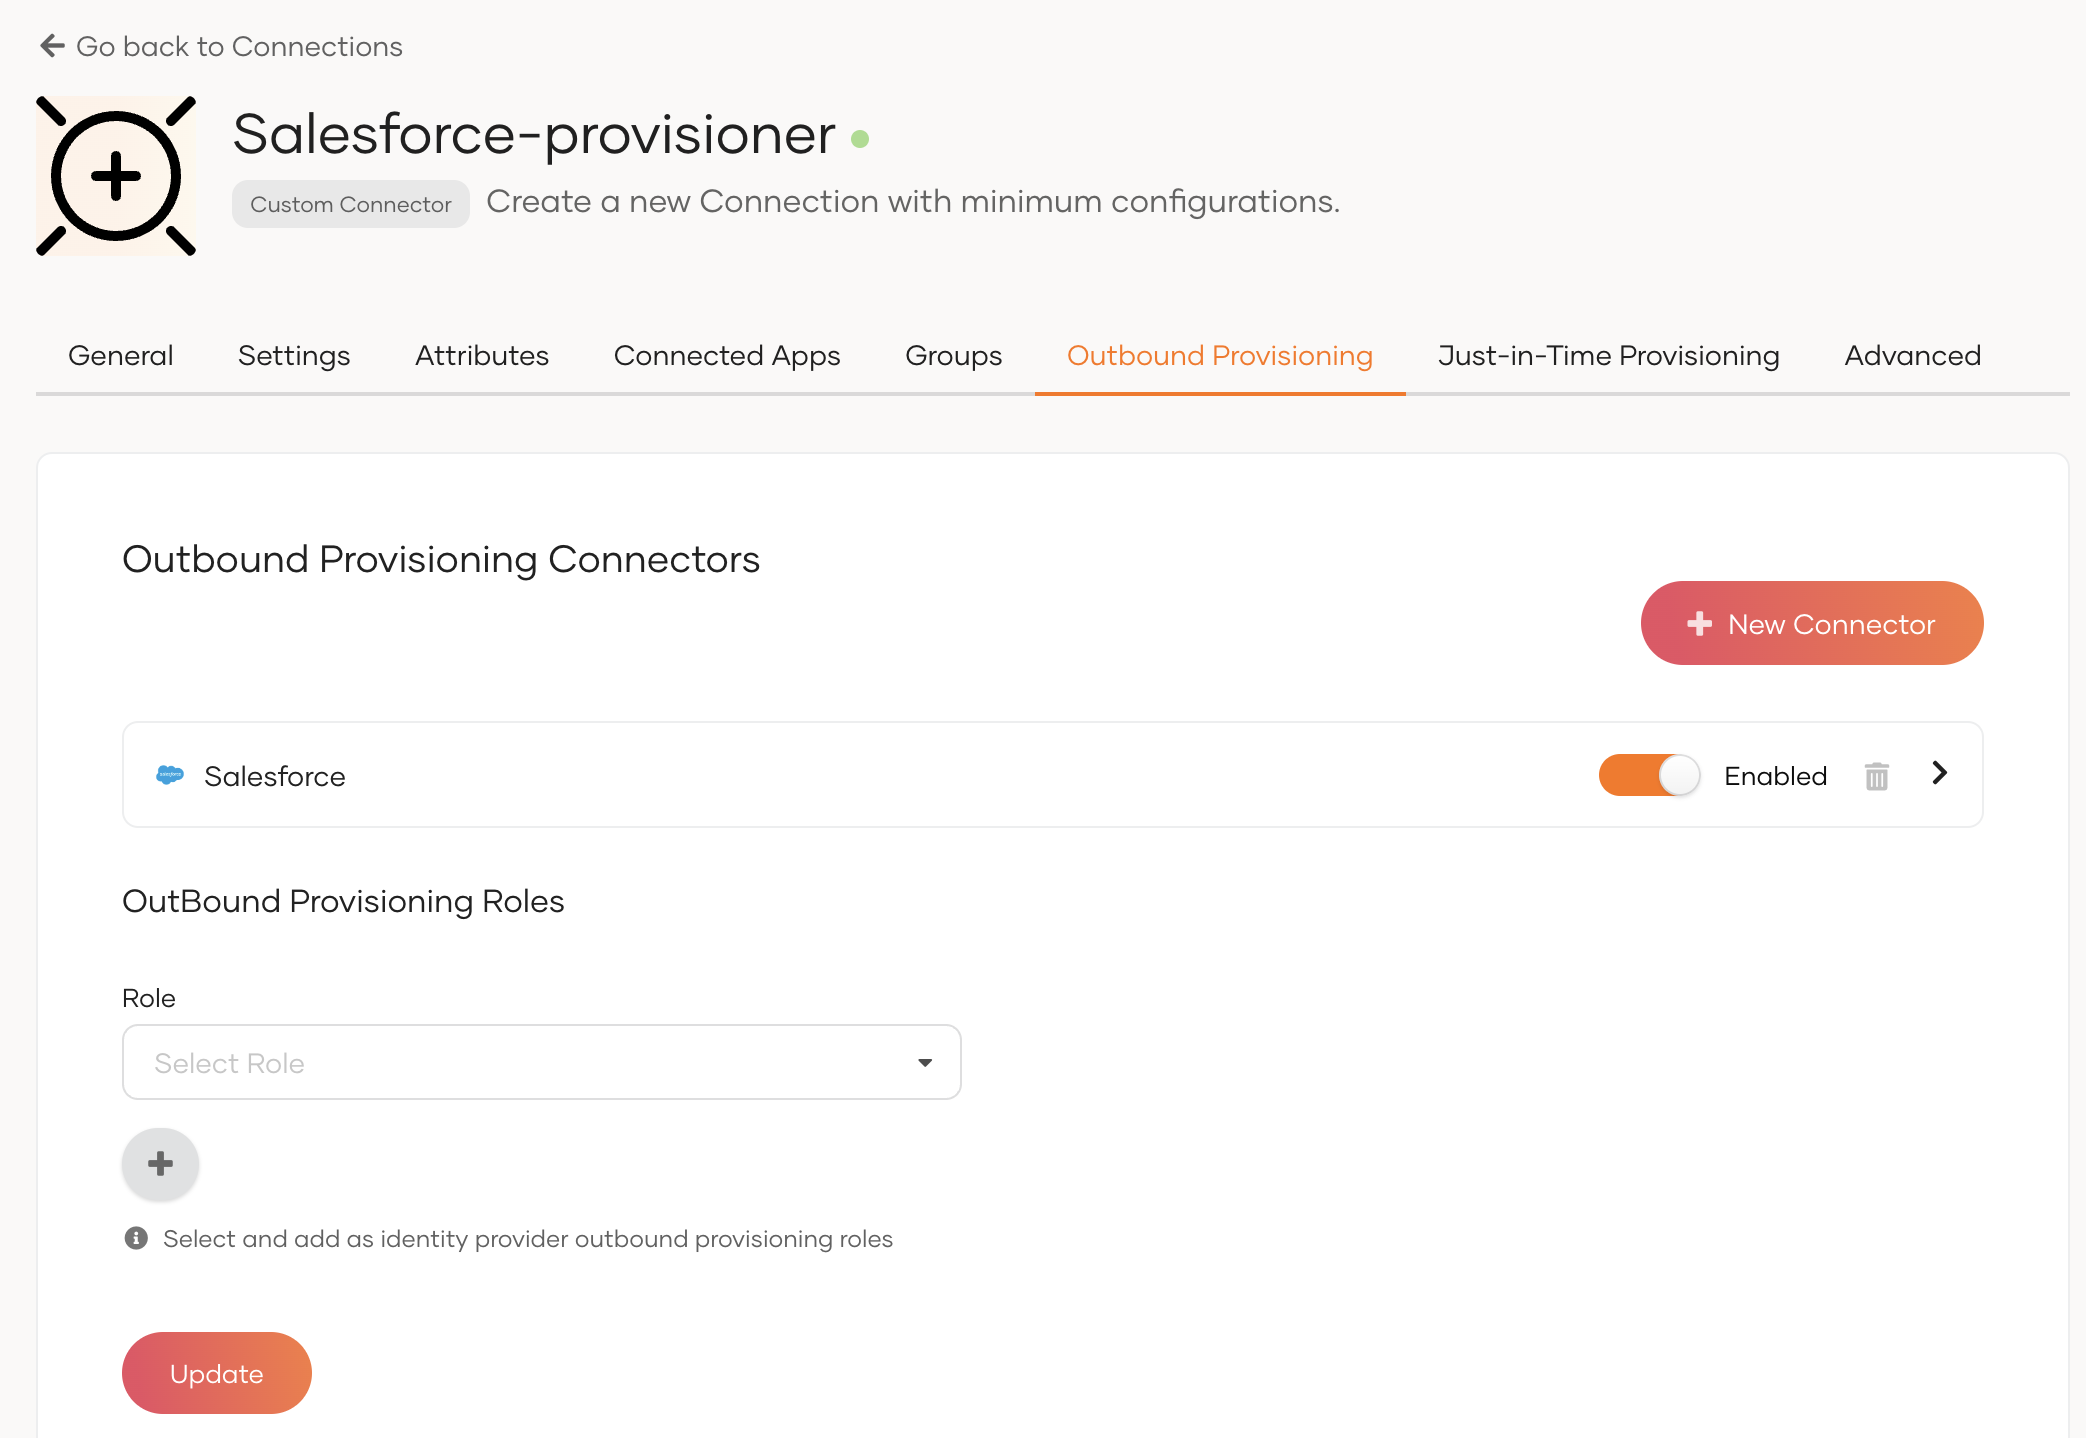
-
Click Update to save the changes.
Step 2: Enable outbound provisioning for the organization
Organization-level outbound provisioning allows you to provision users to an external system when:
- a user is provisioned in WSO2 Identity Server over an API.
- an administrator onboards a user from the WSO2 Identity Server Console.
- a user self-signs up from a WSO2 Identity Server sign-in page.
- a user is JIT (Just-In-Time) provisioned in WSO2 Identity Server.
To enable organization-level outbound provisioning in WSO2 Identity Server:
-
On the WSO2 Identity Server Console, go to Login & Registration.
-
Under Provisioning Settings, click Outbound Provisioning Configuration and click New Provisioner.
-
Select the connection in which you have configured outbound provisioning as the Connection and the relevant outbound connector as the Provisioning Connector.
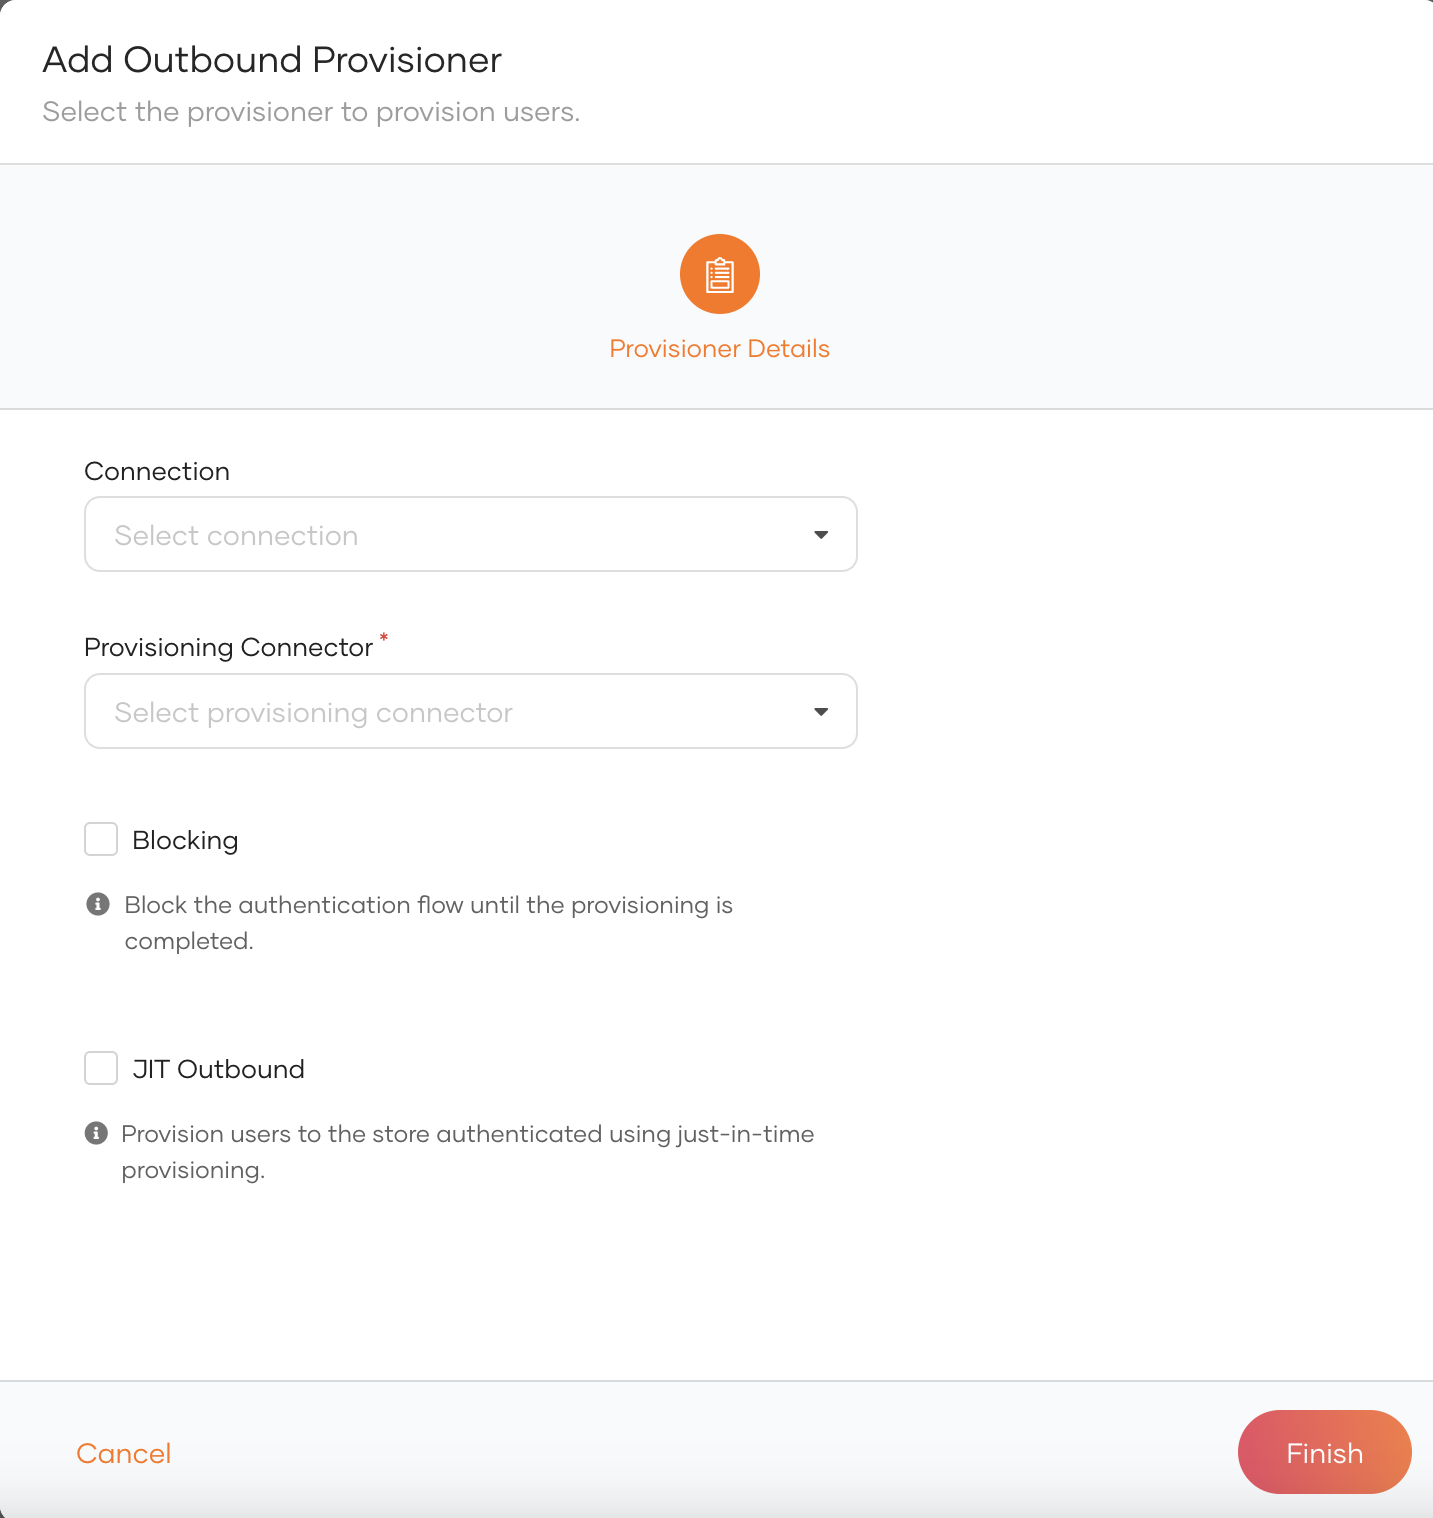
-
Enable any of the following.
Option Description Blocking Makes the user onboarding process synchronous with the outbound provisioning process. WSO2 Identity Server waits for the response from the external system before proceeding with the user creation. JIT Outbound Enables outbound provisioning for JIT provisioned users during authentication. -
Click Finish.
Try it out
-
On the WSO2 Identity Server Console, do one of the following.
- Use a SCIM API to create a user.
- Create a user from the Console
- Enable self-registration and let a user self-register to WSO2 Identity Server.
- Enable JIT-provisioning and let a user sign in with an external identity provider.
Note
Onboarding a user with any of the above methods automatically triggers outbound provisioning to the external system.
-
Delete the user. The user will be removed from the external system.