Configure Single-Sign-On for ELK analytics
You can enable Single-sign-on for an ElasticSearch/Kibana deployment with WSO2 Identity Server via OpenID Connect. To set this up, follow the steps given below.
Premium feature
To enable Single-Sign-On, you need to be subscribed to an Elastic stack platinum subscription or higher.
Prerequisite
Configure ELK Analytics in WSO2 Identity Server.
Configure a service provider
To enable Elastic stack SSO with WSO2 Identity Server, follow the steps given below to create an application.
-
Login to the WSO2 Identity Server console.
-
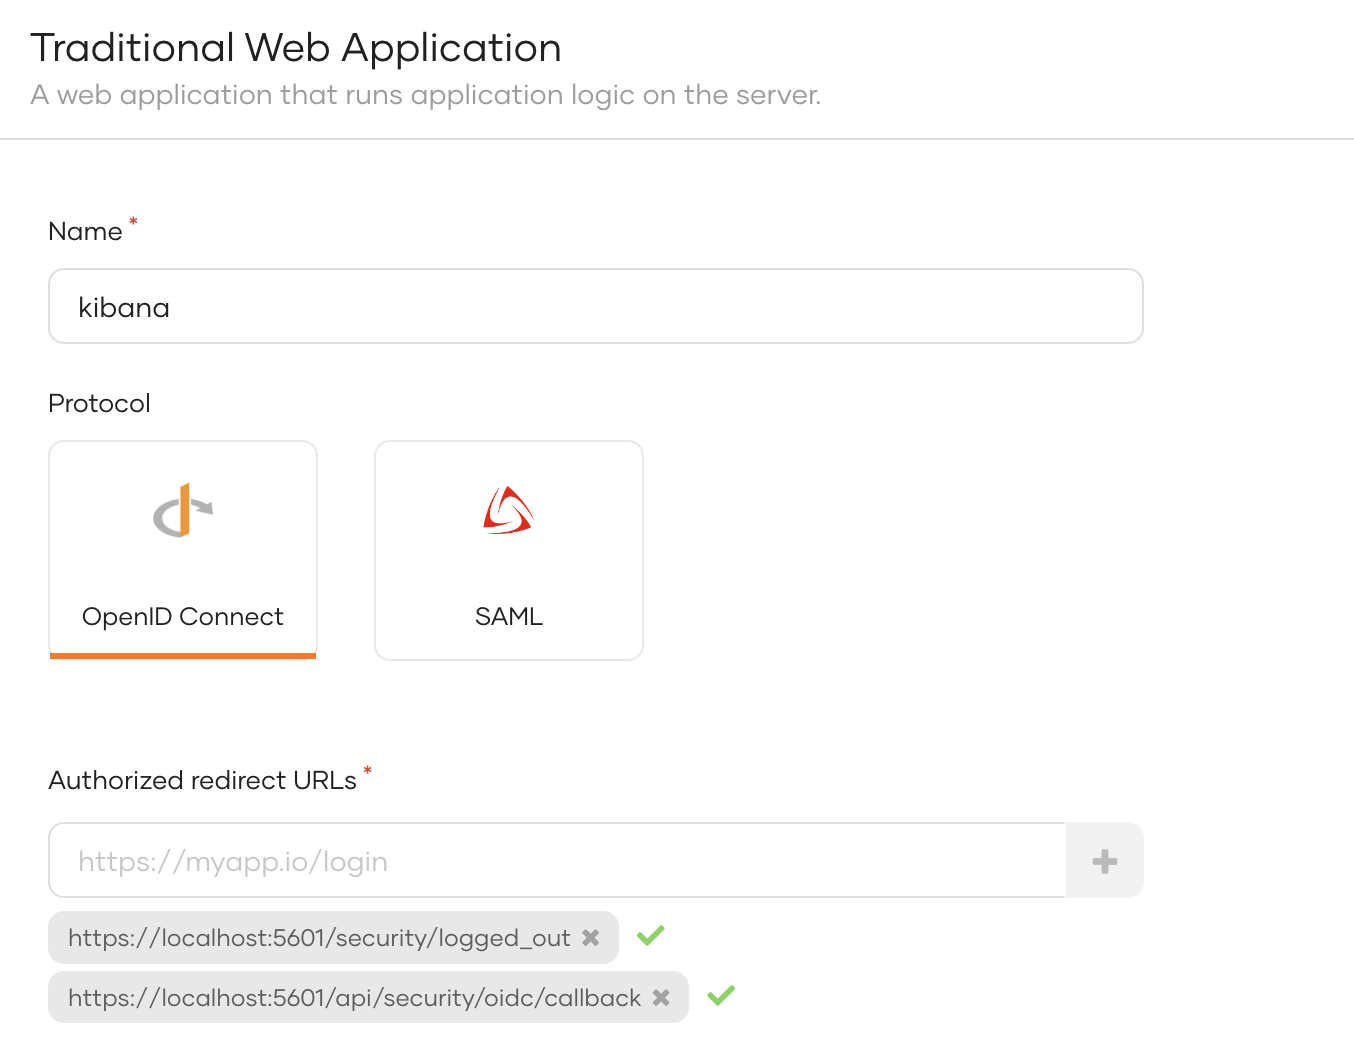
Navigate to Applications, click New Application and select Traditional Web Application.
-
Provide a name for the service provider (e.g. kibana), select OpenID Connect as the protocol and provide the following as the authorized redirect URLs.
- https://localhost:5601/api/security/oidc/callback
- https://localhost:5601/security/logged_out
-
Click Register.
-
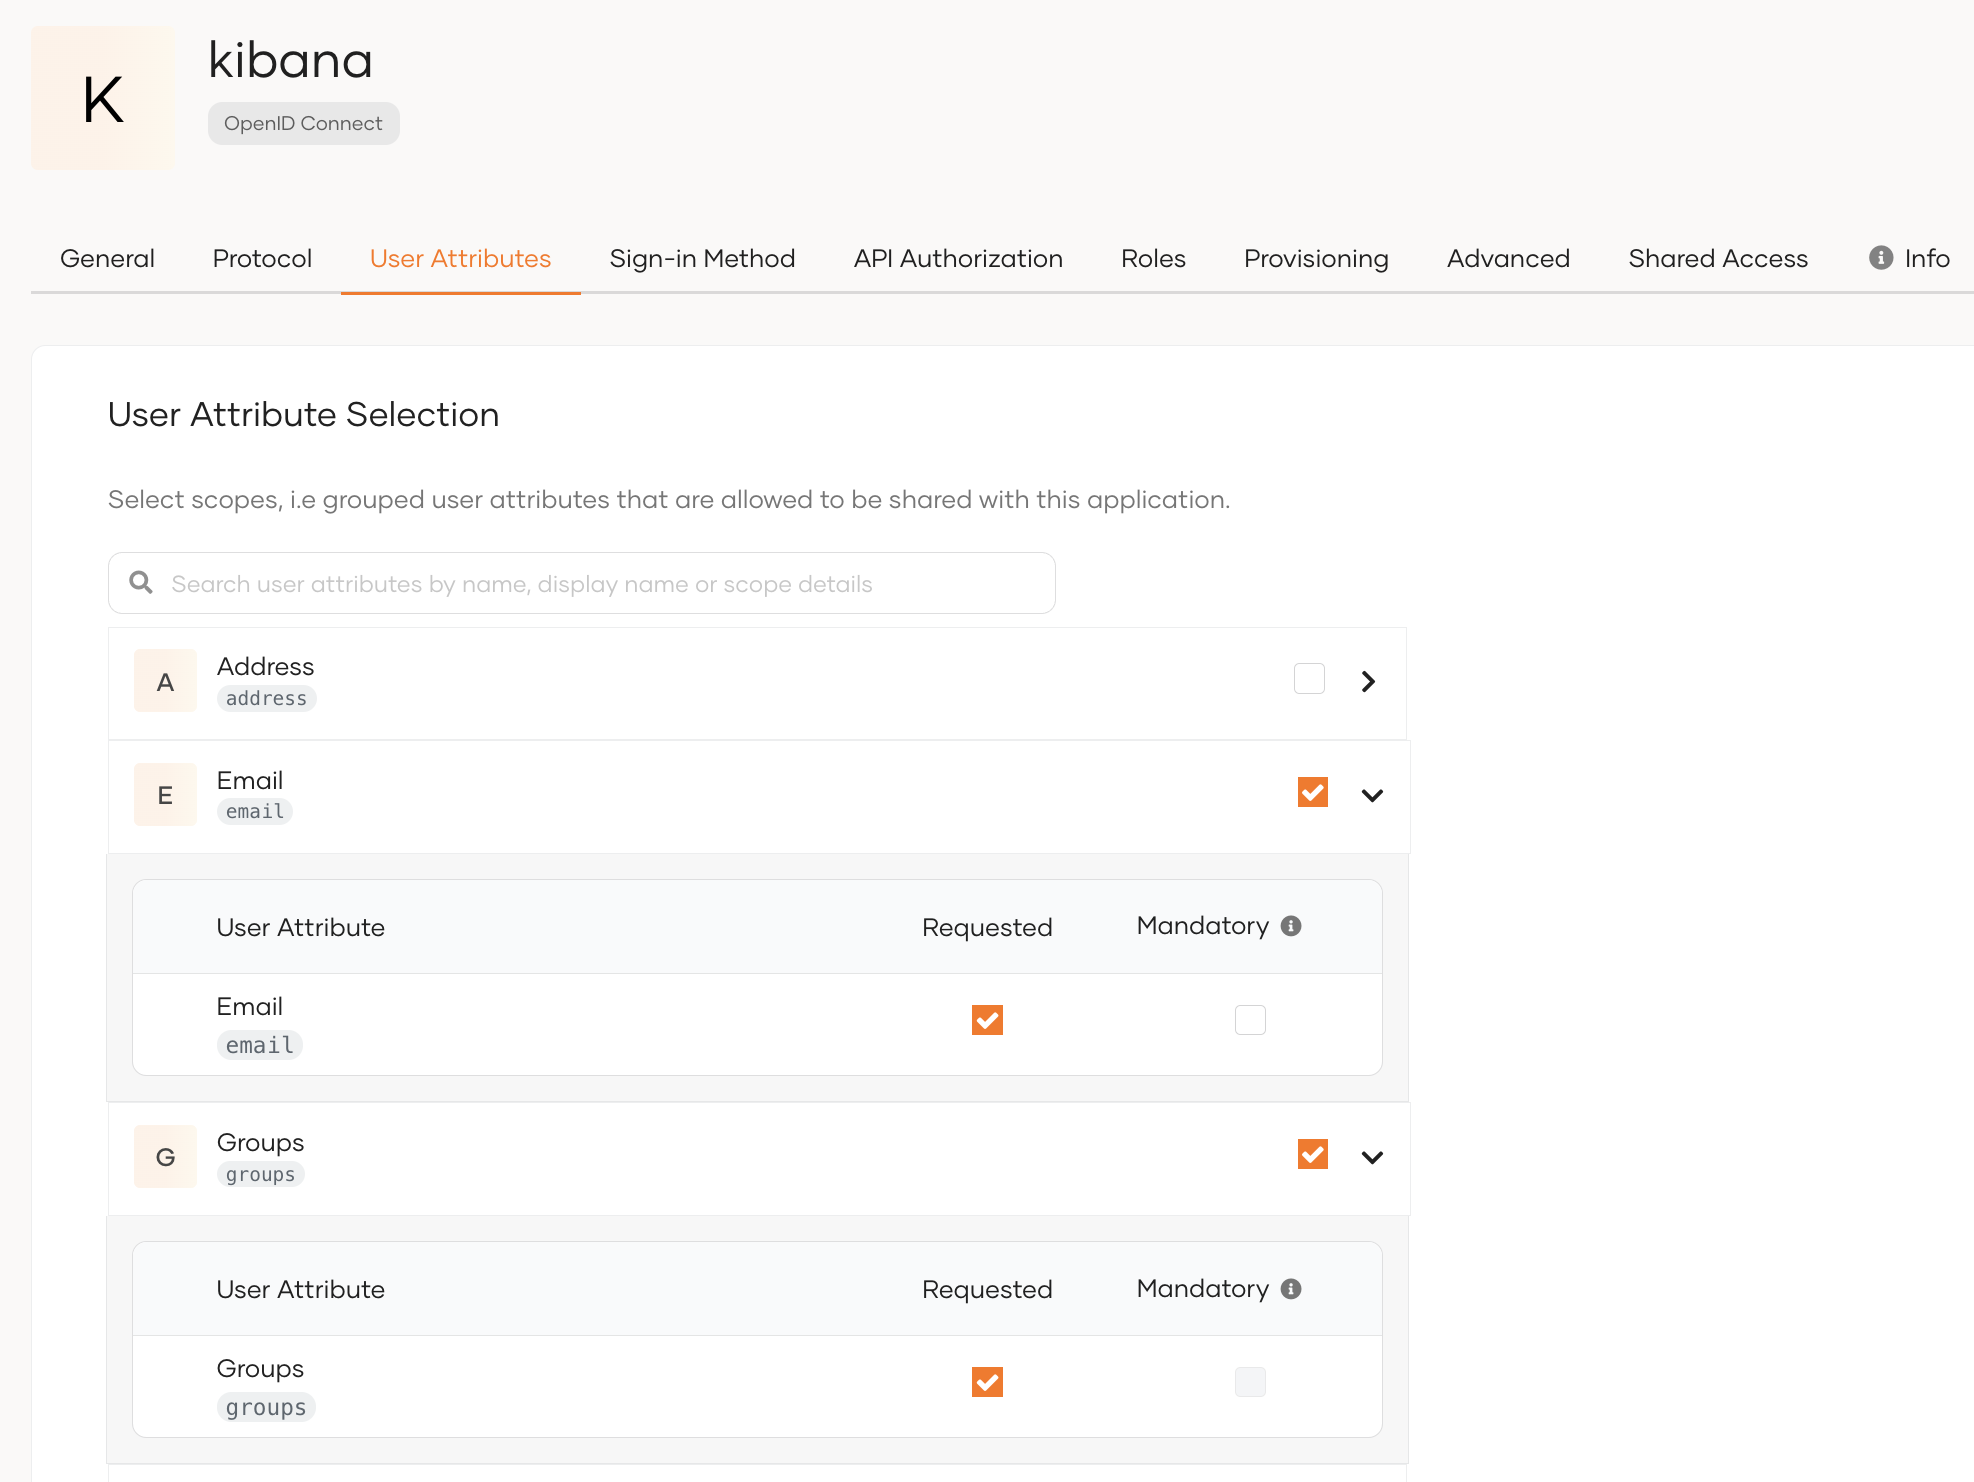
Go to the User Attributes tab of the application and allow to share the email and groups attributes with the application. (Username is used as the Subject attribute by default.)
-
Click Update to save your changes.
Configure OIDC Realm in Elasticsearch
To configure single sign-on in the Elastic Stack using OpenID connect, follow the steps given here.
A sample OpenID connect realm is as follows.
xpack.security.authc.token.enabled: true
xpack.security.authc.realms.oidc.oidc1:
order: 1
rp.client_id: "<CLIENT ID>"
rp.response_type: code
rp.redirect_uri: "http:///<KIBANA_HOST>:5601/api/security/oidc/callback"
op.issuer: "https://<IS_HOST>:<PORT>/oauth2/token"
op.authorization_endpoint: "https://<IS_HOST>:<PORT>/oauth2/authorize"
op.token_endpoint: "https://<IS_HOST>:<PORT>/oauth2/token"
op.jwkset_path: "https://<IS_HOST>:<PORT>/oauth2/jwks"
op.endsession_endpoint: "https://<IS_HOST>:<PORT>/oidc/logout"
op.userinfo_endpoint: "https://<IS_HOST>:<PORT>/oauth2/userinfo"
rp.post_logout_redirect_uri: "http://<KIBANA_HOST>:5601/security/logged_out"
claims.principal: sub
ssl.verification_mode: none
claims.groups: groups
claims.name: name
claims.mail: email
Configure role mappings
Once the above steps are completed, role mapping needs to be configured in Kibana to allow WSO2 Identity Server users to access the dashboards in Kibana. To do so, follow the steps below.
Create Users and Roles in WSO2 Identity Server
Follow the steps below to create a role.
-
Login to the WSO2 Identity Server Console.
-
Navigate to User Management > Roles.
-
Create a role (e.g. AnalyticsViewer), and click Finish.
Follow the steps below to create a user and assign the user with the created role.
-
Navigate to User Management > Users.
-
Click Add User > Create User to create a single user profile.
-
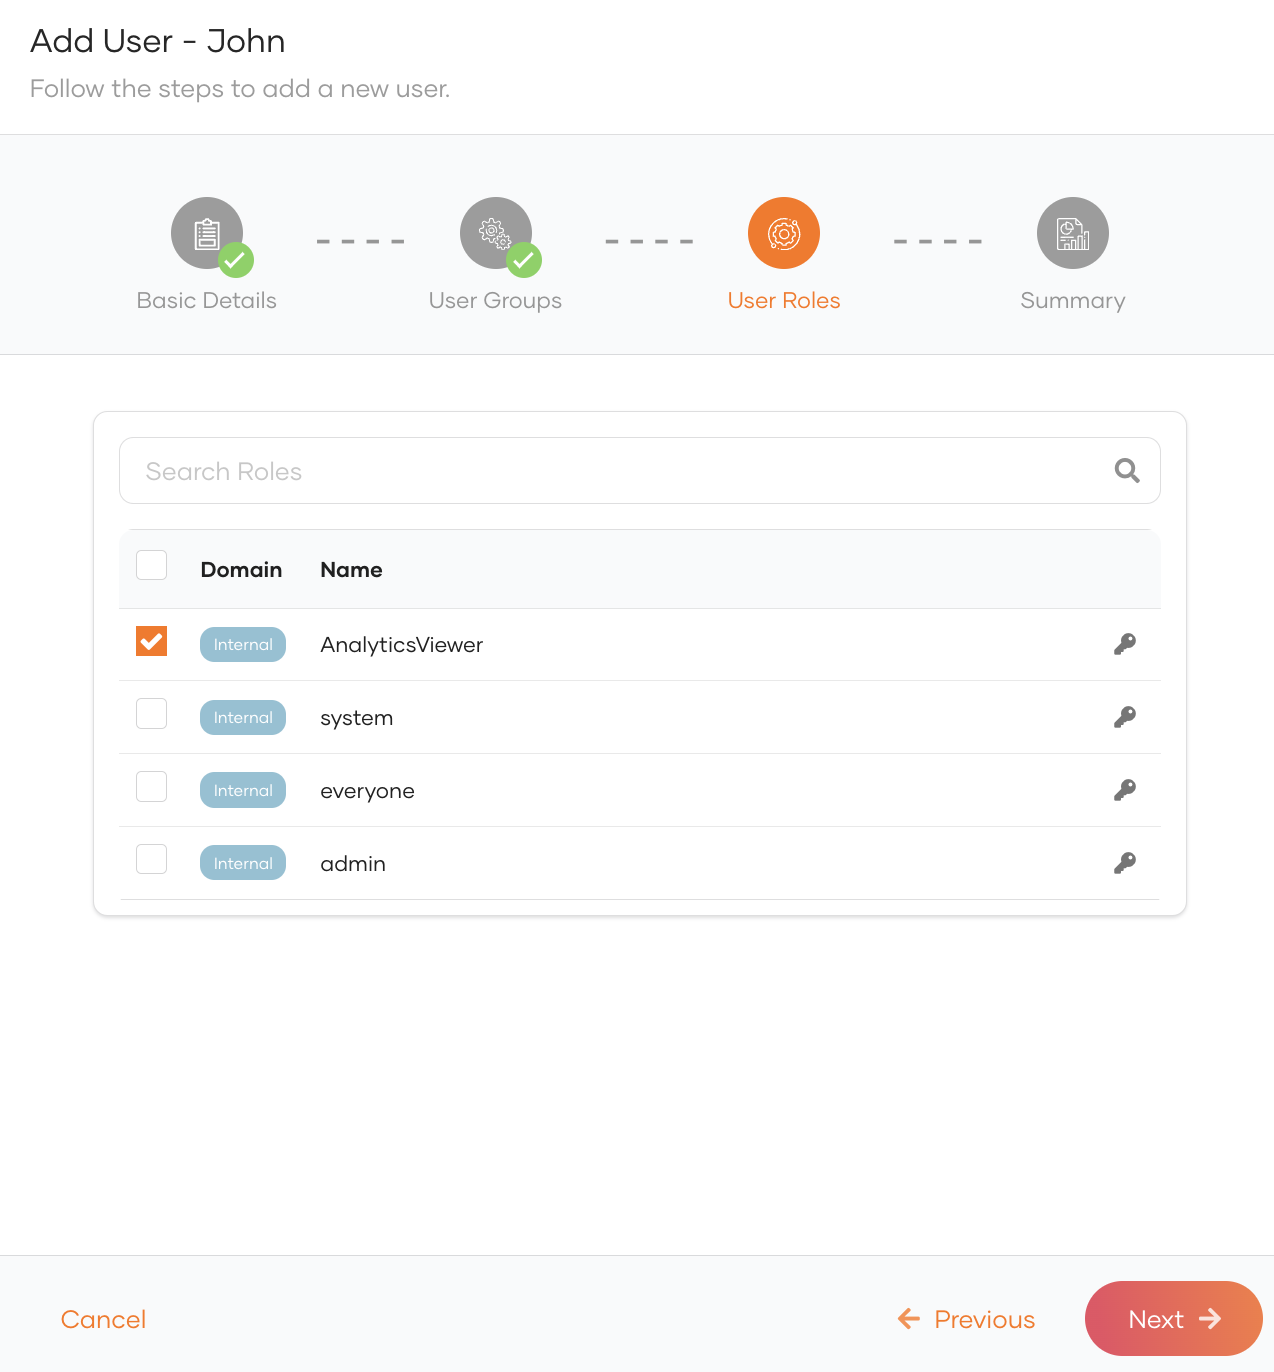
Enter the details of the user, and click Next until you reach the User Roles section.
-
Assign the role that you created above and proceed to create the user.
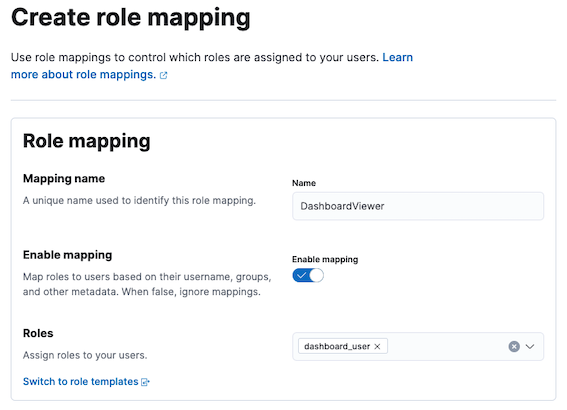
Configure role mapping in Kibana
Follow the steps below to associate Kibana roles with the roles you created in WSO2 Identity Server.
-
Login to Kibana using basic authentication.
-
On the left navigation panel, under Management click Stack Management.
-
Under Stack Management > Security, click Role Mappings.
-
Click Create Role Mapping and add a new role mapping by giving a Mapping name.
-
Select a role that has access to the particular dashboard from Roles.
-
Click Add Rules under Mapping rules.
-
Select groups as the user field and enter the name of the role that you created in the WSO2 Identity Server.

Try it out
Follow the steps below to try out single sign-on to the Kibana dashboard using WSO2 Identity Server.
-
Navigate to Kibana using the following URL.
https://localhost:5601 -
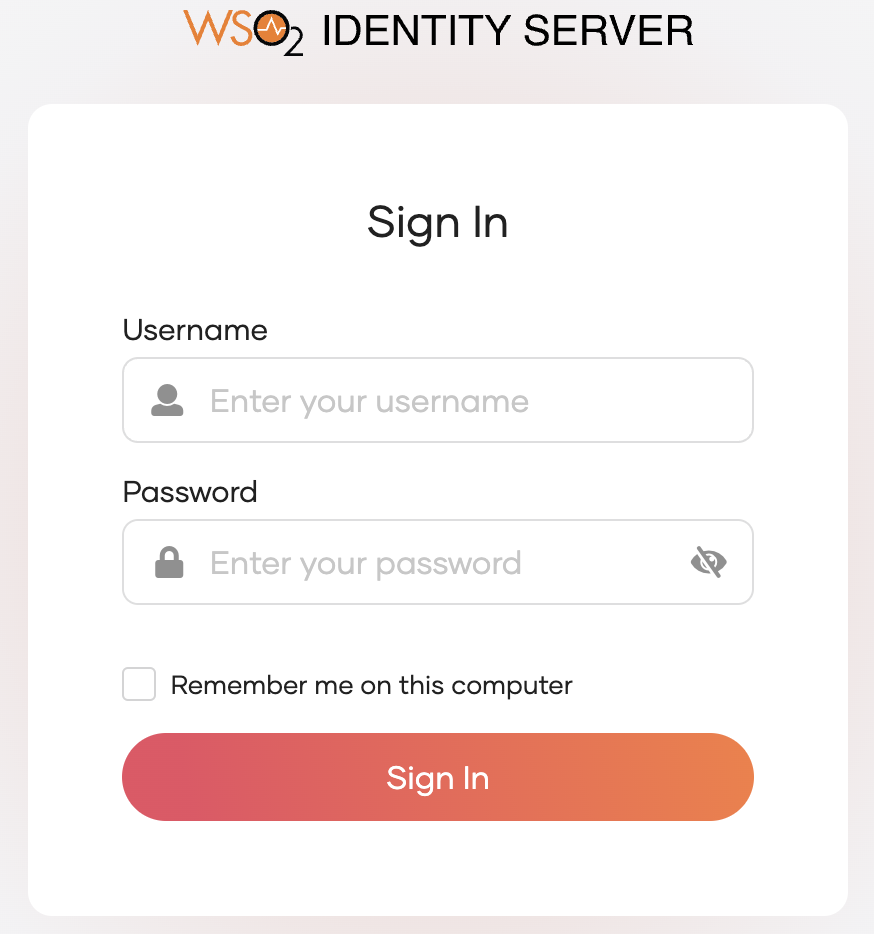
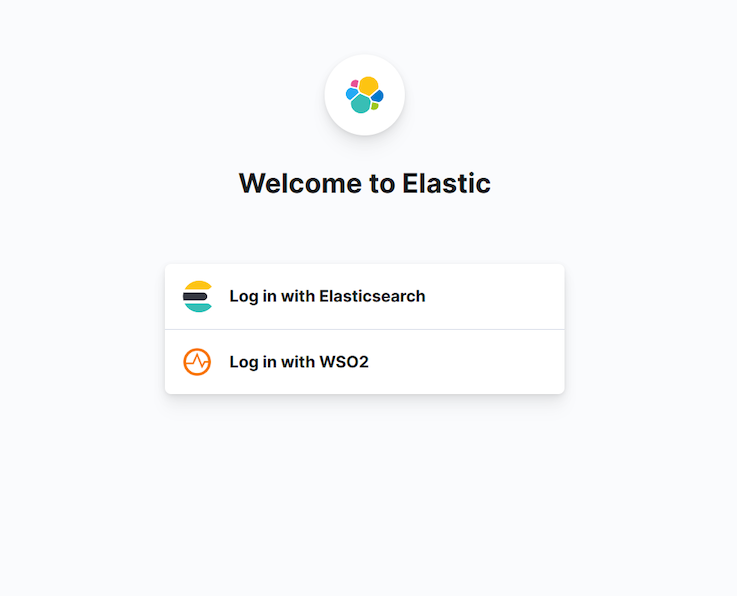
Logout from Kibana if you have already logged in, and login again by selecting the Log in with WSO2 option.
-
You will be redirected to the WSO2 Identity Server login page. Try logging in with the credentials of the user that you created.