Quick Setup
Follow the steps given below to quickly set up and install WSO2 Identity Server on your computer.
Info
For detailed instructions on other installation options and deployments, see the installation guide.
Install the WSO2 Identity Server
Follow the steps given below.
- Download and install Oracle Java SE Development Kit (JDK) version 11 or 17.
- Go to WSO2 Identity Server official website and click on Download.
-
Install WSO2 Identity Server by downloading the LATEST RELEASE.
Info
The installation location of WSO2 Identity Server is referred to as
{IS_HOME}.
Start the WSO2 Identity Server
To start WSO2 Identity Server, open a terminal, navigate to the <IS_HOME>/bin folder, and execute one of the following commands:
-
On Linux/MacOS
sh wso2server.sh -
On Windows
wso2server.bat
Note that the following log appears in the command prompt when the server starts:

Shutting down the server
To shutdown the server, press Ctrl + C.
Note that the following log appears in the command prompt on server shutdown.

Access the Console
Once the server has started, you can access the WSO2 Identity Server console by navigating to the following URL.
https://{Server Host}:{Port}/console
For example, if you are using default settings, the console URL will be https://localhost:9443/console.
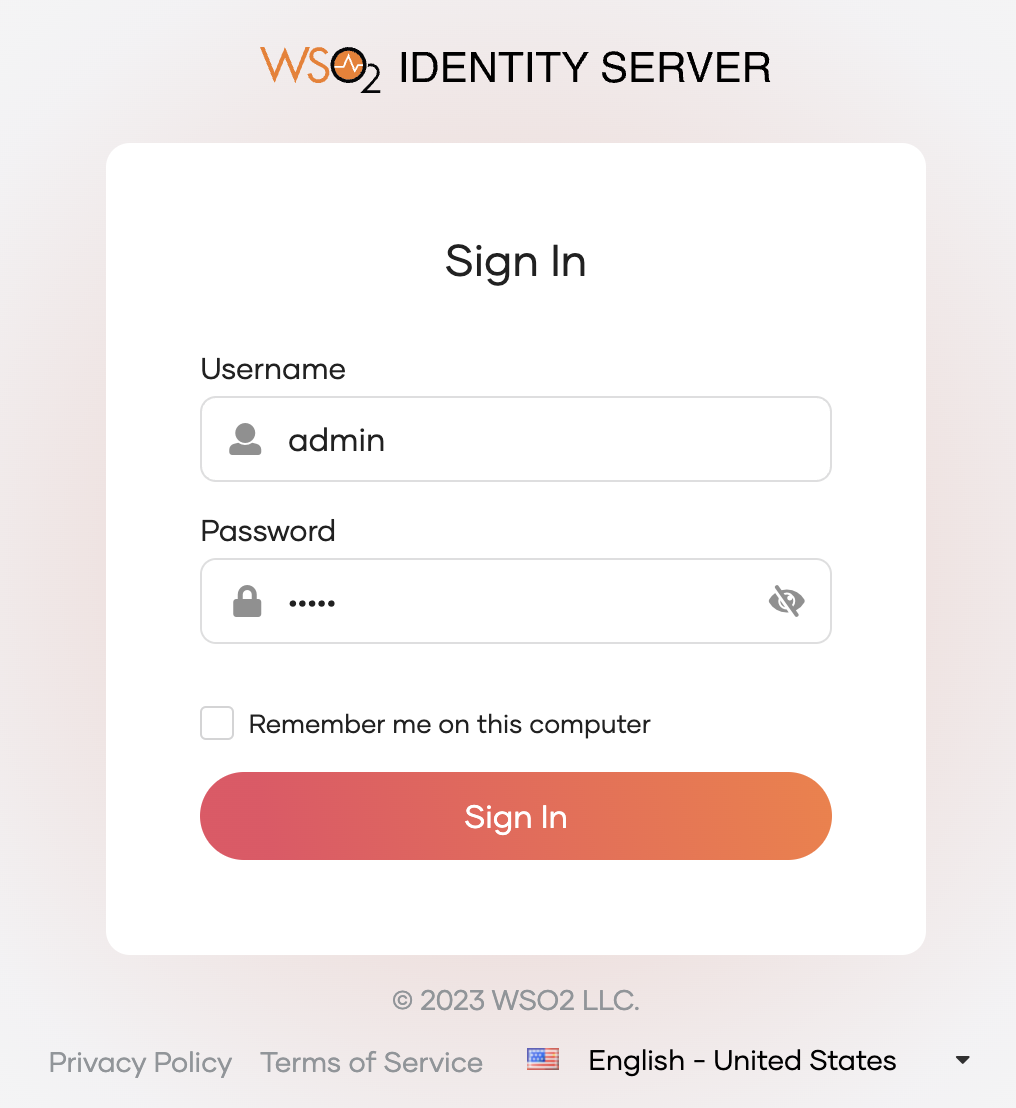
You will then be presented with the login screen for the WSO2 Identity Server. Enter admin for both username and password fields to login as the admin user.

What's next?
Add login to your application using WSO2 Identity Server or try it on a sample application. Try integrating IS into apps.