Configure outbound provisioning with Google
This guide explains how you can configure Google for outbound provisioning in WSO2 Identity Server.
Configure Google Workspace for provisioning
Follow the steps below to learn how you can configure Google Workspace for provisioning.
Before you begin
Learn how to subscribe to Google Workspace in the Google documentation.
-
Create a service account in Google.
-
Open the Google developers console and create a new project.
-
Search for the project you created and click it.
-
Under IAM & Admin, click Service Accounts.
-
Click CREATE SERVICE ACCOUNT on the top panel.
-
Fill in the form to create the service account:

- Optionally, assign a role from the list of roles given and click Done to create the service account.
-
Select your service account and go to its KEYS tab.
-
From the dropdown, select ADD KEY > Create new key > P12 and click CREATE. The following message will be displayed.
Note
The service account's
P12file will be downloaded to your machine. Remember the location and the name of this downloaded file as it is required later on in this guide.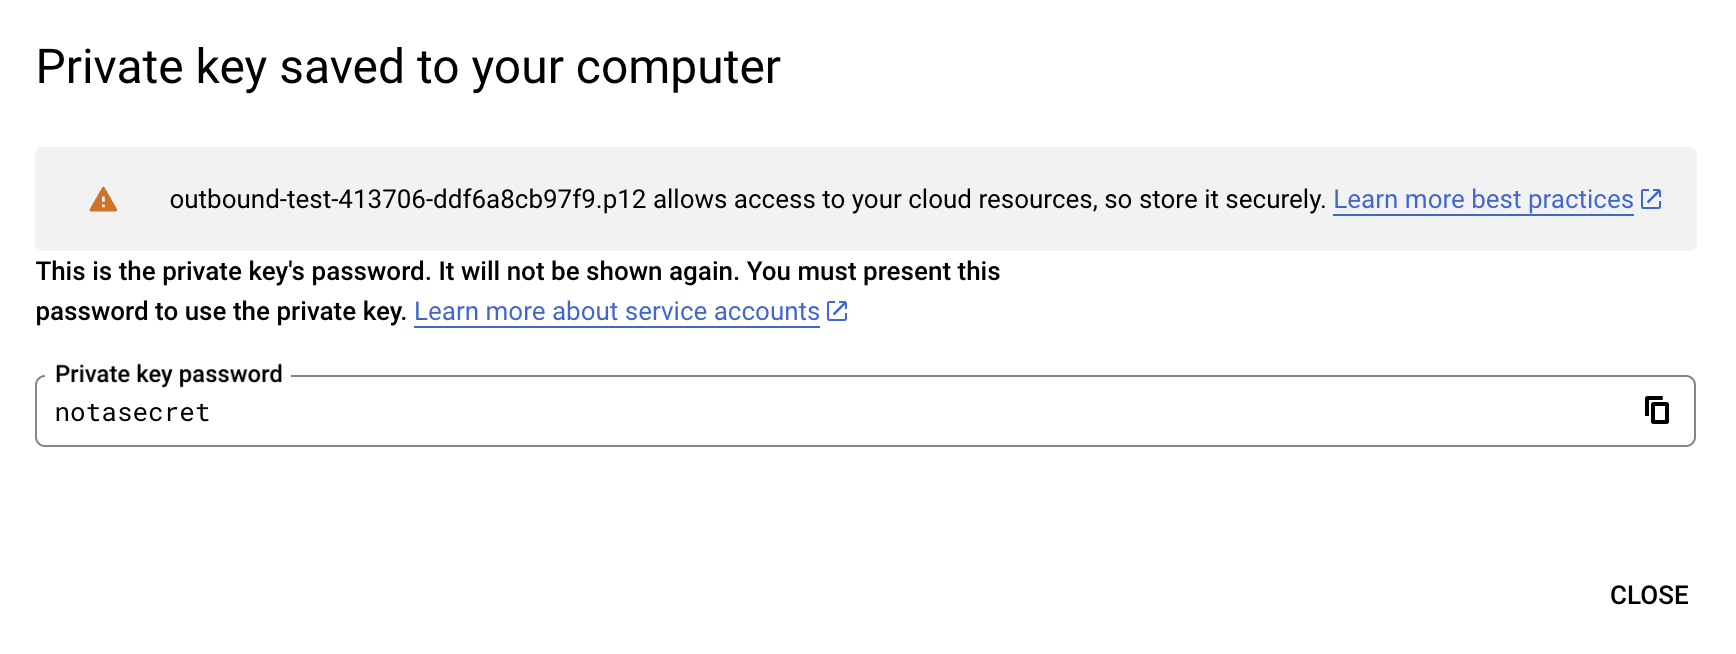
-
From IAM & Admin > Service accounts, take note of the client ID of your service account.
-
-
Delegate domain-wide authority to the service account:
-
Select your service account and in the DETAILS tab, expand Advanced settings. Enable domain-wide delegation for the service account.
Note
Learn how to enable domain-wide delegation in the Google documentation.
-
Go to your domain's admin console.
-
Navigate to Security > Access and data control > API Controls > Domain-wide Delegation.
-
Do the following:
-
Click Add new and paste the client ID of the service account.
-
Enter the following as the value for scopes.
https://www.googleapis.com/auth/admin.directory.user,https://www.googleapis.com/auth/admin.directory.orgunit,https://www.googleapis.com/auth/admin.directory.group -
Click Authorize.
-
-
-
Enable the Admin SDK.
-
Open the Google developers console.
-
Click the menu icon, and click APIs & Services > Dashboards.
-
Click Enable APIs & Services.
-
Search for Admin SDK and click Enable.
-
Configure the Google outbound connector
Set up outbound provisioning and enter the following details to configure the Google outbound connector.
| Google Domain | The name of the Google domain to which users will be provisioned. e.g. mygoogledomain.com |
| Primary Email Claim | Claim URI that will be used to retrieve the primary email address of the created account. This must be an attribute that is available locally in WSO2 Identity Server. e.g. http://wso2.org/claims/emailaddress |
| Given Name Claim | Claim URI which will be used to retrieve the given name attribute of the user. This must be an attribute that is available locally in WSO2 Identity Server. e.g. http://wso2.org/claims/givenname |
| Family Name Claim | Claim URI which will be used to retrieve the family name attribute of the user. This must be an attribute that is available locally in WSO2 Identity Server. e.g. http://wso2.org/claims/lastname |
| Service Account Email | Email used for authentication. e.g. [email protected] |
| Private Key | Browse and attach the private key from your local machine. This is the PKCS12 private key generated during service account creation. |
| Administrator's Email | Email of the administrator who owns the service account in the specified Google Domain. |
| Application Name | A name for your application to identify requests made by the Google client. |
| Google Outbound Provisioning Pattern | WSO2 Identity Server uses this pattern to build the user ID of the provisioned user account. Learn more about provisioning patterns. e.g. {UD,UN,TD,IDP} |
| Google Provisioning Separator | Used to separate provisioning pattern attributes of the user ID. Learn more about provisioning patterns. e.g. -(hyphen). |