Set up organizations
As a B2B (Business-to-Business) service provider, you can use WSO2 Identity Server organizations to represent your partner businesses. This guide explains how you can manage these organizations.
Before you begin
Ensure you have organization management privileges in the organization (root).
Create an organization
Follow the steps given below to create an organization.
- Login to your organization (root) from the WSO2 Identity Server Console.
- On the WSO2 Identity Server Console, go to Organization Management > Organizations and click Add Organization.
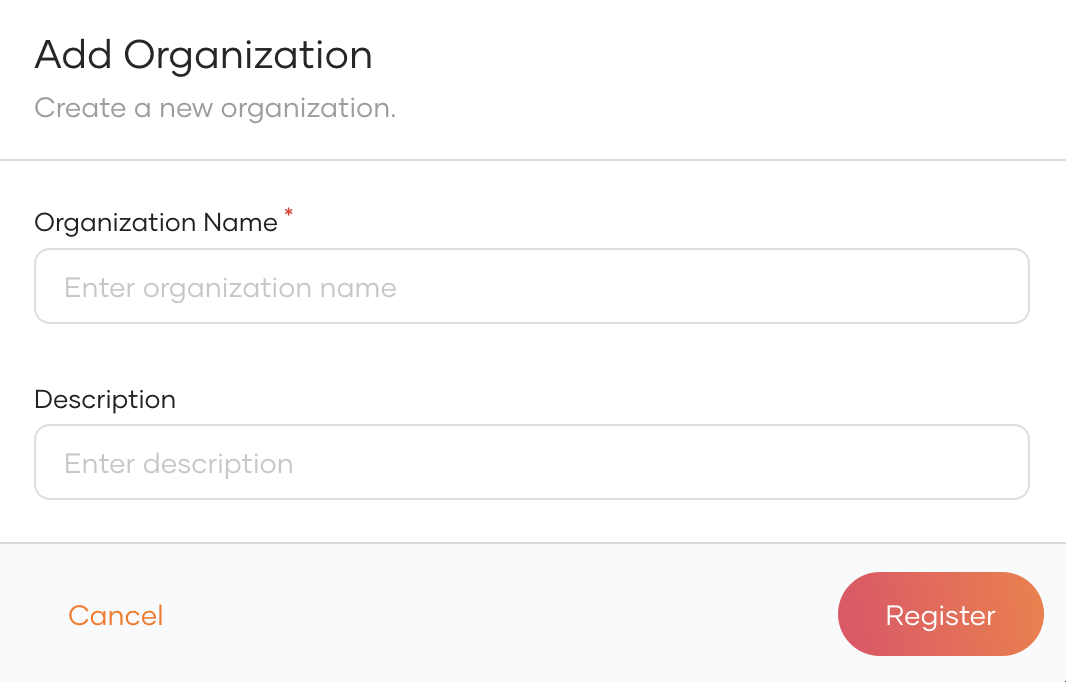
-
In the Add Organization dialog box that opens, enter a name and description for your organization.
Note
The Organization Handle gets automatically generated by sanitizing the Organization Name. This creates a human-readable, unique identifier.
Use this handle to discover organizations in your B2B applications. You can leave this field blank to use the Organization ID as the handle instead.
Warning
The organization handle cannot be edited after the organization is created.
-
Click Register to add the new organization.
-
View the created organization under Organizations.
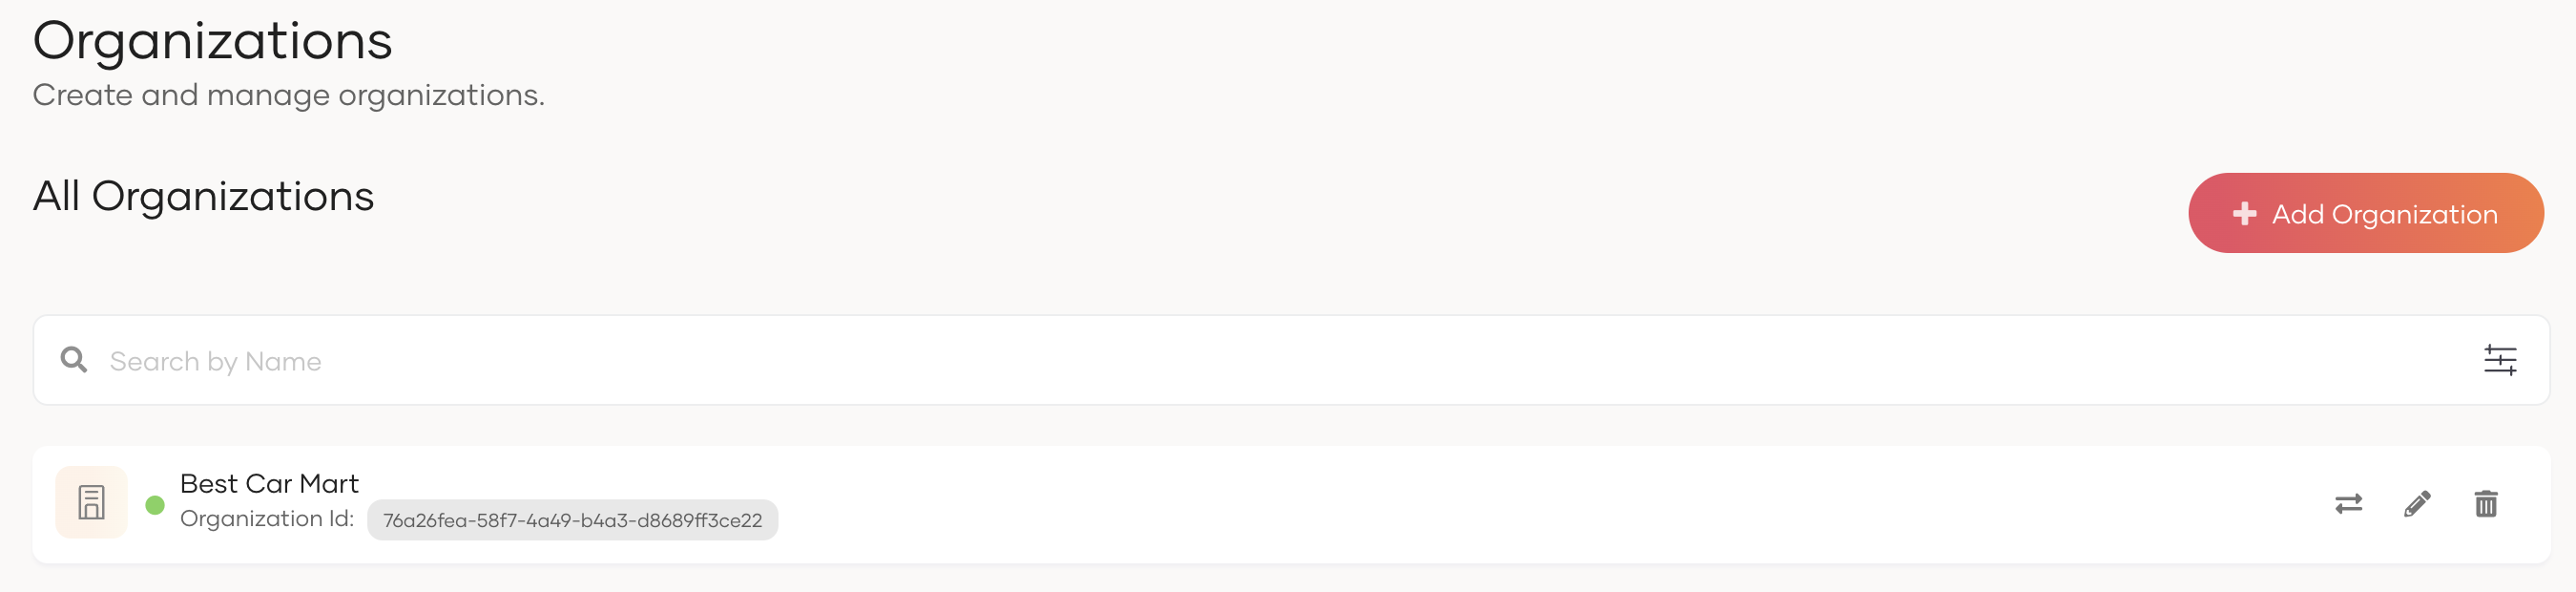
-
Click the Switch icon next to the organization name to switch to its console.
Note
As the creator of the organization, you will be assigned to the Administrator role of the Console application by default, which grants you the following privileges.
- Update / Delete users.
- Create a group and assign users.
- Assign users and groups to roles.
- Create identity providers.
- Update the login options and general information of the applications shared from the organization (root). Learn more about shared applications.
- Configure the branding of the organization. Learn more about branding.
- Build an organization hierarchy by creating organizations.
Add organization attributes
WSO2 Identity Server lets you maintain additional data about organizations. For example, you can add information about the organization's location, country, number of employees, etc.
To add additional attributes for your organization:
- Login to the organization (root) and go to Organizations.
- Select the organization to which you wish to add additional attributes.
- Go to the Attributes tab and add attributes by entering a Name and Value.
-
Click + to add the new organization attribute.
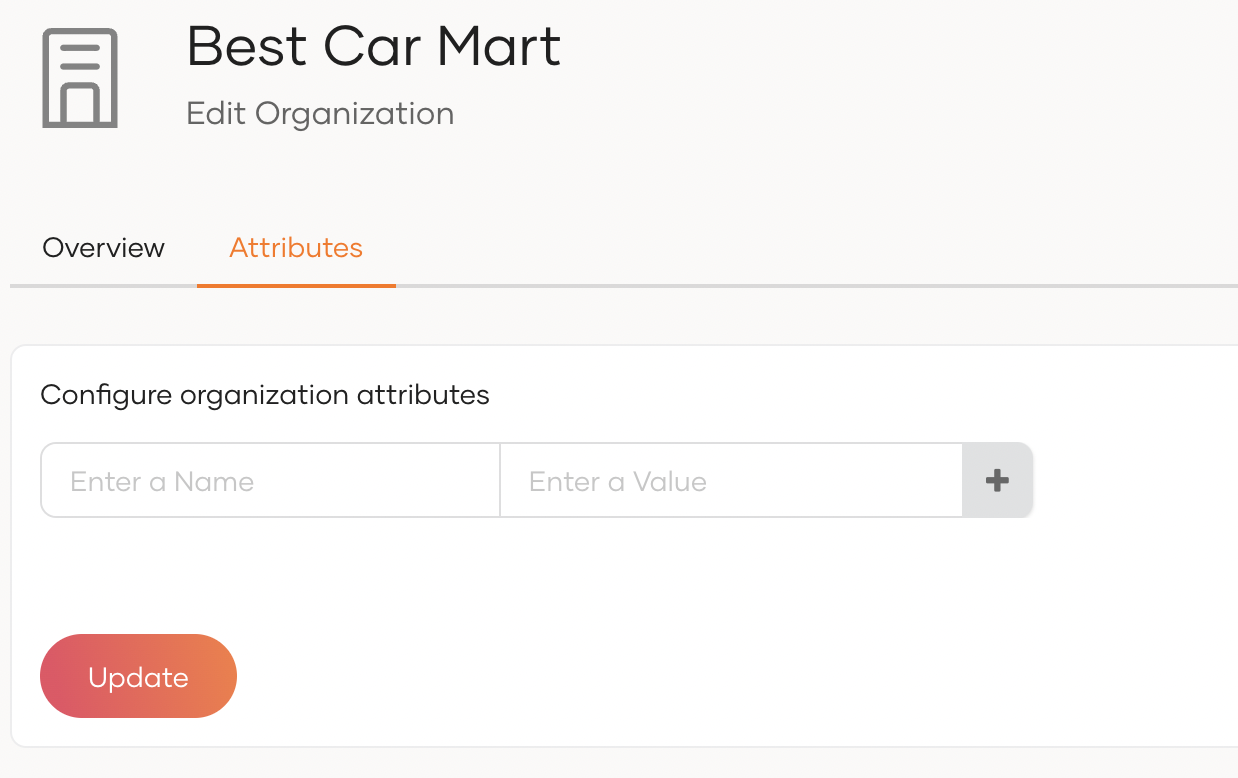
-
Click Update to save the configurations.
Search an organization
You can search for an organization by the organization's Name and Meta Attributes in the WSO2 Identity Server Console using the Advanced Search feature.
There are two ways to search for an organization:
-
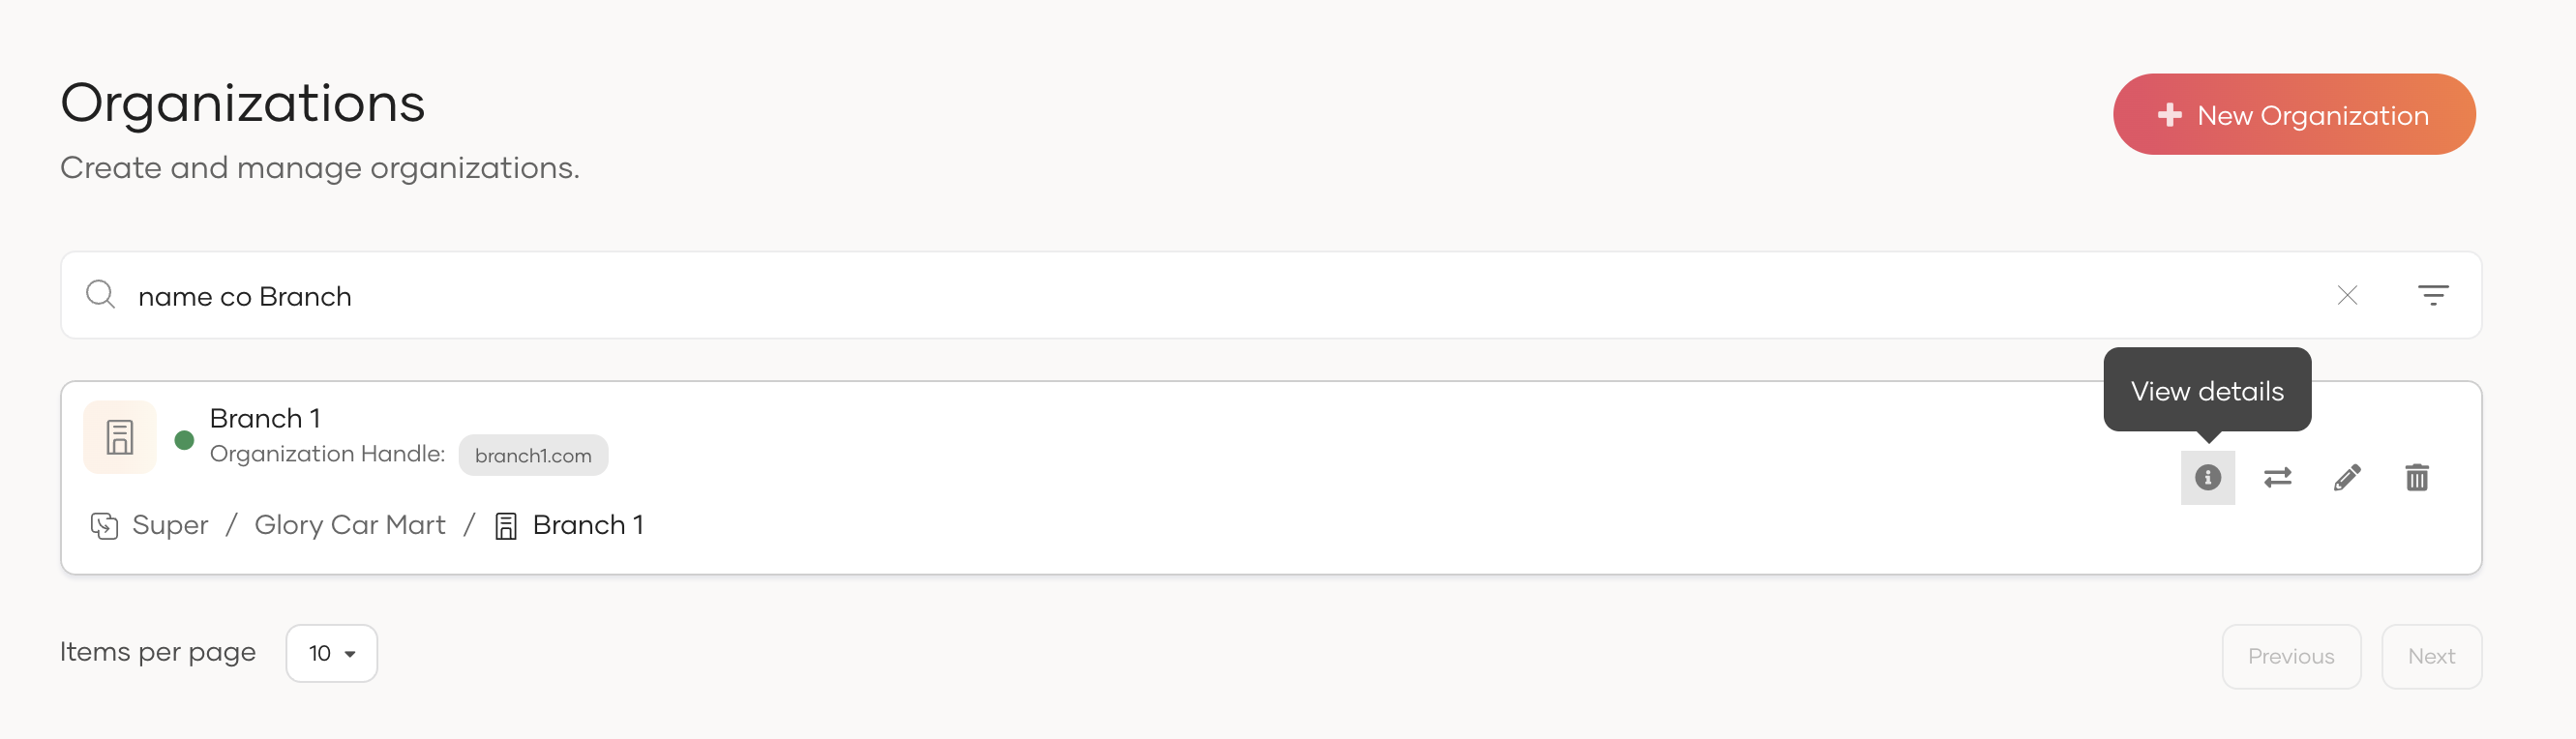
Using the Advanced Search Dropdown UI as shown below.
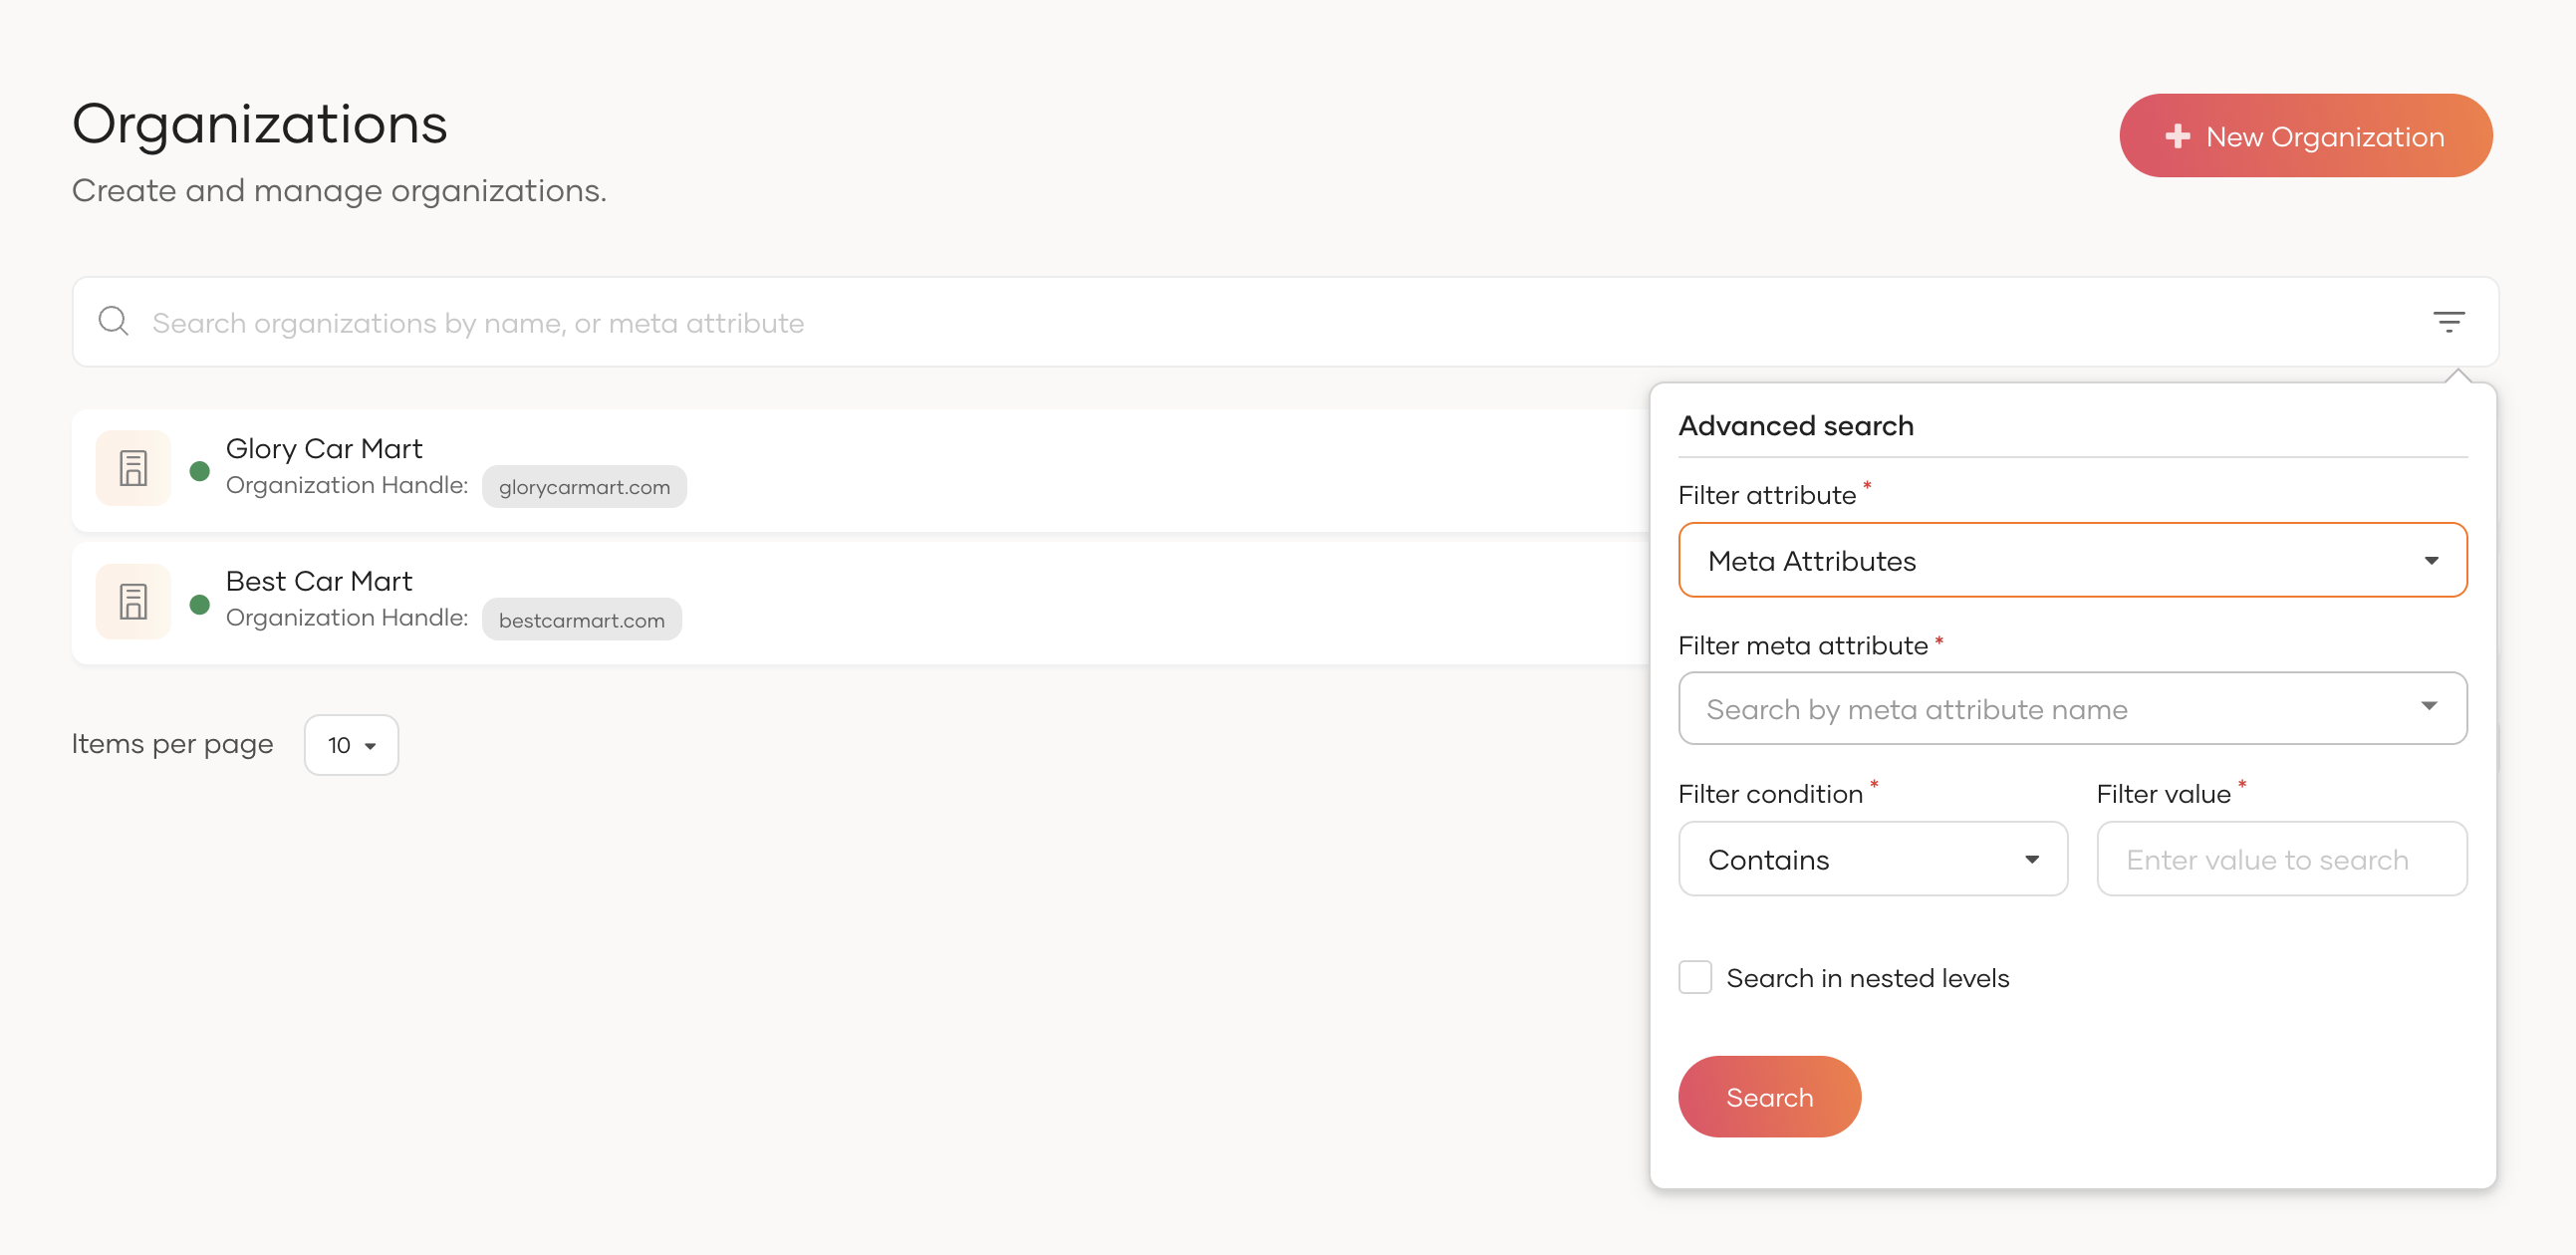
By checking the Search in nested levels checkbox in the Advanced Search Dropdown, you can search for an organization in the nested levels instead of just the immediate level organizations.

Click the View details icon of the search result to view the exact path where the organization exists.
-
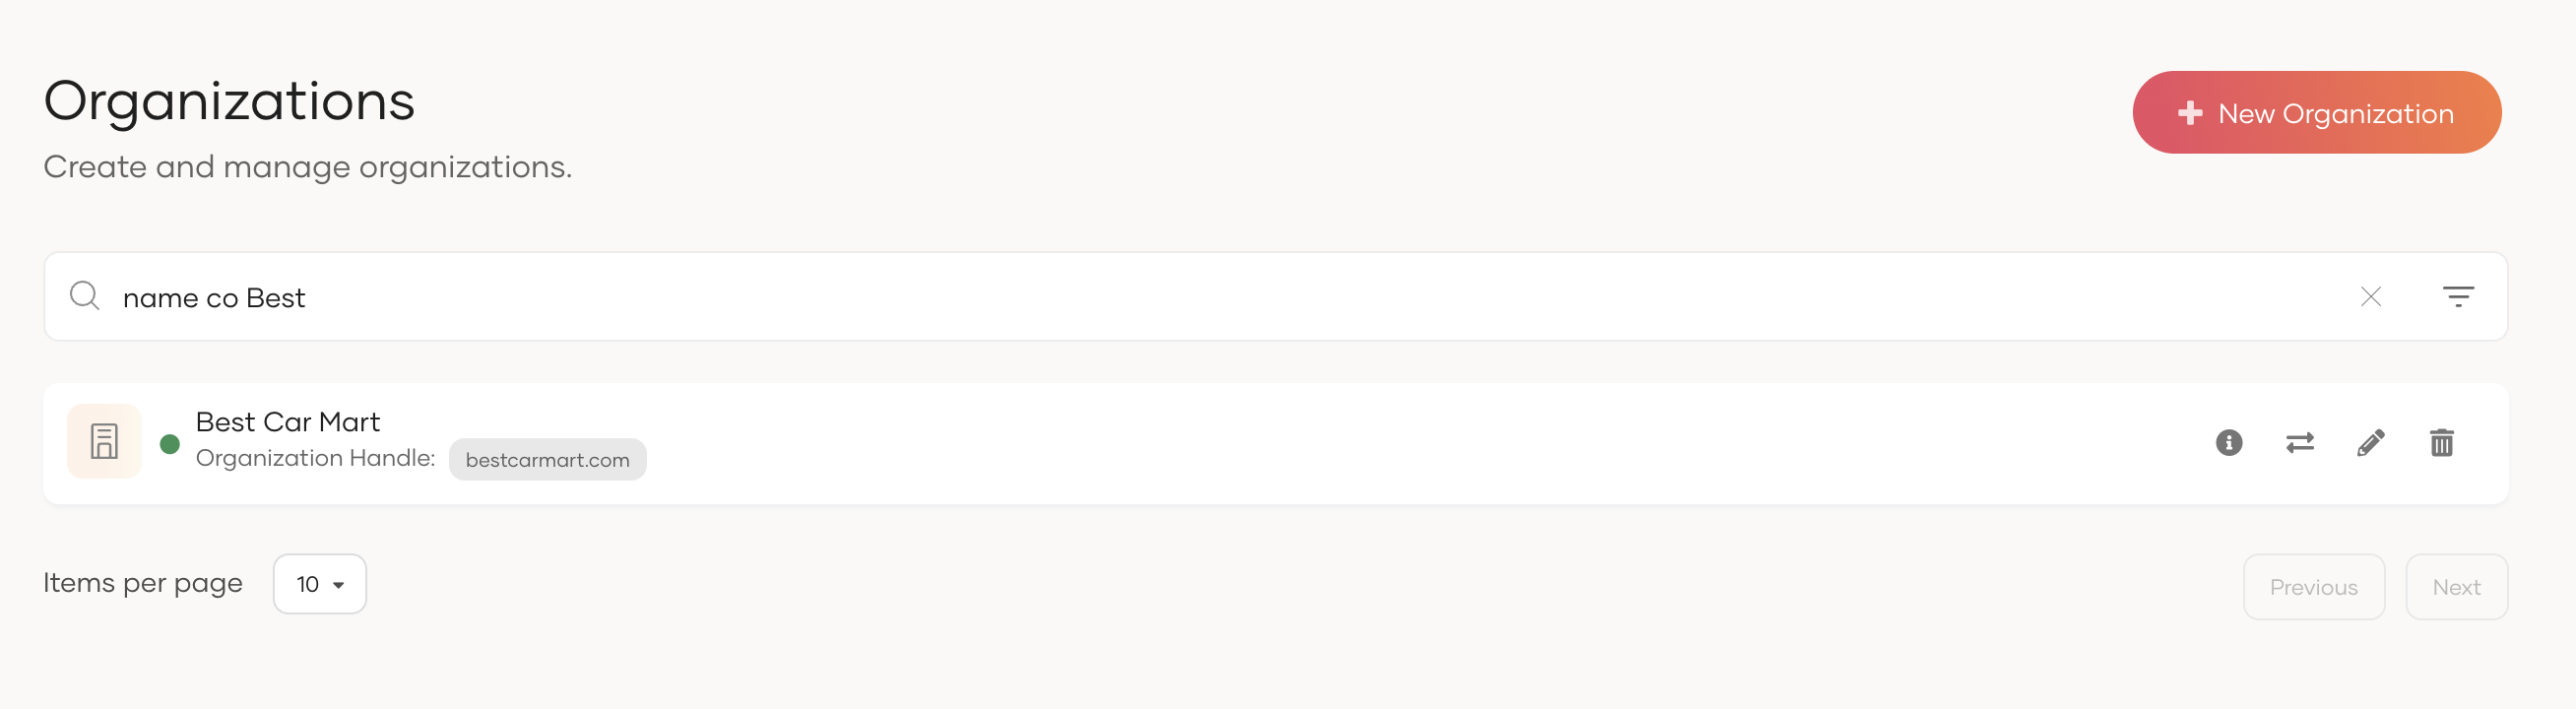
Using the Search Bar.
You can type the search query directly into the search bar.
e.g., name co Best, attributes.Country eq USA. (Multiple filters can be connected using the and operator)
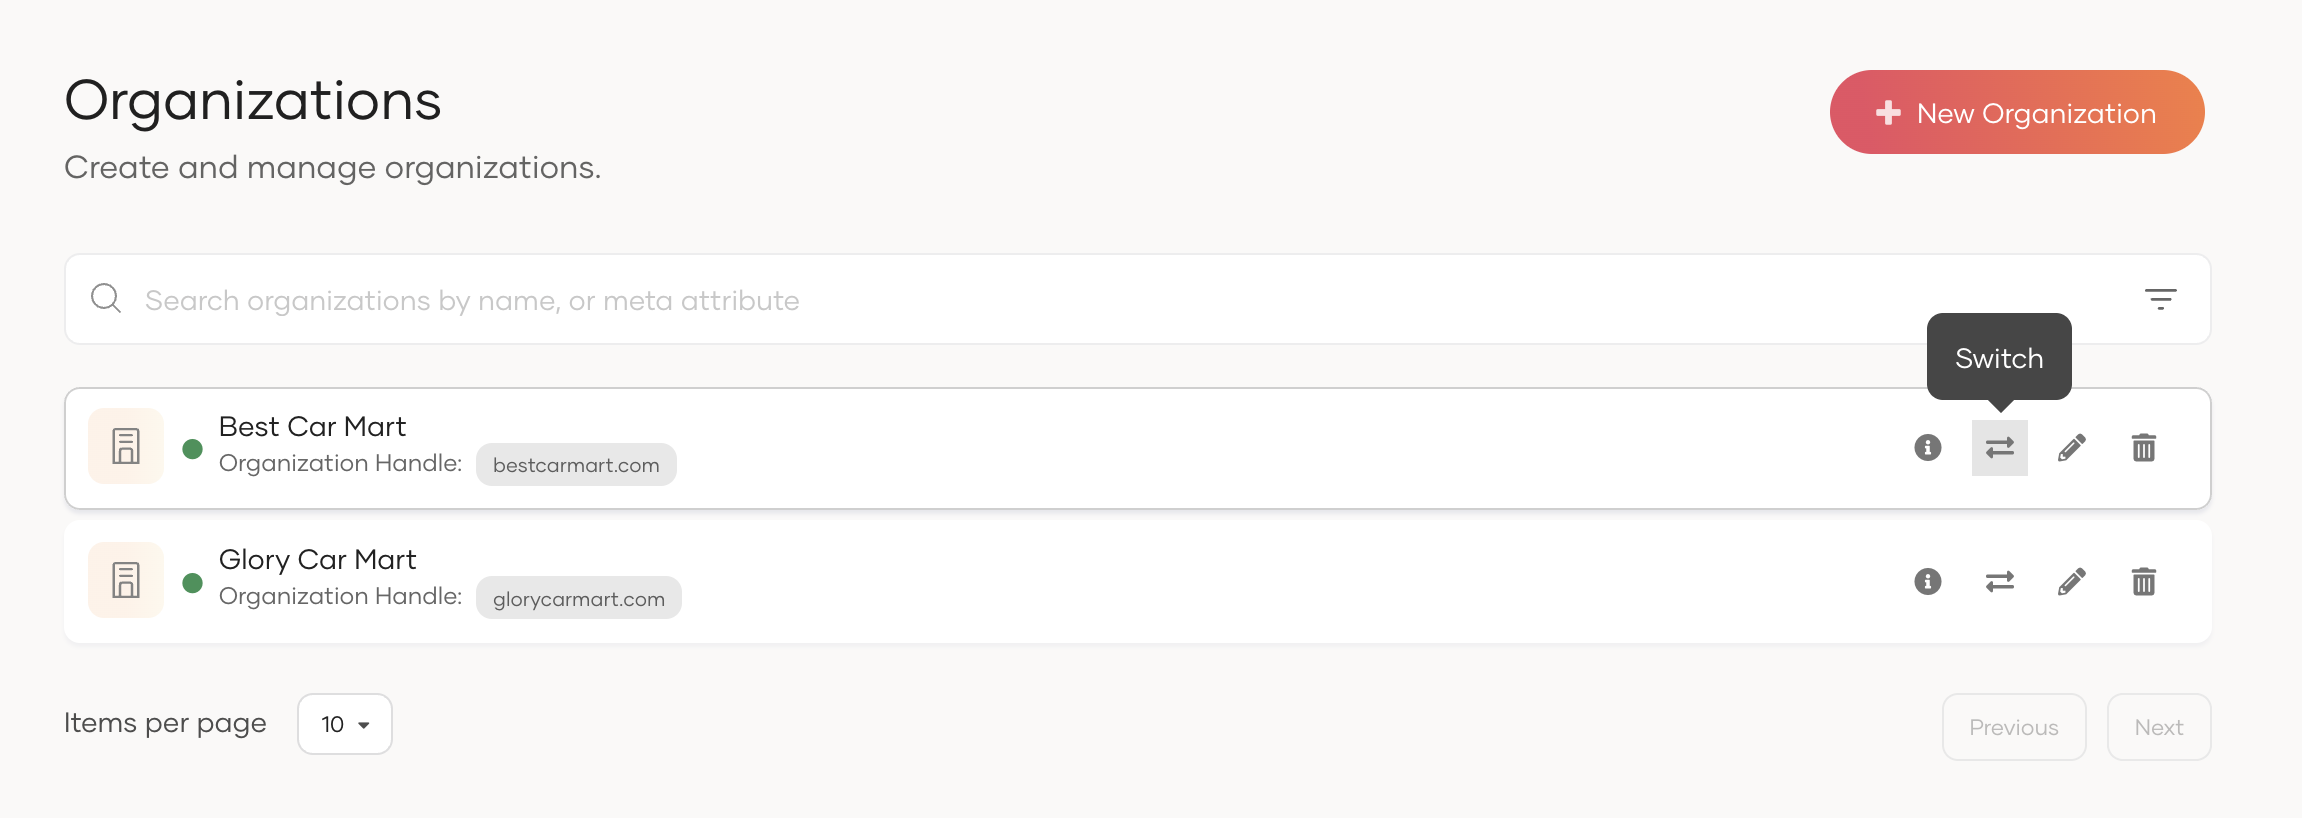
Switch to an organization
You can switch to a child organization on the WSO2 Identity Server Console by selecting the required organization from the list as shown below.
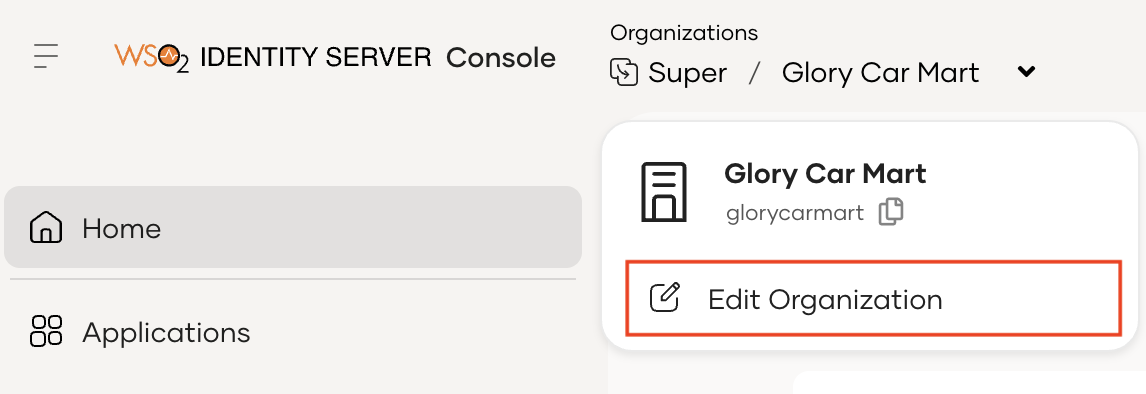
Manage current organization
You can view and edit details of the organization you are currently logged in to:
-
On the WSO2 Identity Server Console, click the organization name in the breadcrumb navigation.
-
On the dropdown that appears, click Edit Organization.
-
Update the organization name and click Save.
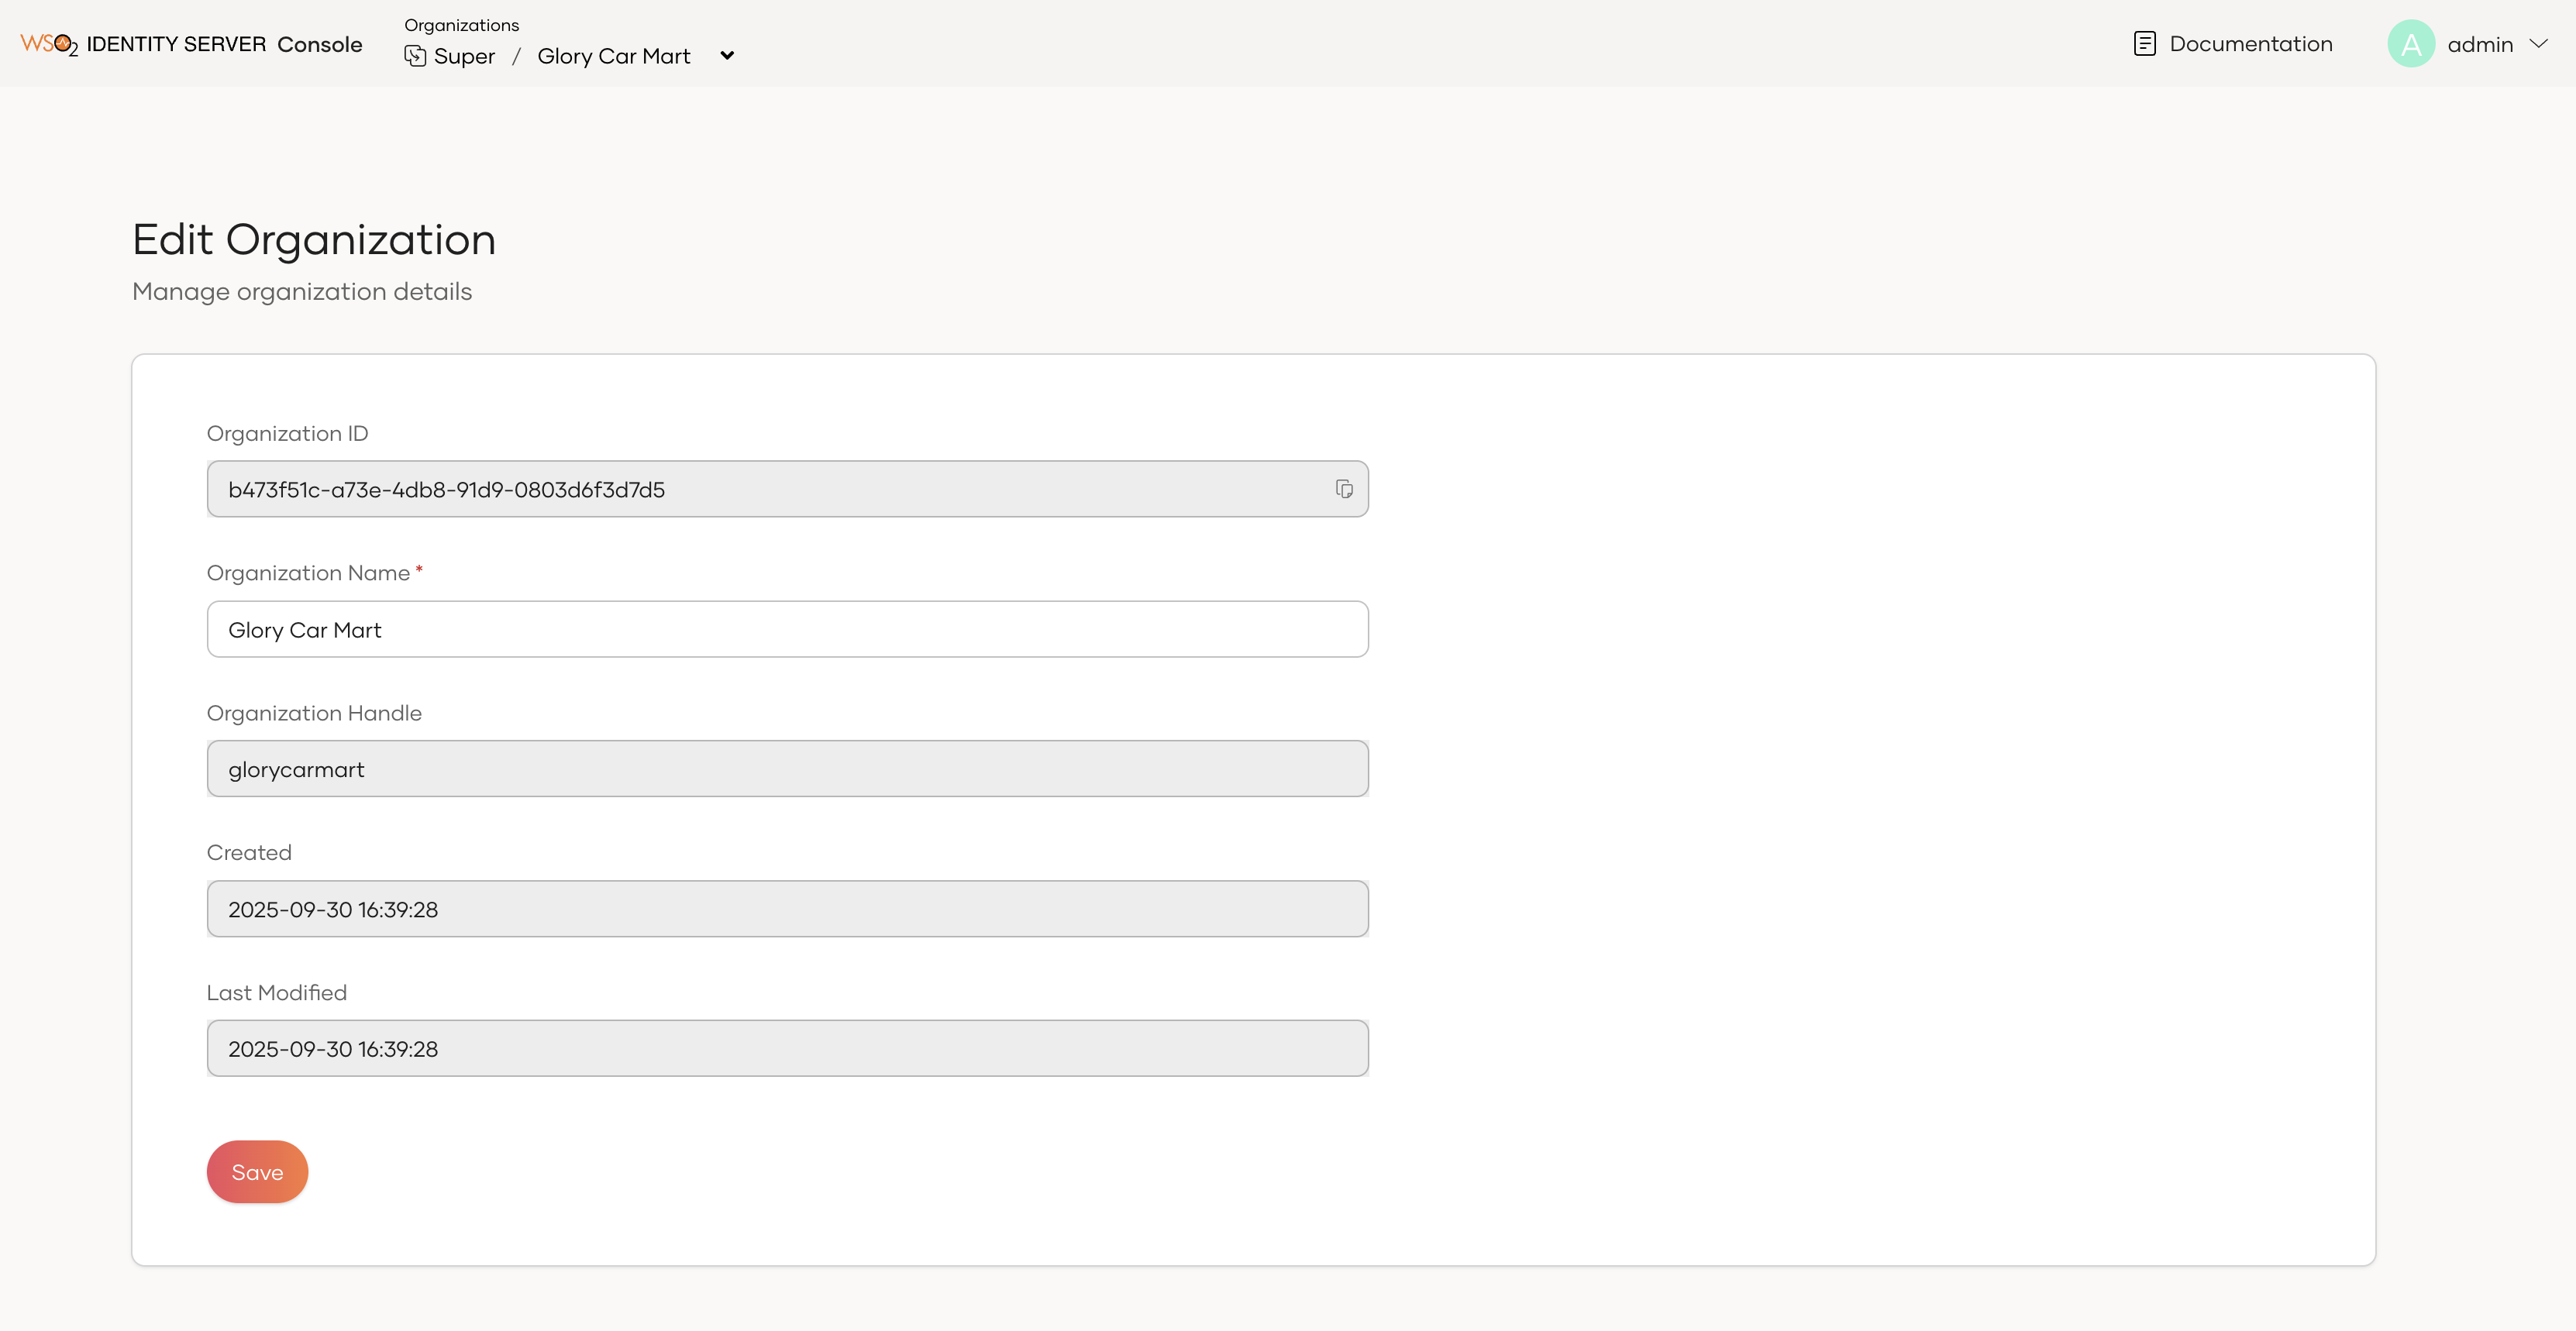
Note
- The Edit/View Organization options appear only if you have organization administrator privileges.
- Currently, you can edit only the organization name.
Build an organizational hierarchy
Organizations can be structured hierarchically in WSO2 Identity Server. This means that if you are a parent organization, you may have multiple child organizations and each child organization can have their own child organizations and so on. This enables you to easily reflect the real-world structure of your business in WSO2 Identity Server.
If you are a parent organization admin and you wish to create a new organization in your child organization:
- On the WSO2 Identity Server Console, switch to your organization.
- Go to Organizations and click Add Organization.
- In the Add Organization dialog box that opens, enter a unique name and description for your organization.
- Click Register to add the new organization.
Branding for organizations
You can configure UI branding, and email branding for your own organization from the WSO2 Identity Server Console.
If the organization doesn't have its own branding configurations, it will inherit the UI branding, and email branding configurations from the nearest ancestor that has configured branding.
Note
See the instructions on:
- how to configure UI branding for organizations.
- how to customize email branding for organizations.