Federated Authentication
Follow the instructions given here to try out federated authentication.
Problem scenario
Pickup works with a team of external consultants. However, it is a hassle to keep adding and maintaining their accounts in the employee database as these consultants are temporary and employed on a rolling basis.
Therefore, Pickup decides to use the identity federation capability of WSO2 Identity Server. This allows external consultants to use their existing Google account credentials to sign in to Pickup applications.
Prerequisites
Install WSO2 Identity Server and start the server.
Set up a Google OAuth 2.0 application
Follow these instructions to register an OAuth 2.0 application in Google.
-
Go to the Google Developer console, create a new project or select an existing project.
-
If the APIs & services page isn't already open, do the following:
-
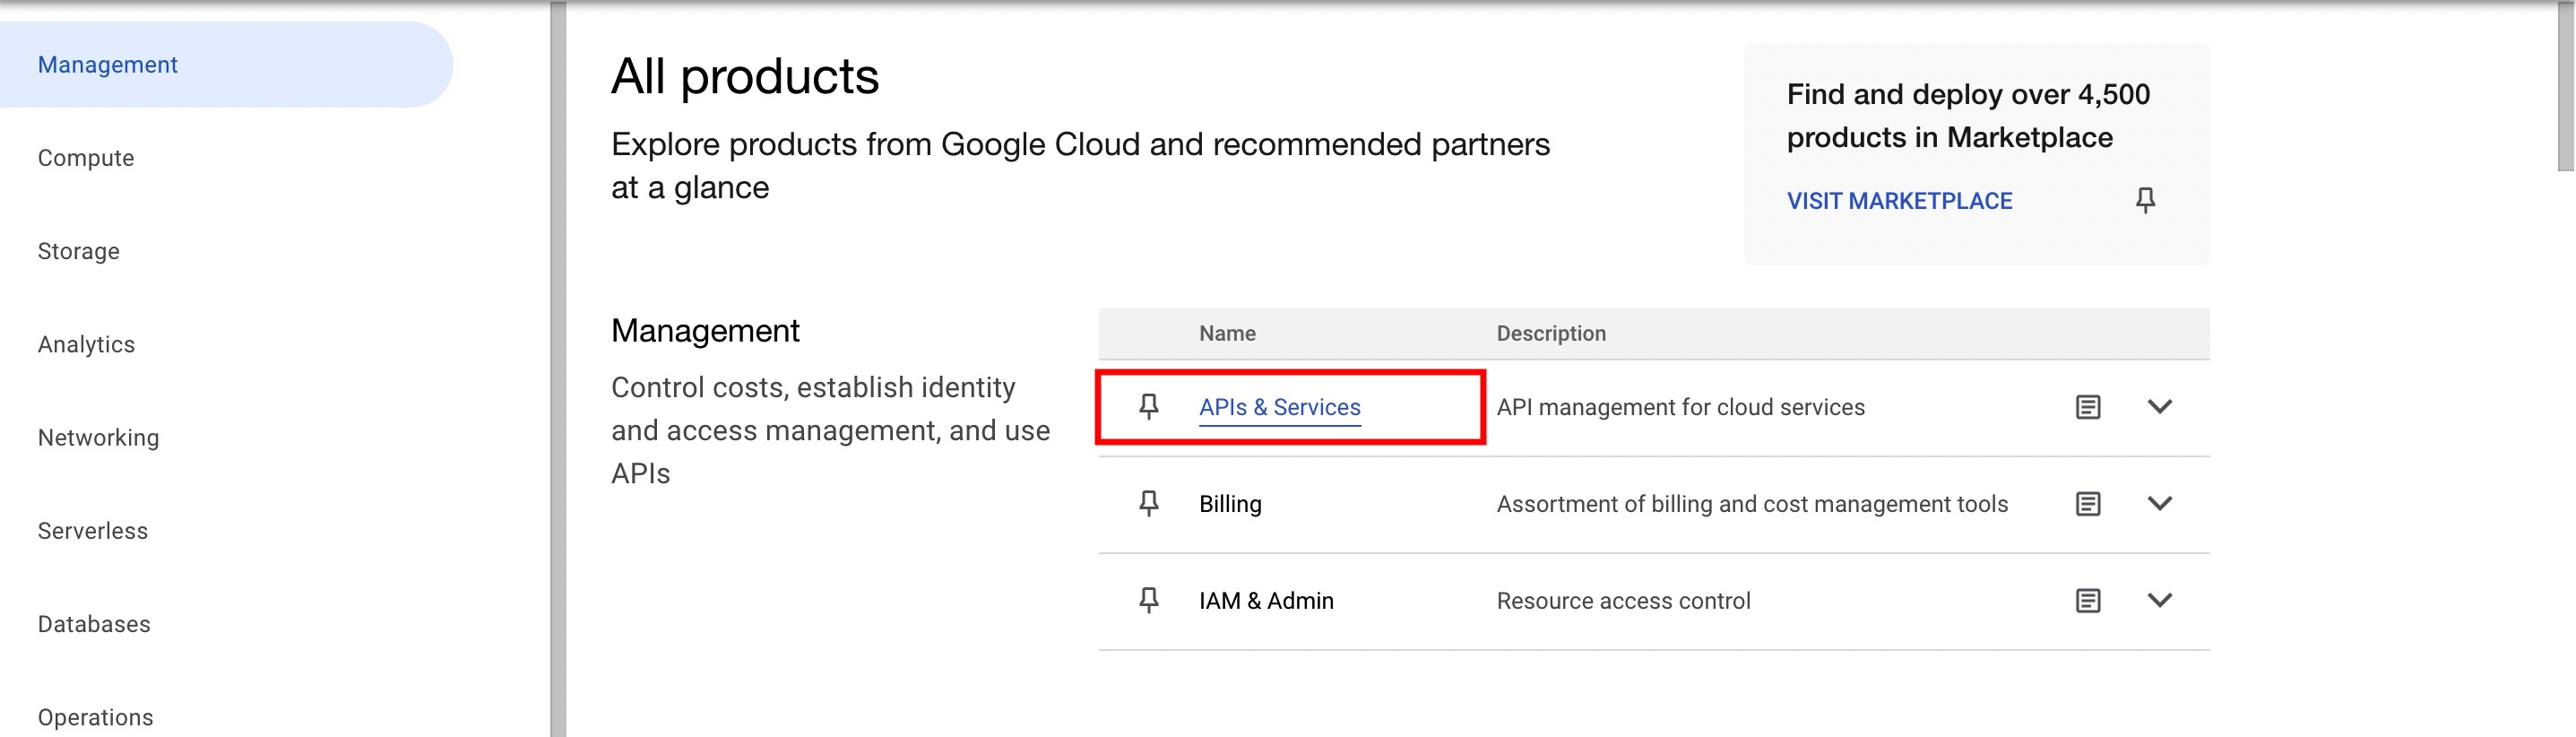
Open the navigation menu and click View all products.

-
Under Management, click APIs & Services.
-
-
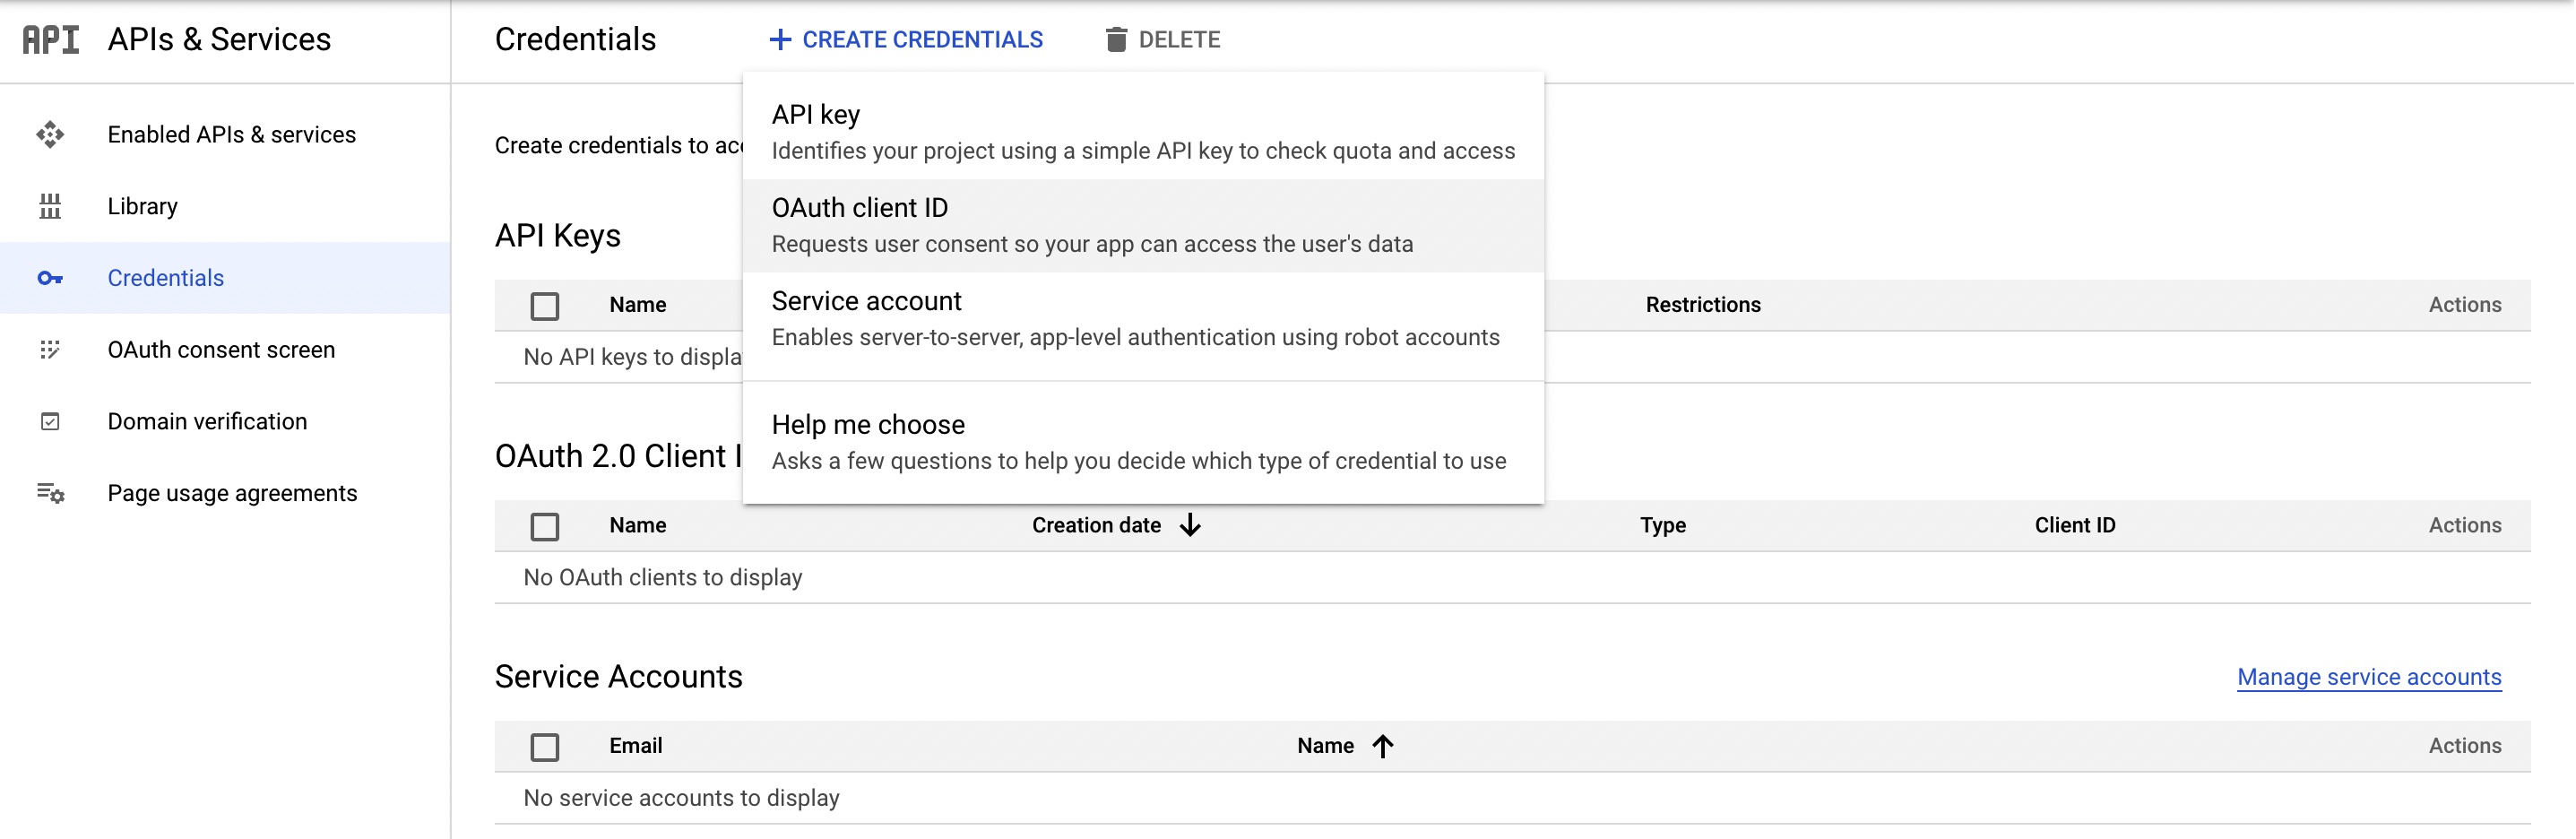
Go to the Credentials page, click Create Credentials, and select OAuth client ID.
-
Configure your consent screen by clicking Configure Consent Screen and return to Create OAuth client ID screen once you are done.
Info
For more information, see User Consent
-
Select Web application as the application type.
-
Provide a name for your application and specify the following URL as the Authorized Redirect URI of the application:
https://localhost.com:9443/commonauth` -
Note the
API keyandsecretfor later use.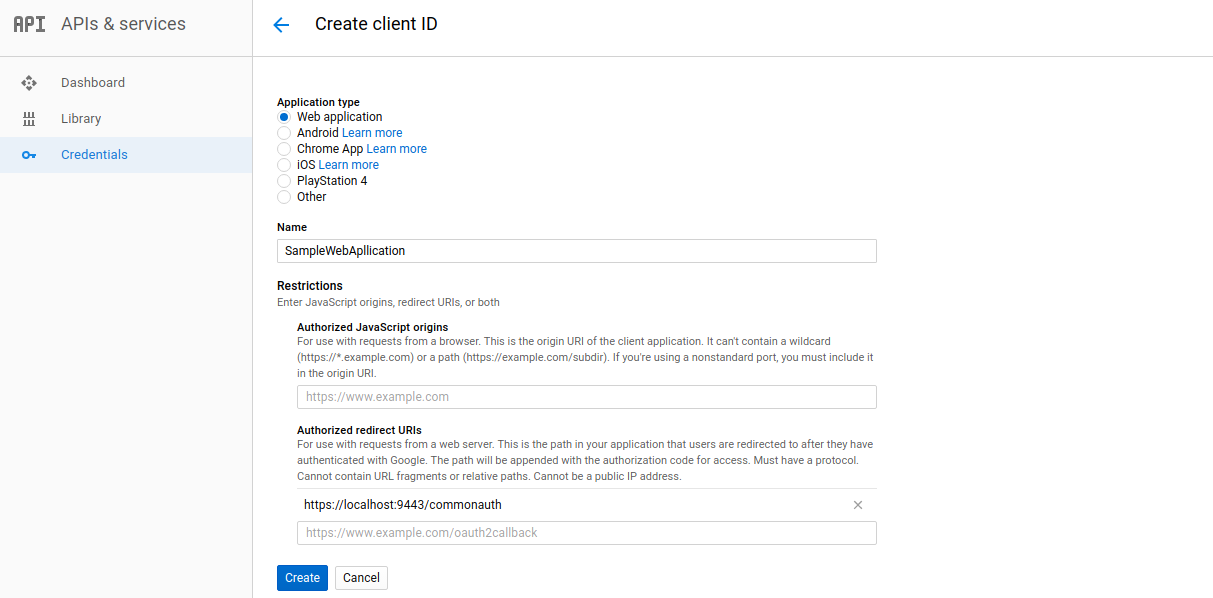
Tip
To avoid getting the following error message, add
localhost.comto the authorized domains list.If Invalid Redirect: domain must be added to the authorized domains list before submitting.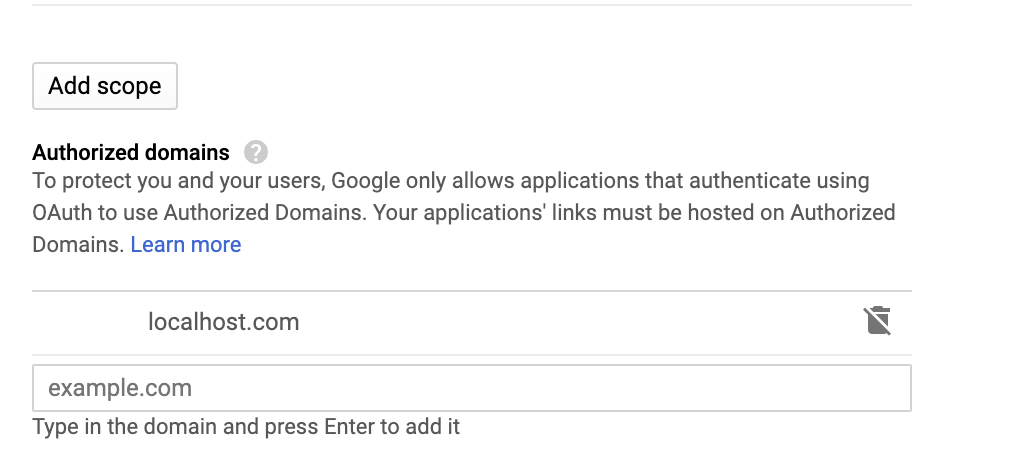
Run the sample scenario
Let's run the sample applications Pickup-Dispatch and Pickup-Manager.
-
Follow the instructions on setting up the samples.
Info
A message appears to pick a scenario.

-
Enter
4as the scenario number at the command prompt to run the federated authentication scenario. -
Enter
yto confirm that you have already completed the following steps.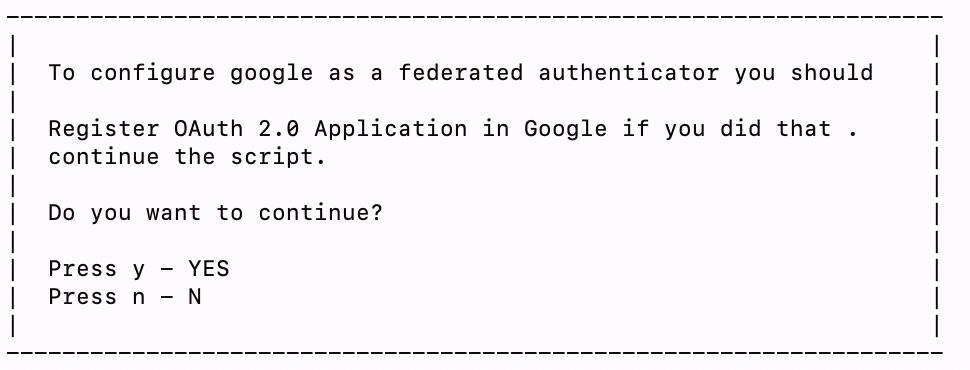
-
Enter the
client-idandsecretof the Google application when prompted.Info
Note that a message with the user and application details appears.
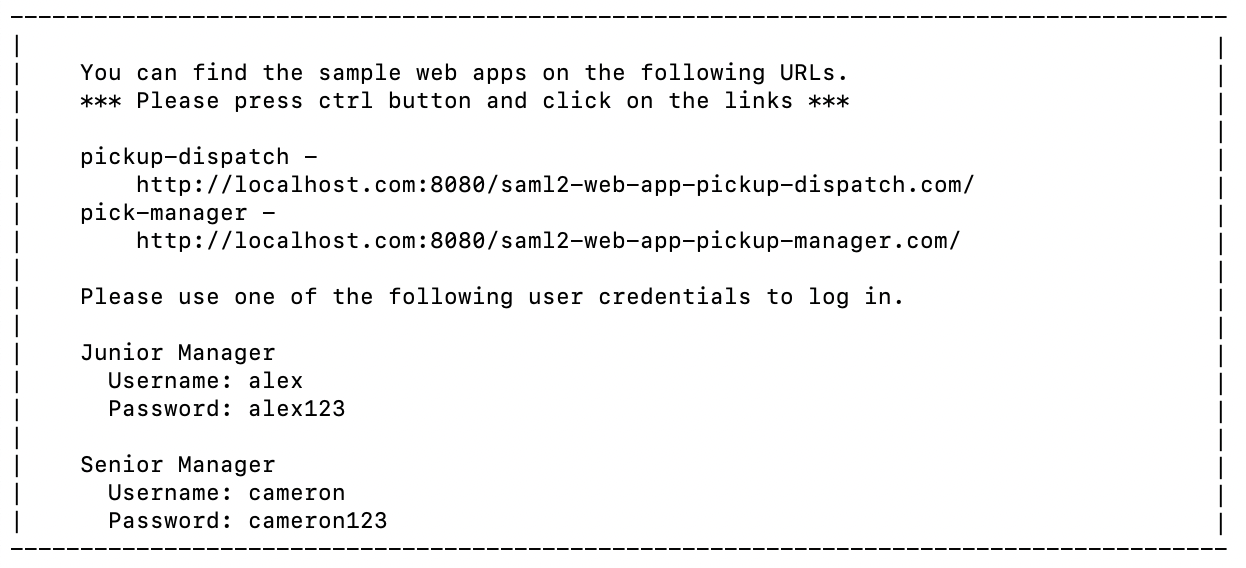
Try it out
Let's access the Pickup-Dispatch application and proceed to sign in.
-
Copy the
http://localhost:8080/saml2-web-app-pickup-dispatch.comURL to your web browser to access the Pickup-Dispatch application. -
Click Login to access the authentication page.
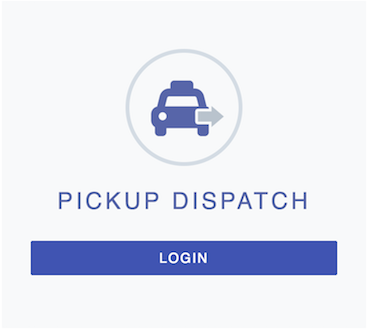
Info
You are directed to the Google login page.
-
Enter your Google
usernameandpasswordand click Sign In.Info
After successful authentication, the User Consent form of the Pickup-Dispatch application appears.
-
Select the attributes you agree to share with the Pickup-Dispatch application and click Continue.
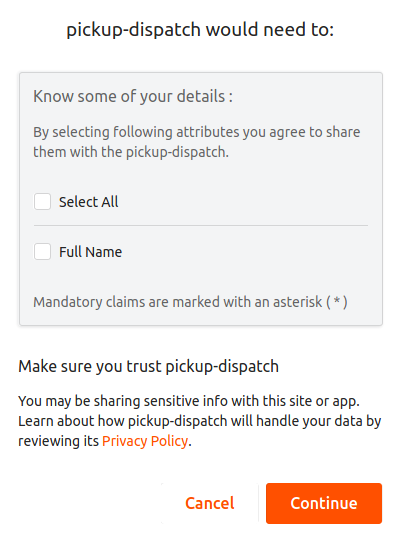
Note
Obtaining user consent is a fundamental requirement of the General Data Protection Regulation (GDPR). WSO2 Identity Server facilitates this through its Consent Management features. To learn more about GDPR and how WSO2 Identity Server handles consent, see Consent Management.
Note that the Pickup-Dispatch application home screen appears.
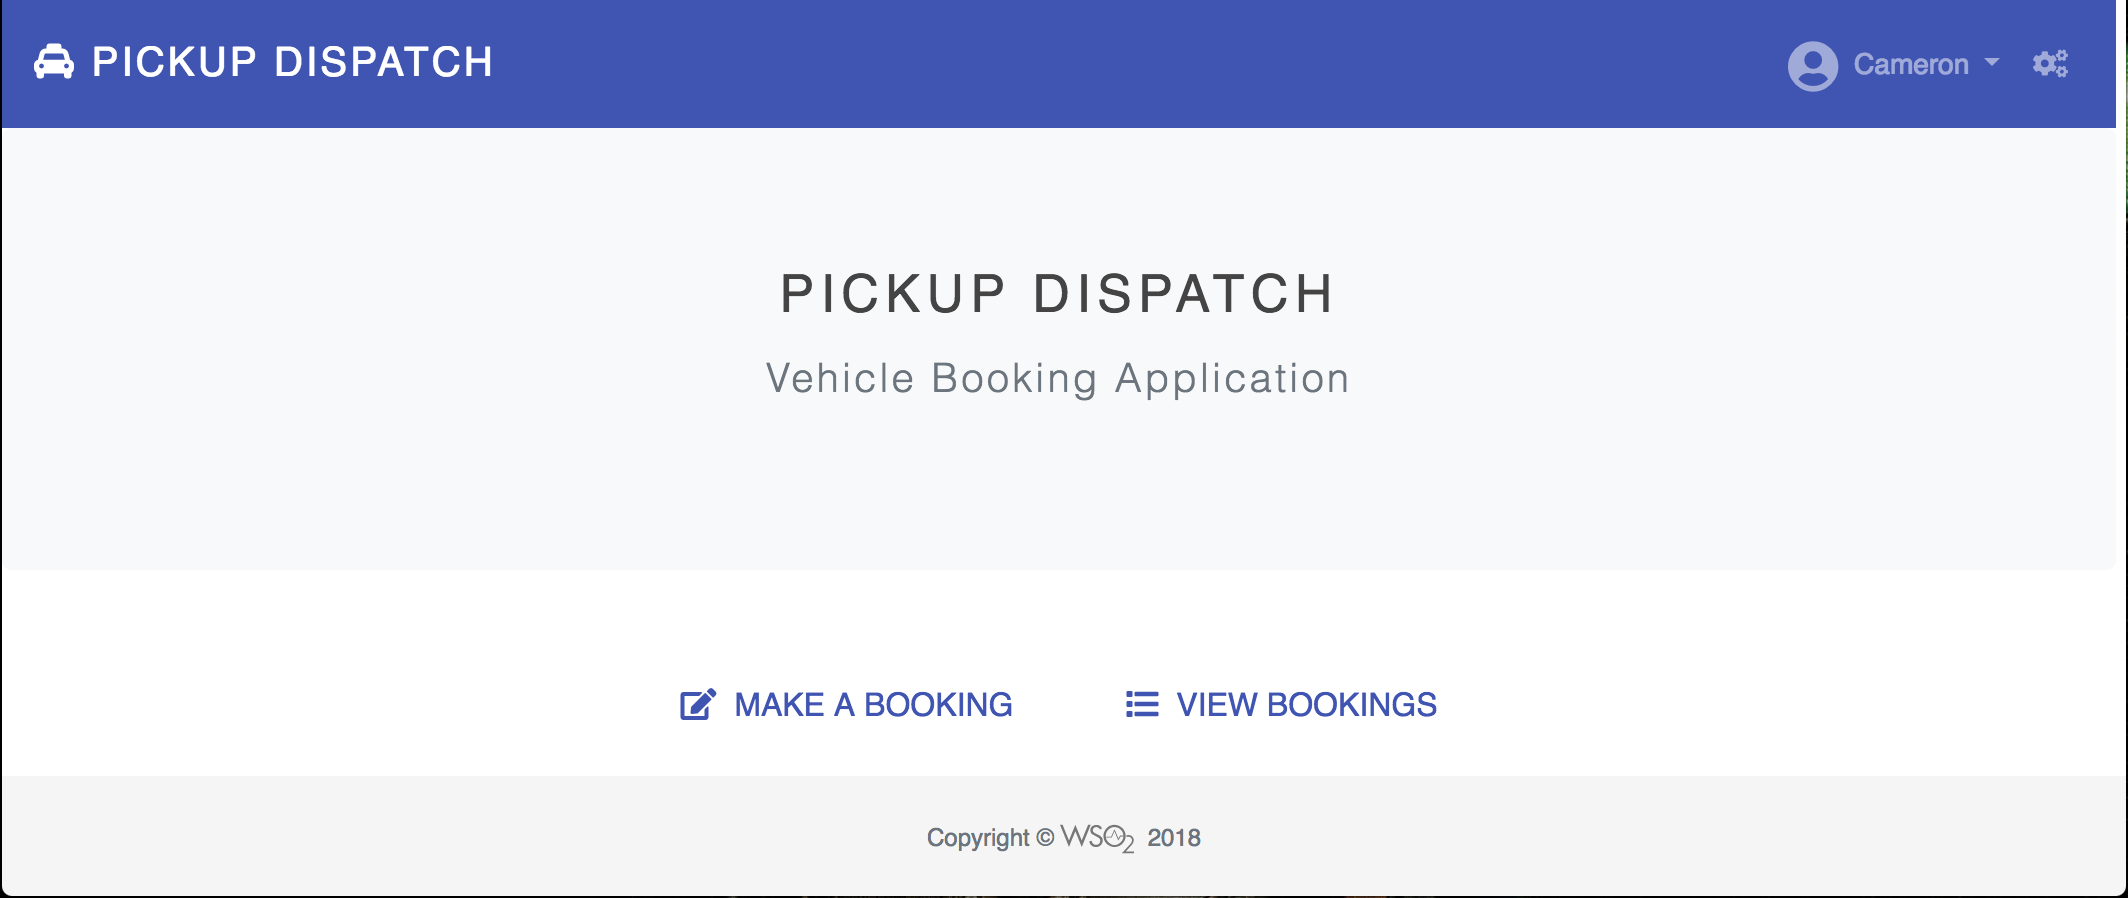
You have successfully signed in to the Pickup-Dispatch application as an external consultant using your Google credentials.
What's next?
To try out other scenarios, navigate back to the command-line where you ran the quickstart sample and enter y to clean the setup.

Top