Self Sign-Up
Follow the instructions given here to try out user self sign-up.
Problem Scenario
Cameron realizes that allowing new employees to self sign-up to the Pickup web applications can speed up the onboarding process. As a result, Cameron sets self sign-up for Pickup HR using WSO2 Identity Server.
Prerequisites
Before you begin, do the following:
- Install WSO2 Identity Server.
- Enable the email sending configurations of WSO2 IS.
- Restart the WSO2 IS.
Run the sample scenario
First, let's set up and run the sample applications.
-
Follow the instructions on setting up the samples.
Info
A message appears to pick a scenario.

-
Enter
5as the scenario number at the command prompt.A prompt appears to choose the user sign-up approach.
Enable self user registration (without any config) This enables self sign-up without having to do additional configurations. Once registered, the user receives an email to the provided email address. Enable account lock on creation This locks the user account during user registration. The user can only sign in to the application after clicking the verification link sent to the user-provided email address. A confirmation mail is sent to the user but the user account is locked until the user confirms the account by clicking on the account confirmation mail sent by WSO2 Identity Server. 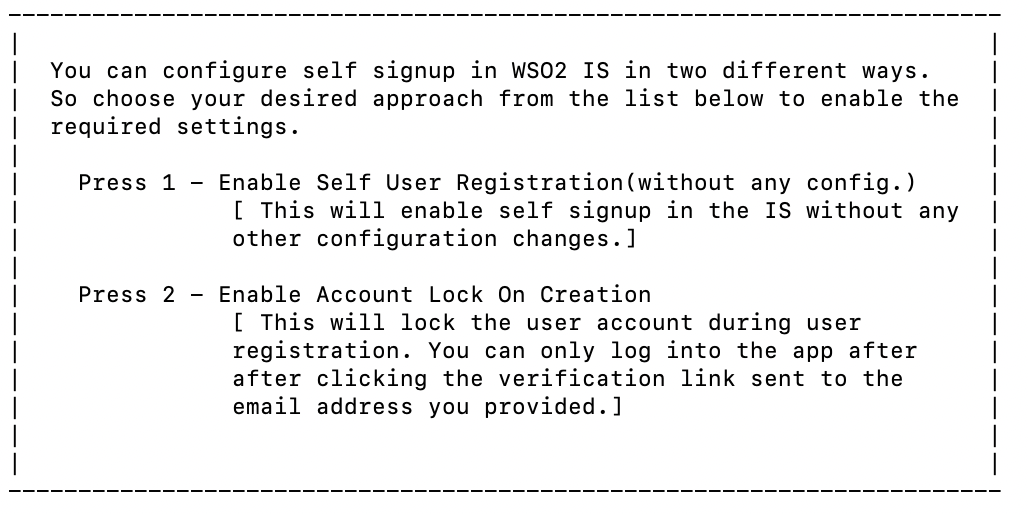
-
Enter the
numberthat matches the approach you would like to try.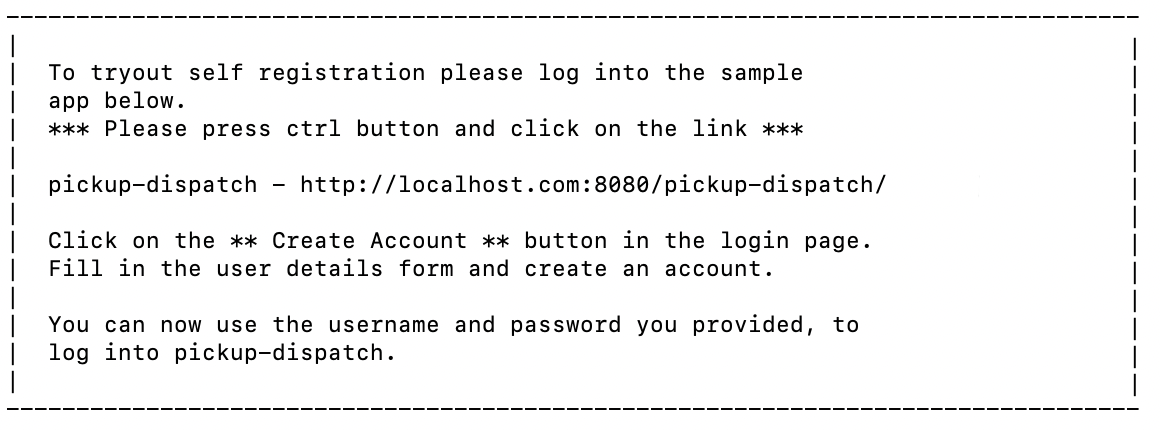
Try it out
Follow the instructions given below to complete self-registration and to log in.
Self-register
Let's access the Pickup-Dispatch application and self-register as a new user.
-
Copy the
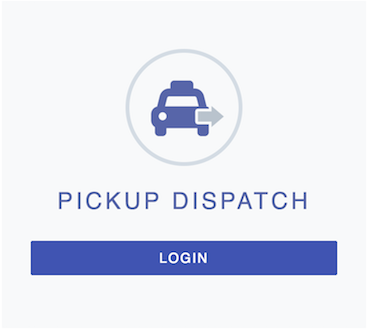
http://localhost.com:8080/pickup-dispatchURL on a web browser to access the Pickup Dispatch application. -
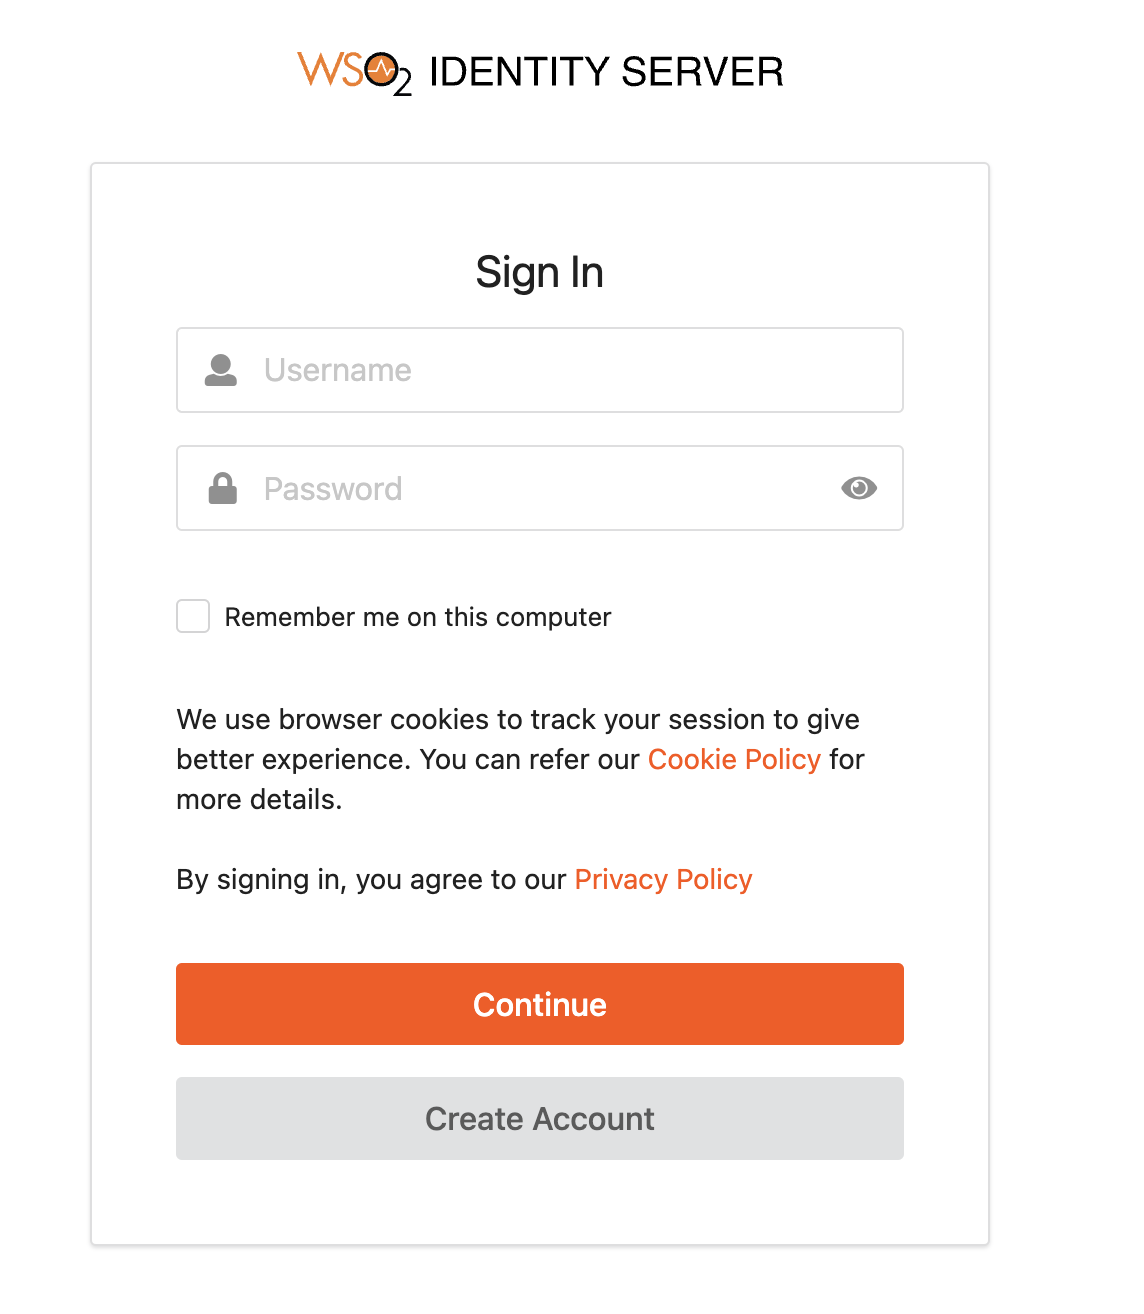
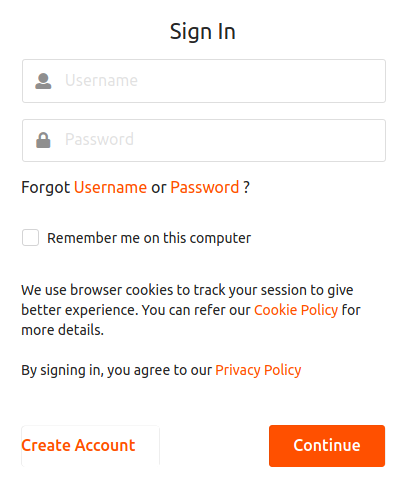
Click Login to access the authentication page.
-
Click Create Account to start the self sign-up process.
-
Enter a
usernamefor your user account and click Proceed to Self Register.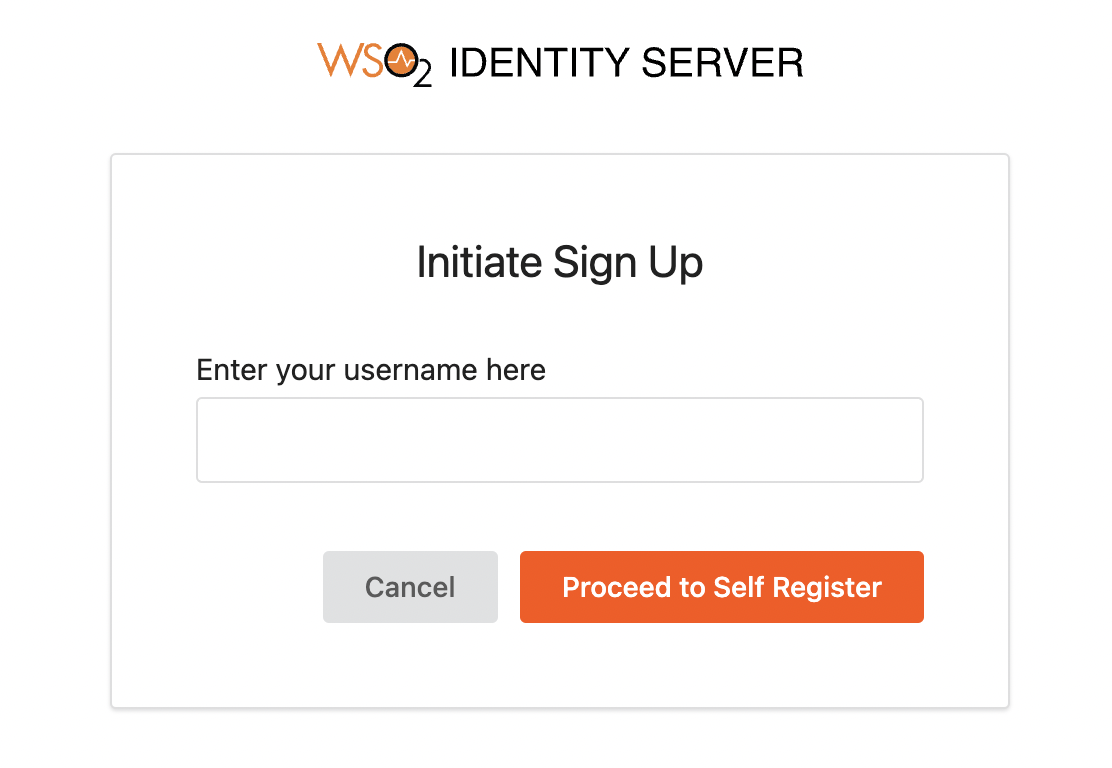
Note
If you want a user to self register for a specific tenant, provide the
usernamein the following format:<USERNAME>@<TENAND_DOMAIN>. -
Provide the user profile details, agree to the Privacy Policy, and click Register.
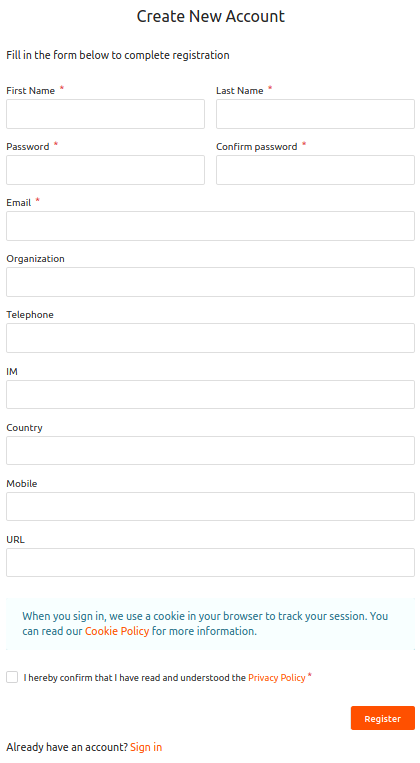
A confirmation message appears.
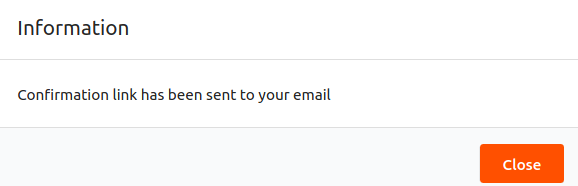
-
Click Close to complete the registration.
Log in
To try login with your new user account, follow the instructions given below as applicable.
-
If you selected Enable User Registration (without any config) during sample setup, go back to the Pickup-Dispatch application and sign in using the new user credentials.
-
If you selected Account Lock on Creation during sample setup, access your email account to view the account registration confirmation mail.
-
Access your email and click Confirm Registration in the email or copy the link in the email to your browser and confirm the account creation.
Info
The account gets unlocked and an email is sent.
-
Go back to the Pickup-Dispatch application and sign in using the new user credentials.
Note that the Pickup-Dispatch application home screen appears.
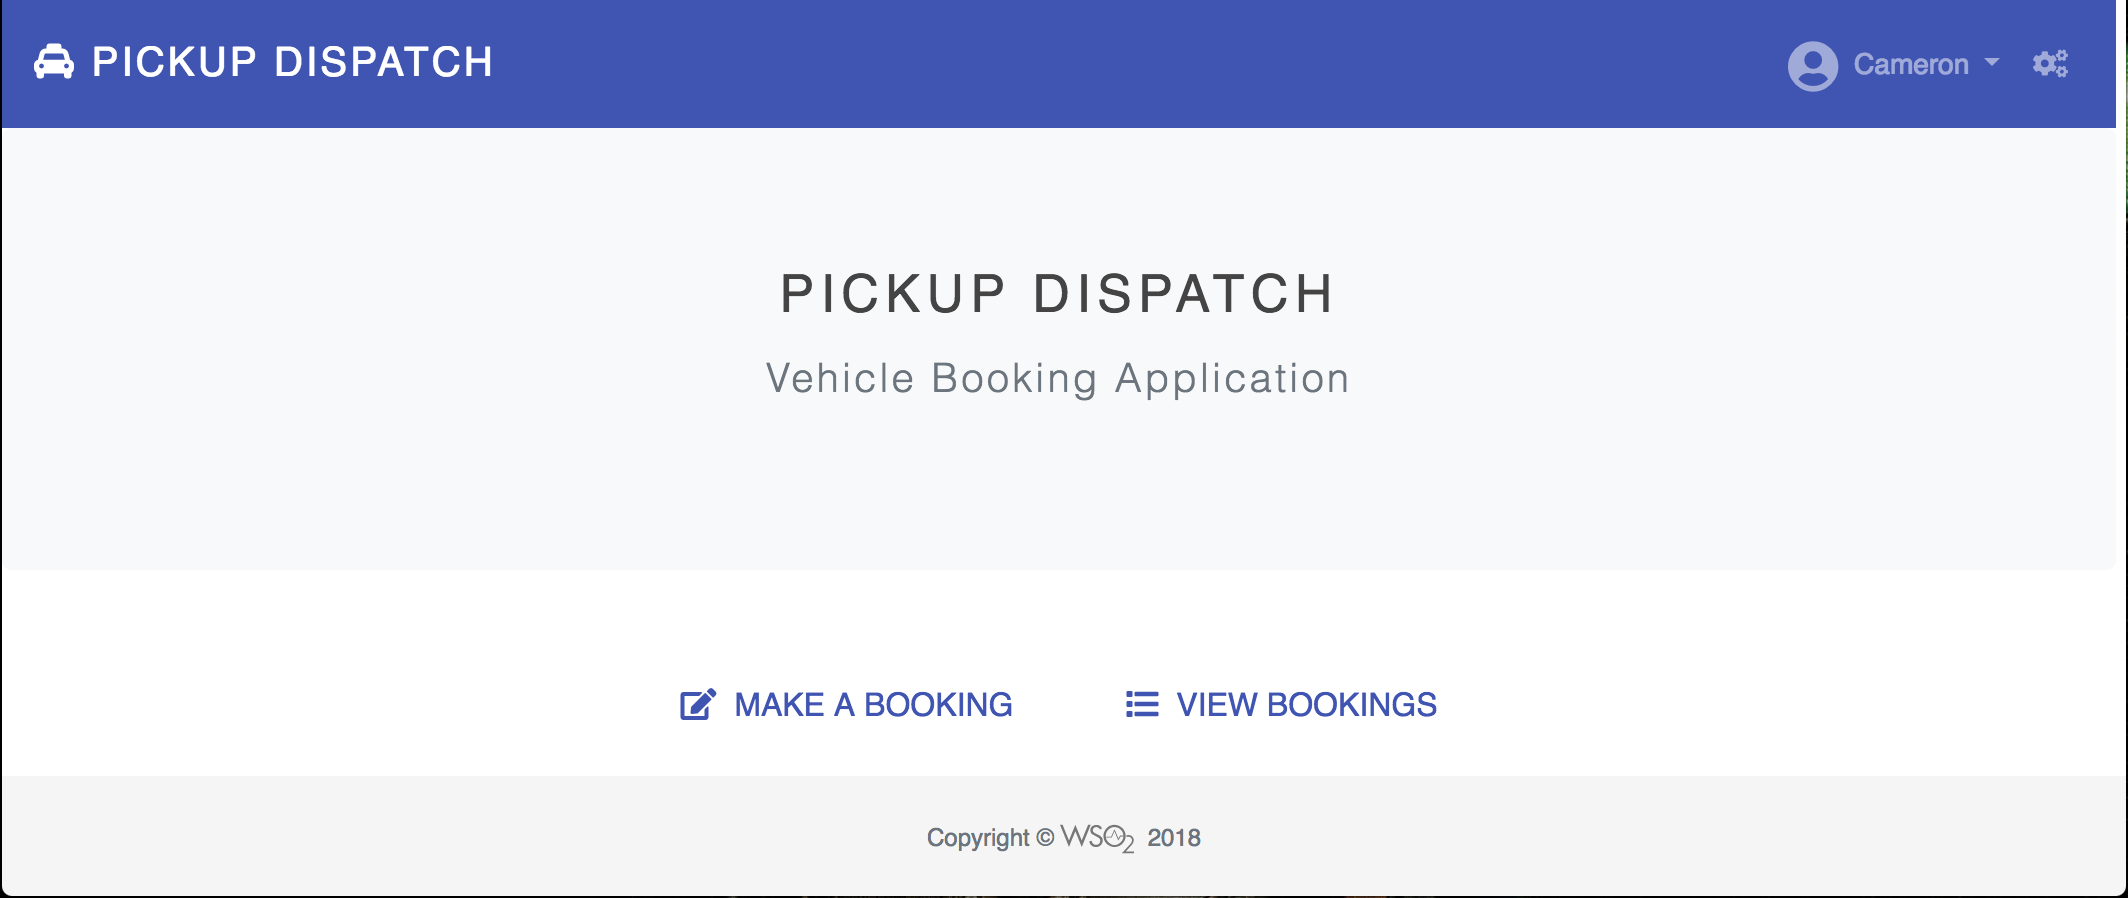
-
You have successfully self-signed up to the Pickup-Dispatch web application.
What's next?
To try out other scenarios, navigate back to the command-line where you ran the quickstart sample and enter y to clean the setup.
