Configure OpenID Connect Back-Channel Logout
This page guides you through configuring OpenID Connect back-channel logout between OpenID Connect Relying Parties (RP) or client applications.
Note
When a session is terminated via the Session Management REST API, WSO2 Identity Server will send a back-channel logout notification.
Register a service provider
-
Access the WSO2 Identity Server Management Console (
https://<IS_HOST>:<PORT>/carbon). -
Navigate to Main > Identity > Service Providers and click Add.
-
Enter
playground2in the Service Provider Name text box, and click Register.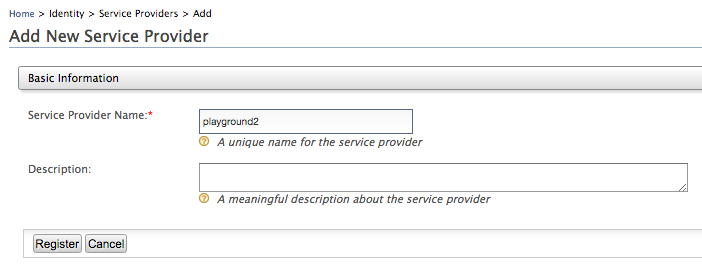
-
Expand the Inbound Authentication Configuration section and then the OAuth/OpenID Connect Configuration and click Configure.
-
Fill in the form that appears. For the Allowed Grant Types, you can disable the ones you do not require or block.
Note
The custom grant type will only appear on the UI if you have configured the JWT grant type. The value specified as the
nameof theoauth.custom_grant_typein thedeployment.tomlfile when creating the custom grant type is the value that will appear on the UI. For more information on writing a custom grant type, see Write a Custom OAuth 2.0 Grant Type. -
Fill the Callback Url field.
Example :
http://wso2is.local:8080/playground2/oauth2client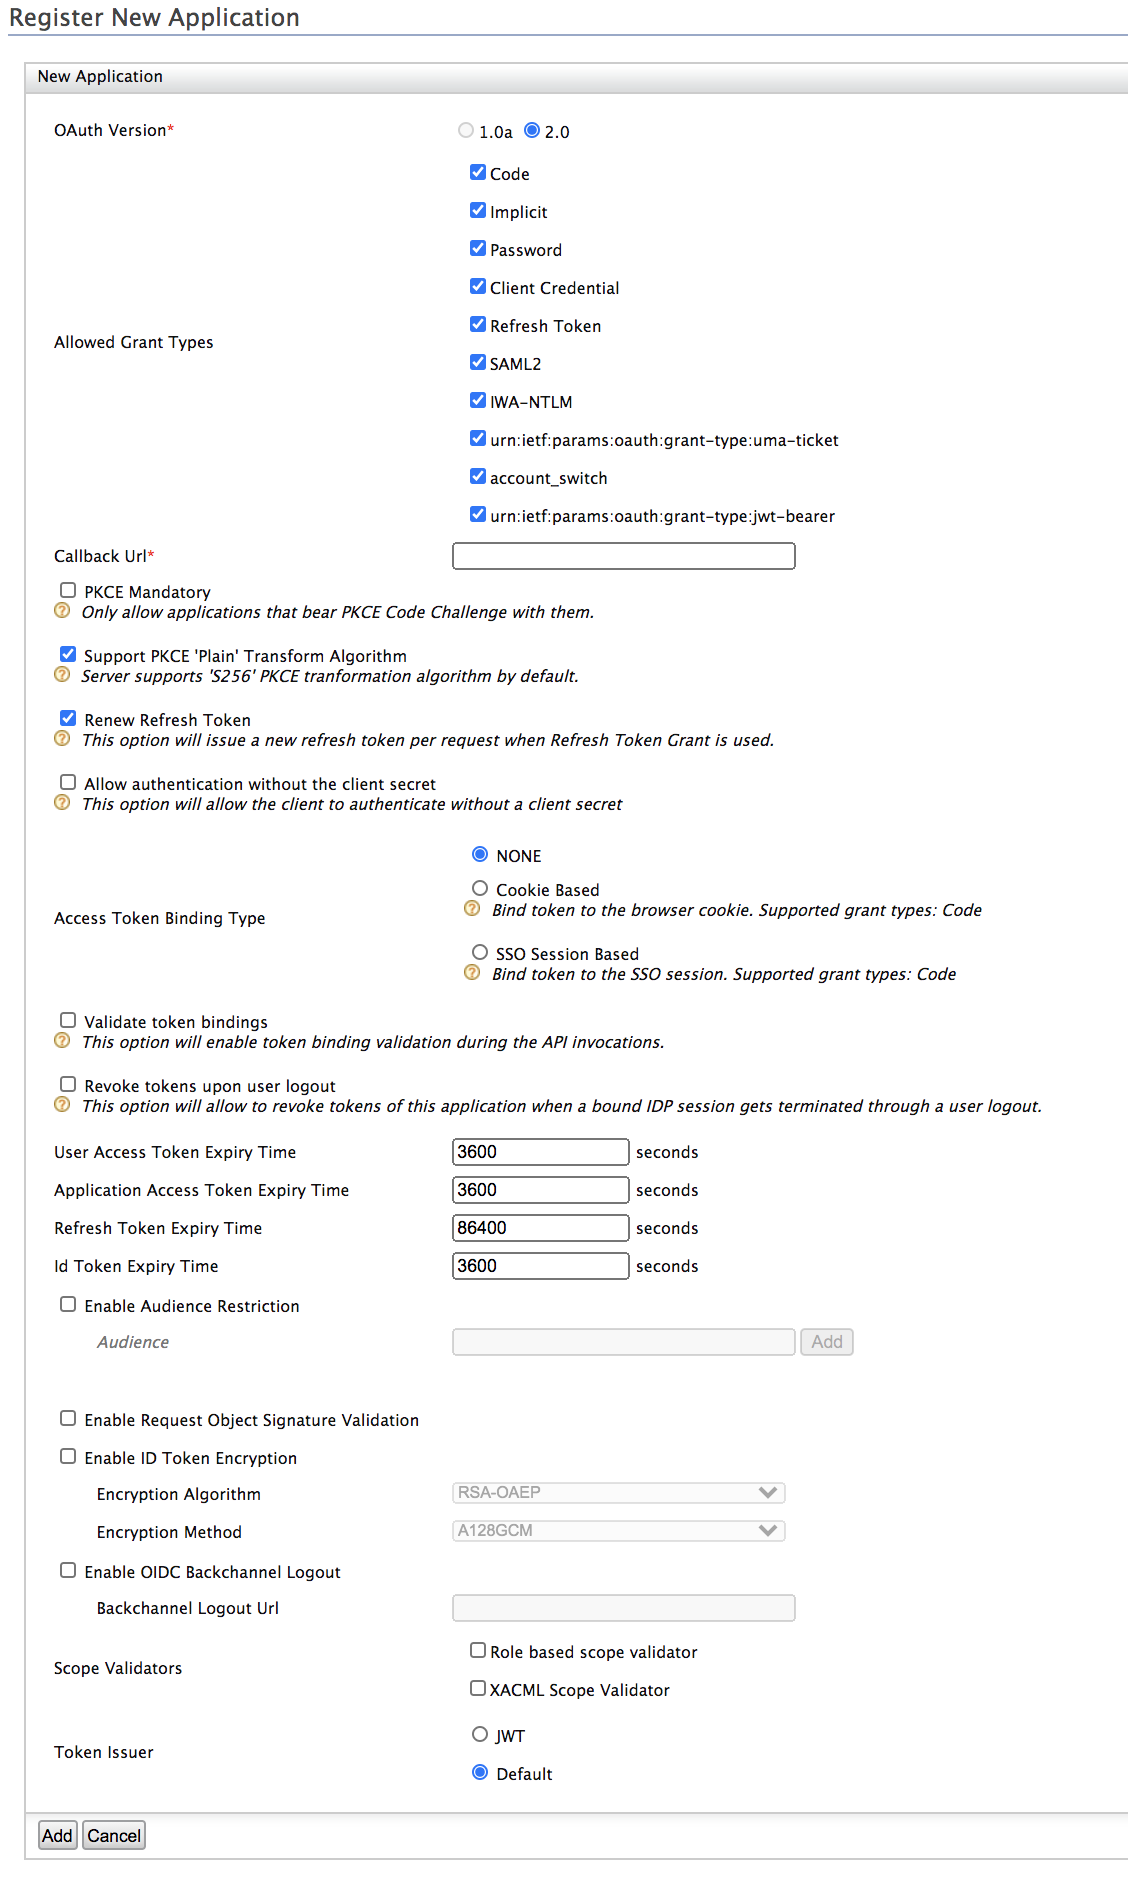
Tip
For more information on other advanced configurations refer, Advanced OpenID Connect.
-
Click Add. Note that
client keyandclient secretget generated.
Discover the logout endpoint
To enable OIDC back-channel logout, the relying party/client application needs to obtain the OpenID Provider's logout endpoint URL.
-
If you are using WSO2 Identity Server as the identity provider, do the following to view the logout endpoint URL.
-
Click Identity Providers > Resident.
-
Expand Inbound Authentication Configuration and then expand OAuth2/OpenID Connect Configuration.
Note the listed identity provider's Logout Endpoint URL.

-
-
If you are using a different identity provider, use the OpenID Connect discovery endpoint to obtain the OpenID Provider's logout endpoint URL. The logout endpoint URL can be discovered using the
end_session_endpointparameter in the OIDC Discovery response.
Configure back-channel single logout
-
Navigate to Main > Identity > Service Providers > List.
-
Click Edit to edit the OIDC service provider you created.
-
Expand Inbound Authentication Configuration > OAuth/OpenID Connect Configuration.
-
Click Edit.
-
Select Enable OIDC Backchannel Logout and enter the Logout URL as
http://localhost:8080/playground2/bclogout.Info
The Logout URL is the service provider's back-channel logout endpoint URL to which the logout token is sent to.
-
Click Update to save the changes.
Next, repeat the instructions in the above three sections to deploy another instance of the Playground sample application by downloading another copy of the playground2.war file, renaming it to playground3.war, and creating a new service provider called "playground3".
Ensure to replace all values that refer to "playground2" with "playground3" including the callback and logout URLs.
Try it out
Follow the steps given below to set up the Playground application.
Set up the sample
-
Download Apache Tomcat 8.x from here and install. Tomcat server installation location will be referred as
<TOMCAT_HOME>later in this guide. -
It is recommended that you use a hostname that is not
localhostto avoid browser errors. Modify the/etc/hostsentry in your machine to reflect this. Note thatwso2is.localis used in this documentation as an example, but you must modify this when configuring the authenticators or connectors with this sample application. -
Download the sample from GitHub.
-
Navigate to WSO2 Identity Server Samples.
-
Download the
playground2.warfile from the latest release assets.
-
Deploy the sample
Deploy this sample web app on a web container.
-
Copy the
playground2.warfile from the latest release assets folder into the<TOMCAT_HOME>/apache-tomcat-<version>/webappsfolder. -
Start the Tomcat server.
Note
To check the sample application, navigate to
http://<TOMCAT_HOST>:<TOMCAT_PORT>/playground2/oauth2.jspon your browser.For example,
http://wso2is.local:8080/playground2/oauth2.jsp -
Update the
param-valueparameter in theWEB-INF/web.xmlfile with the server URL of WSO2 Identity Server if required.Make sure to enter the port the application is running on, in the URL. If you have started the Identity Server with a port offset, then the respective port needs to be configured here.
<init-param>
    <description>serverUrl</description>
    <param-name>serverUrl</param-name>
    <param-value>https://localhost:9443/services/</param-value>
</init-param>
Note
Note that
localhostis the server that hosts WSO2 Identity Server and9443is the default SSL port of it. Since playground application is accessing the admin serviceOAuth2TokenValidationService, you should have the correct serverUrl, username, and password. -
Update
param-valueparameter with credentials of an admin user if required.<init-param> <description>userName</description> <param-name>userName</param-name> <param-value>admin</param-value> </init-param> <init-param> <description>password</description> <param-name>password</param-name> <param-value>admin</param-value> </init-param> -
Restart Apache Tomcat and access
http://wso2is.local:8080/playground2/.By default Tomcat runs on port 8080. If you have configured it to run on a different port make sure to update the URL and then access the playground application.
You are directed to the landing page of the sample application. Click on Import Photos and the following page appears.
Troubleshooting tip
If you are getting the following error, the sample applications do not have a keystore in them. Therefore, you may get this error after changing the tomcat hostname because the public key of the WSO2 Identity Server does not exist in the Java certificate store.
javax.net.ssl.SSLHandshakeException: sun.security.validator.ValidatorException: PKIX path building failed: sun.security.provider.certpath.SunCertPathBuilderException: unable to find valid certification path to requested target
Log out
-
Access the following URLs on a browser window:
http://wso2is.local:8080/playground2/ -
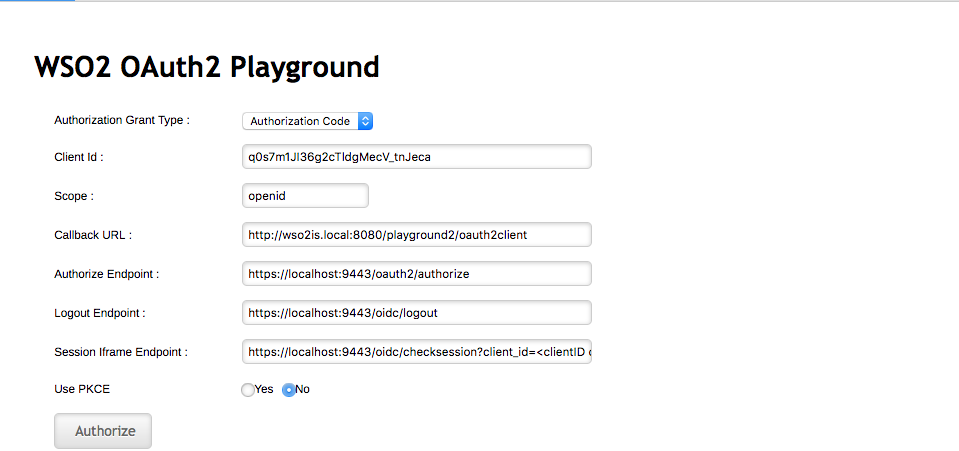
Click Import Photos and enter the following details.
-
Authorization Grant Type: Implicit
-
Client ID: The OAuth Client Key received when registering the "playground2" service provider.
-
Callback URL:
http://wso2is.local:8080/playground2/oauth2client -
Authorize Endpoint:
https://localhost:9443/oauth2/authorize

-
-
Click Authorize.
-
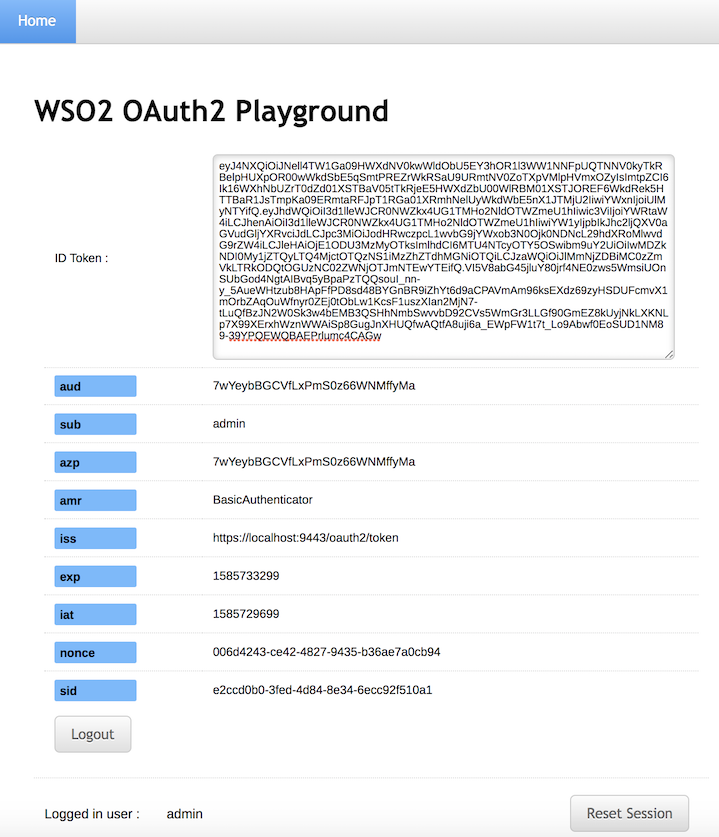
Log in with user credentials (e.g., admin/admin). At this point, the application receives the ID token.
-
Now, access the following URL on a browser window to access "playground3":
http://wso2is.local:8080/playground3/ -
Repeat steps 1-4 for the "playground3" application.
-
Click Logout on one of the applications. You will be prompted to consent to the logout.
-
Provide consent. You will receive confirmation of sucessful logout.
-
Now, go to the other application and reload the page. Note that you are redirected to the login page of the playground application and you will see that the Logged in user has changed to
null.
You have successfully configured and tried out OIDC back-channel logout. You can check out the Tomcat logs on the terminal window to see the back-channel logout flow.
Related topics