Setting up MCP Clients
The Model Context Protocol (MCP) specification defines that authorization is initiated by MCP clients. These clients handle authorization flows, manage tokens and sessions with MCP servers, and provide end-user experiences based on user permissions.
WSO2 Identity Server provides an MCP Client Application template with default configurations to register an MCP client with minimal effort. This template has been configured to create an OAuth application that adheres to the guidelines and best practices outlined in the MCP authorization specification.
Other Application Types
While the MCP Client Application template is optimized for MCP connections, MCP servers can also be accessed by most other application types in WSO2 Identity Server, including Single Page Applications, Traditional Web Applications, Mobile Applications, and M2M Applications. The only exception is Digital Wallet applications, which cannot access MCP servers.
Register an MCP Client Application
To regiser an MCP Client application,
-
On WSO2 Identity Server Console, go to Applications > New Application to navigate to the application template selection wizard.

-
Select MCP Client Application.
If Client ID Metadata Documents (CIMD) are enabled for the organization, the wizard asks Which MCP client are you connecting? MCP clients such as Claude and Visual Studio Code identify themselves with a CIMD, an HTTPS URL that serves the client's name, redirect URIs, and sign-in details.
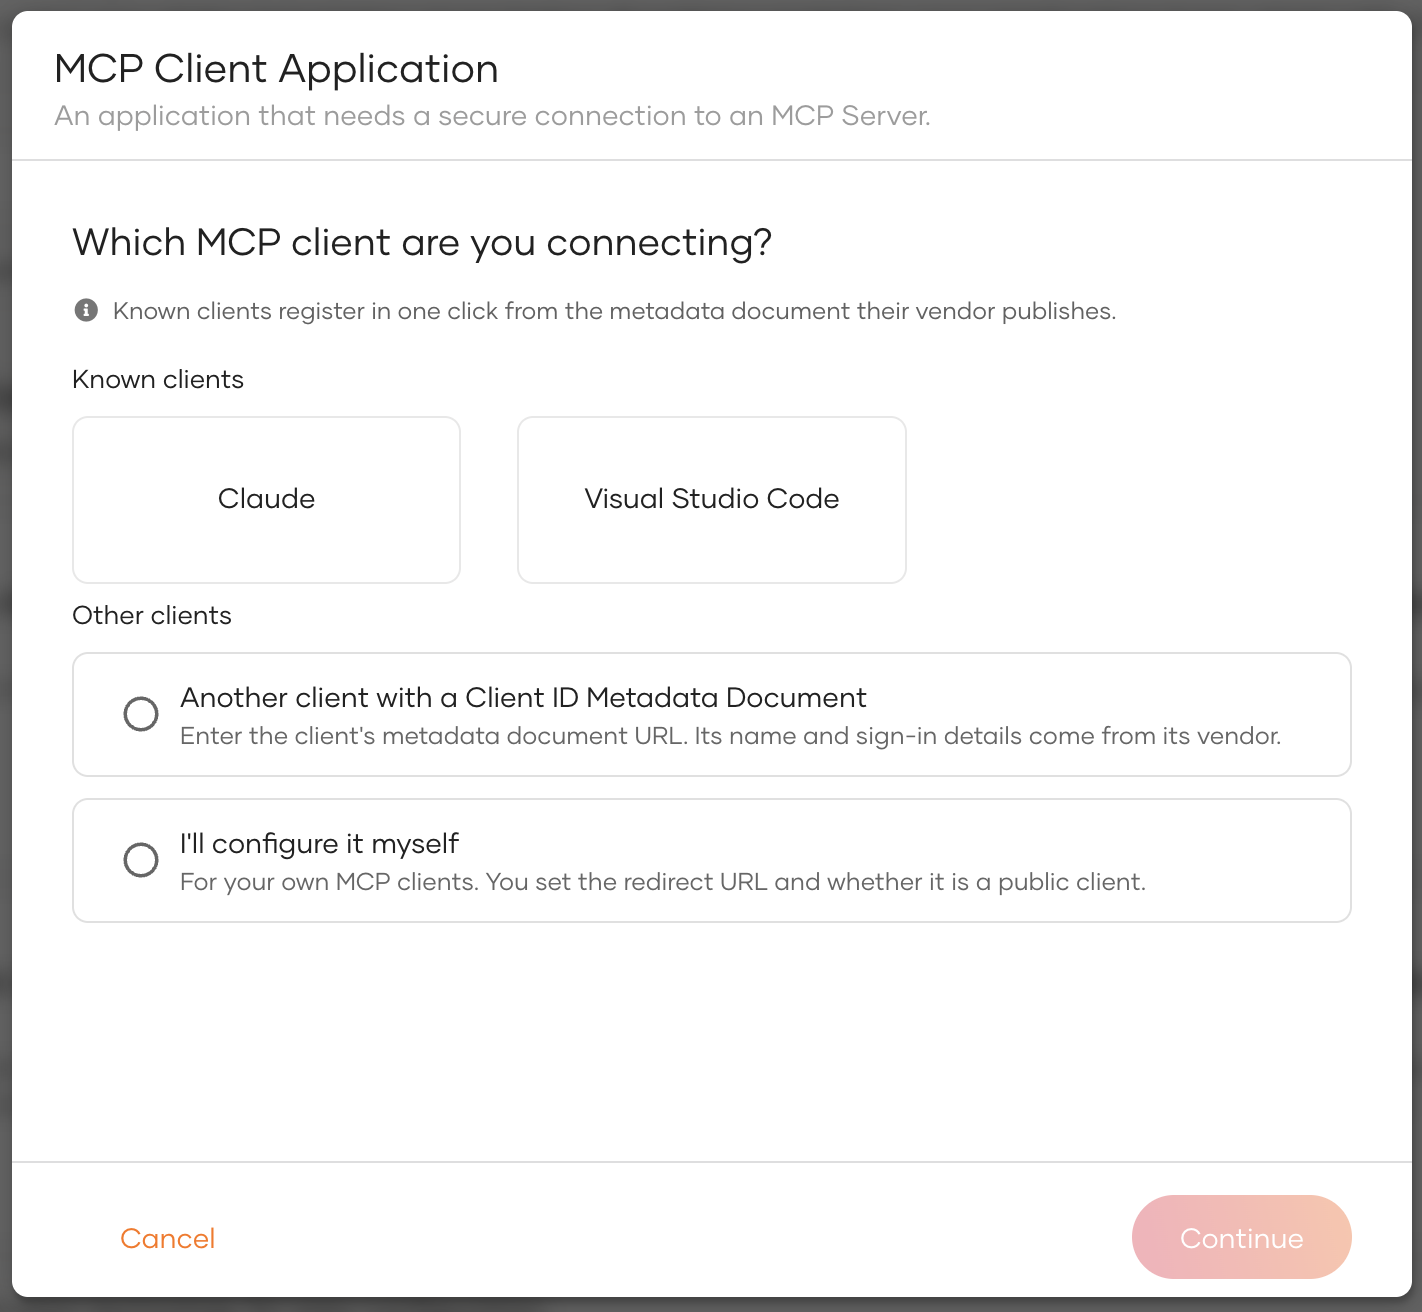
Choose how to register the client:
- Known clients: Select the client, for example Claude. WSO2 Identity Server creates the application from the client's metadata document.
-
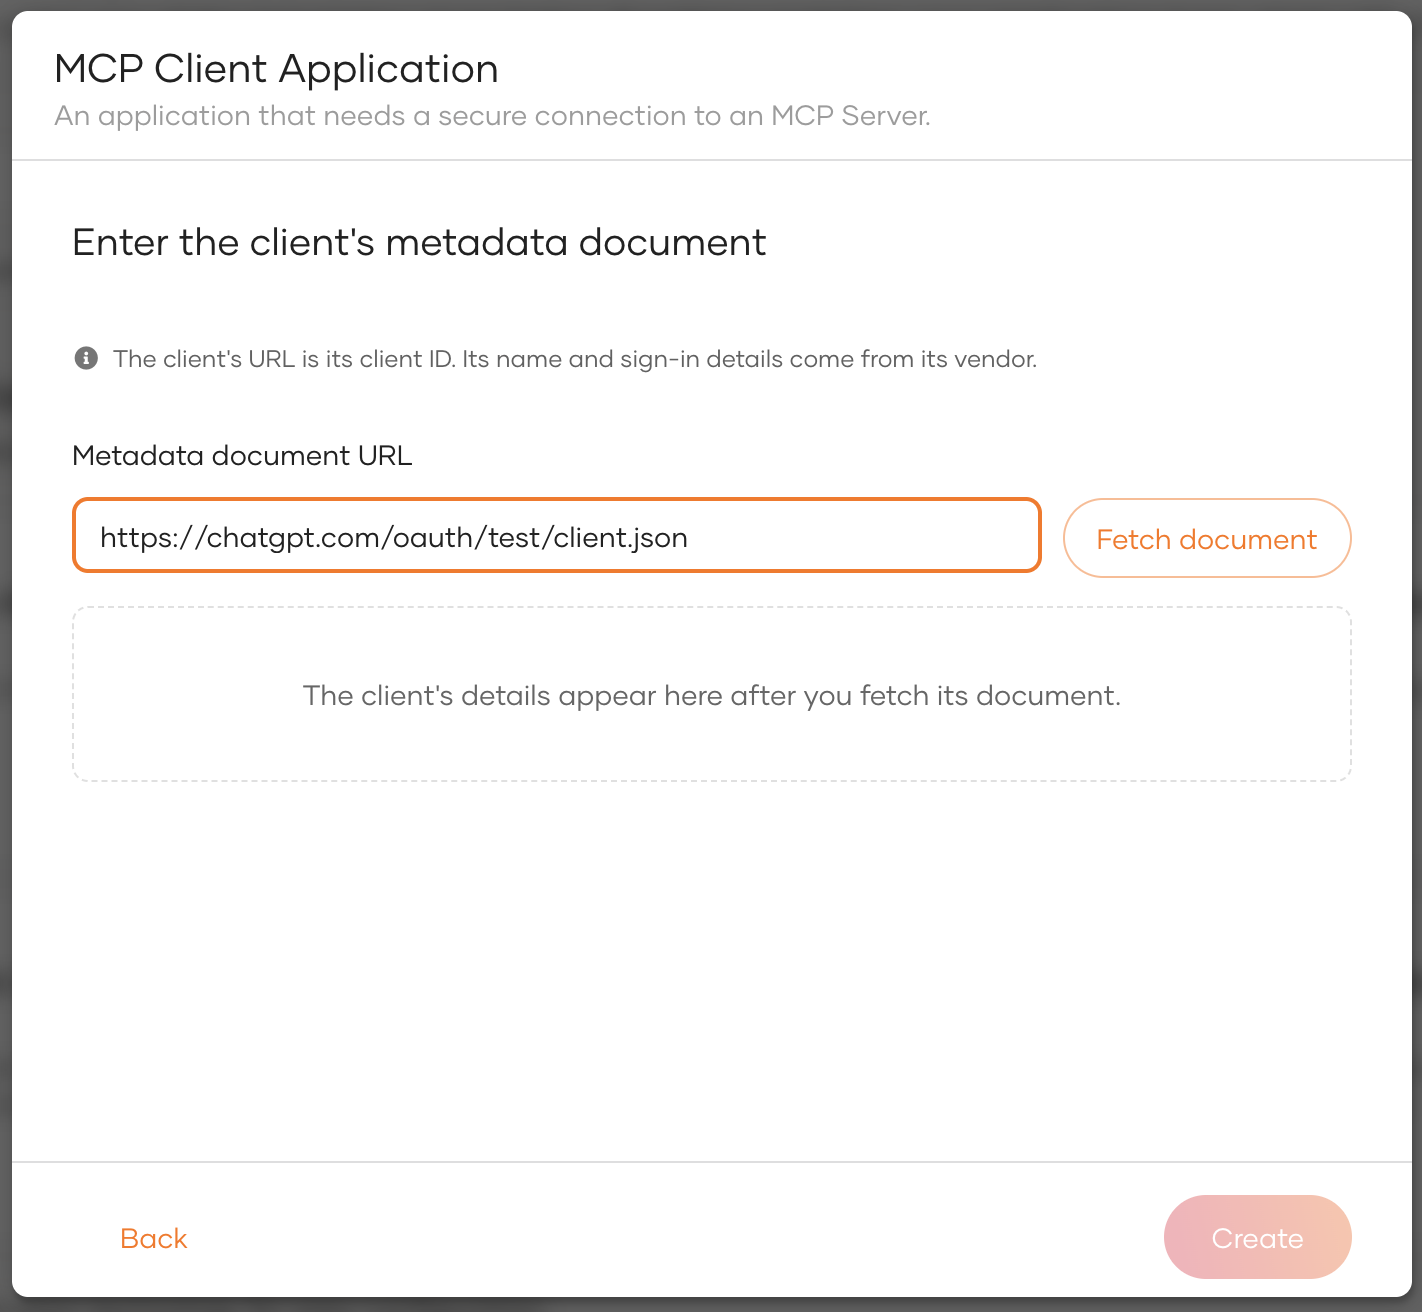
Another client with a Client ID Metadata Document: Select Continue, enter the Metadata document URL, and select Fetch document. Review the client details, edit Application name if needed, and select Create.
-
I'll configure it myself: Select Continue and fill in the application creation wizard as described below.

The MCP application creation wizard includes the following fields.
Parameter Description Name A unique name to identify your application. Authorized redirect URL The URL to which the authorization code is sent upon user authentication and where the user is redirected upon logout. Public client Keep this enabled if your MCP client application cannot securely store client secrets. (Eg: mobile apps, single page web apps etc). Note
MCP Authorization specification recommends that MCP clients should be public clients with authorization code grant flow enabled. However, if your MCP client runs on a server side environment where you can keep a secret, you can untick the public client option.
-
Click Create to complete the registration.
Enable Client ID Metadata Documents
Enable CIMD for the organization with the Server Configuration API:
curl --location --request PATCH 'https://localhost:9443/api/server/v1/configs/authentication/inbound/oauth2' \
--header 'Authorization: Bearer <access_token>' \
--header 'Content-Type: application/json' \
--data '{ "enableClientIdMetadataDocument": true }'