Configuring User Name Recovery
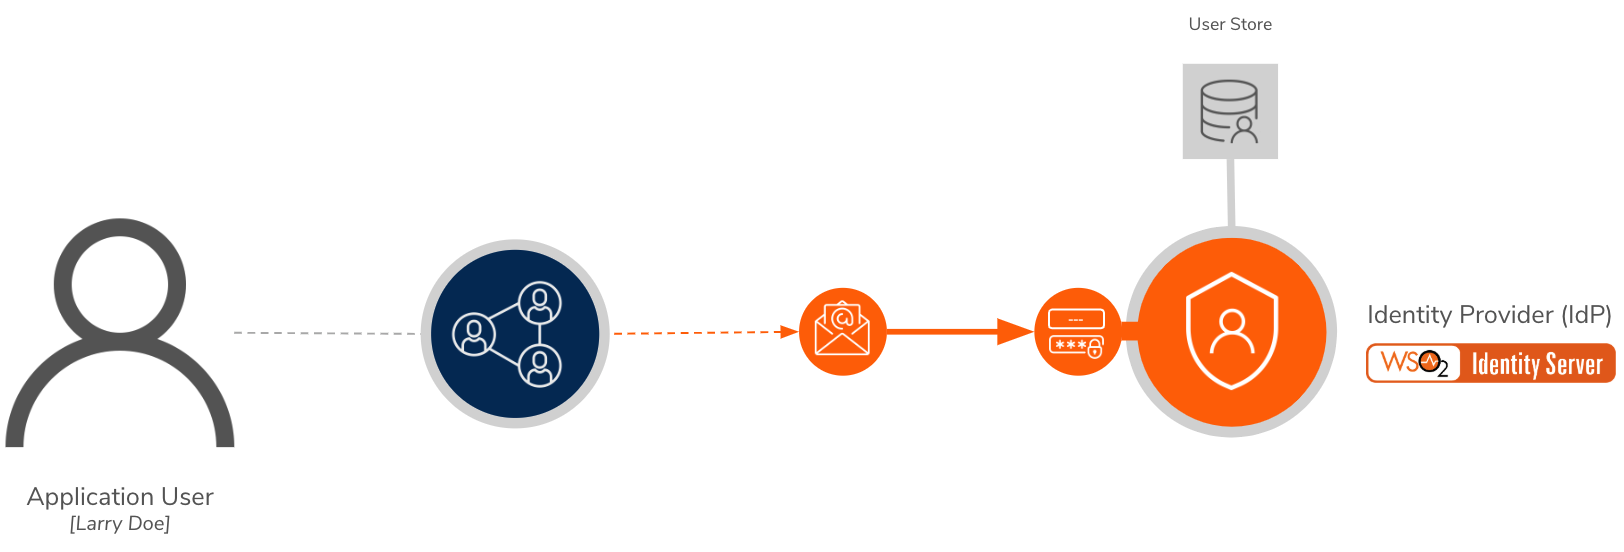
WSO2 Identity Server enables recovering user accounts where the user has forgotten the user name. This is done by matching the user claims that are related to user attributes. The user will be prompted to enter values for these user attributes. If the value entered by the user matches with the claims, the corresponding user name will be emailed to the user’s registered email ID.
Scenario
Pickup is a cab company that has many employees who use different credentials to sign in to different internal enterprise applications. Alex who is a new recruit at Pickup has forgotten the user name.
Let's learn how Alex can recover the password by providing some profile information!
Set up
Follow the steps below to configure WSO2 Identity Server to enable user name recovery.
-
Open the
deployment.tomlfile in the<IS_HOME>/repository/confdirectory.-
Check whether the following listener configs are in place.
[event.default_listener.identity_mgt] priority= "50" enable = false [event.default_listener.governance_identity_mgt] priority= "95" enable = true -
To configure the email server to send emails requesting password reset, add the following configurations.
- from_address: This is the email address from which the confirmation email will be sent.
- username: This is the user name of the given email address.
- password: This is the password of the given email address.
[output_adapter.email] from_address= "" username= "" password= "" hostname= "smtp.gmail.com" port= 587 enable_start_tls= true enable_authentication= true[output_adapter.email] from_address= "[email protected]" username= "wso2iamtest" password= "Wso2@iam70" hostname= "smtp.gmail.com" port= 587 enable_start_tls= true enable_authentication= trueIf you are using a Google email account
Google has restricted third-party applications and less secure applications from sending emails by default. As WSO2 Identity Server acts as a third-party application when sending emails for password entry, follow the steps below to enable your Google email account to provide access to third-party applications.
-
Under Signing in to Google section, turn off the 2-step Verification option.
-
-
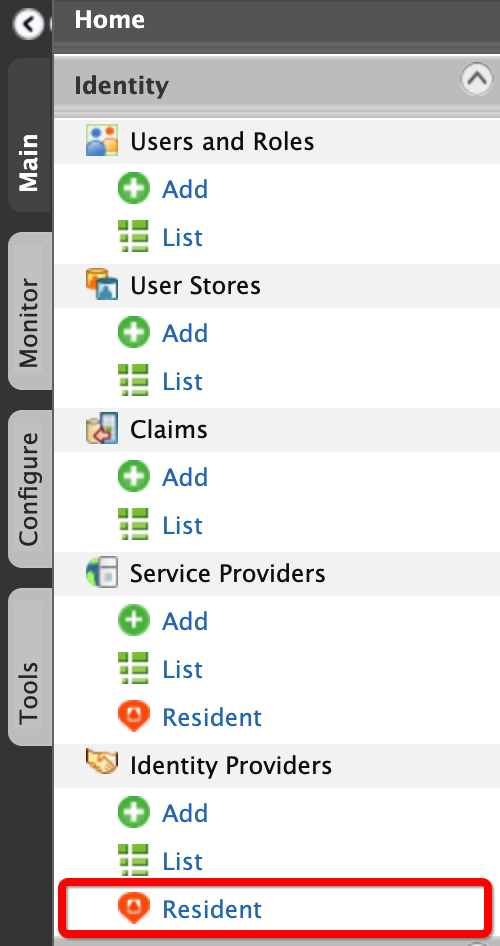
On the Main menu of the Management Console, click Identity > Identity Providers > Resident.
-
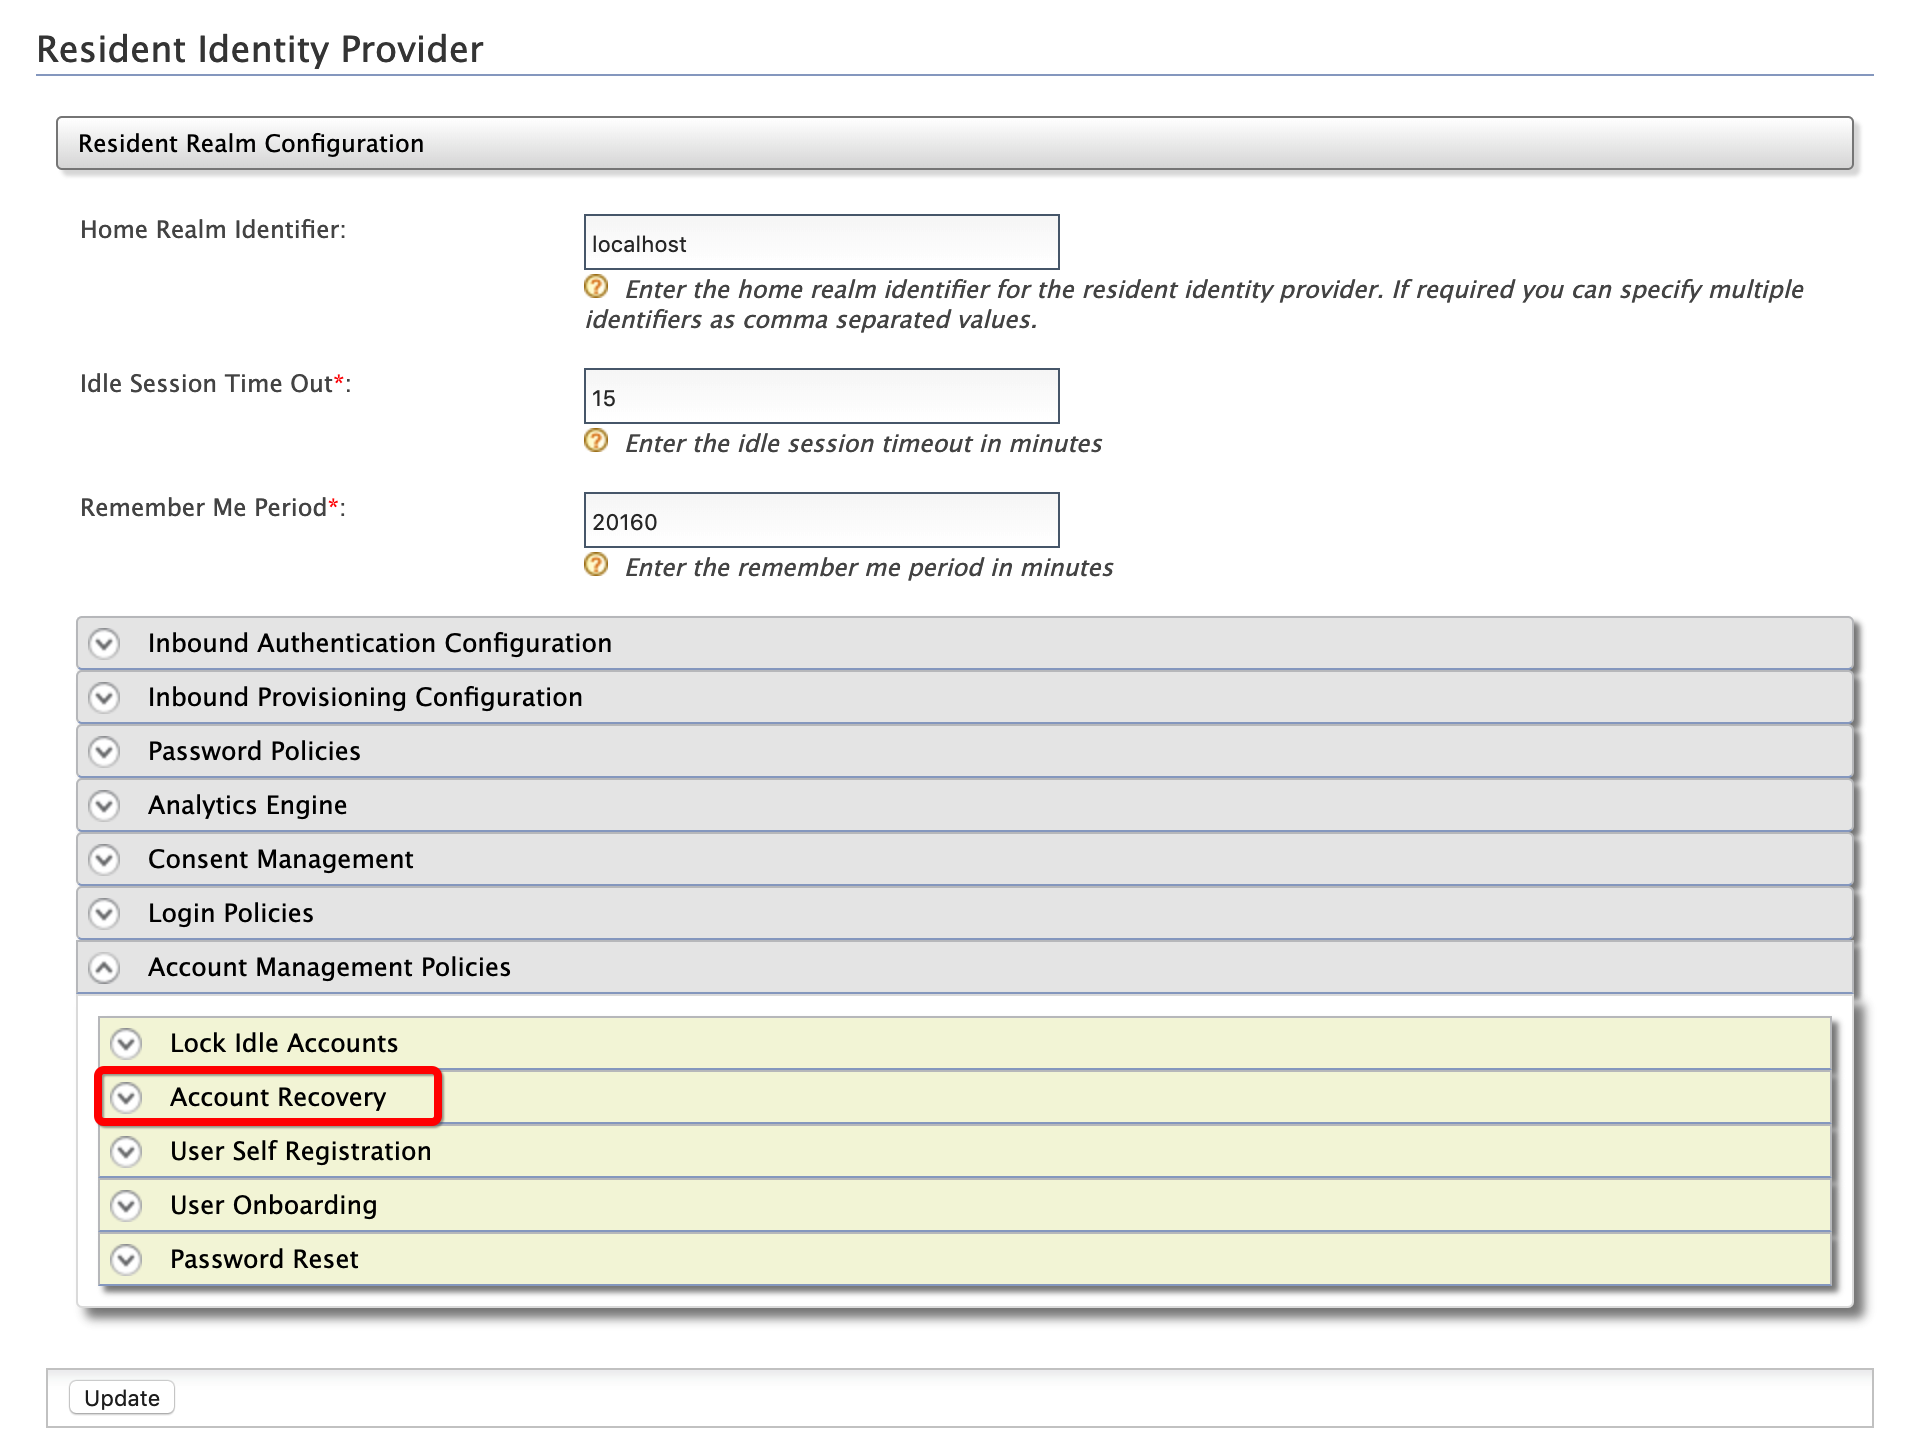
Under the Account Management Policies section, click Account Recovery.
-
Select the following check boxes:
- Enable Username Recovery
- Enable Internal Notification Management
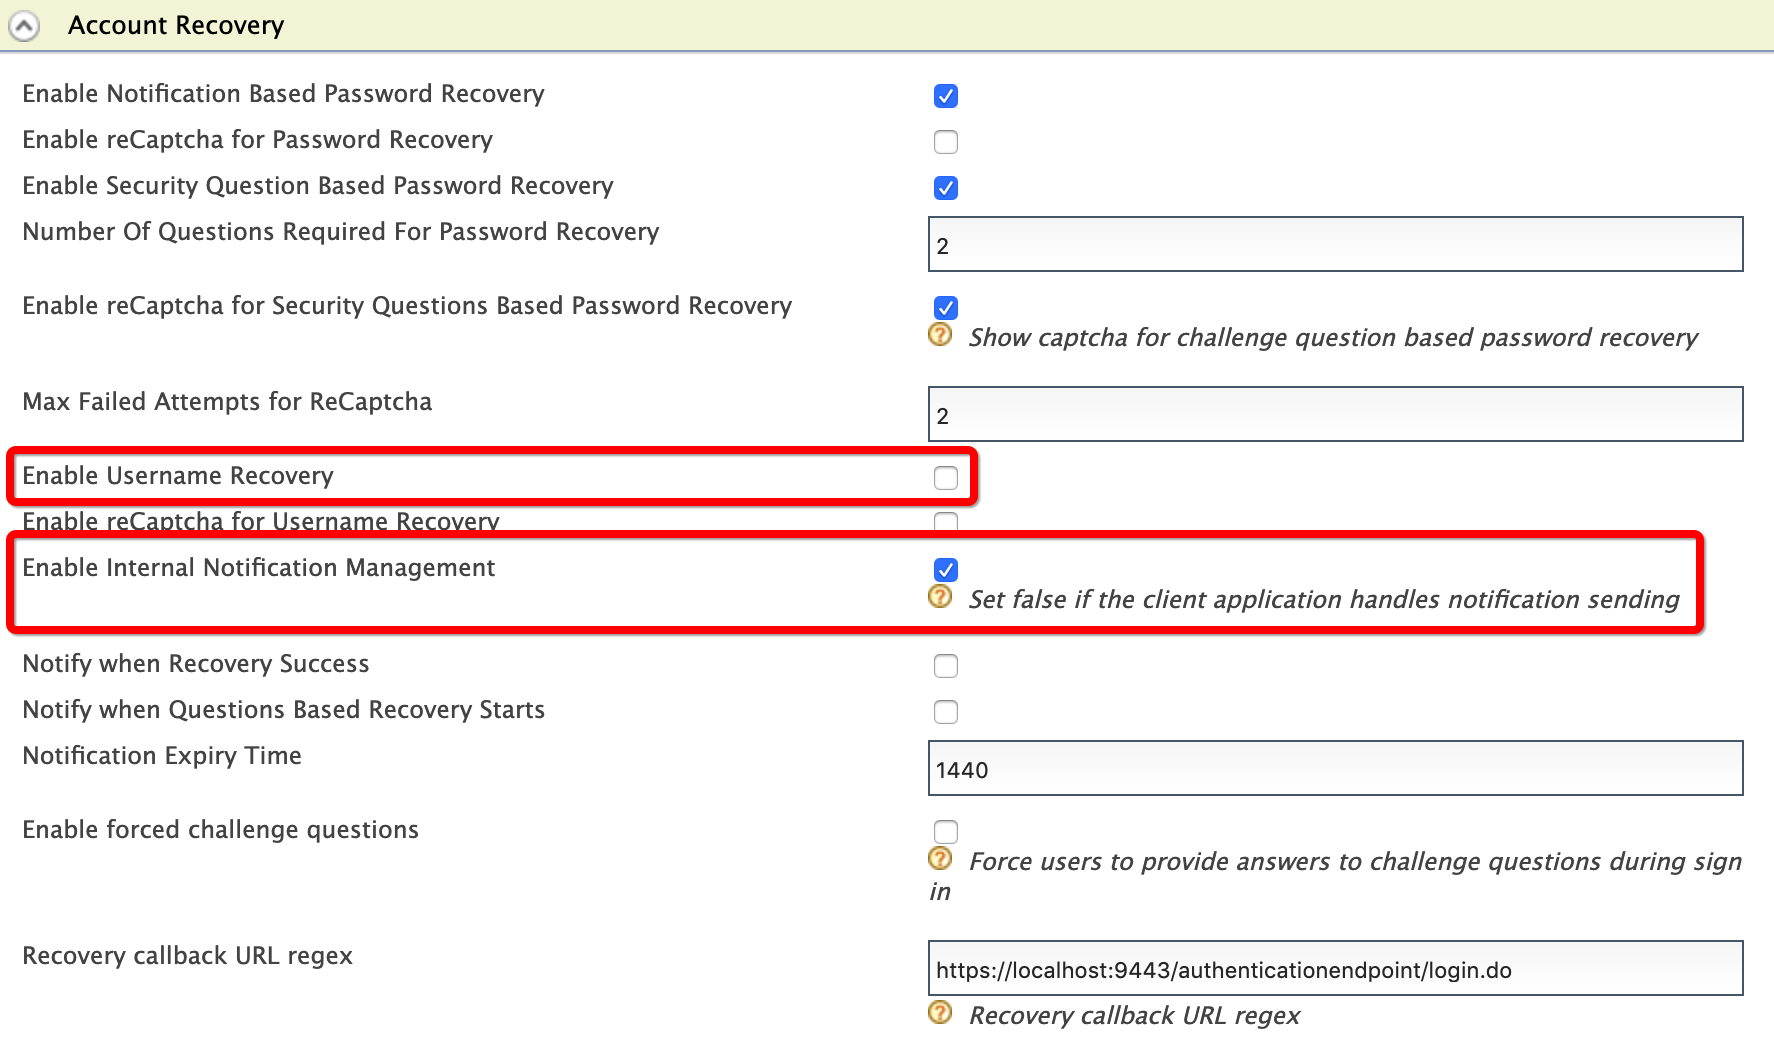
Note
The recommended Recovery callback URL regex to use when testing the product is
^https:\/\/localhost:9443\/.*. However, users should modify it to meet their requirements when they deploy the product. -
Click Update.
Try out
-
To create the user account for Alex:
-
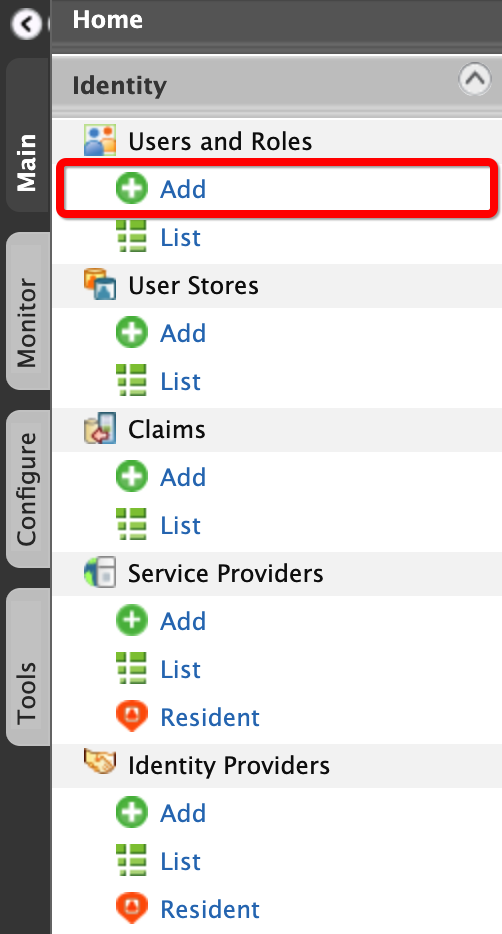
On the Main menu of the Management Console, click Identity > Users and Roles > Add.
-
Click Add New User.

-
Enter the required data as follows.
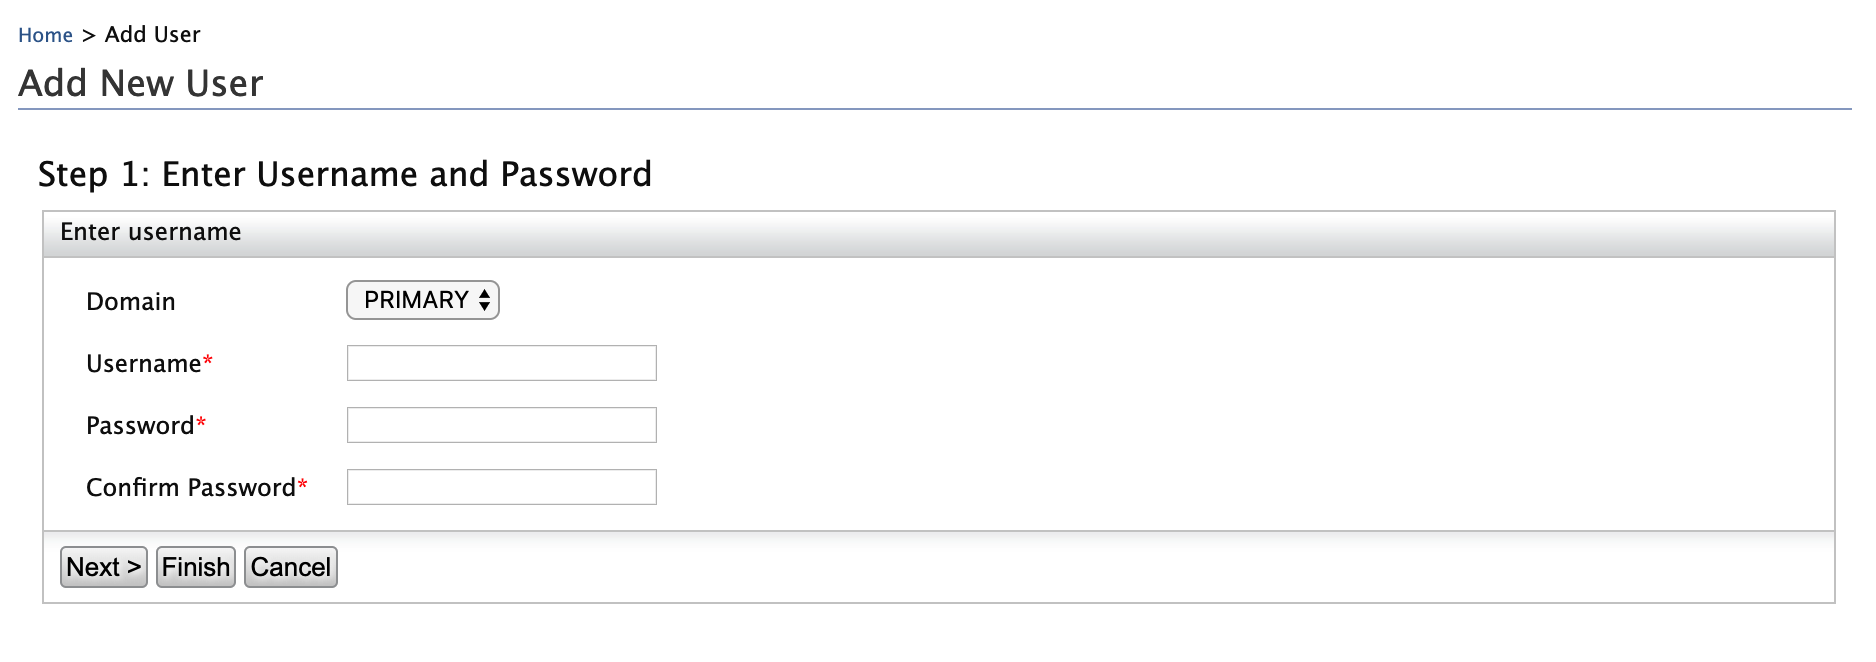
- Domain:
Primary - Username:
Alex
- Domain:
-
Click Finish.
-
-
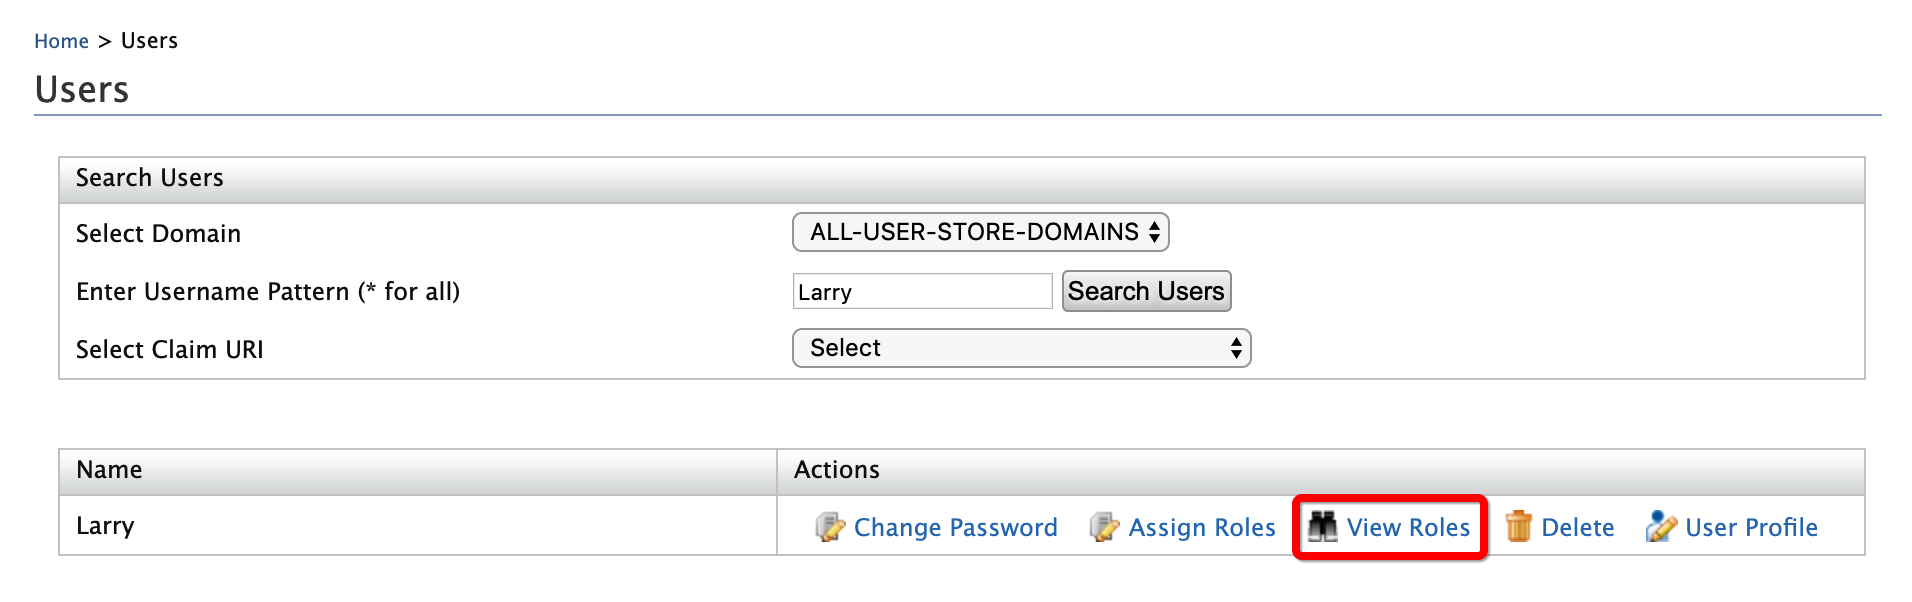
To assign login permissions to the user:
-
Click the View Roles option of Alex.
-
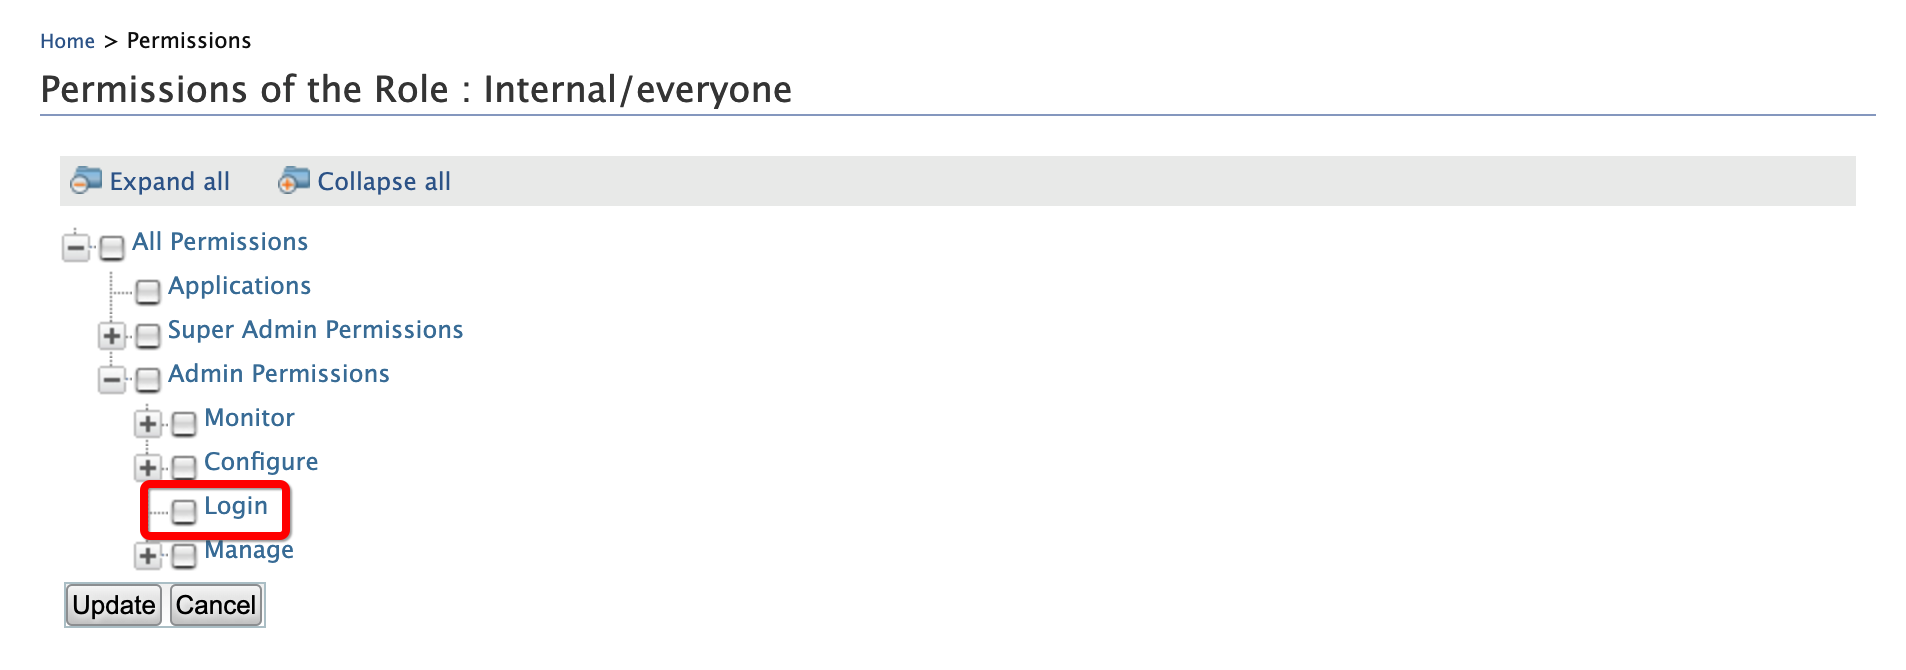
Click Permissions.

-
Select Login and click Update.
-
-
To add Alex's email Id:
-
Click User Profile option of Alex.
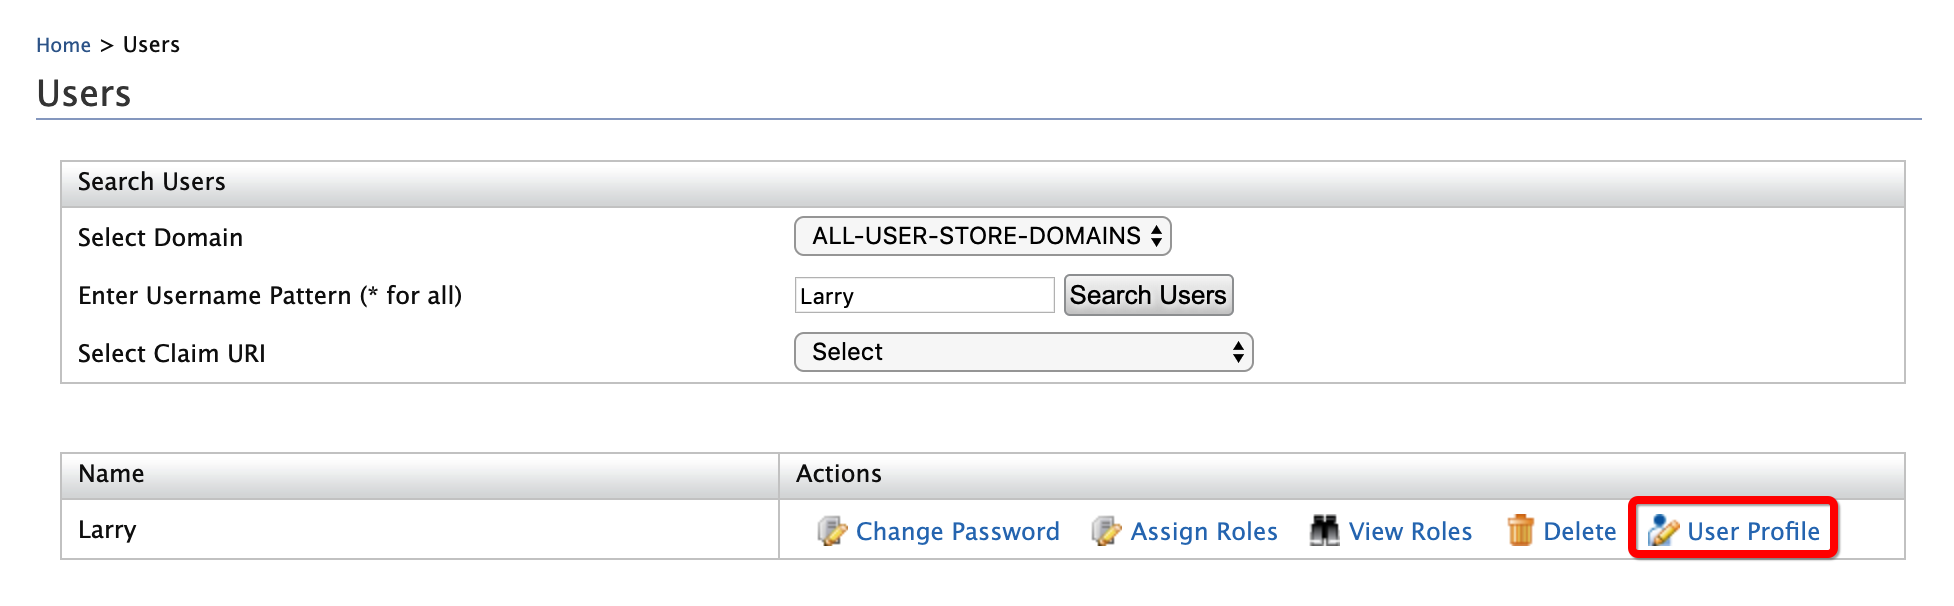
-
Enter an email address to which Alex's password recovery emails will be sent.
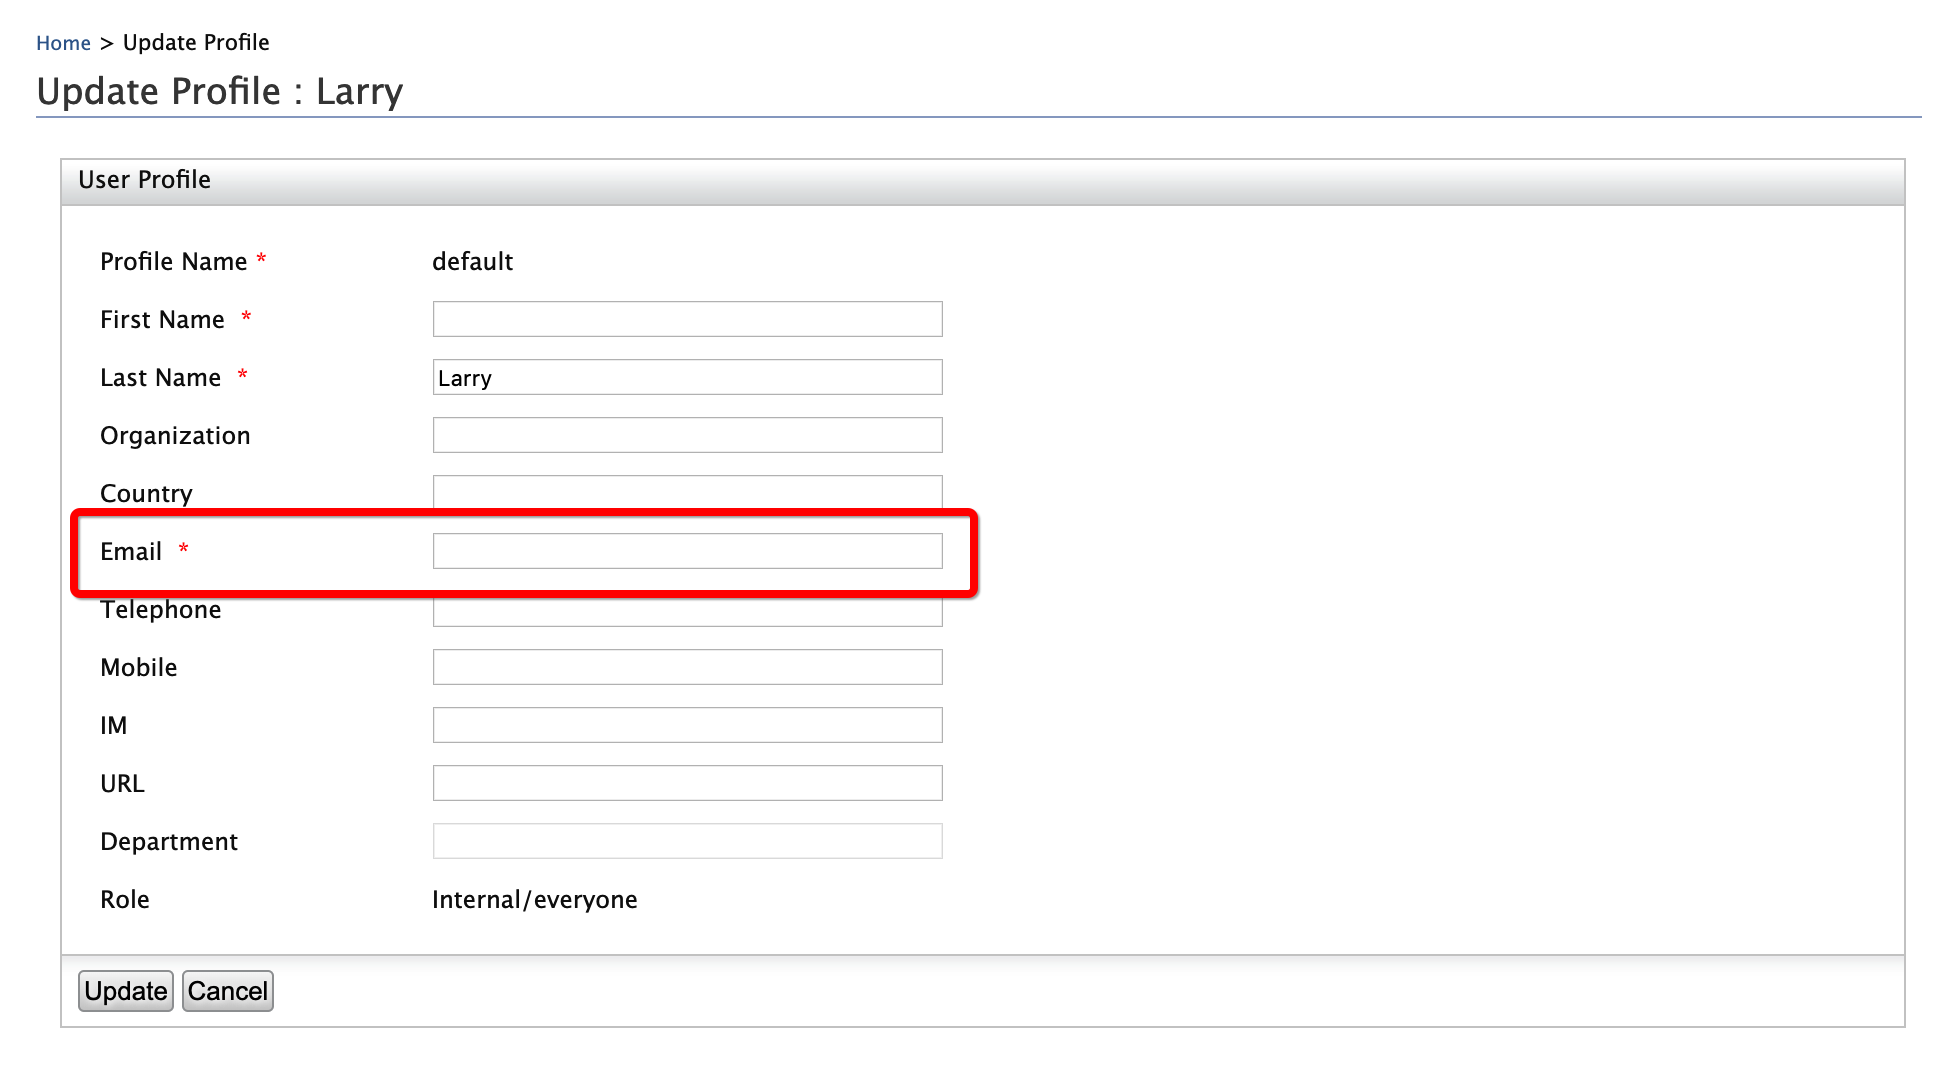
-
Click Update.
-
-
To mimic a forgotten user name:
-
On the Sign In screen of the WSO2 Identity Server Dashboard at
https://localhost:9443/dashboard/, click Username.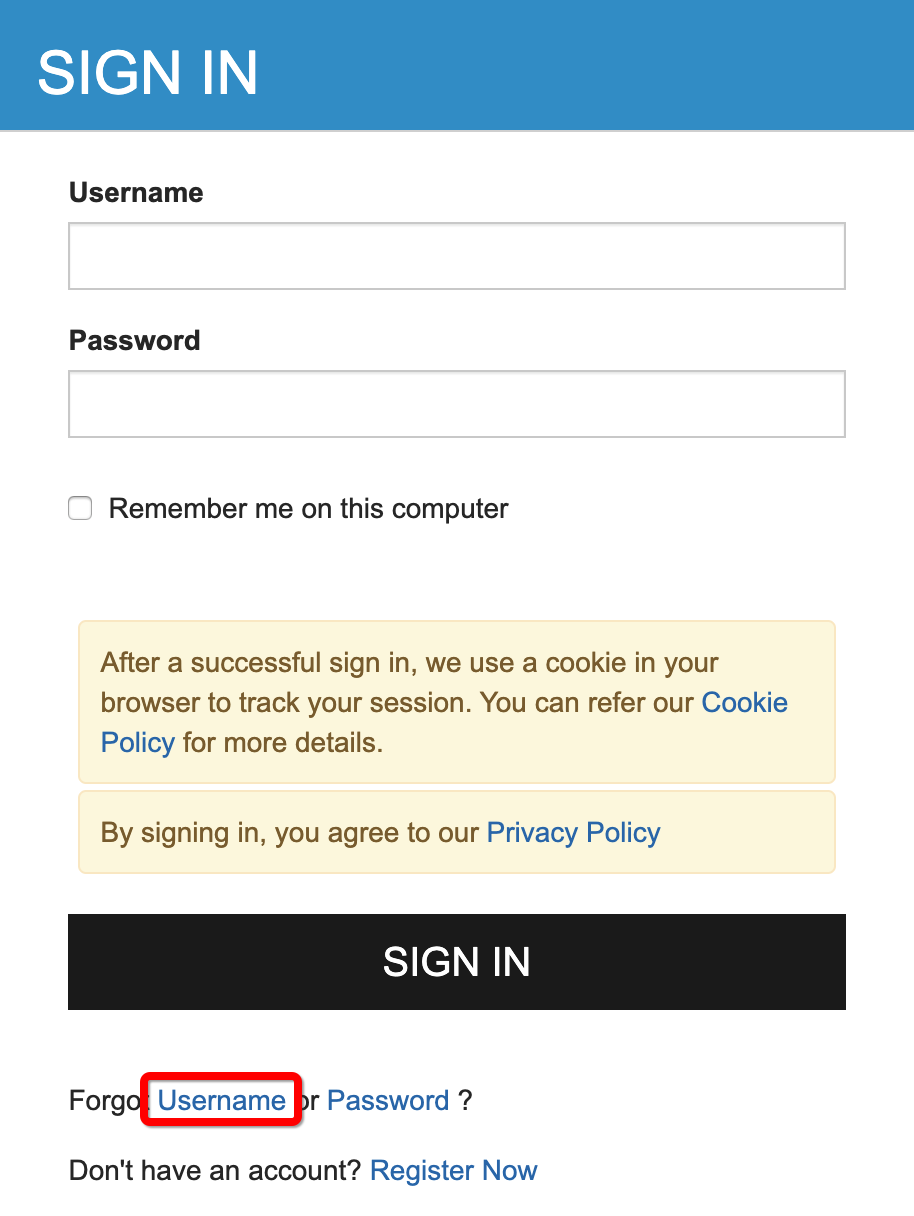
-
Enter the first name as
Alex.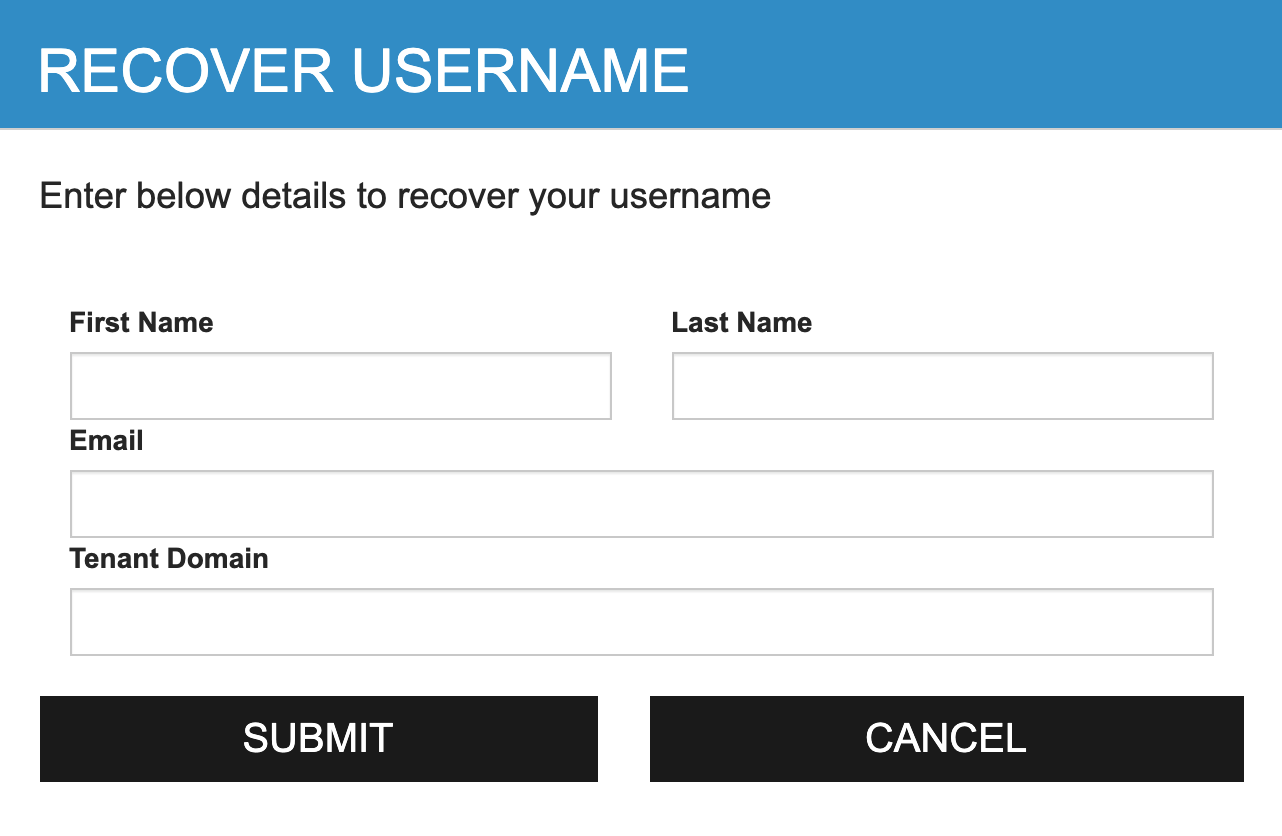
-
Click Submit.
-
An email with the user name is sent to the given email address.
-