Using the End User Dashboard
The WSO2 Identity Server dashboard for end users provides a means to manage the user profile or the user account, add security questions, revoke/update the password, manage user profile, and view identity providers. This is also known as account self-service. This topic includes the following tasks which can be done using the dashboard.
Warning
Hostname verification may prevent loading the Dashboard. For instructions on how to disable hostname verification, see Enabling HostName Verification .
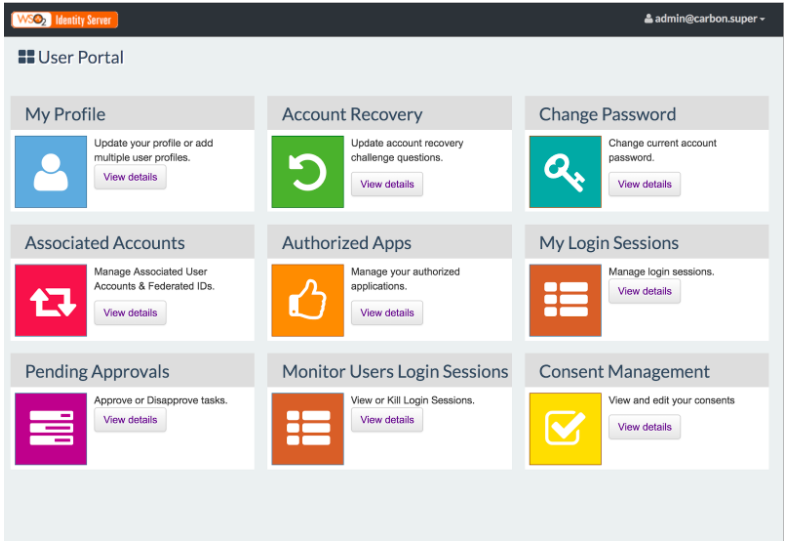
Accessing the dashboard and its components
- Go to the dashboard URL: https://localhost:9443/dashboard/
- Enter your username and password and click the Sign In button.
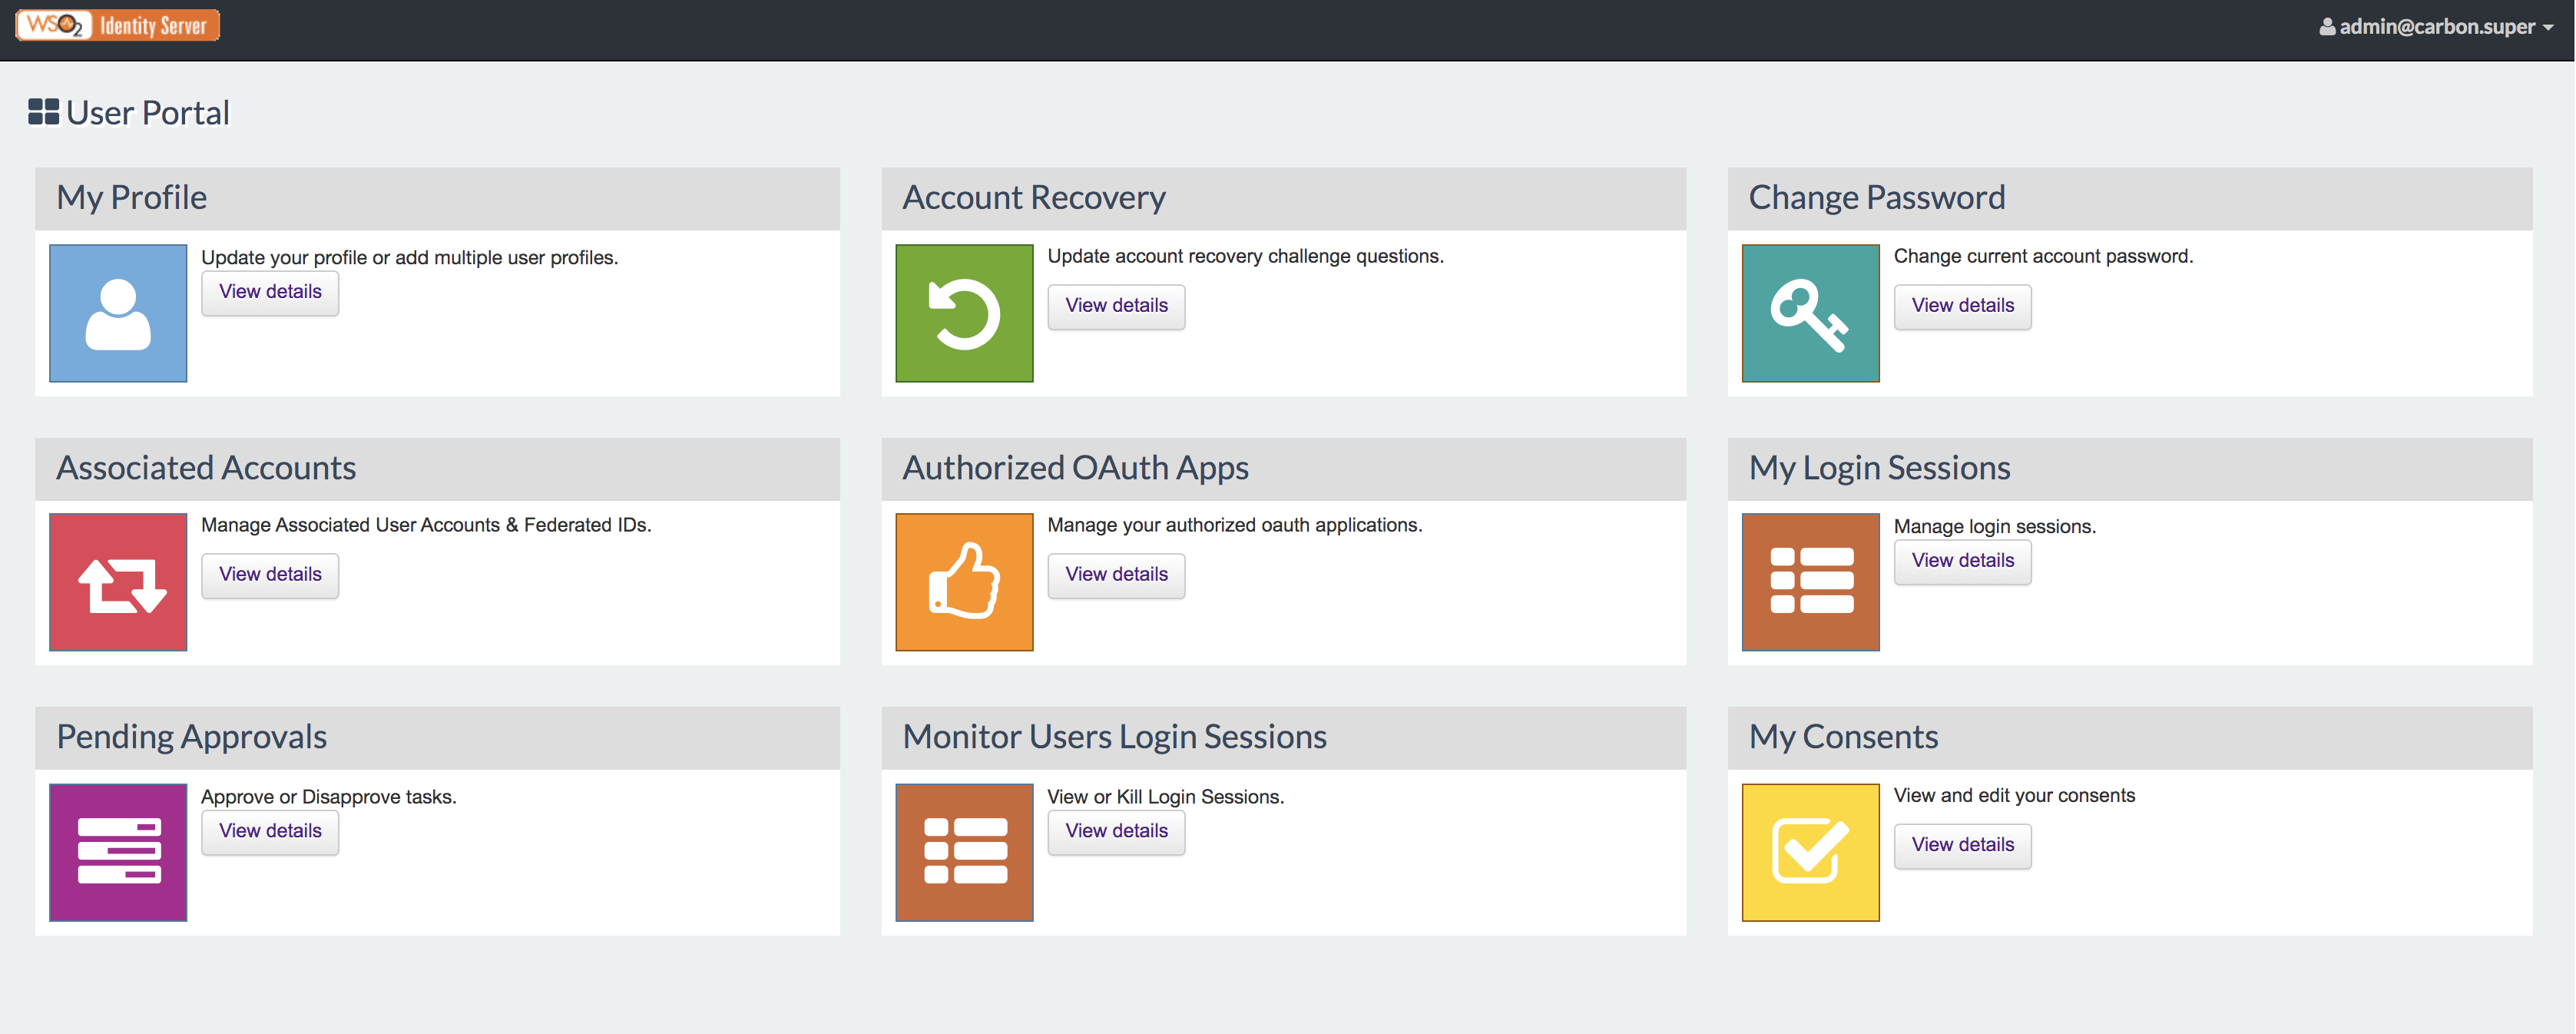
- The dashboard appears.
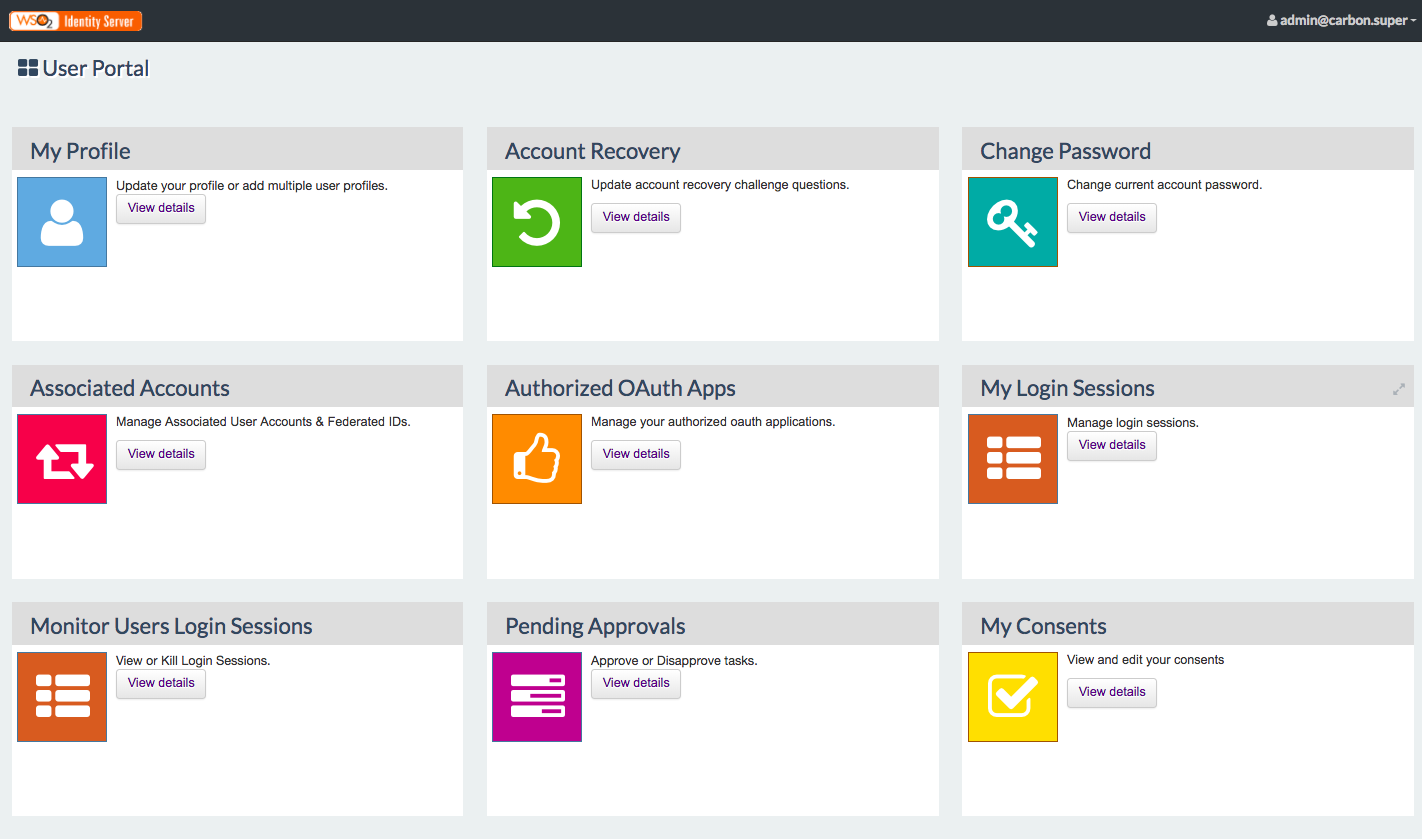
- Click the View details button to access the components.
- Click the drop-down at the top right corner of the screen to sign out.
Editing your profile
To edit your profile, do the following.
- Access the dashboard.
- Once you have logged in, click View details under My Profile .
-
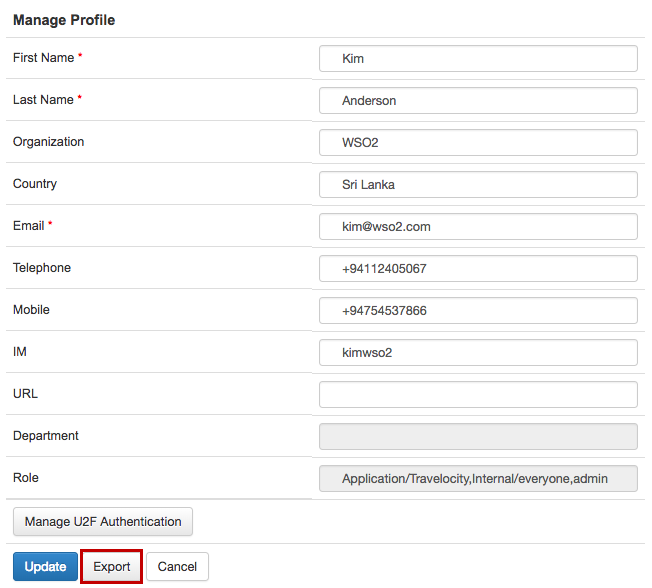
In the resulting screen, populate the fields with your personal information.

Click here to know more about the fields in the form
First Name Your first name. Last Name Your last name. Organization The organization you work in. Country The name of the country you live in/work in. Email Your email address. Telephone Your local/organization contact number. Mobile Your mobile number. IM Your instant messaging number. URL Your website/organization website's URL. Department The department you work in within your organization. Role The role you have been assigned to. Tip
For information on managing U2F authentication for multi-factor authentication, see Universal Second Factor (U2F) Authentication).
-
Click Update to save your changes.
Exporting personal information
To export the user's personal information, do the following.
- Access the dashboard.
- Once you have logged in, click View details under My Profile.
-
Click Export. A
userInfo.jsonfile containing the JSON representation of the user information on your profile will be downloaded onto your machine.Tip
The consent receipts in the
userInfo.jsonfile contain the PII controller information as it is at the time that the receipt is generated. If the PII controller has changed after the receipt was generated, this change will not be reflected in the existing receipts. To get an updated consent receipt that reflects the change, generate a new consent receipt by doing one of the following:- Revoke the consent via the dashboard and go through the flow that prompts the relevant consent again (e.g., revoke the given consent for the WSO2 IS dashboard, log out, then log back in and approve consent again. A new consent receipt will be generated for the WSO2 IS dashboard consent).
- Use the Consent Management REST APIs to revoke the existing consent and add a new consent.
Tip
For information on the Personal Information Export REST APIs, see the Personal Information Export API Swagger documentation.
Updating your account recovery details
To update the details pertaining to recovering your account, do the following.
- Access the dashboard.
- Once you have logged in, click View details under Account Recovery.
- Set the challenge question from the drop-down and enter an answer
for the question you choose.
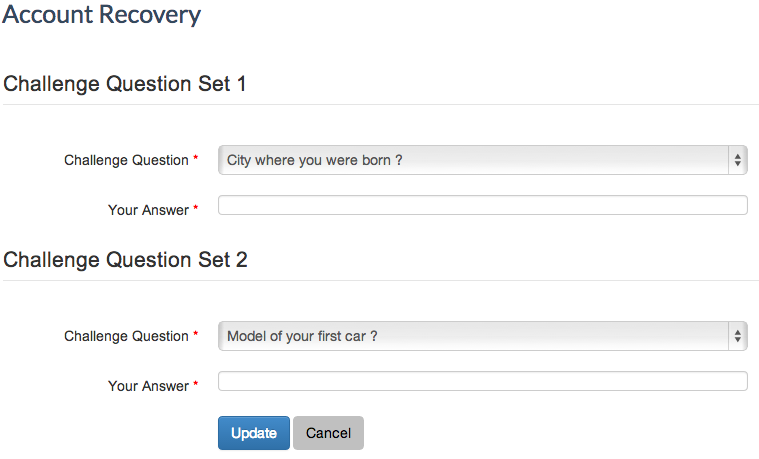
- Click Update to save your changes.
See Password Recovery for more information on how this works.
Changing your password
To change your password, do the following.
- Access the dashboard.
- Once you have logged in, click View details under Change Password.
- In the resulting screen, enter your Current Password, fill in
the New Password and confirm it by filling out the Confirm New
Password field.
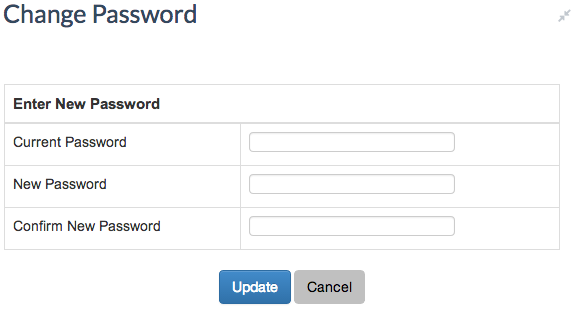
- Click Update to save your changes.
Connecting your social identity with your account
To connect your social identity login credentials with your WSO2 Identity Server account, do the following.
- Access the dashboard.
- Once you have logged in, click View details under Associated Accounts. The list of social identities linked to your account appear.
See Associating User Accounts for more information on using this section of the dashboard.
Working with your authorized applications
To access and manage the OAuth-based authorized applications for your account, do the following.
- Access the dashboard.
- Once you have logged in, click View details under Authorized Apps. A list of available authorized apps appears.
- Click Remove Application if you wish to disassociate the application from your account.
Dealing with pending approvals
To access and manage the pending approvals for your account, do the following.
- Access the dashboard.
- Once you have logged in, click View details under Pending Approvals. The following page appears, listing out the pending account approval requests.
- Select the requests you want to approve. Click on the relevant
Task Id to access the details of the selected task and click on
the button corresponding to a state to move the state of the
selected task to a new state and to complete the workflow approval
process (e.g., clicking Start and then Approve will approve
the pending task and complete the workflow process).
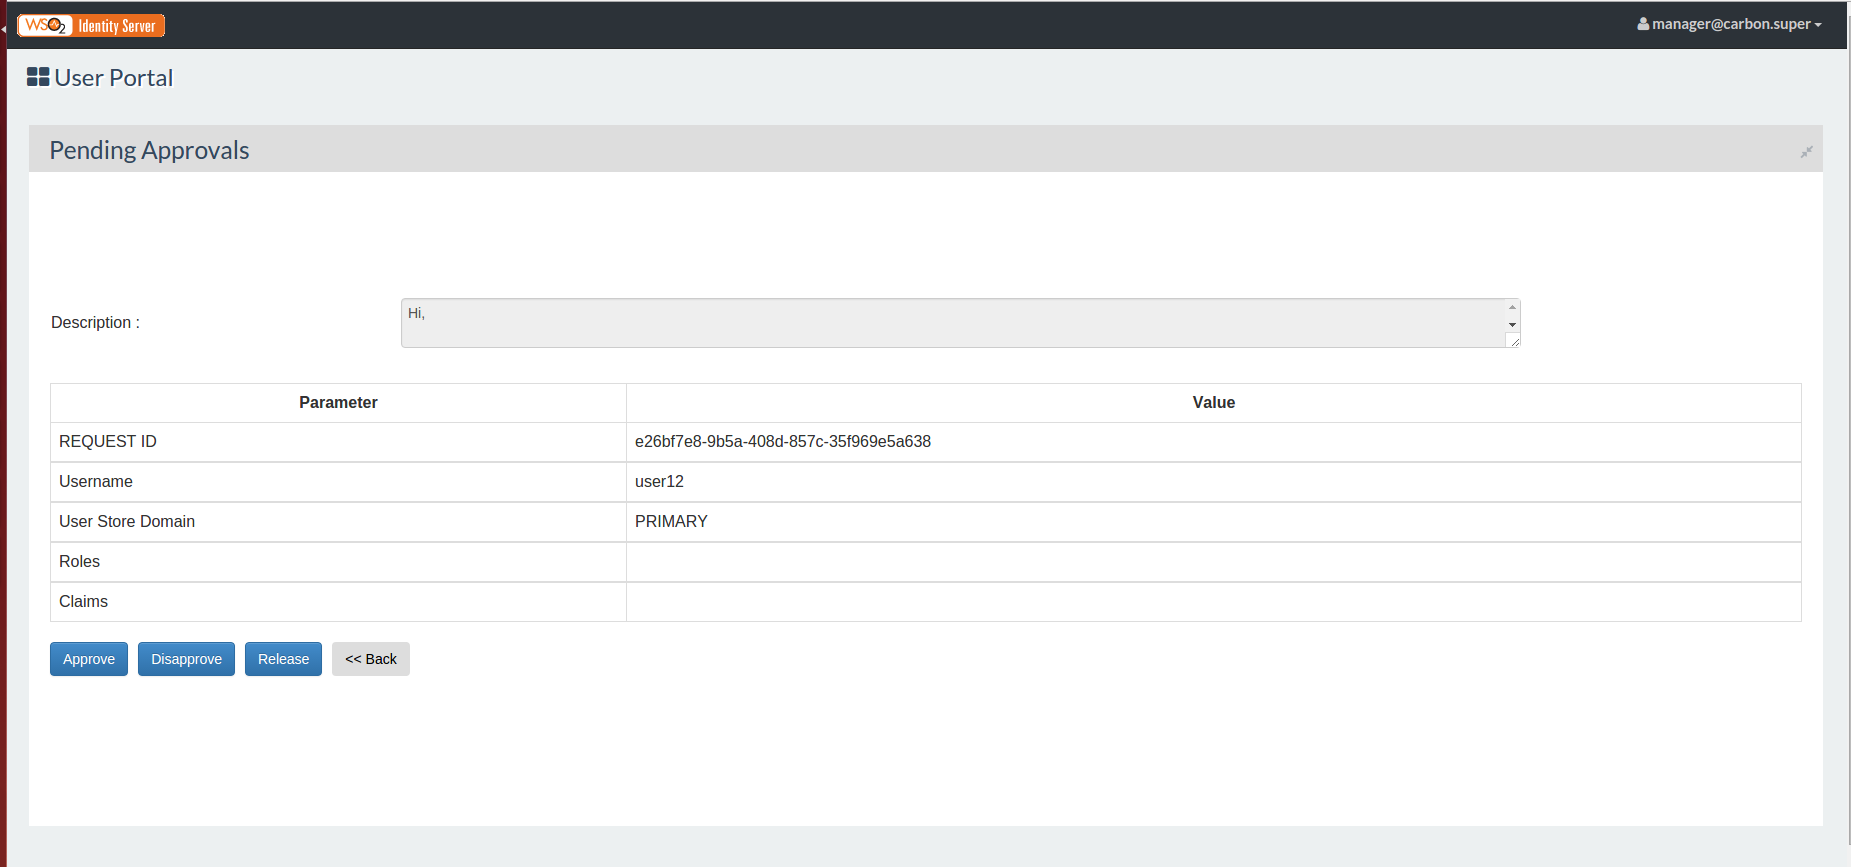
See Workflow Management for more information on how this works.
Configuring consent for services
About Consent Receipt
"A consent receipt is a record of consent provided to an individual at the point when a person agrees to the share of personal information. Its purpose is to capture the privacy policy and its purpose for sharing personal information so it can be easily used by people to communicate and manage consent and sharing of personal information once it is provided. For more information, see the Consent Receipt Specification .
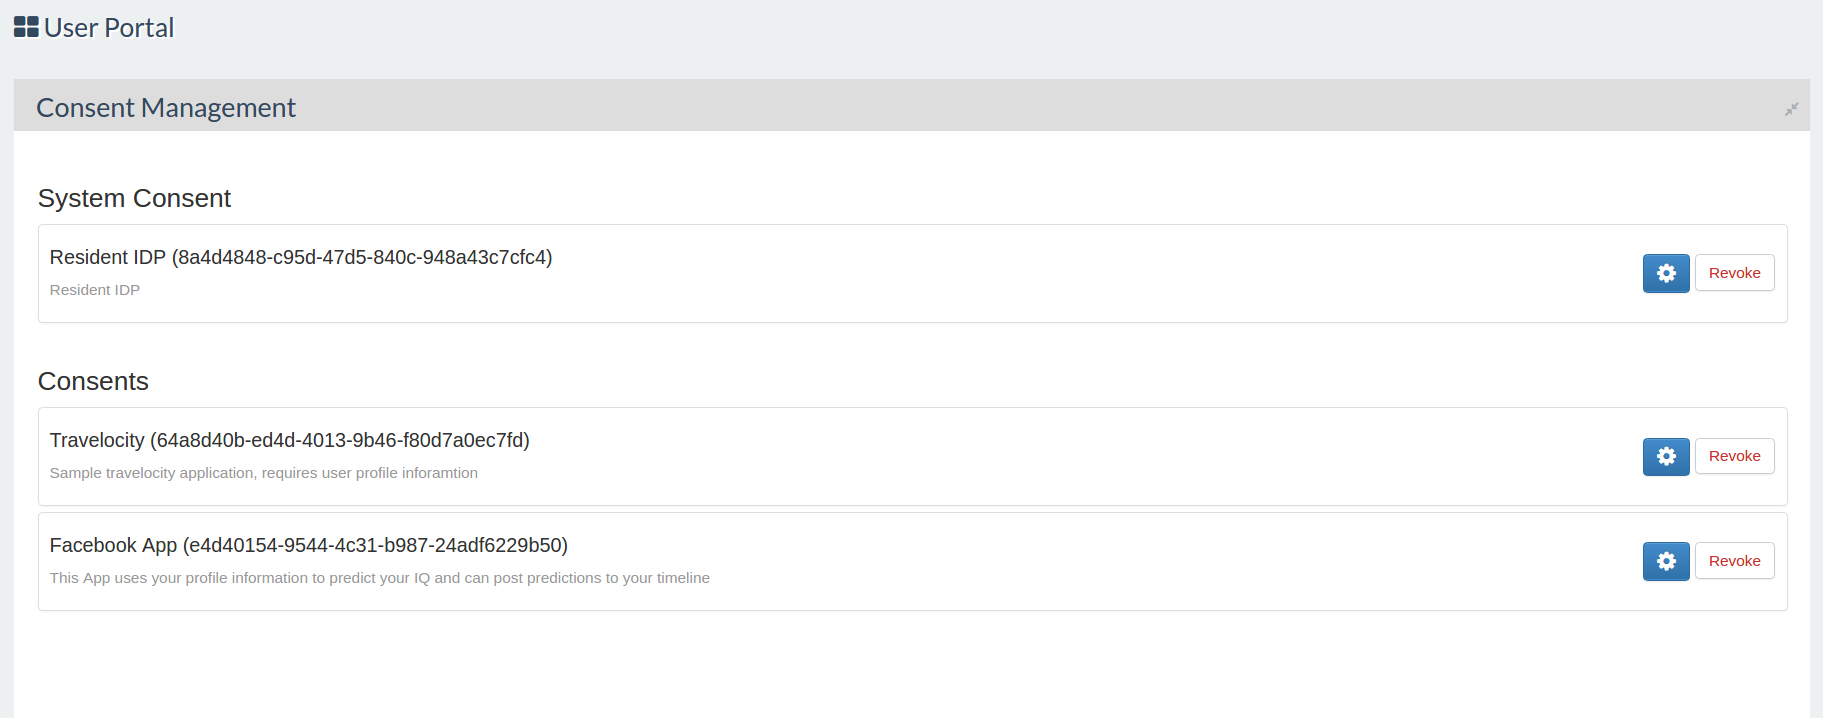
The user dashboard provides you a list of all the active consent receipts that have already been approved. It also gives the ability to update/revoke the consents approved to be consumed by services provided via WSO2 Identity Server. Follow the steps below to configure this.
- Access the dashboard.
-
Once you have logged in, click View details under Consent Management.
-
You will see a list of consent receipts that you have already approved to be consumed by services. The consent receipts listed here are records of provided consent for consumption of personal information, which you are prompted to provide during the self registration or SSO login flow.
Note
System consent is consent for personal information used by the resident identity provider in WSO2 Identity Server. Consents for other applications are listed below the system consent. These are consents collected during authentication using single sign on or during self registration.
New users can do the following actions from this screen:
Note
Existing users (users who are already onboarded) will also see the
![]() icon and can configure consent
accordingly but will not see the Revoke button to revoke consent for
all attributes.
icon and can configure consent
accordingly but will not see the Revoke button to revoke consent for
all attributes.
-
Revoke consent for all attributes - Click Revoke to revoke consent for all consented attributes.
-
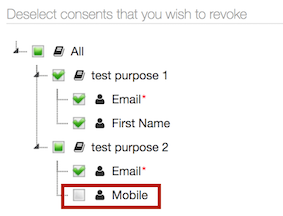
Revoke consent for specific attributes - Click the
 icon. You can see the
detailed view of the consent receipt. It contains brief information
about the service and shows the consented attributes for this
service. Deselect claims accordingly to revoke consent. Click
Update.
icon. You can see the
detailed view of the consent receipt. It contains brief information
about the service and shows the consented attributes for this
service. Deselect claims accordingly to revoke consent. Click
Update.Accepting consent for new attributes
- For system consent, users can consent to newly added attributes by selecting the new claims that appear on this screen.
-
For consents in other applications (other than the system consent), the user will be prompted to provide consent for newly added mandatory attributes during the SSO flow.
-
To accept consent for any optional attributes, revoke the whole consent receipt and provide consent again at the point of authentication. For more information, see Consent Management with Single-Sign-On.
-
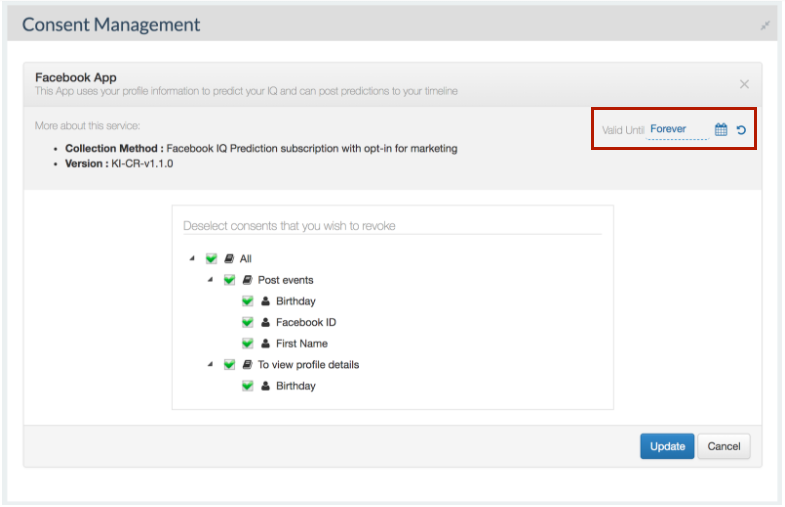
Set an expiration date for consent - Click the
icon and set an expiry date
for a particular consent by selecting a value from the date picker
 shown in the
consent detail page. When an expiry date is selected, the consent
will only be valid until the specified date. Once the consent
expires, the details gathered are set to a 'revoked' state. At the
point of authentication, the user is prompted again to provide
consent for any mandatory attributes that the service requires.
However, the user is not prompted to give consent for non mandatory
attributes and the corresponding service will not be able to receive
those attributes in new authentication requests.
shown in the
consent detail page. When an expiry date is selected, the consent
will only be valid until the specified date. Once the consent
expires, the details gathered are set to a 'revoked' state. At the
point of authentication, the user is prompted again to provide
consent for any mandatory attributes that the service requires.
However, the user is not prompted to give consent for non mandatory
attributes and the corresponding service will not be able to receive
those attributes in new authentication requests.
Terminating user sessions
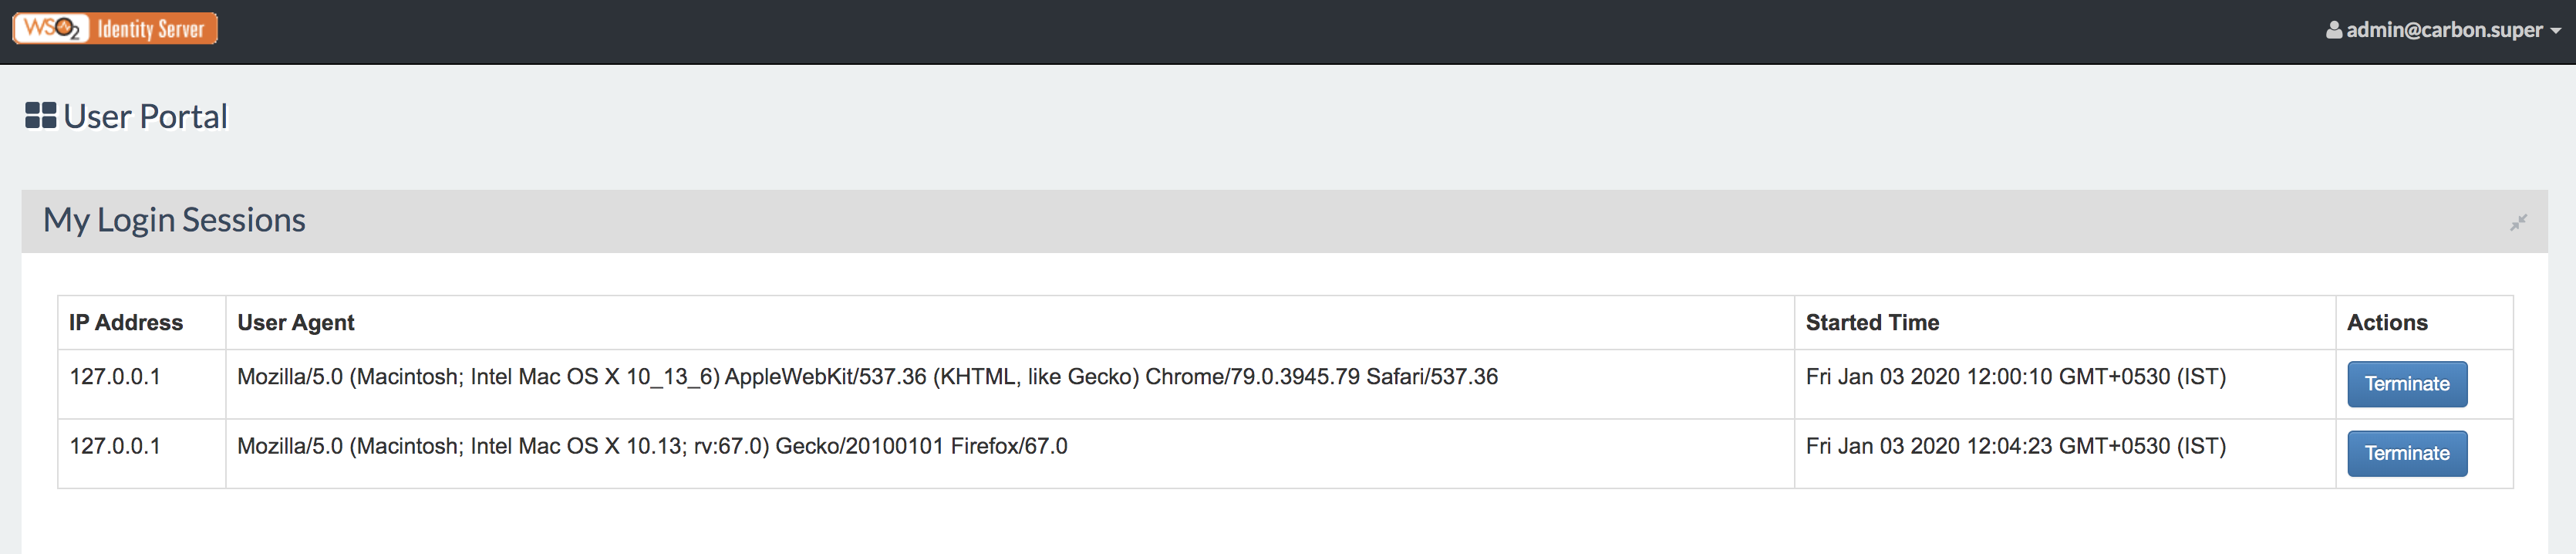
To view the active sessions, click View Details under My Login Sessions.
Following are the details of the active sessions that can be found in My login Sessions.
| Fields | Descriptions |
|---|---|
| IP Address | The IP address of the device the session is active on. |
| User Agent | The device, browser, and OS in which the session is active. |
| Started Time | The time at which the session was activated. |
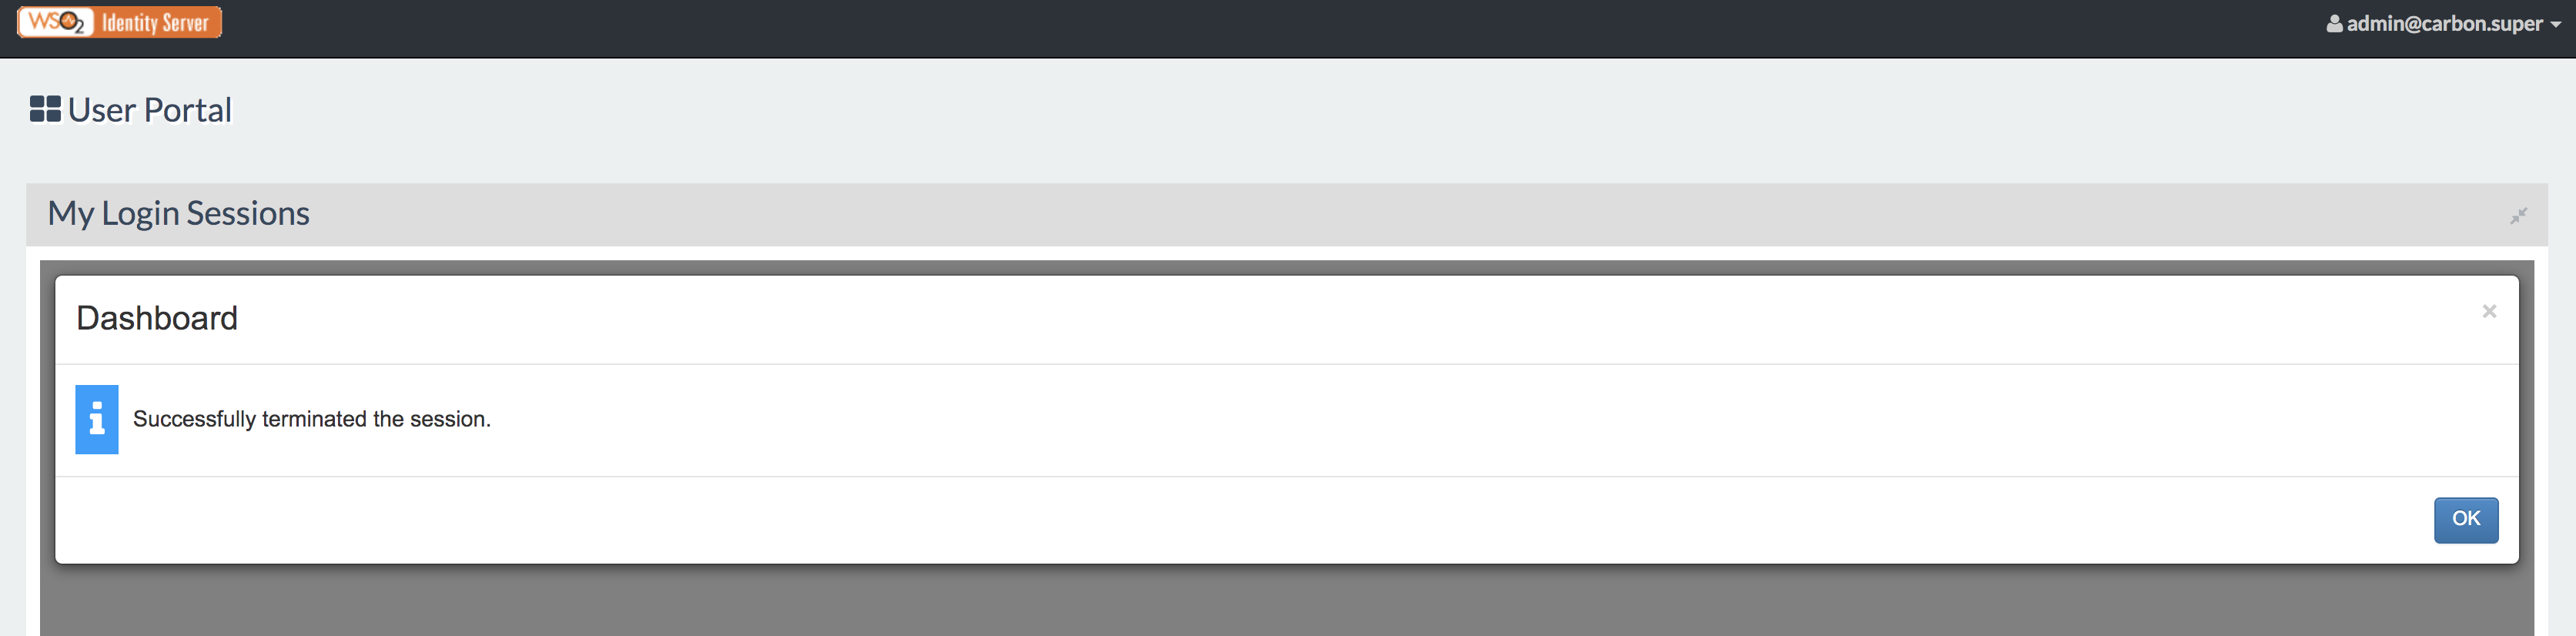
To terminate an active session, click the corresponding Terminate button.
Click Yes in the pop up that appears next to proceed with the termination.
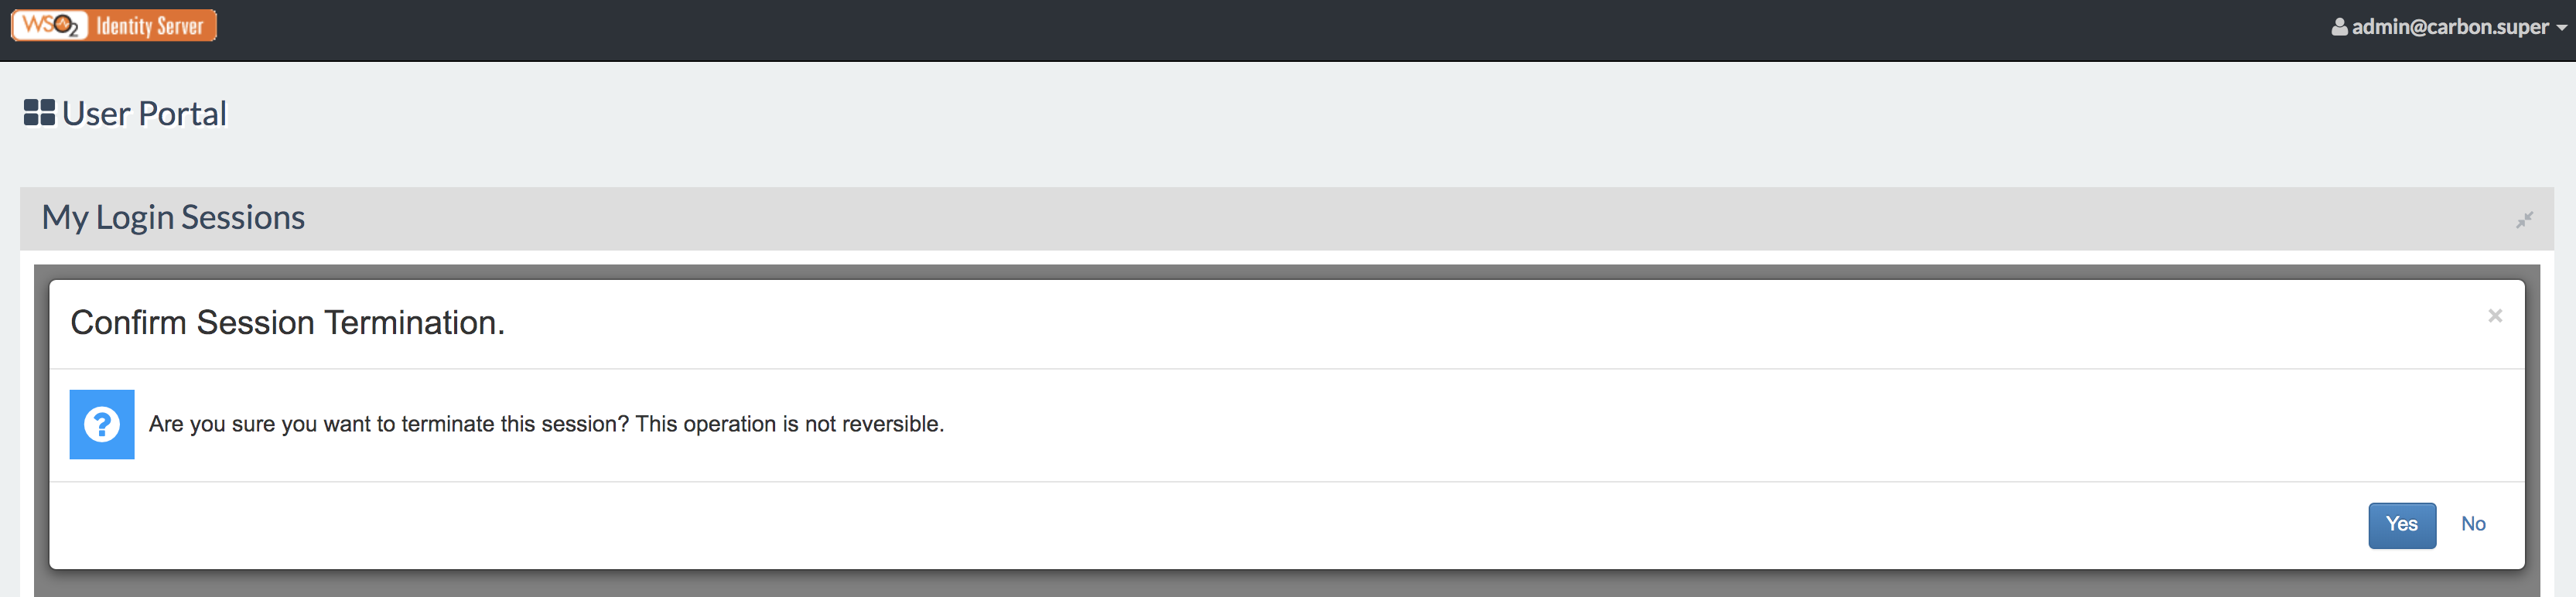
You have successfully revoked your session!