Self-Registration and Account Confirmation
WSO2 Identity Server (WSO2 IS) supports self-registration to allow users set up their account and receive confirmation when the account is created.
When a user self-registers, the self-registration process creates the user account and locks the account until the user confirms account ownership via a confirmation mail sent by WSO2 IS.
If a user does not confirm account ownership before the specified expiry period, the user account is locked assuming that the expired account is not owned by the creator. If necessary, the system administrator can delete such accounts to manage resources better.
The following sections walk you through configuring and trying out self-registration.
Click to see instructions specific for a migrated deployment
If you have migrated from a previous WSO2 Identity Server version, ensure that the event.default_listener.identity_mgt with the
priority=50 is set to false and that the Identity
Listeners with priority=95 and
priority=97 are set to true in the
<IS_HOME>/repository/conf/deployment.toml file.
Note
If the following configurations are not present in the deployment.toml file already, you do not have to add it.
[event.default_listener.identity_mgt]
priority= "50"
enable = false
[event.default_listener.governance_identity_mgt]
priority= "95"
enable = true
[event.default_listener.governance_identity_store]
priority= "97"
enable = true
Configuring self-registration
Follow the steps given below to register users for the super tenant,
which is carbon.super.
-
Enable the email sending configurations of the WSO2 Identity Server as explained here.
Note
You need to add this configuration only if you wish to configure WSO2 IS to send confirmation emails. Alternatively, you can use your own email managing mechanism.
Tip
Typically, the AccountConfirmation template is used to send email notifications.
You can edit and customize the email template. For more information on how to do this, see Customizing Automated Emails.
-
Start WSO2 IS and log in to the management console :
https://<IS_HOST>:<IS_PORT>/carbon
NOTE: If your IS is already running, make sure to stop and start to apply configurations. -
Navigate to Main -> Identity Providers -> Resident -> Account Management Policies section.
-
Expand the User Self Registration section and configure the following properties.
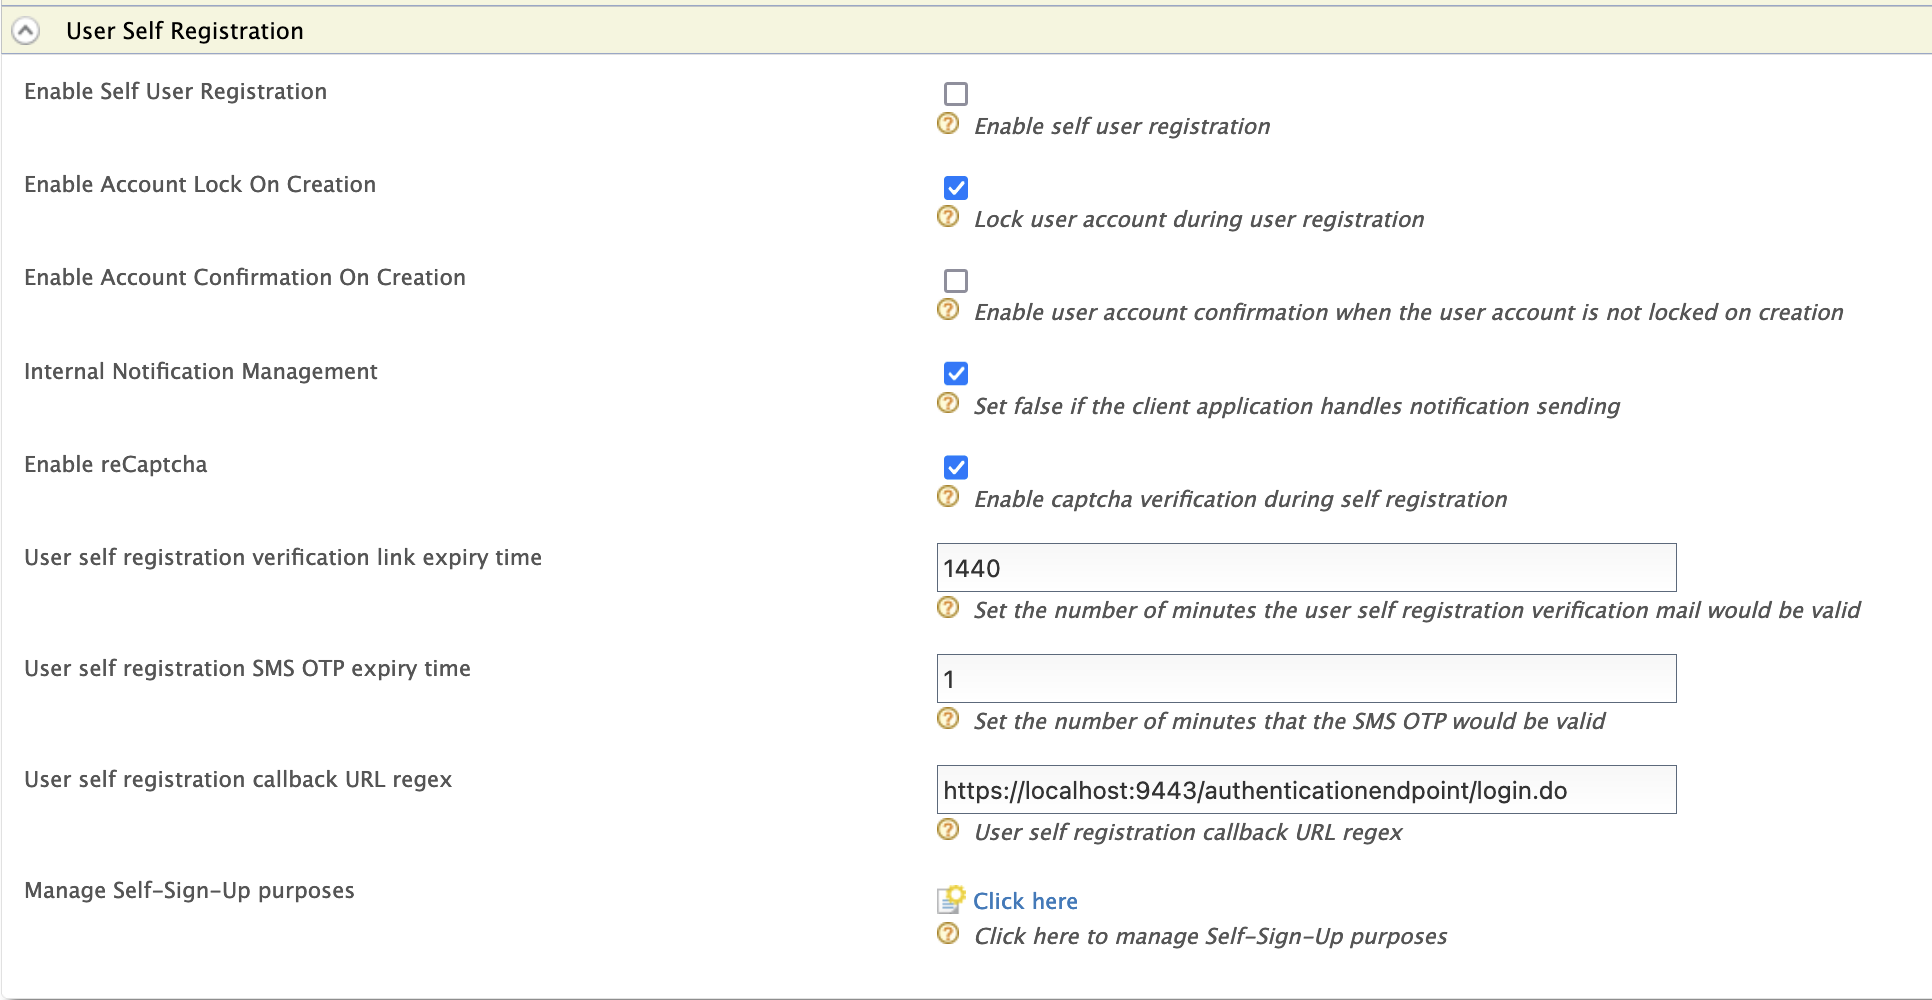
Field Description Enable Self User Registration Enable self registration. Enable Account Lock On Creation Enabled Enable account lock during self registration. The account will be unclocked upon confirmation. Enable Notification Internally Management Select to configure Identity server to send confirmation emails to the user. If the client application handles notification sending already, unselect it.
Enable reCaptcha Select to enable reCaptcha for self-registration. See Configuring Google reCaptcha for Security-Question Based Password Recovery for more information. User self registration code expiry time Number of minutes that the confirmation link would be valid. The confirmation link will expire after the specified time has elapsed.
Note
Alternatively, you can configure the expiry time from the
deployment.tomlfile.User self registration callback URL regex The regex pattern used to validate the callback URL you are adding as the recovery flow callback URL. Note
The sample self registration callback URL regex to use when testing the product is
^https:\/\/localhost:9443\/.*. However, users should modify it to meet their requirements when they deploy the product.
Now you have set up self registration. Next let's see how you can configure self-registration consent purposes via the management console of WSO2 Identity Server.
Tip
For information on the REST APIs for self-registration, see Self-Registration Using REST APIs.
Configuring self-registration consent purposes
Follow the instructions below to configure self-registration consent purposes and appropriate user attributes:
-
Start WSO2 Identity Server and access the management console via
https://localhost:9443/carbon/. -
Navigate to Main -> Identity -> Identity Providers -> Resident ->Account Management Policies -> User Self Registration section.
-
Select
Click hereto configure self-registration consent purposes. This displays the Consent Purposes screen that allows you to add consent purposes.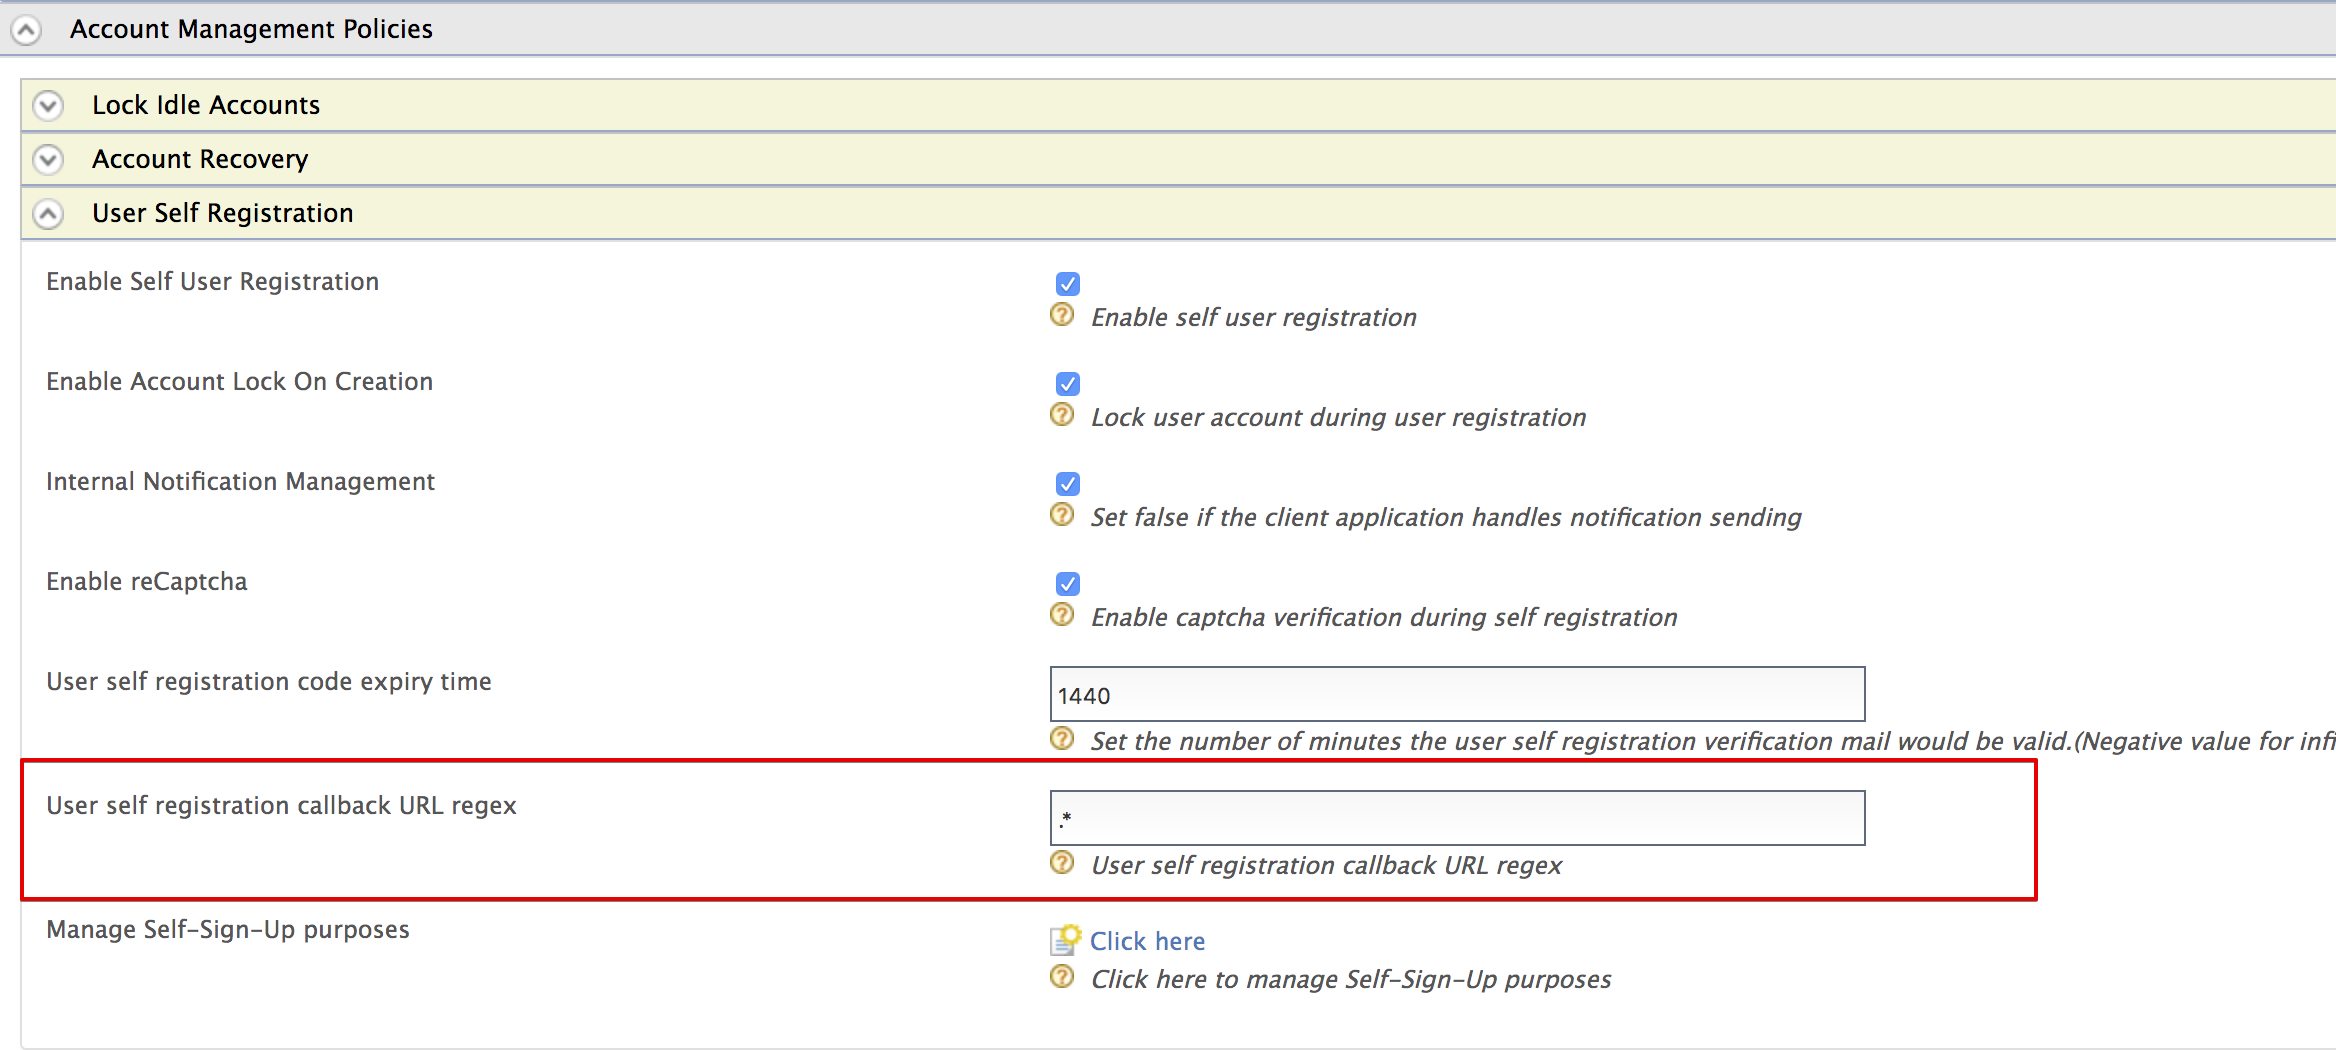
-
Click Add New Purpose.
-
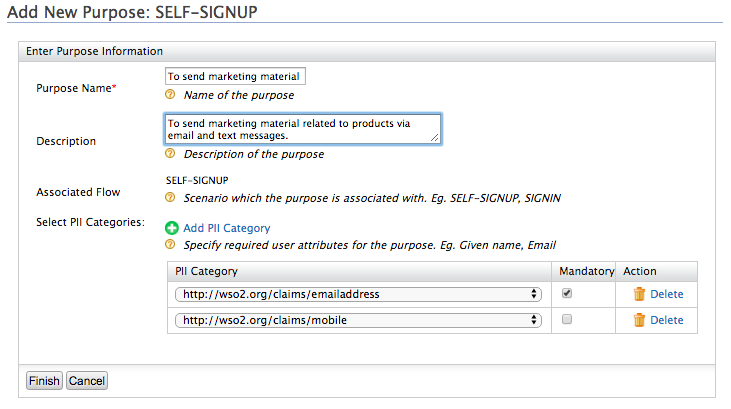
Specify appropriate values for the Purpose and Description fields, and then click Add PII Category to add user attributes requires to obtain user consent.
Tip
You can add one or more user attributes to obtain consent for a particular purpose.
-
If you want consent on a specific user attribute to be mandatory, select the Mandatory check box for that attribute.
Tip
- When you configure consent purposes for self-registration, the attributes that you specify for a particular purposes are the only attributes for which users are prompted to provide consent.
- If a user attribute is set as Mandatory, a user has to provide consent for that attribute to proceed with self-registration.
- If a user does not provide consent for any of the non-mandatory attributes, WSO2 Identity Server will not store those attributes.
-
Click Finish.
-
Depending on your requirement, you can either add another new purpose and related user attributes, or click Finish if you have added all the purposes you want.
-
Click Update.
Now you have configured required self-registration purposes and user attributes for which you require user consent.
Next, you can try out self-registration.
Try out self-registration
- Access the WSO2 Identity Server dashboard.
-
Click the Register Now? link and then enter the new user's username.
Register Users for a Tenant
If you want to self-register to a specific tenant, you need to provide the Username in the following format:
<USERNAME>@<TENAND_DOMAIN>For example, if you have a tenant domain as
foo.com, the username needs to be[email protected]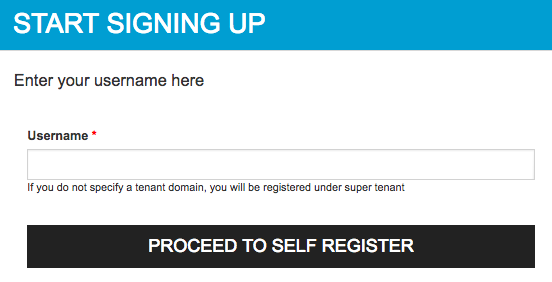
-
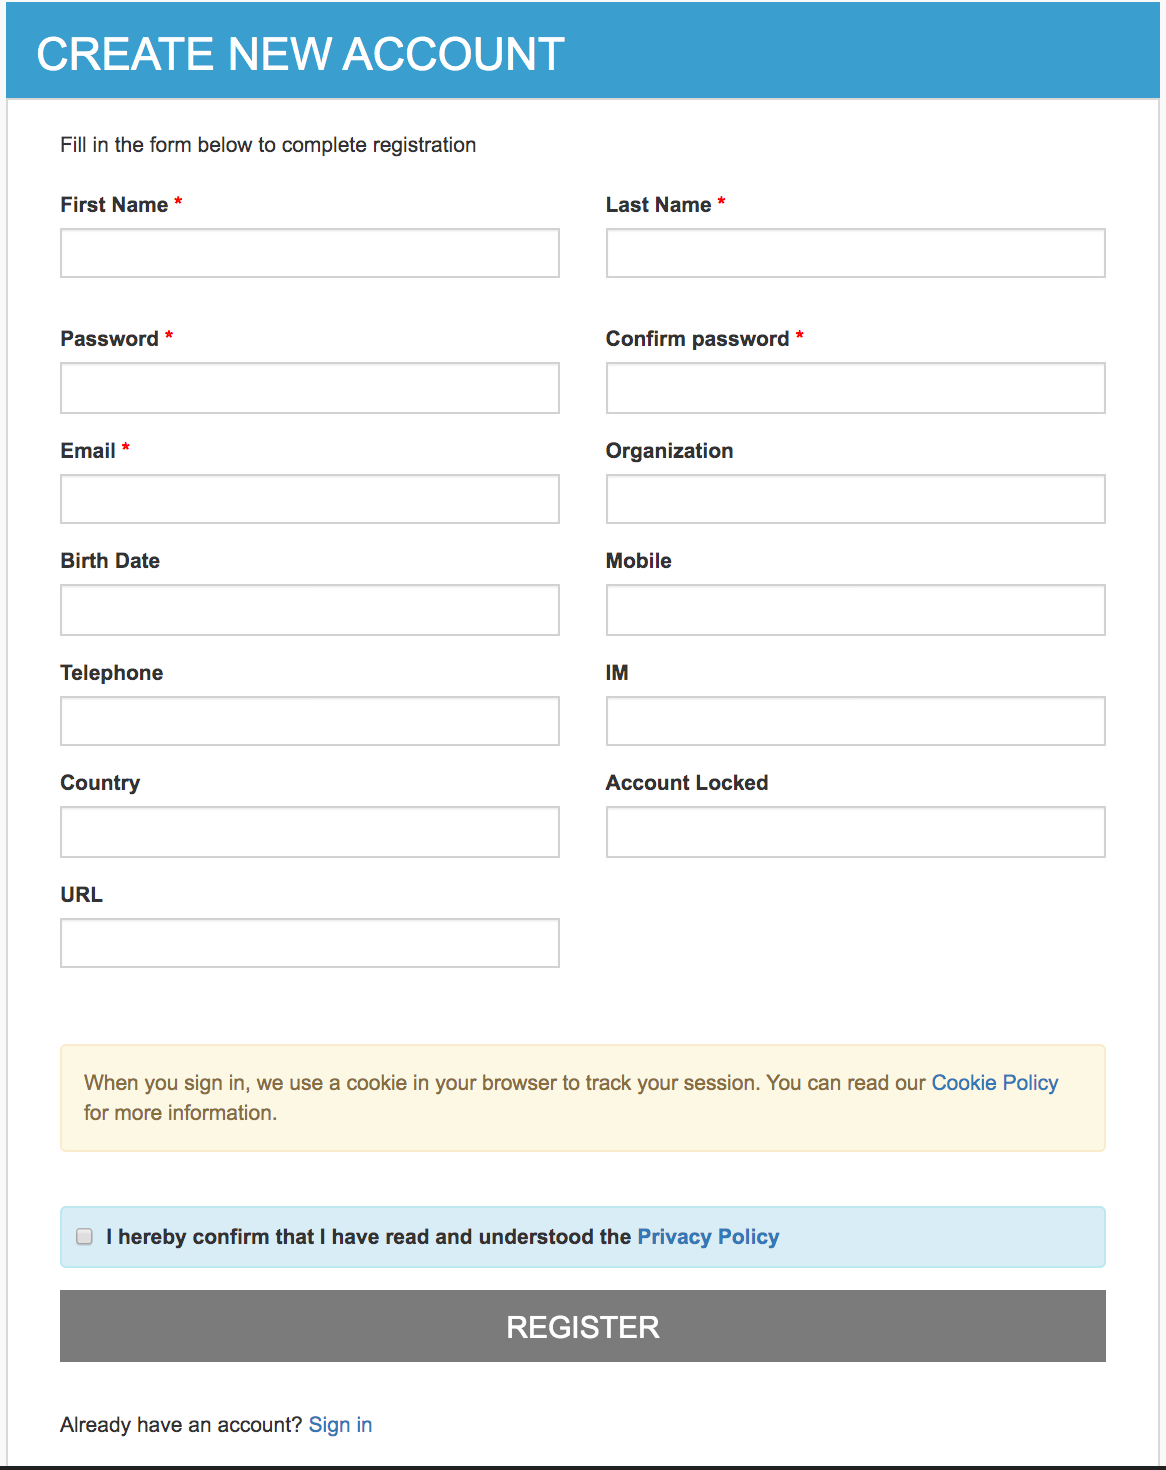
Fill in the user details, provide consent to share the requested information and then click Register.
Click to see steps on configuring requested attributes for self registration
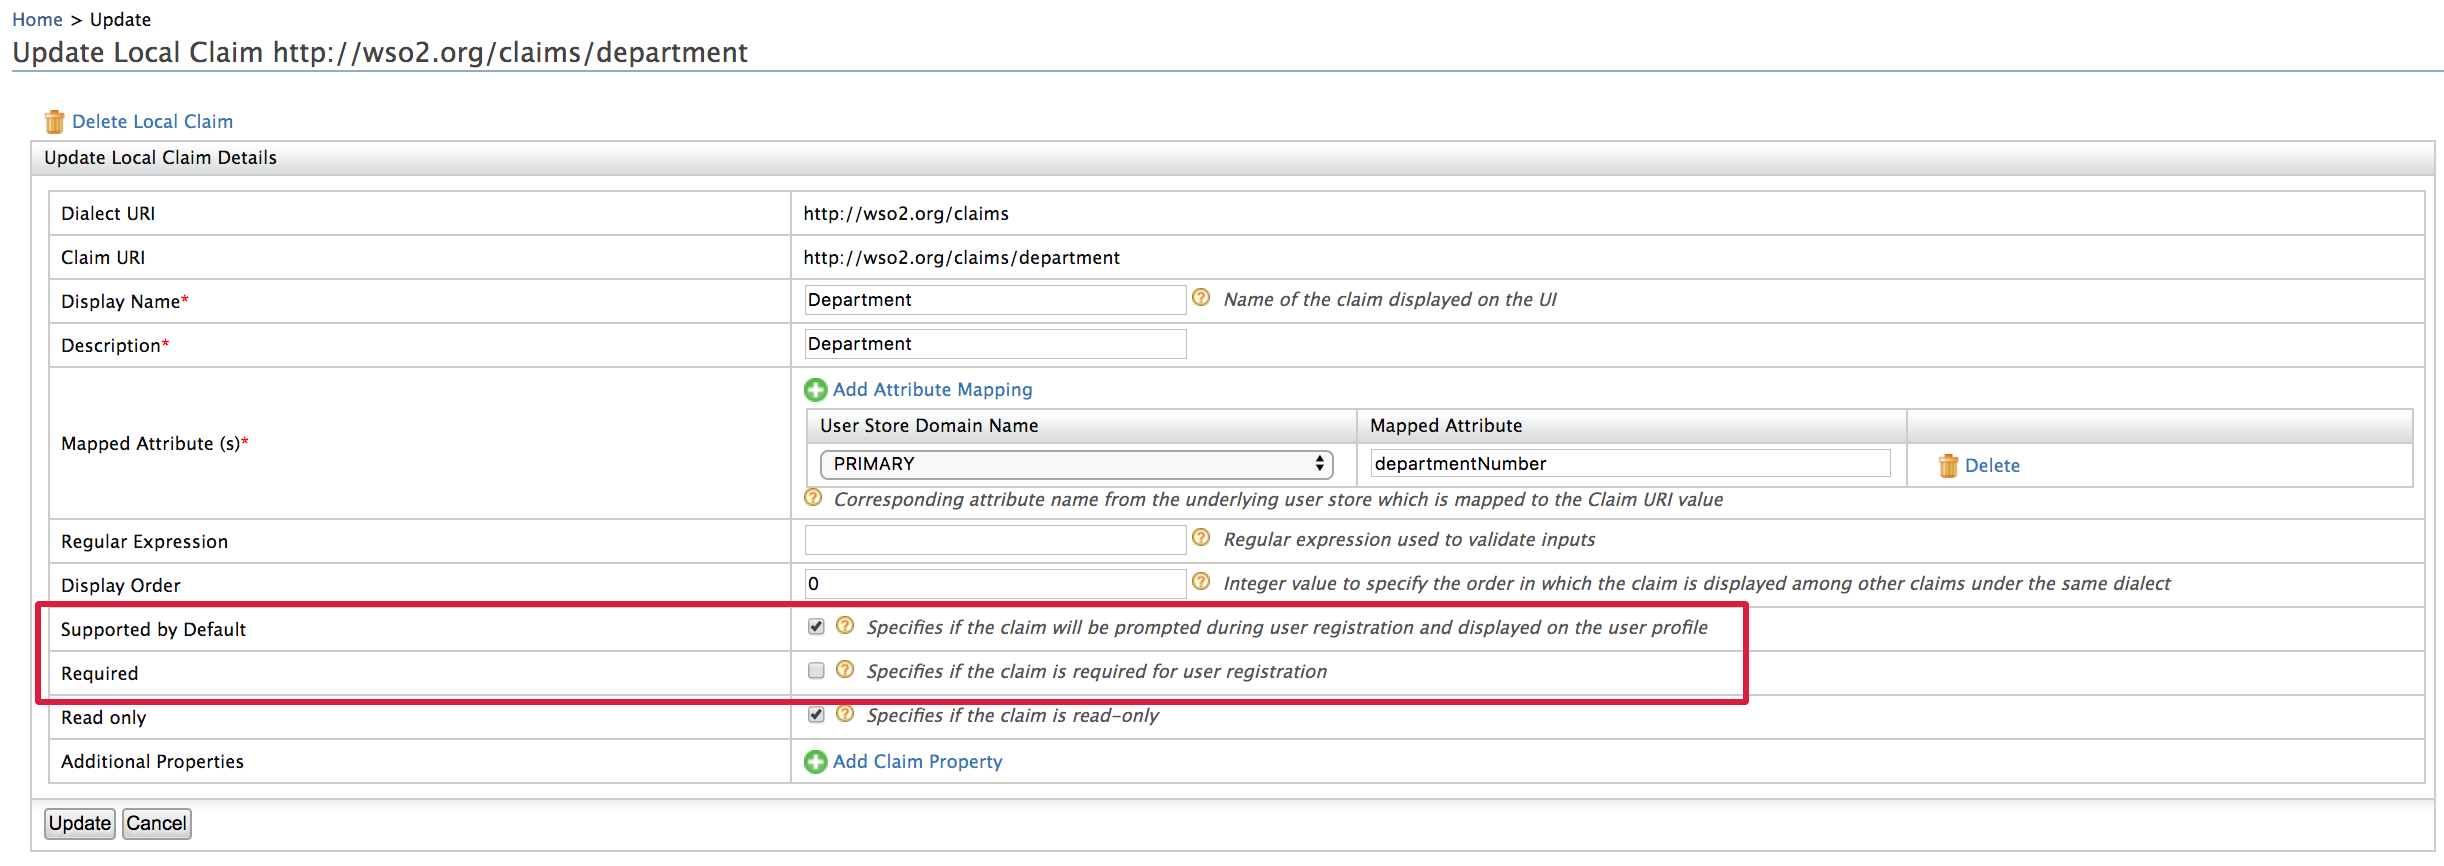
- The attributes that show up on the self sign up page are WSO2 local dialect claims that have the Supported by Default configuration enabled.
- From the Management console click List under Claims and select the http://wso2.org/claims dialect. Expand any claim to view the configuration.
- Mandatory attributes of the self sign-up page are the claims have the Required configuration enabled.
- For example see below configurations of the
department claim.
-
Once the user has registered, user will receive a confirmation mail.
-
Click Confirm Registration in the email or copy the link in the email to your browser to confirm the account.
Once you confirm the account, the account will be unlocked.
Want to resend the confirmation email?
Follow the steps given below to resend the confirmation email.
-
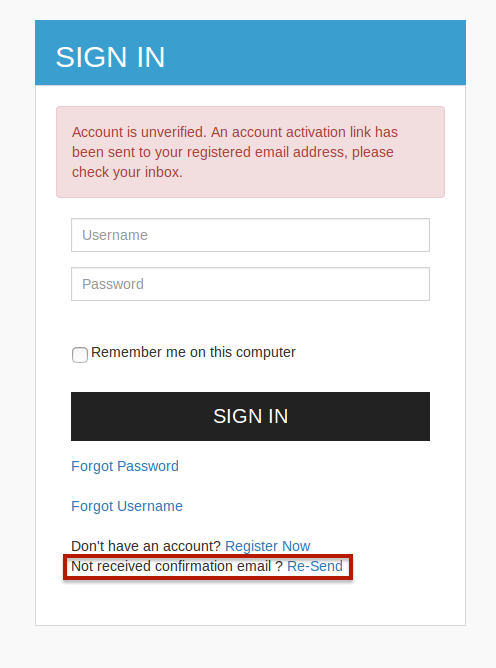
Access the WSO2 Identity Server dashboard and try to login with the user you just registered.
The user account should not be activated for the user, which means you should not have confirmed the account. -
Click on the Re-send link to resend the email.
Tip
The email template used to resend the confirmation email notification is the ResendAccountConfirmation template.
You can edit and customize the email template. For more information on how to do this, see Customizing Automated Emails.
Note
If you wish to send a account unlocked email upon account confirmation, do the following configurations.
-
Navigate to Resident IDP.
-
Expand the Login Policies -> Account Locking and select Account Lock Enabled.
Once the user activates the account via the confirmation email, an Account Unlocked email will be sent by the Identity server.For more information about account locking, see Account Locking.

Related Links
See Configuring Claims for more information on how to store the claim values in the user store.
Top