Configure JWT Grant
This page guides you through the flow involved in exchanging a JWT assertion with an OAuth 2.0 access token in order to access protected resources on behalf of the resource owner. To learn more, see JWT Grant.
Configure the trusted identity provider
- On the Main menu of the Management Console, click Identity > Identity Providers > Add.
-
Enter the following information.
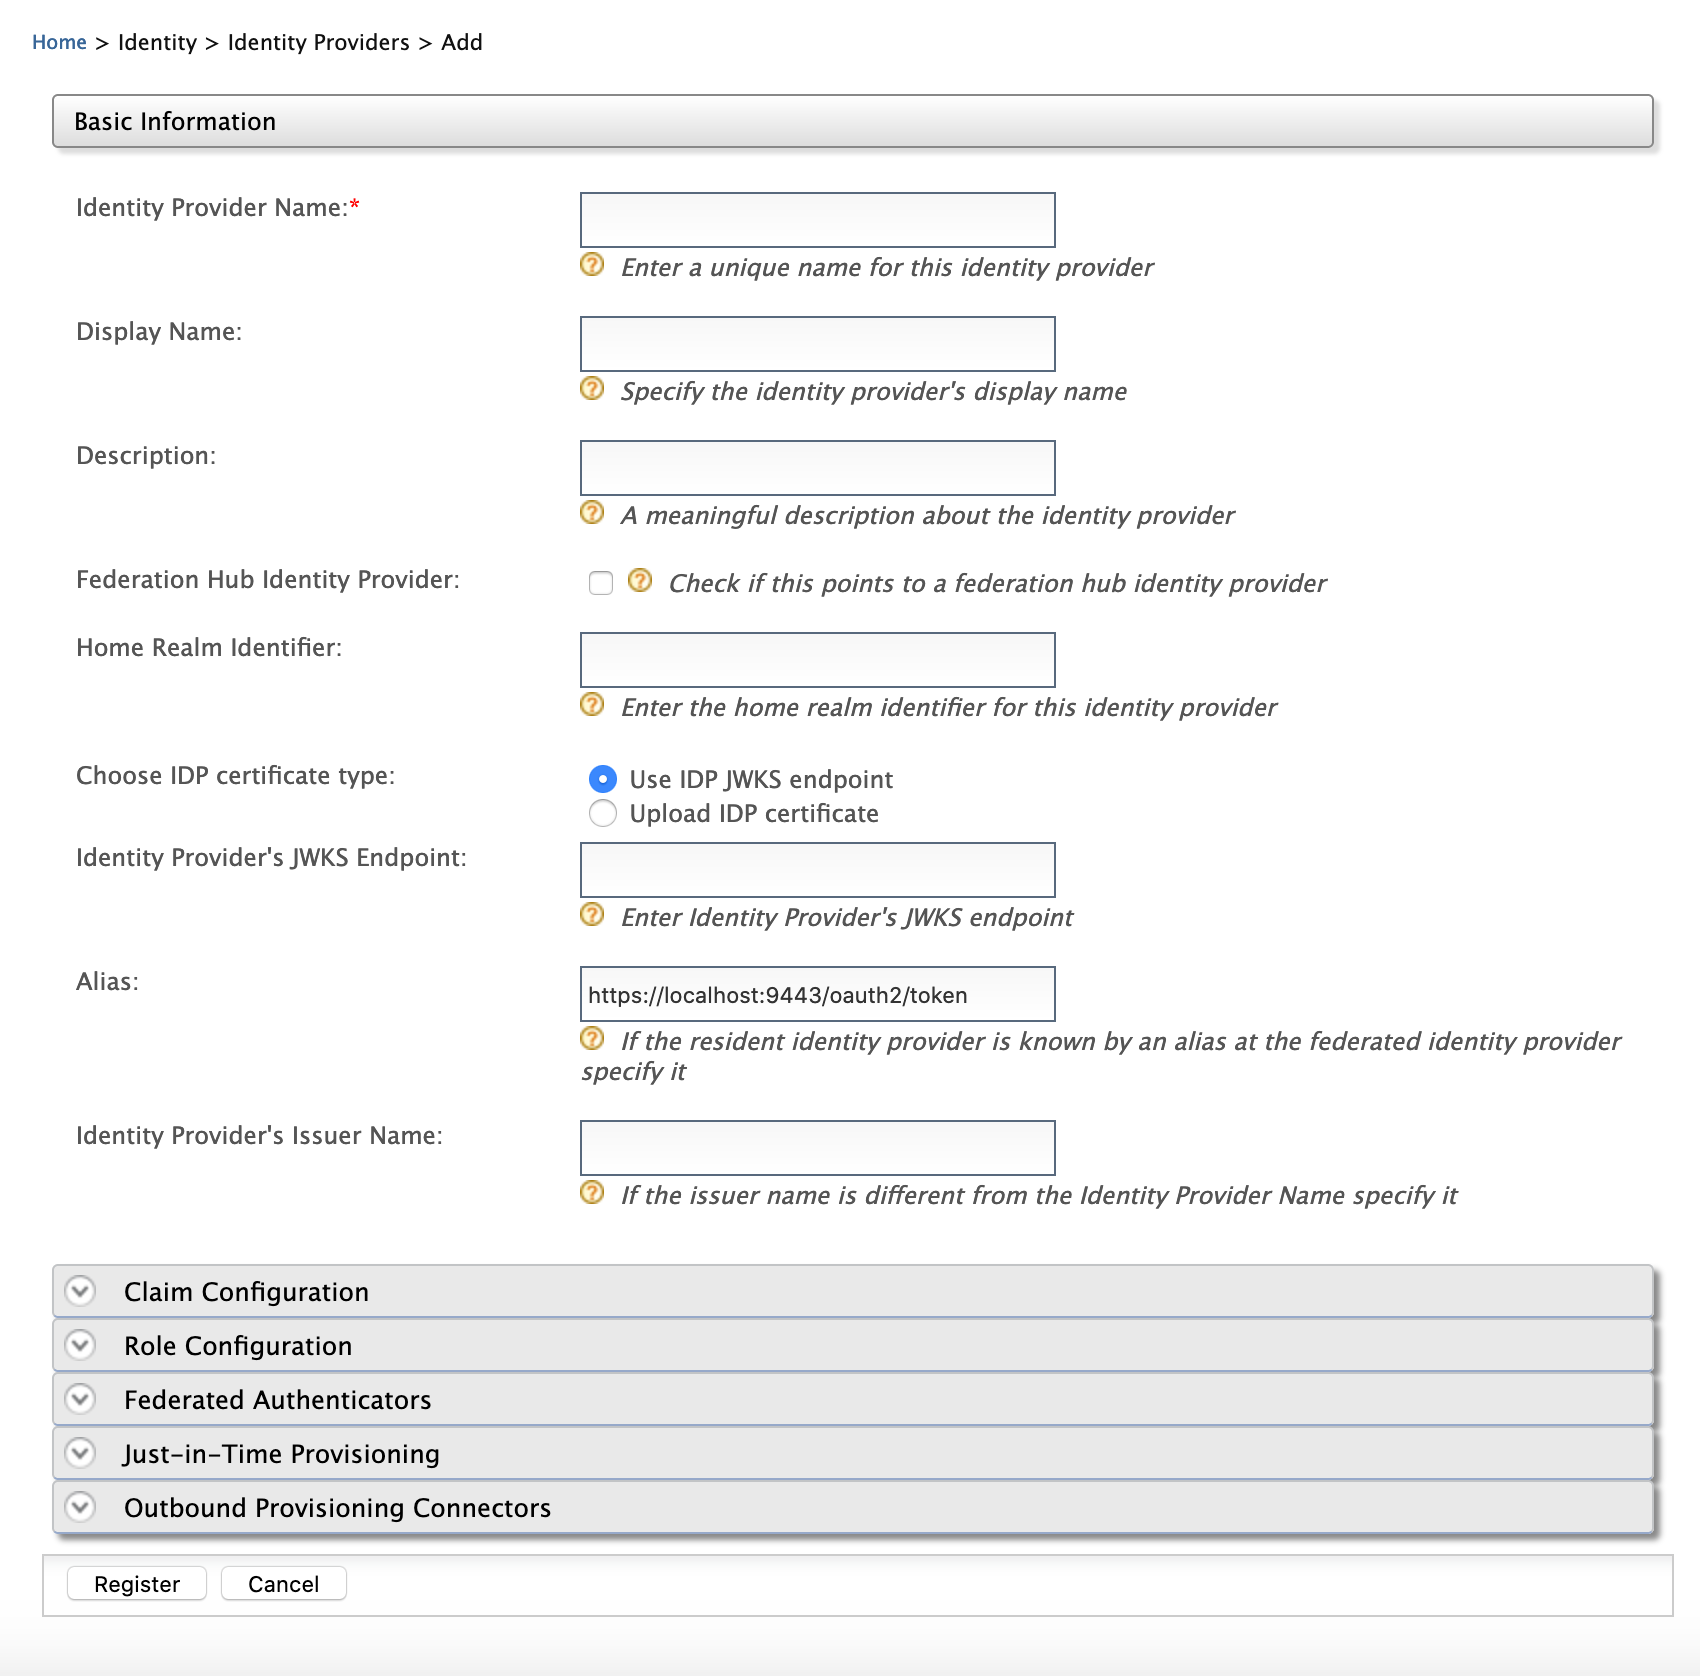
Field Description Sample Value Identity Provider Name This is is the name of the identity provider that issues the JWT. Choose IDP certificate type This is to specify whether the JWT will be validated using a JWKS endpoint or a public certificate. Use IDP JWKS endpointUpload IDP certificate
Identity Provider's JWKS Endpoint This is to define the particular JWKS endpoint using which the JWT will be validated.
This field is enabled when theUse IDP JWKS endpointoption is selected for Choose IDP certificate type.Identity Provider Public Certificate This is the public certificate that is used to sign the JWT assertion.
This field is enabled when theUpload IDP certificateoption is selected for Choose IDP certificate type.Alias This is the alias of the token endpoint. https://localhost:9443/oauth2/token -
Click Register.
You have successfully added the identity provider. Next, configure the application as a service provider.
Create a service provider
To register your application as a service provider in the WSO2 Identity Server:
-
Log in to the WSO2 Identity Server Management Console using administrator credentials.
-
Go to Main > Identity > Service Providers > Add.
-
Enter a Service Provider Name. Optionally, enter a Description.
-
Click Register.
-
Expand Inbound Authentication Configuration and then OAuth/OpenID Connect Configuration.
-
Click Configure.
-
Select the urn:ietf:params:oauth:grant-type:jwt-bearer from the Allowed Grant Types list.
-
Enter the Callback Url.
Tip
For more information on
Callback Urlfield and other advanced configurations, see Advanced OpenID Connect Configurations. -
Configure the following fields.
- Enable Audience Restriction
- Audience
-
Click Add.
Note that the OAuth Client Key and Client Secret are generated. You will need these values later on when sending the request to the authorization endpoint.
-
Click Register.
Note
While configuring the JWT bearer grant type, the iat (issued at) validating time period can also be configured. It identifies the time at which the JWT was issued and can be used to determine the age of the JWT.
To configure the iat validity period, add the following configuration to the <IS_HOME>/repository/conf/deployment.toml file. The default value is 30 minutes.
[oauth.grant_type.jwt]
enable_iat_validation="true"
iat_validity_period=30
Generate a JWT
-
Generate a request object (JWT) using the following.
- iss: This is the client key that was generated when configuring the service provider.
- sub: This is the client key that was generated when configuring the service provider.
- aud: https://localhost:9443/oauth2/token
- iat: This is the epoch of the token issuance time (e.g., 1575024942).
- jit: This is the epoch of the token expiry time (e.g., 1575107914).
{ "alg": "RS256", "type": "JWT" } { "iss": "NCkZofT51NVKK2UuQSvxPJhQOWwa", "sub": "NCkZofT51NVKK2UuQSvxPJhQOWwa", "aud": "https://localhost:9443/oauth2/token" "iat": "1575024942", "jit": "1575107914" } { <Signature> } -
Run the following curl command on a terminal window to obtain the access token and refresh token.
Request Format
curl -i -X POST -u (Base64encoded<client_id>:<client_secret>) -k -d 'grant_type=urn:ietf:params:oauth:grant-type:jwt-bearer&assertion=<jwt_token>' -H 'Content-Type: application/x-www-form-urlencoded' <token_endpoint>
Sample Request
curl -i -X POST -H 'Content-Type: application/x-www-form-urlencoded' -u bBhEoE2wIpU1zB8HA3GfvZz8xxAa:RKgXUC3pTRQg9xPpNwyuTPGtnSQa -k -d 'grant_type=urn:ietf:params:oauth:grant-type:jwt-bearer&assertion=eyJhbGciOiJSUzI1NiJ9.eyJleHAiOjE0NTgxNjY5ODUsInN1YiI6ImFkbWluIiwibmJmIjoxNDU4MTA2OTg1LCJhdWQiOlsiaHR0cHM6XC9cL2xvY2FsaG9zdDo5NDQzXC9vYXV0aDJcL3Rva2VuIiwid3NvMi1JUyJdLCJpc3MiOiJqd3RJRFAiLCJqdGkiOiJUb2tlbjU2NzU2IiwiaWF0IjoxNDU4MTA2OTg1fQ.ZcxdoTVEsWoil80ne42QzmsfelMWyjRZJEjUK1c2vMZJjjtrZnsWExyCA5tN6iXYFAXC_7rkFuuNSgOlBi51MNLPZw3WcgGI52j6apGEW92V2tib9zRRWOeLQLAdo8ae8KzLp7kuKZ2XunfQ2WYU9TvvLDm_vp5ruuYz3ZZrJOc' https://localhost:9443/oauth2/token
Tip
If you have configured the service provider and identity provider in a tenant, add the tenant domain as a query parameter to the access token endpoint. For example, if the tenant domain is wso2.com, the access token endpoint should be https://localhost:9443/oauth2/token tenantDomain=wso2.com.
Related topics