Re-brand WSO2 Identity Server UIs
From WSO2 Identity Server 5.9.0 onwards, a new UI extension has been introduced to easily re-brand basic user interfaces like the login page, username and password recovery pages, and single sign-on pages.
All these UIs are available in the authenticationendpoint and accountrecoveryendpoint web apps that are located in the <IS_HOME>/repository/deployment/server/webapps folder. To customize these pages, follow the steps below.
Step 1: Create the extensions folder
-
Navigate to the
<IS_HOME>/repository/deployment/server/webapps/authenticationendpointfolder and create a new folder calledextensions.Info
You will be adding the modified JSP files along with the modified CSS files into this new
extensionsfolder. -
Similarly, navigate to the
<IS_HOME>/repository/deployment/server/webapps/accountrecoveryendpointfolder and create anextensionsfolder.
Step 2: Copy the existing header and footer content
To re-brand the header and footer content of the web applications, first copy them over to the newly created extensions folders.
-
To copy the header and footer content of the authenticationendpoint web application:
-
Navigate to the
<IS_HOME>/repository/deployment/server/webapps/authenticationendpoint/includesfolder. -
Copy the
header.jspandproduct-footer.jspfiles into the<IS_HOME>/repository/deployment/server/webapps/authenticationendpoint/extensionsfolder.Note
The
header.jspandproduct-footer.jspfiles have the capability to override the corresponding files in theincludesfolder.
-
-
Similarly, copy the header and footer content of the accountrecoveryendpoint web application.
Step 3: Create styling
Create the basic CSS styles that are required to override the existing UI styling.
Example
<style>
    html, body {
        height: 100%;
    }

    body {
        flex-direction: column;
        display: flex;
        background: #1e1e2f;
        color: #ffffff;
    }

    main {
        flex-shrink: 0;
    }

    main.center-segment {
        margin: auto;
        display: flex;
        align-items: center;
    }

    main.center-segment > .ui.container.medium {
        max-width: 450px !important;
    }

    main.center-segment > .ui.container.large {
        max-width: 700px !important;
    }

    main.center-segment > .ui.container > .ui.segment {
        padding: 3rem;
        background: #424061;
        box-shadow: 3px 2px 7px #1c1818;
        border-radius: 10px;
    }

    main.center-segment > .ui.container > .ui.segment .segment-form .buttons {
        margin-top: 1em;
    }

    main.center-segment > .ui.container > .ui.segment .segment-form .buttons.align-right button,
    main.center-segment > .ui.container > .ui.segment .segment-form .buttons.align-right input {
        margin: 0 0 0 0.25em;
    }

    main.center-segment > .ui.container > .ui.segment .segment-form .column .buttons.align-left button.link-button,
    main.center-segment > .ui.container > .ui.segment .segment-form .column .buttons.align-left input.link-button {
        padding: .78571429em 1.5em .78571429em 0;
    }

    main.center-segment > .ui.container > .ui.segment .segment-form {
        text-align: left;
    }

    main.center-segment > .ui.container > .ui.segment .segment-form .align-center {
        text-align: center;
    }

    main.center-segment > .ui.container > .ui.segment .segment-form .align-right {
        text-align: right;
    }

    .cookie-policy-message {
        font-size: 14px;
    }

    footer {
        padding: 2rem 0;
    }

    body .product-title .product-title-text {
        margin: 0;
    }

    body .center-segment .product-title .product-title-text {
        margin-top: 2em;
        margin-bottom: 1em;
    }

    .ui.header {
        color: #ffffff;
        font-weight: 600;
    }

    .ui.menu.fixed.app-header .product-logo {
        padding-left: 0;
    }

    .ui.form .field .ui.input input {
        background: #6b688d;
    }

    .ui.checkbox label {
        color: #ffffff;
    }

    /* Table of content styling */

    main #toc {
        position: sticky;
        top: 93px;
    }

    main .ui.segment.toc {
        padding: 20px;
    }

    main .ui.segment.toc ul.ui.list.nav > li.sub {
        margin-left: 20px;
    }

    main .ui.segment.toc ul.ui.list.nav > li > a {
        color: rgba(0,0,0,.87);
        text-decoration: none;
    }

    main .ui.segment.toc ul.ui.list.nav > li:before {
        content: "\2219";
        font-weight: bold;
        font-size: 1.6em;
        line-height: 0.5em;
        display: inline-block;
        width: 1em;
        margin-left: -0.7em;
    }

    main .ui.segment.toc ul.ui.list.nav > li.sub:before {
        content: "\2192";
        margin-left: -1em;
    }

    main .ui.segment.toc ul.ui.list.nav > li:hover a {
        color: #ff5000;
        text-decoration: none;
    }

    main .ui.segment.toc ul.ui.list.nav > li:hover:before {
        color: #ff5000;
    }
</style>
Step 4: Edit the existing header and footer content
Add the product-footer.jsp and header.jsp files to the extensions folder as follows:
-
To edit the header content of the authenticationendpoint web application:
-
Open the
header.jspfile in the<IS_HOME>/repository/deployment/server/webapps/authenticationendpoint/extensionsfolder. -
Add the following includes.
<%@include file=”https://is.docs.wso2.com/en/6.0.0/includes/localize.jsp” %> <%@include file=”https://is.docs.wso2.com/en/6.0.0/includes/init-url.jsp” %> -
Replace the contents of the
<style>tag, with the styles you created in Step 3 inside the header tag.
-
-
To edit the footer content of the authenticationendpoint web application:
-
Open the
product-footer.jspfile in the<IS_HOME>/repository/deployment/server/webapps/authenticationendpoint/extensionsfolder. -
To add the company name, replace the content of
<footer> tagwith the following.<footer class="footer"> <div class="container-fluid"> <p>XYZ Company | © <script>document.write(new Date().getFullYear());</script> <a href="<%=IdentityManagementEndpointUtil.i18n(recoveryResourceBundle, "business.homepage")%>" target="_blank"> <i class="icon fw fw-wso2"></i> <%=IdentityManagementEndpointUtil.i18n(recoveryResourceBundle, "Inc")%> </a> . <%=IdentityManagementEndpointUtil.i18n(recoveryResourceBundle, "All.rights.reserved")%> </p> </div> </footer>
-
-
Similarly, you can re-brand the accountrecovery web application header and footer.
Note
Make sure to add the following include to the top, when editing the
header.jspfile of the accountrecovery web application.<%@include file=”https://is.docs.wso2.com/en/6.0.0/localize.jsp” %> -
Refresh the browser and check out the modified header and footer content.
Tip
Restarting the server is NOT required to reflect the changes. A browser refresh will display the changes.
-
Customized login page

-
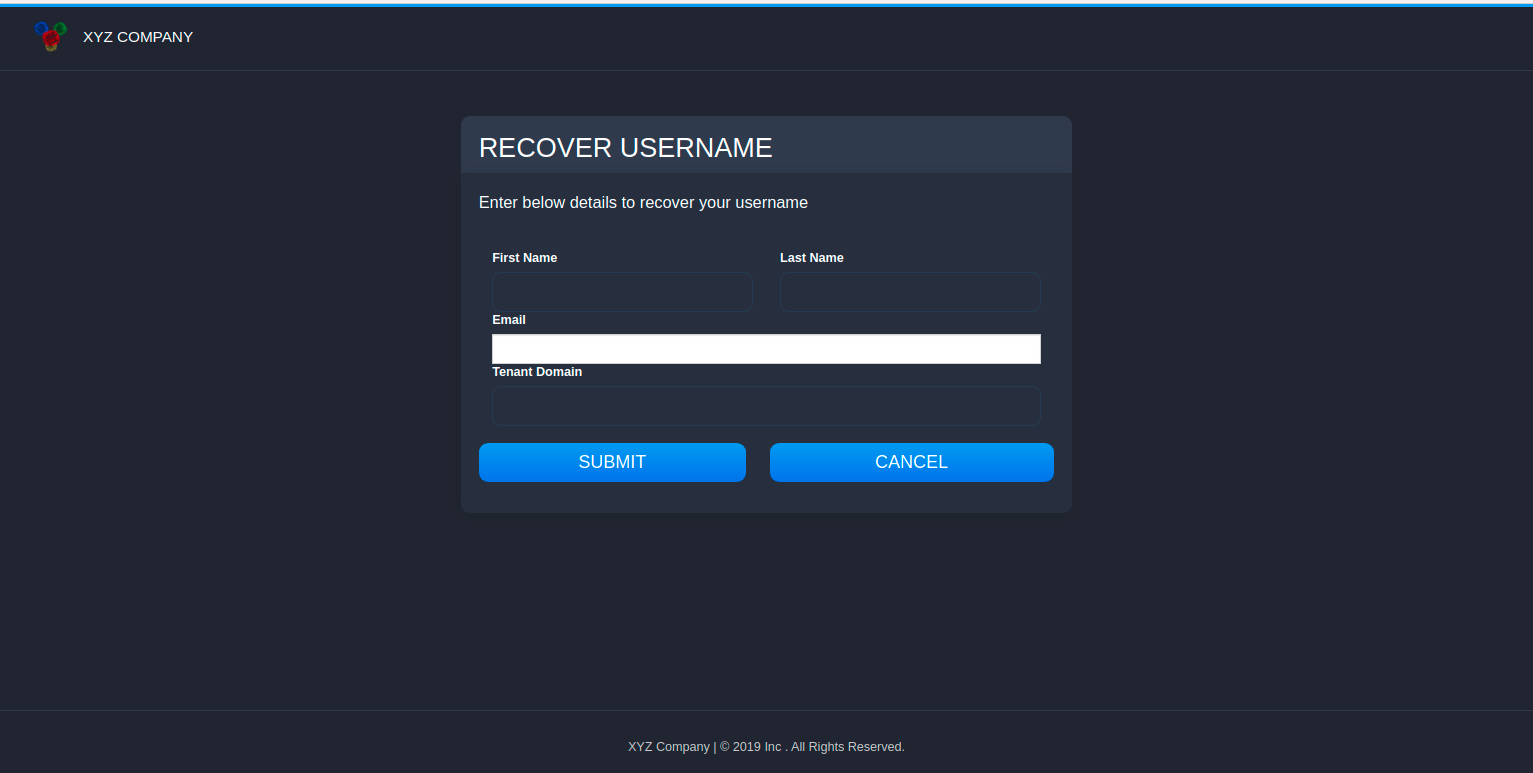
Customized recover username page
-
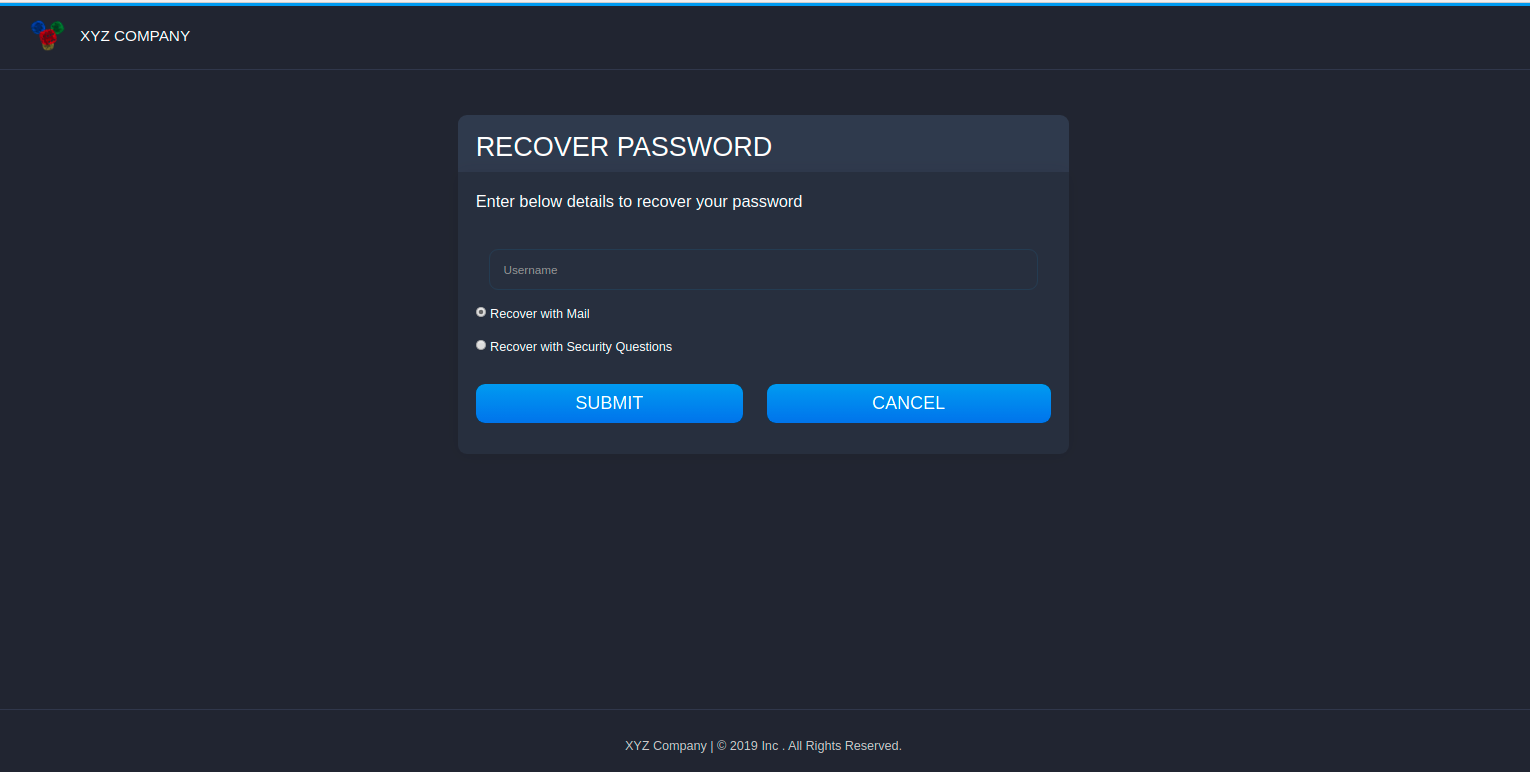
Customized recover password page
-
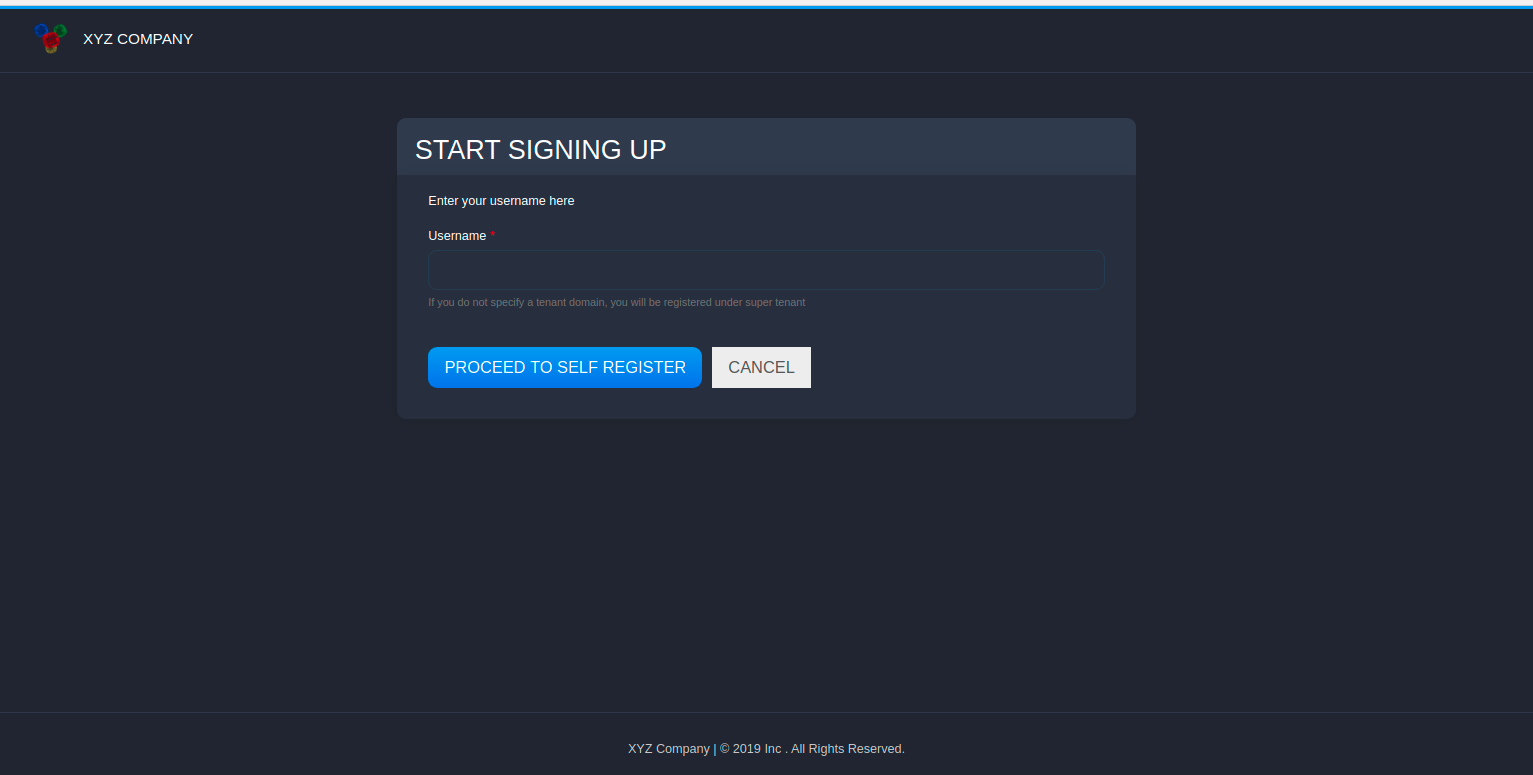
Customized self sign up page
-
Note
One advantage of this approach is that WUM updates will not affect your UI changes and you need not worry about manually adding your changes.