Add a workflow definition
Workflows provide a method of fine-tuning the process of approving accounts. This guide walks through how to add a new workflow in WSO2 Identity Server.
To add a new workflow:
Before you begin
-
Create the user roles with which you plan to approve users, along with the following permissions. Note that the domain must be specified as INTERNAL, or it will be considered a 'group' instead of a 'role'.
LoginHuman Tasks>View Task ListWorkflow Management>BPS Profiles>View
For more details, see how to configure roles and permissions.
-
Assign users to the roles that you created. Note that the users should have
adminpermissions, else it will not be possible to perform workflow approvals. For more instructions, see Configuring Users.
-
On the Management Console, go to Manage > Workflow Definitions > Add.
-
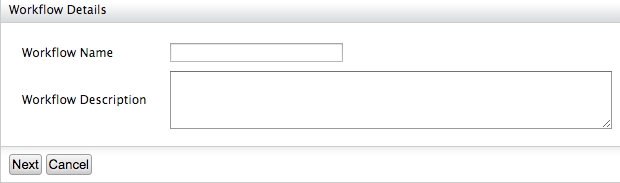
Enter a name and description for your workflow and click Next.
-
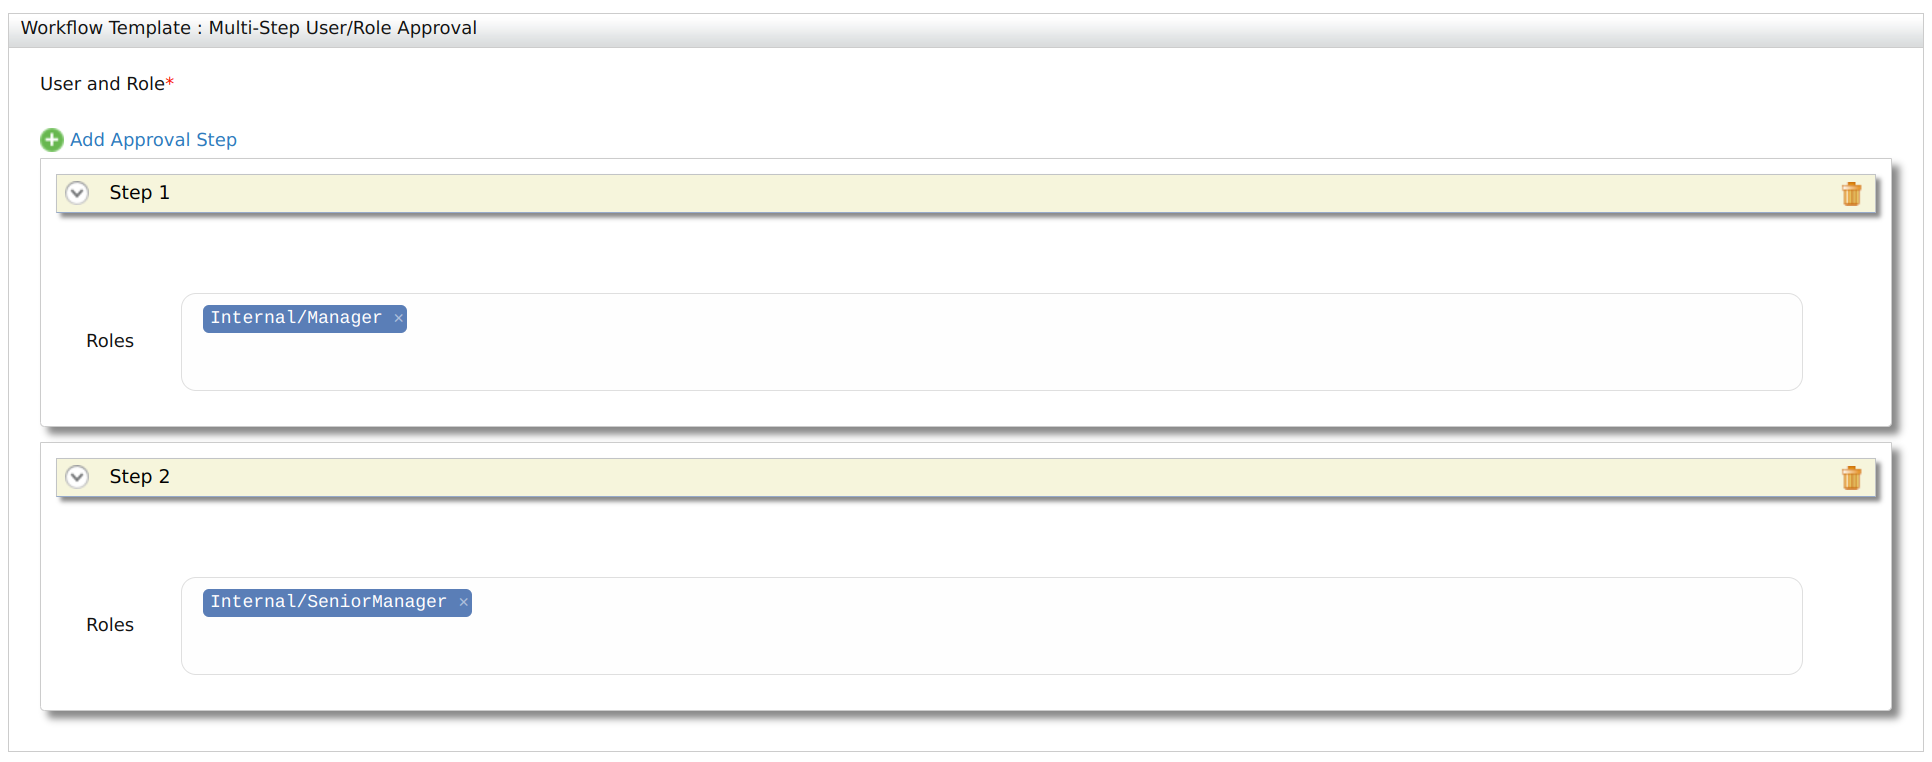
Click Add Approval Step.
Note
Each approval step represents a user approving an account of another user. The user who approves the account can have a specific role or be a specific user. In this scenario, users are assigned a specific user role to approve accounts.
-
Search for the required Role/s or User/s and click Add Selected Users or Add Selected Roles respectively.
Note
You can click Add Approval Step again and follow the above step to add another approval step.
-
Click Next to move to the next step.

Info
The Workflow Template in the above sample defines the template for a specific workflow. A template will have a specific flow where the parameters can be customized (e.g., Send email notifications for some users, get approval from a user to continue). WSO2 Identity Server supports custom templates that can be deployed as OSGi services. For more information on writing workflow templates, see Writing a Custom Workflow Template.
-
-
Enter the following deployment information.

Attribute Description BPS Profile This is the name of the required BPS profile. This field defines the deployment type of the workflow template. Other custom execution deployment types are also supported, where you can select the desired executor for a given use case. (i.e., a dropdown will appear in the UI to select the required executor). Task Subject This is the subject of the workflow request for approval. Task Detail This is the body of the workflow request for approval. Note
The same template can have multiple deployment types (e.g., A notification template may have implementations with sending emails or sending human task notifications), whereas, in some templates, there will only be a single implementation.
-
Click Finish to complete the process. You will be able to see the workflow you just added.
What's next?
Now you need to add the workflow you created to an operation. For more information, see Engaging a Workflow in an Operation.
Top