Logging into Drupal using the Identity Server
Drupal is an open-source content management software distributed under the terms of the GNU General Public License (GPL). This topic provides instructions on how to log into Drupal using your WSO2 Identity Server credentials. In this tutorial, Drupal acts as the service provider and WSO2 Identity Server acts as the identity provider.
Let's get started!
Before you begin!
-
You need to have Drupal installed. Click here for more information on installing Drupal.
-
You need to have Composer installed. Click here for more information on installing Composer.
-
You need to have SimpleSAMLphp Authentication Drupal modules installed. This module helps Drupal to communicate with WSO2 Identity Server. You can install it using the composer by executing the following command.
composer require drupal/simplesamlphp_auth
Configure SimpleSAMLphp as a service provider
-
Navigate to the Web directory on a terminal window and run the following command to create a symlink to the
vendor/simplesamlphp/simplesamlphp/wwwfolder.
2. Create anln -s ../vendor/simplesamlphp/simplesamlphp/www simplesaml.htaccess fileinside the simplesaml symlink folder and add the following configurations.
3. Make the following changes to theRewriteCond %{REQUEST_URI} !/core/[^/]*\.php$ RewriteCond %{REQUEST_URI} !/core/modules/system/tests/https?.php RewriteCond %{REQUEST_URI} !/core/modules/statistics/statistics.php$ RewriteCond %{REQUEST_URI} !/simplesaml/[^/]*\.php$ RewriteCond %{REQUEST_URI} !/simplesaml/admin/[^/]*\.php$ RewriteCond %{REQUEST_URI} !/simplesaml/[^/]*\.php/sanitycheck/[^/]*\.php$ RewriteCond %{REQUEST_URI} !/simplesaml/[^/]*\.php/saml/[^/]*\.php$ RewriteCond %{REQUEST_URI} !/simplesaml/[^/]*\.php/saml/sp/[^/]*\.php/default-sp$ RewriteRule "^(.+/.*|autoload)\.php($|/)" - [F]\<PROJECT_NAME>/vendor/simplephp/simplephp/config/config.phpfile.Info
If you are unable to find the config folder, create an empty folder and copy all the files from config-templates directory.
- store.type: sql
- store.sql.dsn: mysql:host=localhost;dbname=db_name (change the host & db_name according to your values)
- store.sql.username: enter the Drupal database user_name
- store.sql.password: enter the Drupal database password
- auth.adminpassword: Change admin password of the simplesaml setup
- enable.saml20-idp: true
- technicalcontact_name: enter the name of thet echnical person who is running this installation.(optional)
- technicalcontact_email: enter the email of the technical person who is running this installation.(optional)
- Add this line to the end of the config.php file
$config['baseurlpath'] = 'http://'. $_SERVER[‘HTTP_HOST’].'/simplesaml/';Note!
Configure your server to support virtual hosts and point the document root to
<PATH_TO_PROJECT>/www. Click here to see how to configure virtual hosts in the Apache server. -
Update the
config/authsources.phpfile of the service provider by providing the following details under default-sp.Field Value Description EntityID SimpleSAML Entity ID of the service provider that WSO2 IS is expecting in Human readable format. This field can be NULL/unset, in which case an entity ID is generated based on the metadata URL. idp https://localhost:9443/samlsso Entity ID of the IdP. -
Copy IdP metadata to the
metadata/saml20-idp-remote.phpfile of the Service Provider. WSO2 IS’s cert fingerprint should be set as the certFingerprint and tenant domain should be set as Idp tenant domain.$metadata['https://localhost:9443/samlsso'] = array( 'name' => array( 'en' => 'WSO2 IS', 'no' => 'WSO2 IS', ), 'description' => 'Login with WSO2 IS SAML2 IdP.', 'SingleSignOnService' => 'https://localhost:9443/samlsso?tenantDomain=carbon.super', 'SingleLogoutService' => 'https://localhost:9443/samlsso?tenantDomain=carbon.super', 'certFingerprint' => '57ff38d97664c792ff8801171f04191ded88778d' );
Configure WSO2 Identity Server as the identity provider
-
Click on Identity Providers > Resident and then expand SAML2 Web SSO Configuration.
-
Use
https://localhost:9443/samlssoas the Identity Provider Entity Id and click Update to save the configuration.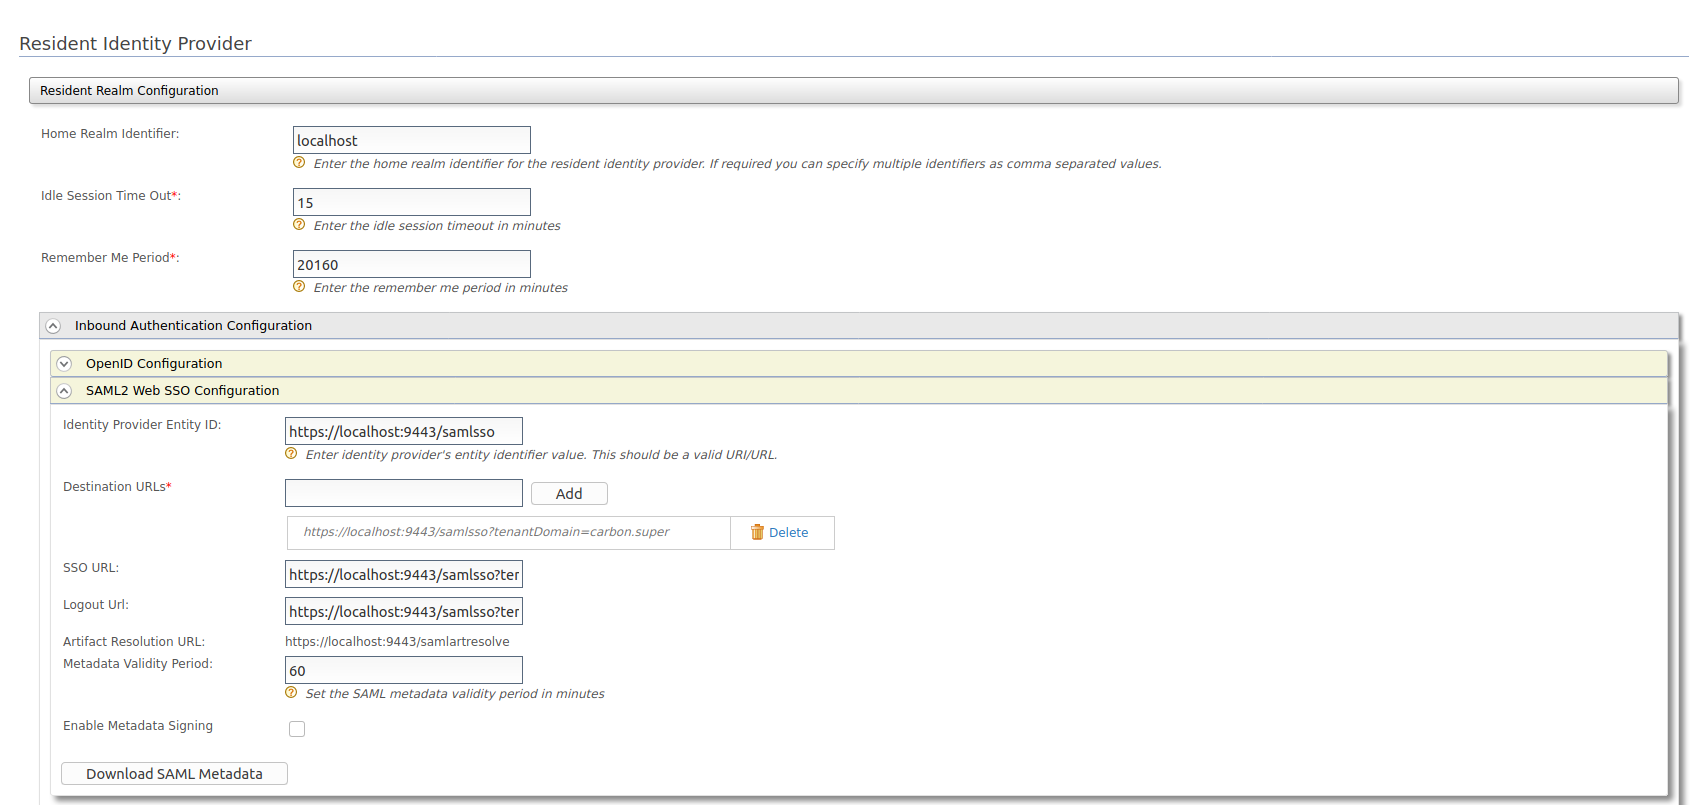
-
Click Service Providers > Add and enter a unique name as the Service Provider name (e.g., "Drupal_SP").
-
Expand Inbound Authentication Configuration and then expand SAML2 Web SSO Configuration.
-
Enter the value you configured as the Entity ID in the
config/authsources.phpfile as the Issuer. -
Enter**
http://$host/simplesaml/module.php/saml/sp/metadata.php/default-spas the Assertion Consumer URL. -
Enable Enable IdP Initiated SSO.
-
Enable Attribute Profile and Include Attributes in the Response Always.
-
Click Register to save the details.
-
Expand Claim Configuration. Select Define Custom Claim Dialect and add the following Claim URI.
-
Service Provider Claim: Mail Local Claim: https://wso2.com/claims/emailaddress Requested Claim: Yes
-
Service Provider Claim: fname Local Claim: https://wso2.org/claims/givenname Requested Claim: Yes

-
-
Click Update to save.
Try SAML 2.0 authentication
-
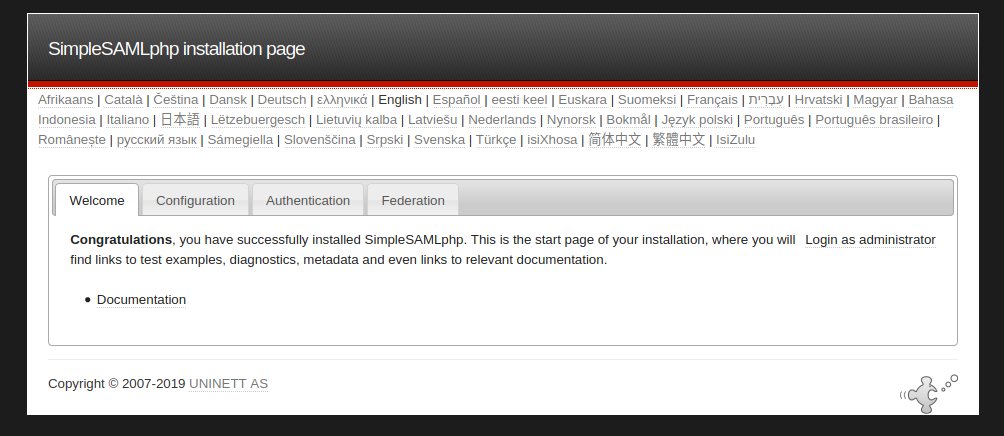
On a browser window, navigate to: http://'. $_SERVER[‘HTTP_HOST’] .’/simplesaml/.
-
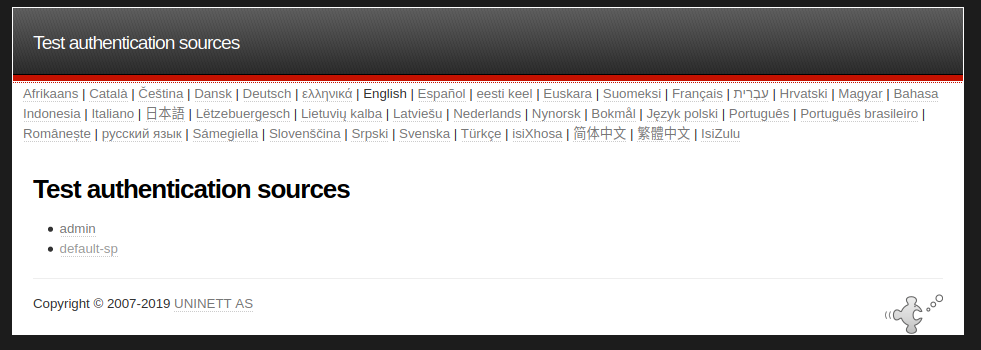
Click Authentication > Test configured authentication sources.
-
Click default-sp. You will be redirected to the WSO2 Identity Server authentication page.
-
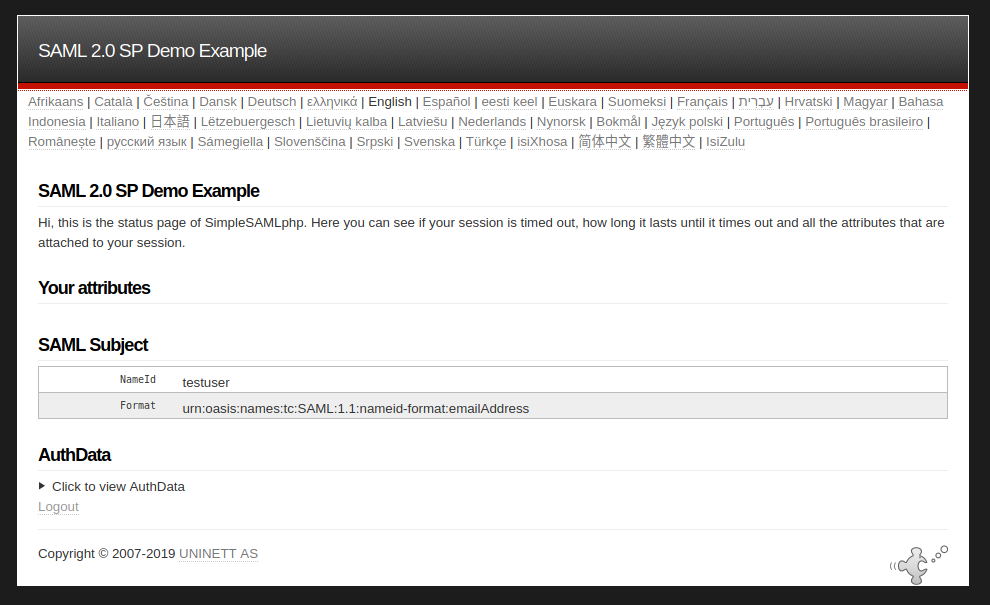
Login as the newly created user and you will see the User attributes, SAML Subject and Auth Data.
Configure Drupal
-
Go to the Drupal Home page and login as admin.
-
Click on the Extend tab and install the following modules.
-
SimpleSAMLphp Authentication
-
External Authentication
-
-
Click Configuration > People > SimpleSAMLphpAuthSettings.
-
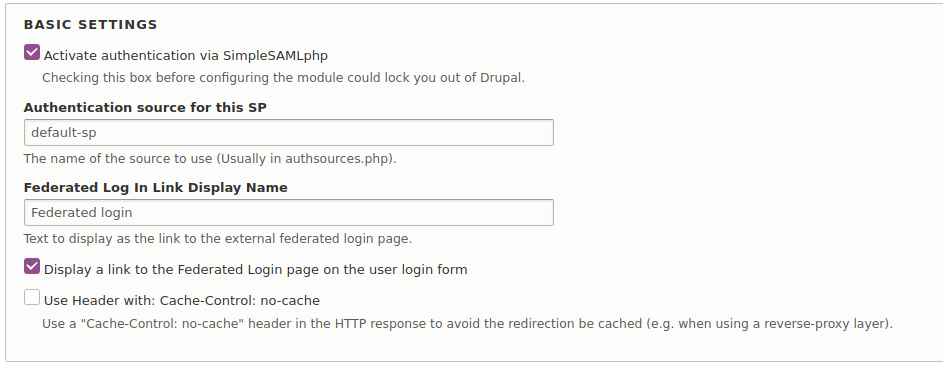
Enable Activate authentication via SimpleSAMLphp.
-
Enable User provisioning > Register users to create or register users using this module.
-
Click Save configuration.
-
Click on the User info and syncing tab.
-
Enter
Mailas the SimpleSAMLphp attribute to be used as a unique identifier for the user. -
Enter
fnameas the SimpleSAMLphp attribute to be used as a username for the user. -
Enter
Mailas the SimpleSAMLphp attribute to be used as an email address for the user.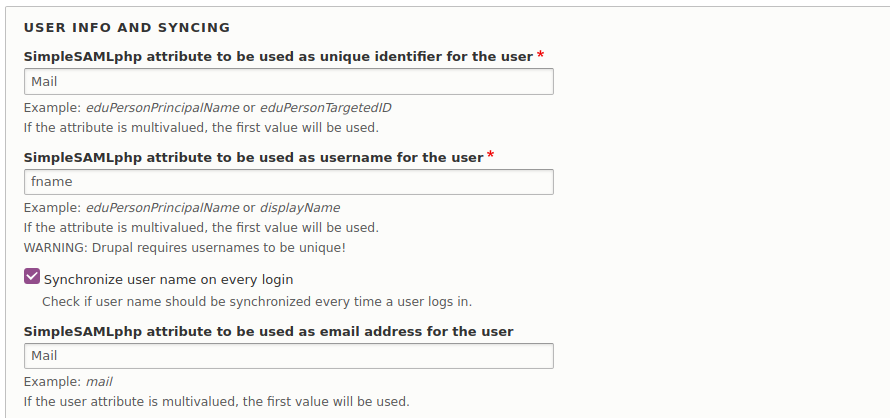
-
Click Save configuration.
Try it out
- Create a user in WSO2 IS.
Edit the user profile and update the First name and email address fields.
-
Login to Drupal as the admin user and create a user with the same email address.
-
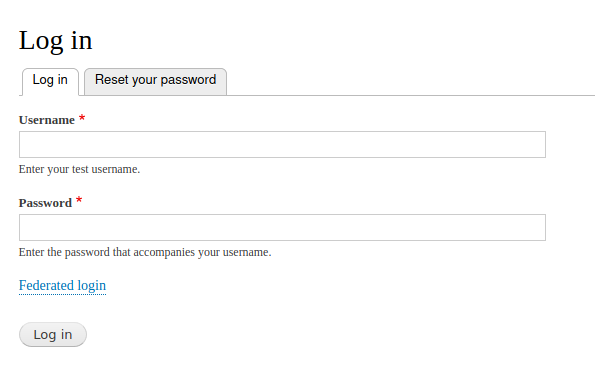
Logout of Drupal. You will be redirected to the Drupal Login page.
-
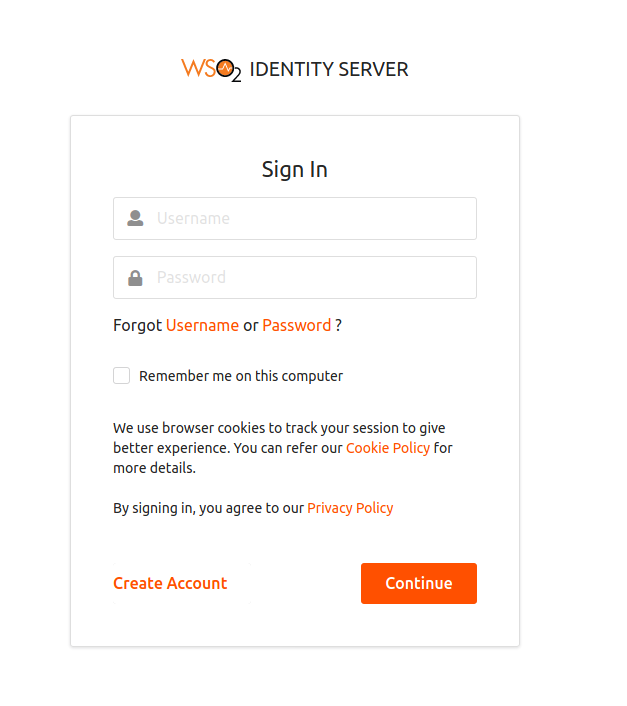
Click Federated login You will be directed to the WSO2 Login Page.
-
Provide user credentials of the user you created in step 2 and click Continue.
-
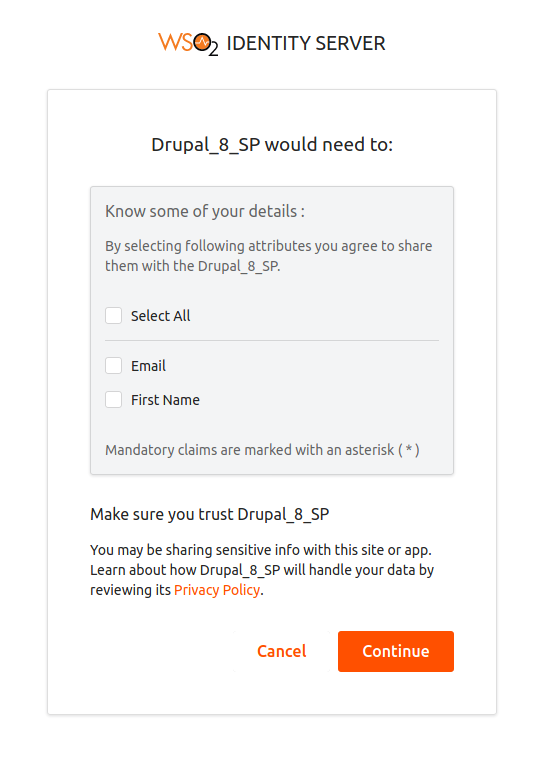
Enable Select All.
-
Click continue You will be redirected to the Drupal home page.

-
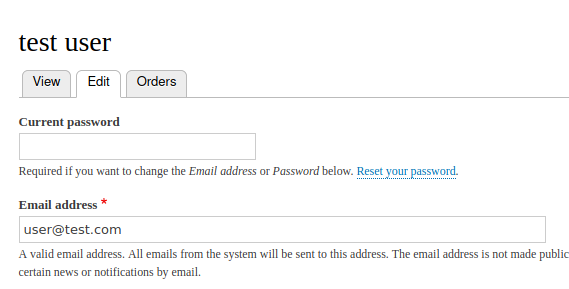
Click edit . The user profile attributes configured in WSO2 Identity Server will be populated in the Personal details section of your account.
