Sample SAML Java EE web app
By following this guide, you will be able to deploy a Java EE web application locally and secure it with SAML.
Prerequisites
-
Apache tomcat 9.x or 8.x
If you don't have it, install Apache tomcat.
-
A user account in the WSO2 Identity Server
If you don't already have one, create a user account in the WSO2 Identity Server.
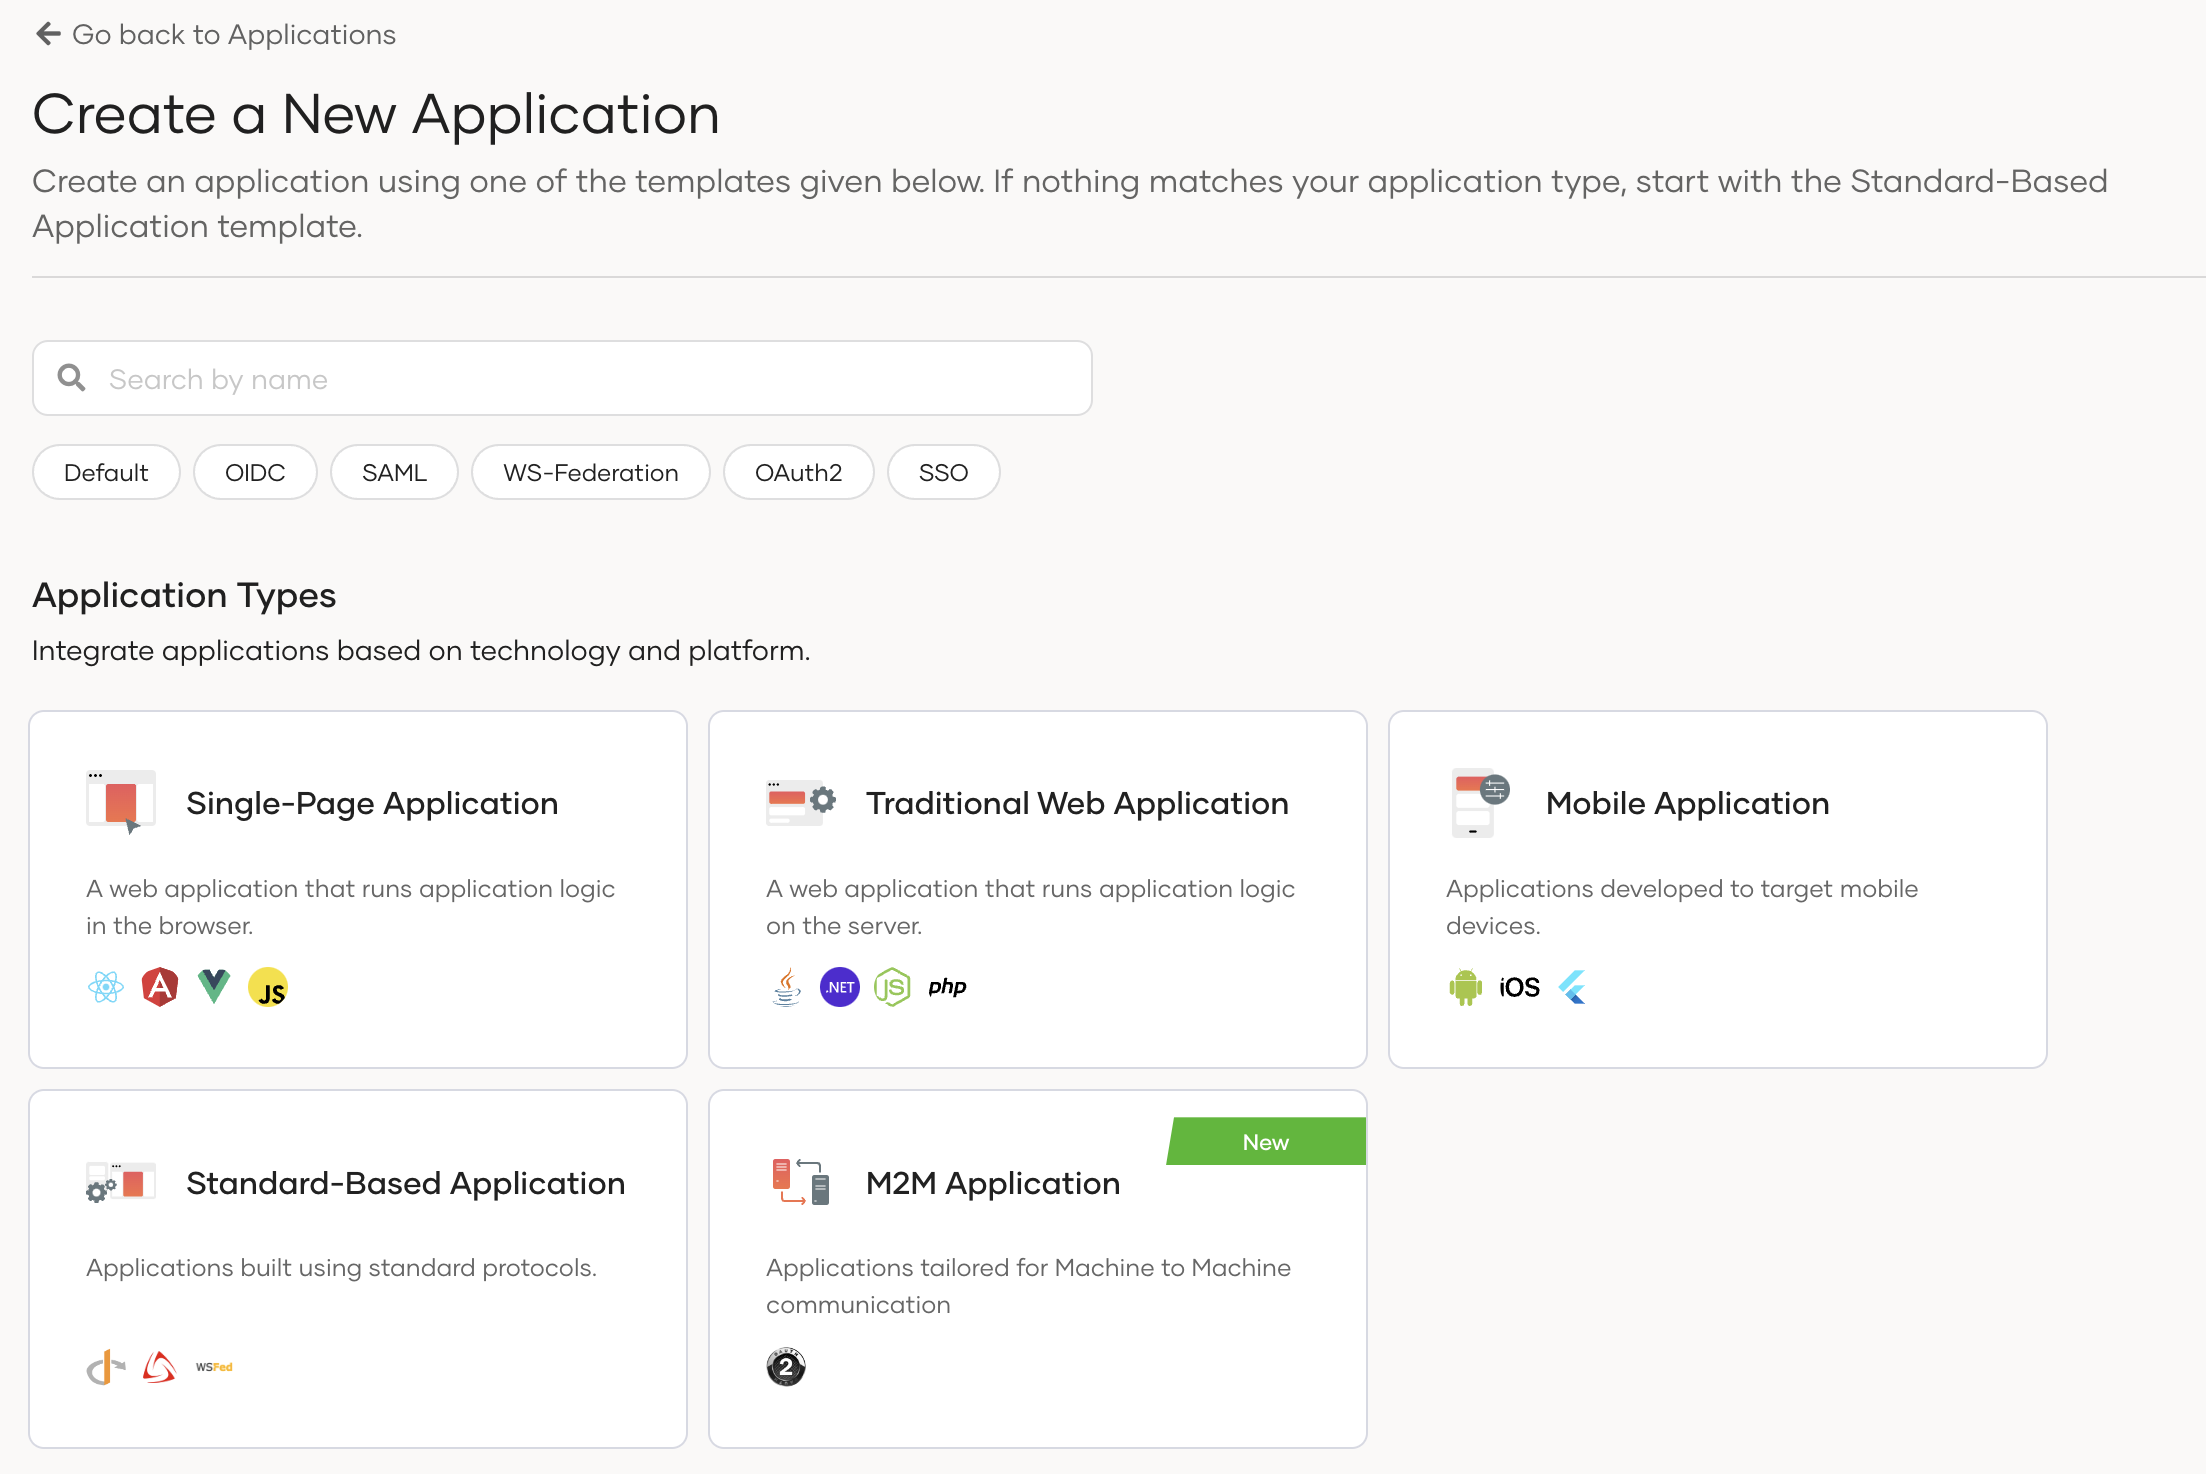
Register the app
Follow these steps given below to register the sample Java EE web application in the WSO2 Identity Server.
-
On the WSO2 Identity Server Console, go to Applications.
-
Click New Application and select Traditional Web Application.
-
Enter the following details:
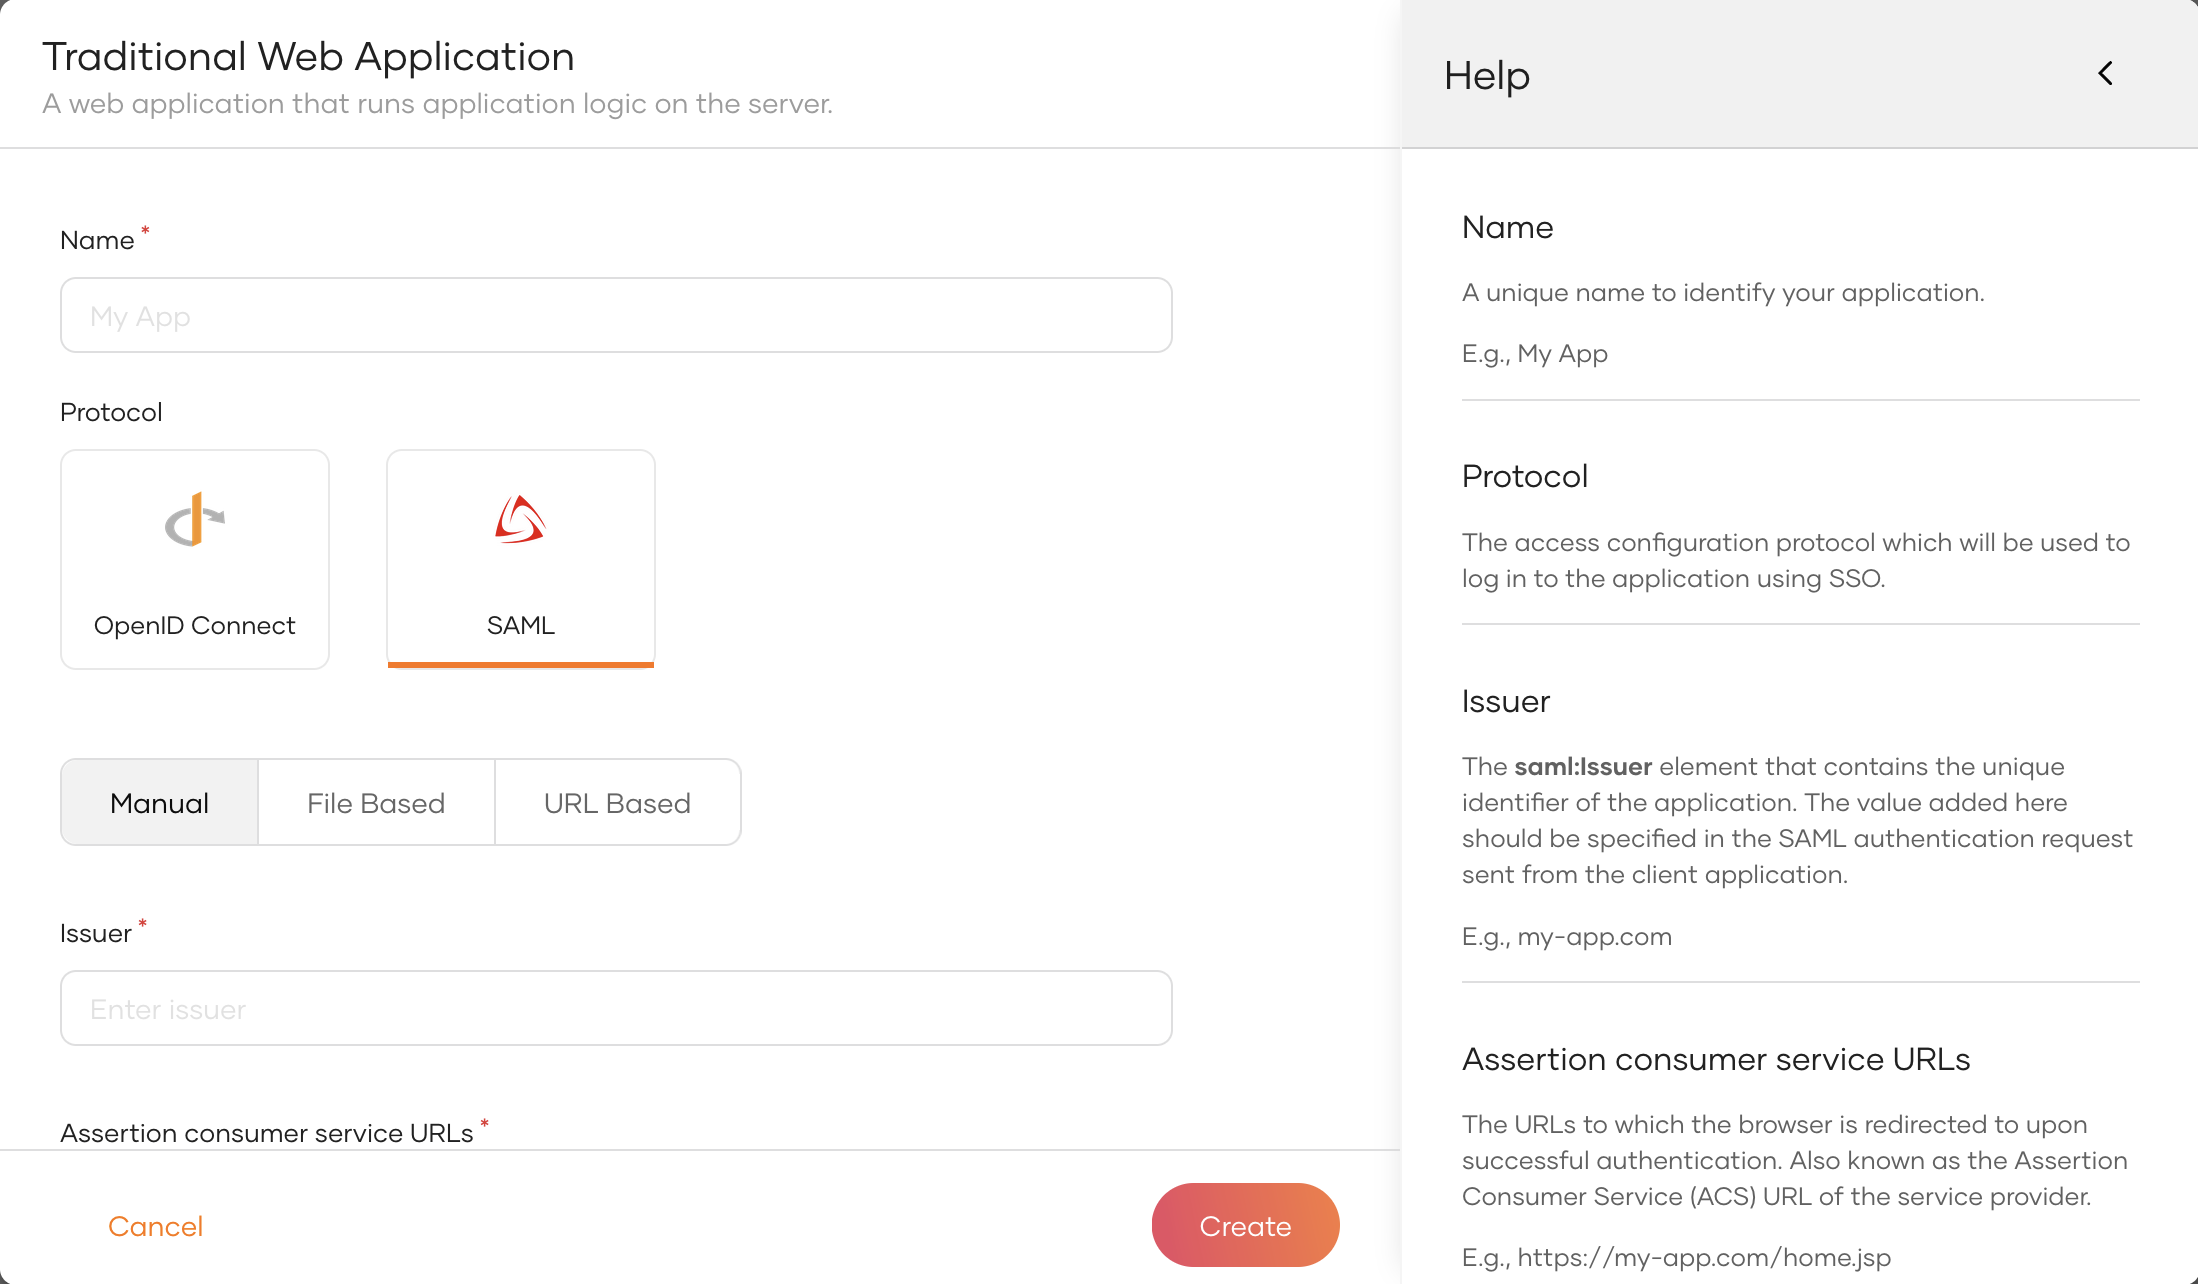
5. Click Create to complete the registration.Name Give a unique name to identify your application. e.g.:
sample-appProtocol Select SAML. Configuration type Select Manual (Learn more about SAML configuration types) Issuer Add a unique identifier for the application. This should be used in the SAML authentication request sent from the client. You can't change the issuer after the app is registered. e.g.:
sample-issuerAssertion consumer service URLs The URL to which the user is redirected after login and logout. Use the following URL for this sample app: http://localhost:8080/sample-app/home.jsp
Tip
To provide a better experience for the user, it is recommended to configure an access URL for the application. You can set an access URL from the General tab of the application. (For this sample application, the access URL is https://localhost:8080/sample-app).
The access URL is used,
- in the application catalog and discovery flows.
- to redirect the user back to the application in the following scenarios.
- if the login page times out
- after a password reset
- after the self sign-up verification
- to re-initiate the login flow if the login flow fails.
Download the sample
Click the button below to download the sample. You can also choose to view the source before doing so.
Configure the sample
Follow the steps given below to configure the sample app.
-
Move the war file that you downloaded to the
<TOMCAT_HOME>/webappsfolder where<TOMCAT_HOME>is the root of your Tomcat server. -
Open a terminal, navigate to the
<TOMCAT_HOME>/binfolder, and start the Tomcat server using the following command:Note
This will extract the contents of the war file.
If your Tomcat server is set to auto-deploy applications, you can skip this step.
-
Go to the
<TOMCAT_HOME>/webapps/sample-app/WEB-INF/classesfolder and open thesample-app.propertiesfile in a text editor. -
Update the following in the
sample-app.propertiesfile:Note
- Update the SAML2.IdPEntityId parameter with the WSO2 Identity Server issuer, which is
localhost. - SAML2.SPEntityId should match the issuer name entered when registering the application in the WSO2 Identity Server.
SAML2.AssertionConsumerURL=http://localhost:8080/sample-app/home.jsp
SAML2.SPEntityId=sample-issuer
SAML2.IdPEntityId=localhost
SAML2.IdPURL=https://localhost:9443/samlsso
SAML2SSOURL=samlsso
EnableSAML2SSOLogin=true
SAML2.EnableSLO=true
SAML2.SLOURL=logout
SkipURIs=/sample-app/index.html
IndexPage=index.html
ErrorPage=/error.jsp
SAML2.EnableResponseSigning=false
SAML2.EnableAssertionSigning=false
SAML2.EnableAssertionEncryption=false
SAML2.EnableRequestSigning=true
SAML2.IsPassiveAuthn=false
IdPPublicCert={public_cert_of_identity-server}
KeyStorePassword=wso2carbon
PrivateKeyAlias=wso2carbon
IdPPublicCertAlias=wso2carbon
PrivateKeyPassword=wso2carbon
Configuration Description SAML2.AssertionConsumerURLThe URL to which the user is redirected after login and logout. SAML2.SPEntityIdThe SAML issuer that is used when registering your application with the WSO2 Identity Server. SAML2.IdPEntityIdThe issuer name of the WSO2 Identity Server. localhostSAML2.IdPURLThe endpoint of the WSO2 Identity Server to which login and logout requests should be sent: https://localhost:9443/samlssoIdPPublicCertThis specifies the public certificate of the WSO2 Identity Server. Follow these steps to obtain it: - On the WSO2 Identity Server Console, go to Applications.
- Select your SAML application.
- Go to the Info tab.
- Under IdP certificate, download the certificate.
- Open the downloaded certificate file in a text editor and copy the certificate content (the text between
-----BEGIN CERTIFICATE-----and-----END CERTIFICATE-----, excluding the header and footer lines). - Paste the certificate content as a single line in the
IdPPublicCertfield.
skipURIsDefines the web pages in your application that should not be secured and do not require authentication. Other properties
Configuration Description EnableSAML2SSOLoginSpecifies whether single sign-on is enabled for this application. SAML2.EnableSLOSpecifies whether logout is enabled for this application. SAML2.EnableResponseSigningIf this configuration is set to true, the application validates the signature in the SAML response. You also need to enable response signing from WSO2 Identity Server. If this configuration is set tofalse, the application does not mandate response signing from WSO2 Identity Server.SAML2.EnableAssertionSigningIf this configuration is set to true, the application validates the signature in the SAML assertion. You also need to enable response signing from WSO2 Identity Server. If this configuration is set tofalse, the application does not mandate response signing from WSO2 Identity Server.SAML2.EnableAssertionEncryptionIf this configuration is set to true, the application expects an encrypted SAML assertion. You also need to enable encryption for SAML assertions from WSO2 Identity Server.SAML2.EnableRequestSigningIf this configuration is set to true, WSO2 Identity Server validates the SAML authentication request and logout request. You also need to enable request signing from WSO2 Identity Server.SAML2.IsPassiveAuthnSpecifies whether to enable passive authentication. KeyStorePasswordKeystore password of your application. PrivateKeyAliasPrivate key alias of your application. PrivateKeyPasswordPassword of the private key of your application. - Update the SAML2.IdPEntityId parameter with the WSO2 Identity Server issuer, which is
-
In the
<TOMCAT_HOME>/binfolder, run the following commands to restart the Tomcat server for the configurations to take effect:
Run the sample
Follow the steps given below to run the sample.
-
Access the application using the following URL:
http://localhost:8080/sample-app/index.html. -
Click Login. You will be redirected to the WSO2 Identity Server login page.
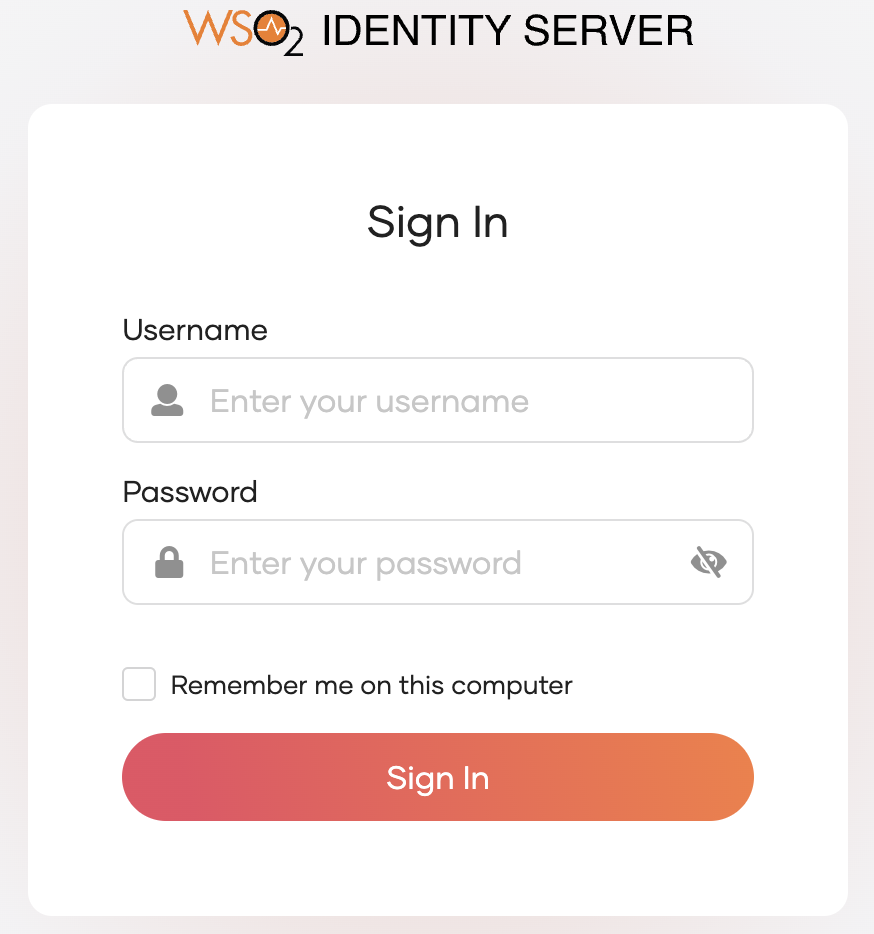
-
Enter credentials of your user account and click Sign In.
Extend your login session
By default, the user login session is active for only
15 minutes. You can extend the session to14 daysby selecting the Remember me on this computer option provided at the login screen of your application.