Configure Secondary User stores
To work with WSO2 Identity Server, you must have a primary user store. Additionally, you can configure several secondary user stores if required. After configuration, users from different user stores can log in and perform operations depending on their roles/permissions. You can also configure your own customized user stores and connect them with the identity server as secondary stores.
You can use either the WSO2 Identity Server Console to create secondary user stores or you can create it manually.
Configure using the Identity Server Console
- On the WSO2 Identity Server Console, go to User Attributes & Stores > User Stores.
-
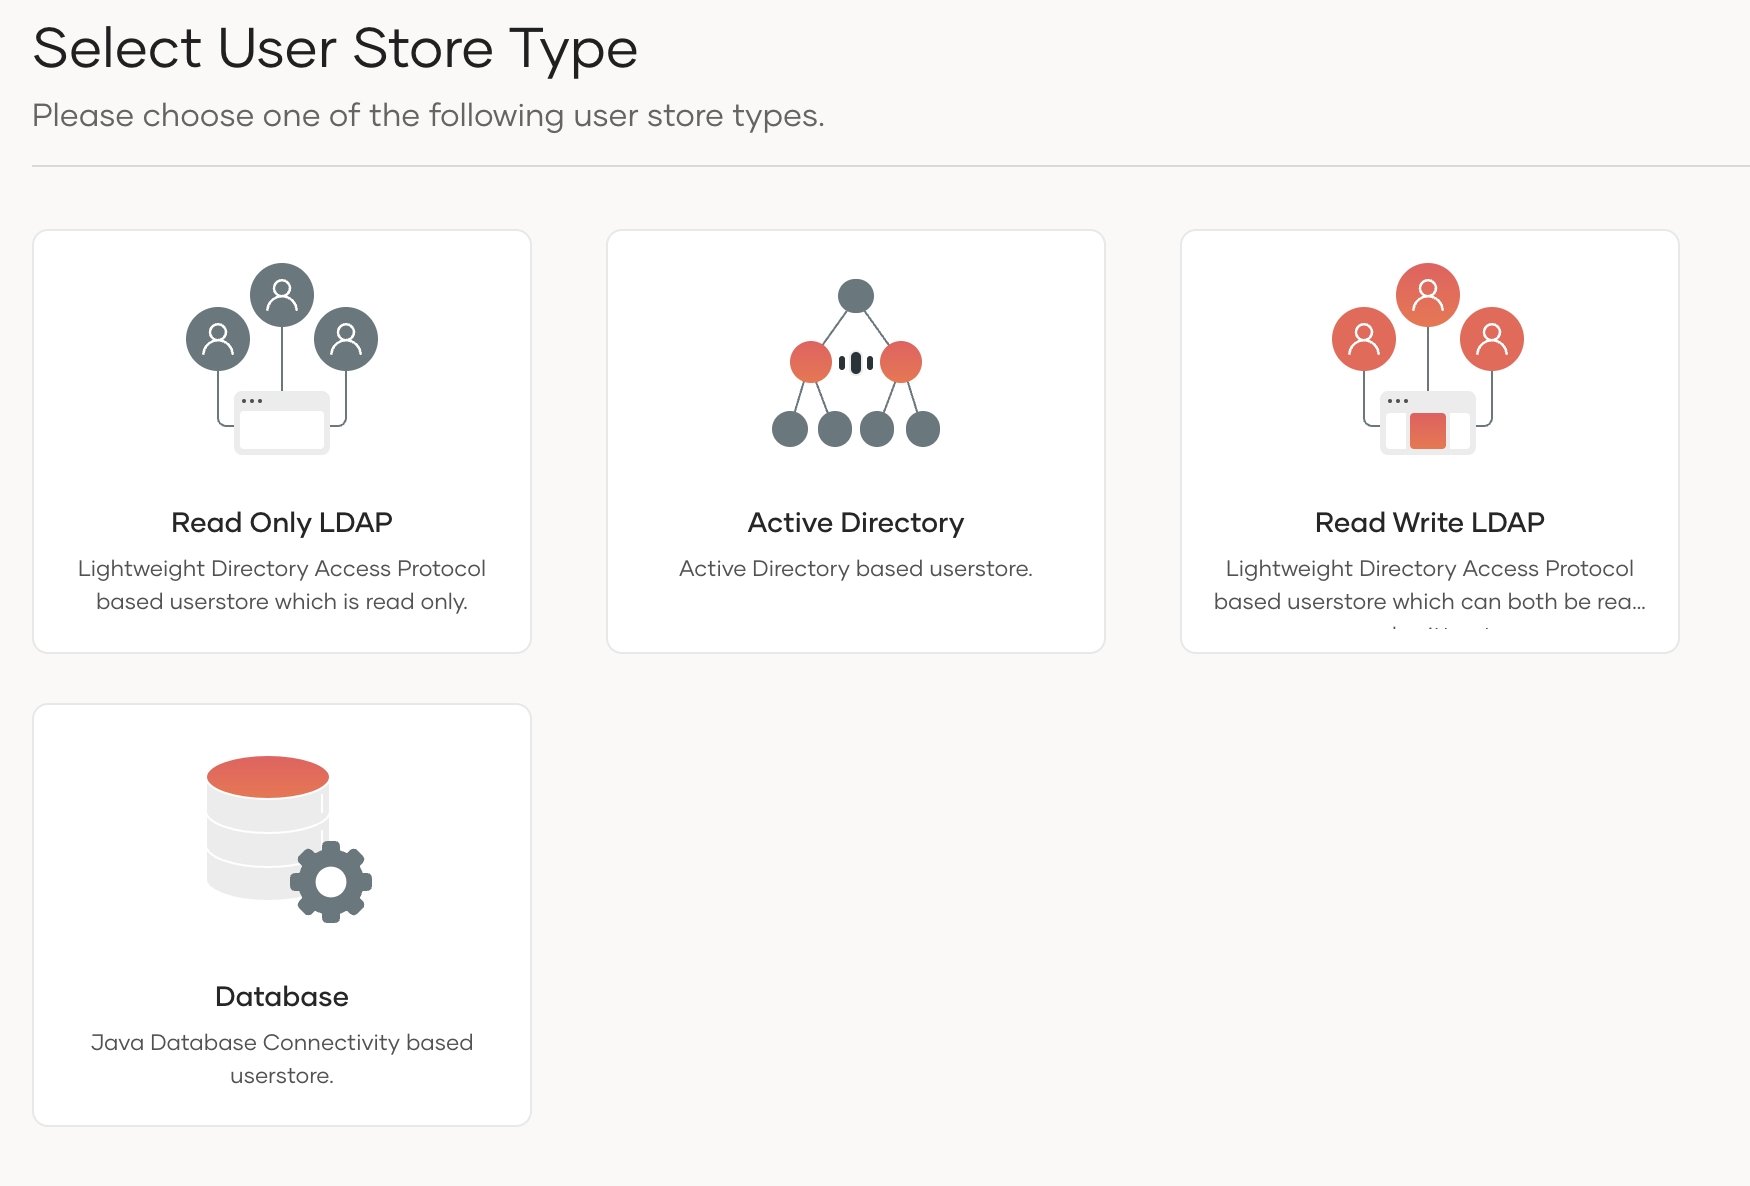
Click New User Store and select the user store type.
Info
You cannot update the primary user store at runtime, so it is not visible on this page.
The following table lists the available user store manager implementations and their usage:
user store user store manager class Description LDAP ActiveDirectory
org.wso2.carbon.user.core.ldap.UniqueIDReadOnlyLDAPUserStoreManagerUsed to do read-only operations for external LDAP or ActiveDirectory user stores LDAP org.wso2.carbon.user.core.ldap.UniqueIDReadWriteLDAPUserStoreManagerThis is used for external LDAP user stores to do both read and write operations. This is the default primary user store configuration in the <IS_HOME>/repository/conf/deployment.tomlfile for WSO2 Identity Server.ActiveDirectory org.wso2.carbon.user.core.ldap.UniqueIDActiveDirectoryUserStoreManagerThis is used to configure an Active Directory Domain Service (AD DS) or Active Directory Lightweight Directory Service (AD LDS). This can be used only for read/write operations. If you need to use AD as read-only, you must use org.wso2.carbon.user.core.ldap.UniqueIDReadOnlyLDAPUserStoreManager.JDBC org.wso2.carbon.user.core.jdbc.UniqueIDJDBCUserStoreManagerUsed for JDBC user stores -
Enter a unique name with no underscore ( _ ) characters, and a description (optional) for this user store.
-
Enter values for the properties, which vary based on the user store manager class you selected.
Refer the following topics to know more information on the properties that you need to configure for different user store manager types and recommendations specific to each user store manager.
-
Make sure that all the mandatory fields are filled and a valid name is given, and click Finish. A message appears saying that the user stores are being added.
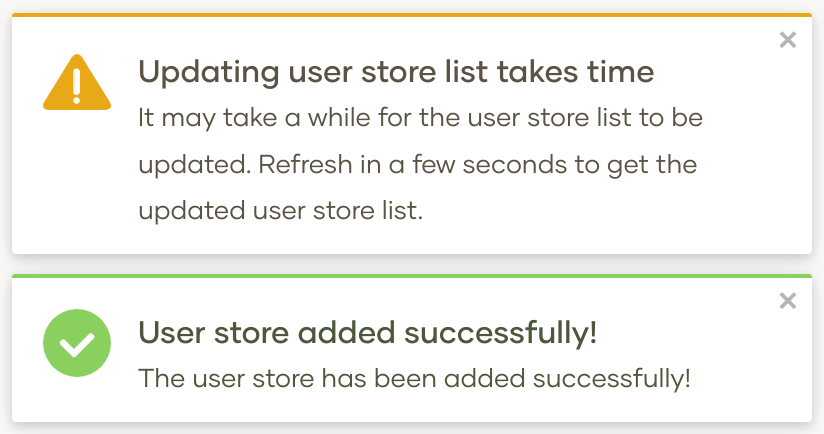
Note
The above message does not imply that the user store is added successfully. Instead, it only means that the server is attempting to add the new user store to the end of the available chain of stores.
-
Refresh the page after a few seconds to check the status.
If the new user store is successfully added, it will appear in the user stores page. -
After adding it to the server, you can edit the properties of the new secondary user store and enable/disable it dynamically.
This will be saved to an XML file with the same name as the domain name, under<IS_HOME>/repository/deployment/server/userstoresdirectory.
Configure manually
If you prefer to configure the user store manually, follow the steps given below.
-
When you configure multiple user stores, you need to give a unique domain name to each user store in the
<DomainName>element. If you configure a user store without specifying a domain name, the server throws an exception at start up. -
Save the secondary user store definitions in the
<IS_HOME>/repository/deployment/server/userstores
directory.Note
The secondary user store configuration file must have the same name as the domain with an underscore (_) in place of the period. For example, if the domain is 'wso2.com', name the file as
wso2_com.xml. One file contains the definition for one user store domain.Additionally, you need to set the DomainName property with the domain name of your user store.
Note
If we create a secondary user store from the UI in a clustered environment, it will not sync between all the nodes by default, so you need to copy manually to other nodes. This applies to deletion as well. So you can use sync mechanisms like Rsync or choose to first fully test it in a single node and apply it to other nodes while setting up the cluster.