Enable IdP-level outbound provisioning
IdP-level outbound provisioning lets you provision a user to an outbound connector at the time a user logs in with an external Identity Provider (IdP).
Follow the guides below to learn how to configure outbound provisioning at the IdP level.
Configure a connection
Follow the steps below to create a connection and configure an outbound connector in it.
-
On the WSO2 Identity Server Console, click Connections and click New Connection.
-
Click Create Connection and create a connection for your preferred external IdP.
-
Add the connection to the login flow of an application.
Note
Learn how to create a connection and add it to the login flow of an application in Add federated login.
-
On the Outbound provisioning tab of the created connection, select New Connector.
-
Configure the outbound connector of your choice and click Finish.
Note
WSO2 Identity Server supports the following outbound connectors. Learn how to configure the connector of your choice by following the relevant guide.
-
Switch on the toggle to enable the configured outbound connector.
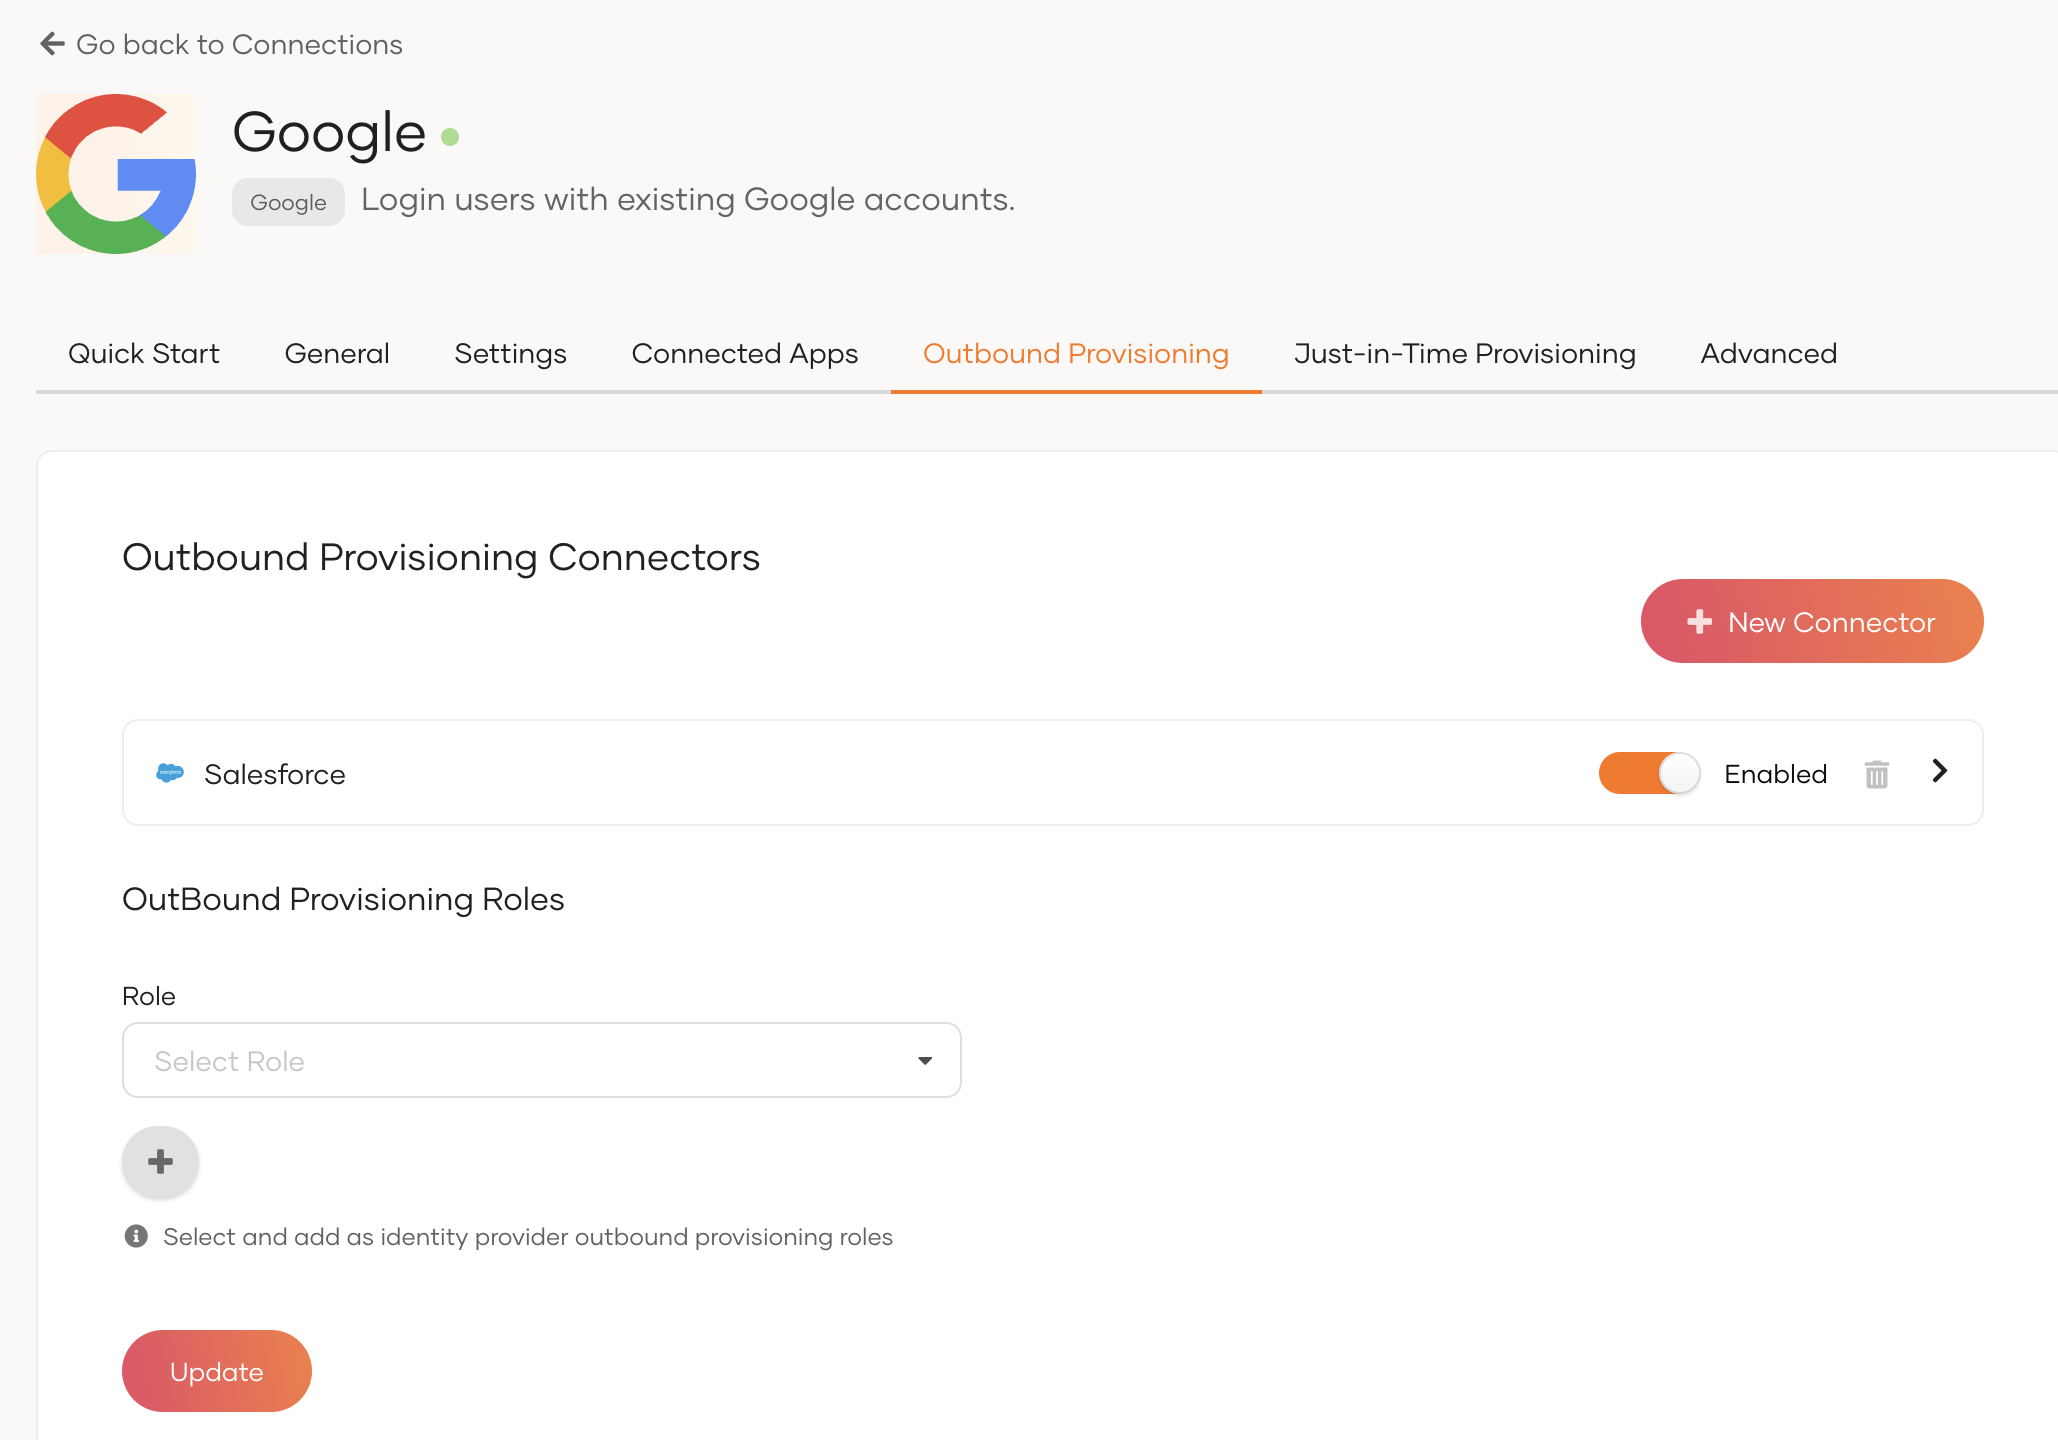
-
Click Update to save the changes.
Try it out
-
Navigate to the application URL.
-
Click Login to open the WSO2 Identity Server login page.
-
Sign in with your connection.
Note
Signing in with the connection automatically triggers outbound provisioning in the configured outbound connector.