Manage administrators
This guide walks you through the steps of managing an administrator account. If you are the owner or an existing administrator in the organization, you can add new administrators or delete existing administrator accounts.
Add an administrator
Administrators of your organization can follow the steps below to add another administrator:
-
On the WSO2 Identity Server Console, go to User Management > Users.
-
Click Add User and provide the required details.
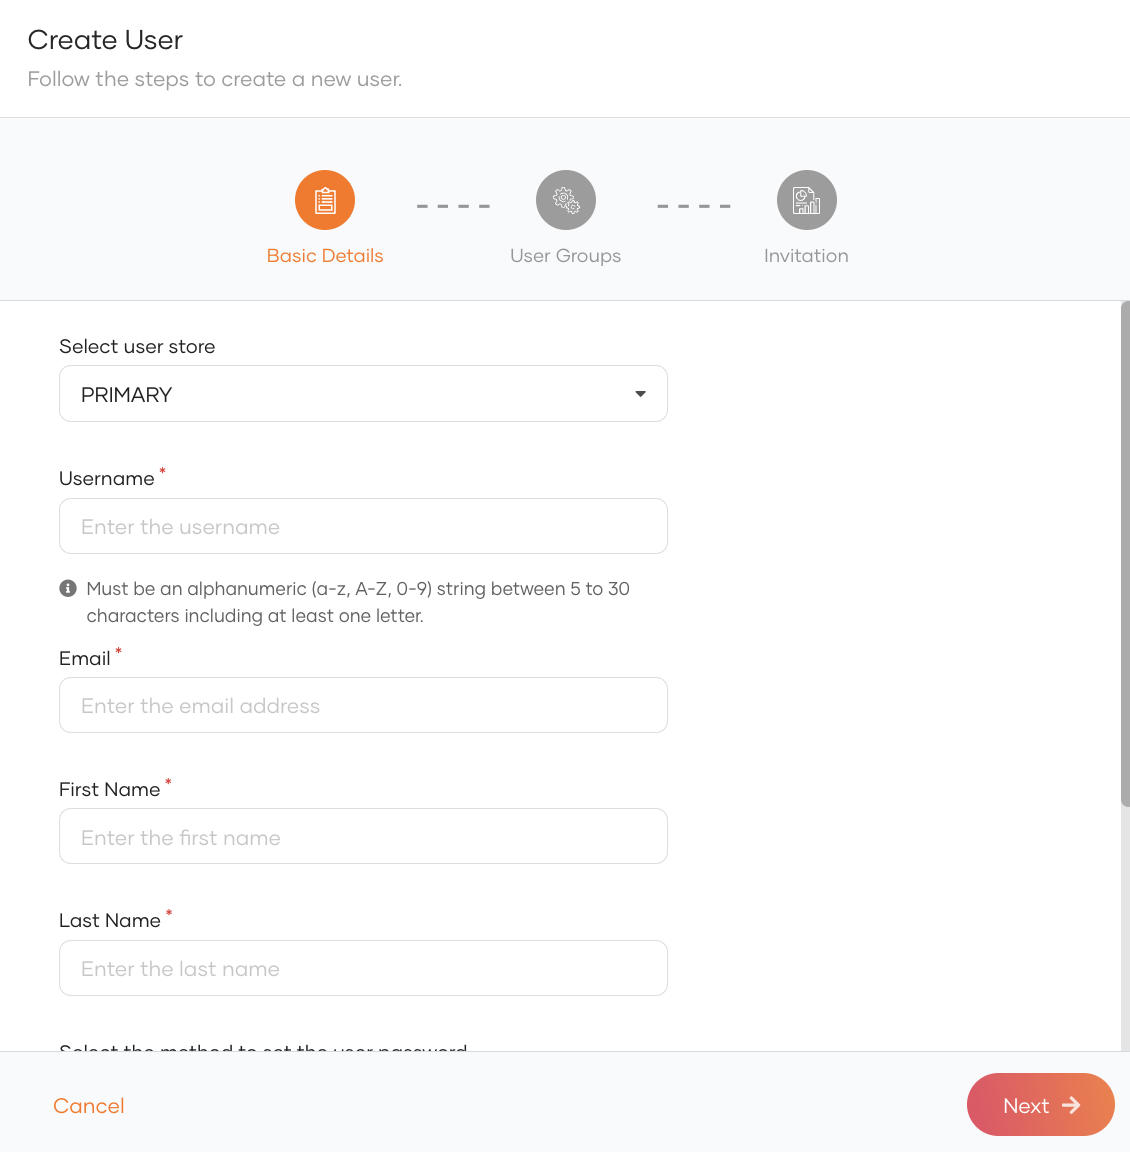
-
Click Next.
-
Review the summary and click Finish.
-
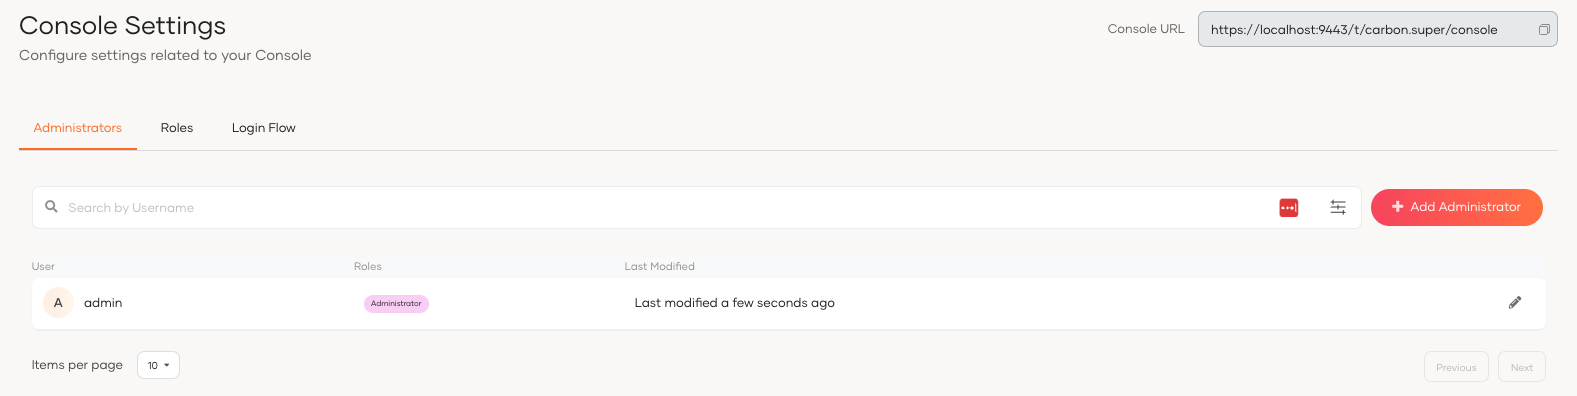
On the WSO2 Identity Server Console, go to Console Settings.
-
Click Add Administrator.
-
Select the relevant user as the username.
-
Select the Administrator role.
-
Click Add.
Note
The created administrator will be listed in the Console Settings page under the Administrators tab.
Delete an administrator
Warning
When you delete an administrator, you will only be revoking the administrator privileges from the user. Deleting this administrator does not delete the user account. If you want to delete the user account, see Delete a user.
To delete an administrator:
- On the WSO2 Identity Server Console, click Console Settings.
- Click Delete for the administrator you want to remove.
- Select the checkbox to confirm your action.
- Click Confirm.