Manage groups
A group is a collection of users who have the same privileges to access resources in an organization. One user can be assigned to any number of groups. When one user group is granted access to a resource, it applies to all users in the group.
Applications can get details about groups a user belongs to as a user attribute in the authentication response (e.g., ID token).
Onboard a group
There are two ways to onboard a group:
-
An administrator can onboard users from a secondary user store by configuring a secondary user store in WSO2 Identity Server.
Note
If the secondary user store access type is read-only, you cannot update the user groups onboarded from this read-only user store.
-
Administrators can add groups via the WSO2 Identity Server Console.
Let's look at how administrators can onboard groups from the WSO2 Identity Server Console.
- On the WSO2 Identity Server Console, go to User Management > Groups.
-
Click New Group and provide the following details.
- Group Name: A unique name to identify the group.
- Add Users: If you already have existing users, you can search and add them to a group.
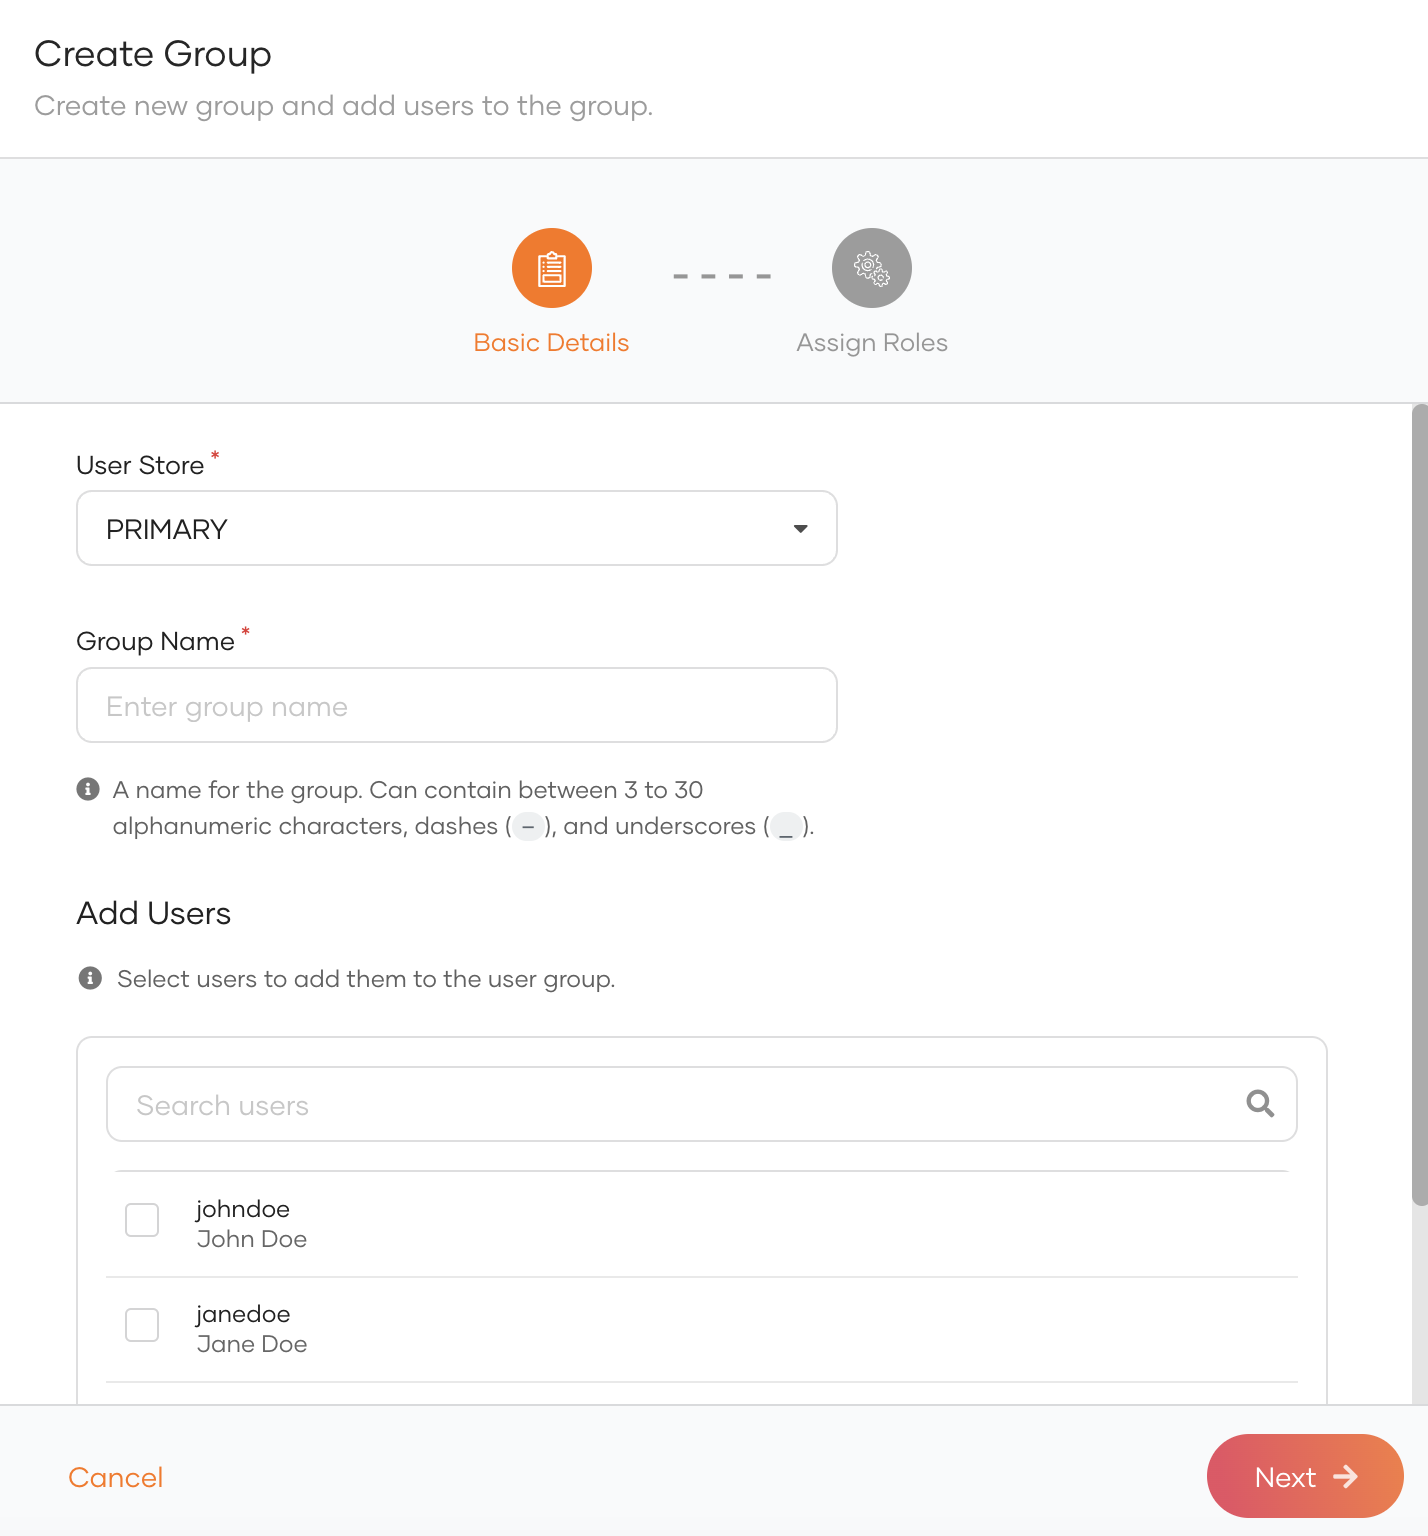
-
Click Next and in the next step, you can assign roles to the group (optional).

-
Click Finish.
Assign users to groups
Users can be assigned to groups. Admins can allow/restrict access to resources based on the groups.
To assign users to groups:
- On the WSO2 Identity Server Console, go to User Management > Groups.
- Select the group to which you wish to assign users.
-
Click Edit and navigate to Users.
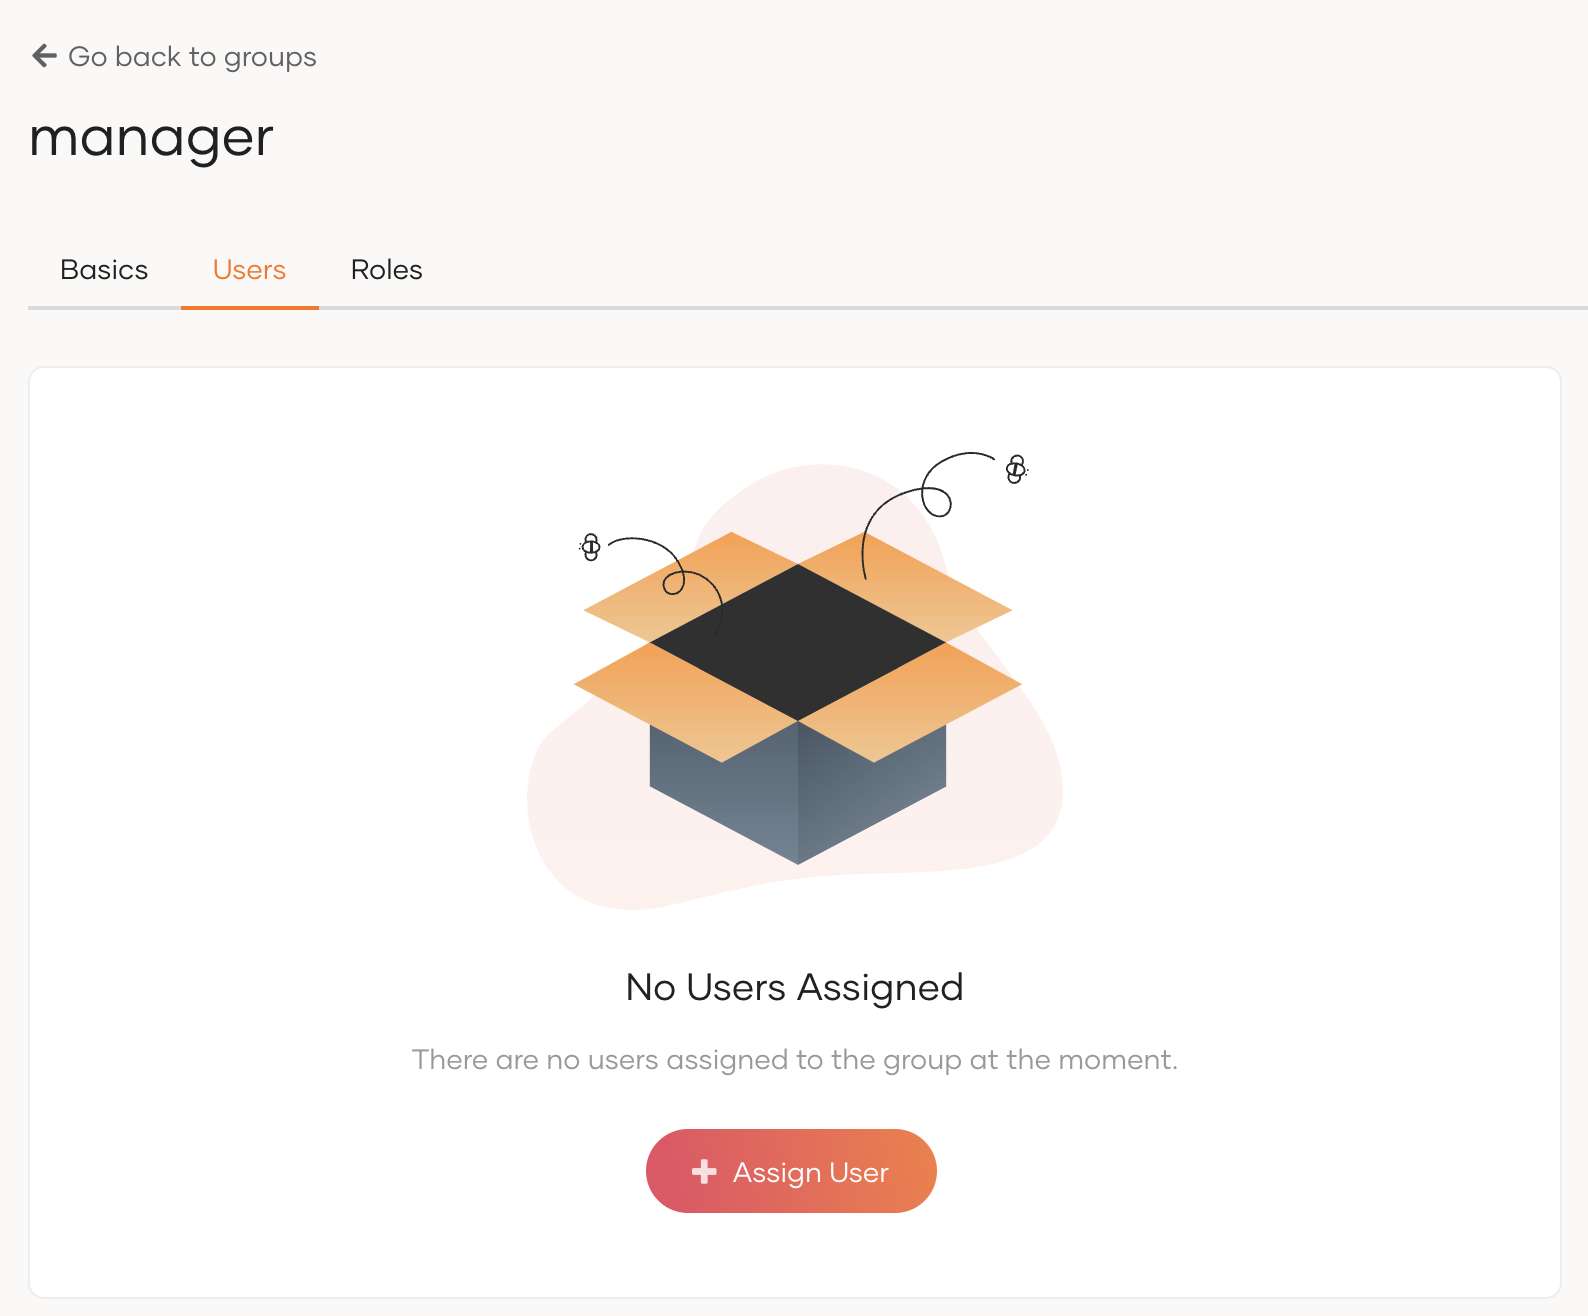
-
Click Assign User and select users to add to the group.
- Click Save.
Remove users from groups
Administrators can remove users from groups.
To remove users from a group:
- On the WSO2 Identity Server Console, go to User Management > Groups.
- Select the group from which you wish to remove users.
-
Click Edit and navigate to Users.
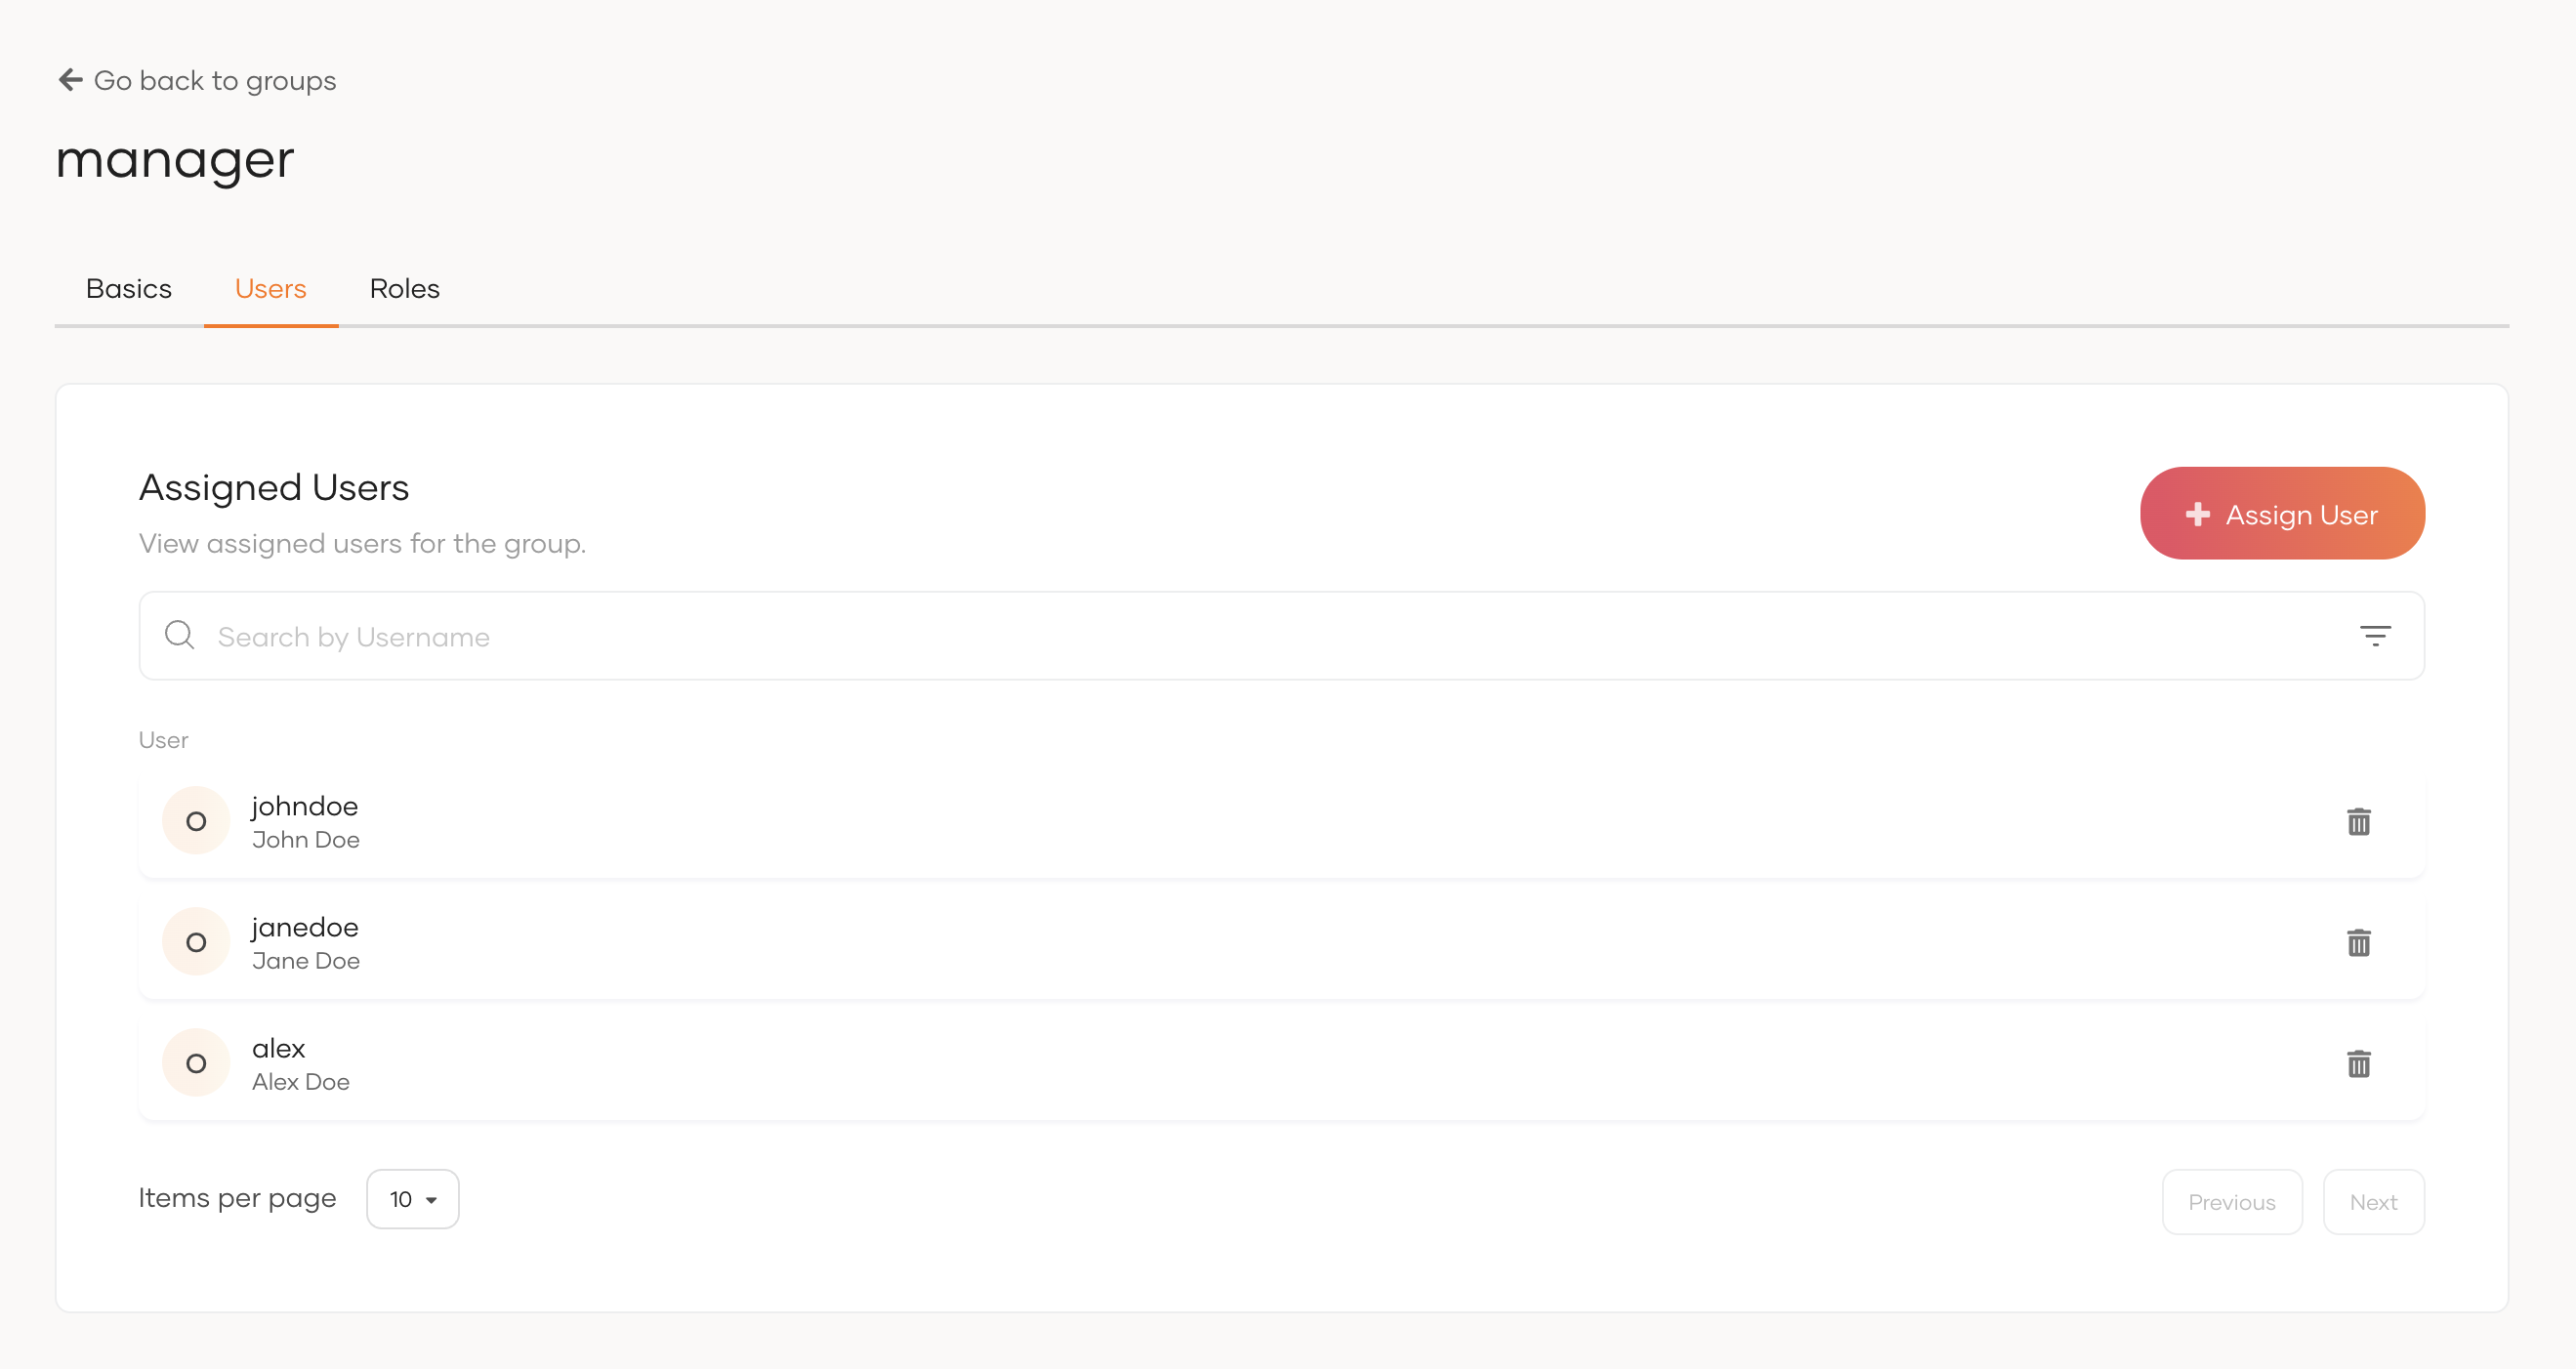
-
Click Delete icon of the user(s) you want to remove.
Delete a group
An administrator can delete groups via the WSO2 Identity Server Console. To delete a group:
- On the WSO2 Identity Server Console, go to User Management > Groups.
- Click the trash icon next to the group you wish to delete.
- Select the checkbox and confirm your action.