Manage attributes
An attribute is a piece of information about a particular user. It can be anything associated with the user, such as name, group, preferences, etc.
User attributes represent information directly related to the user, such as the street address, username, email, first name, and more.
You need user attributes to maintain the required user information in an organization. You can select the user information for your applications by using these attributes. Also, the user information displayed in user profiles is managed using attributes.
See the information given below to manage attributes in your organization.
View attributes
To view the attributes available for your organization:
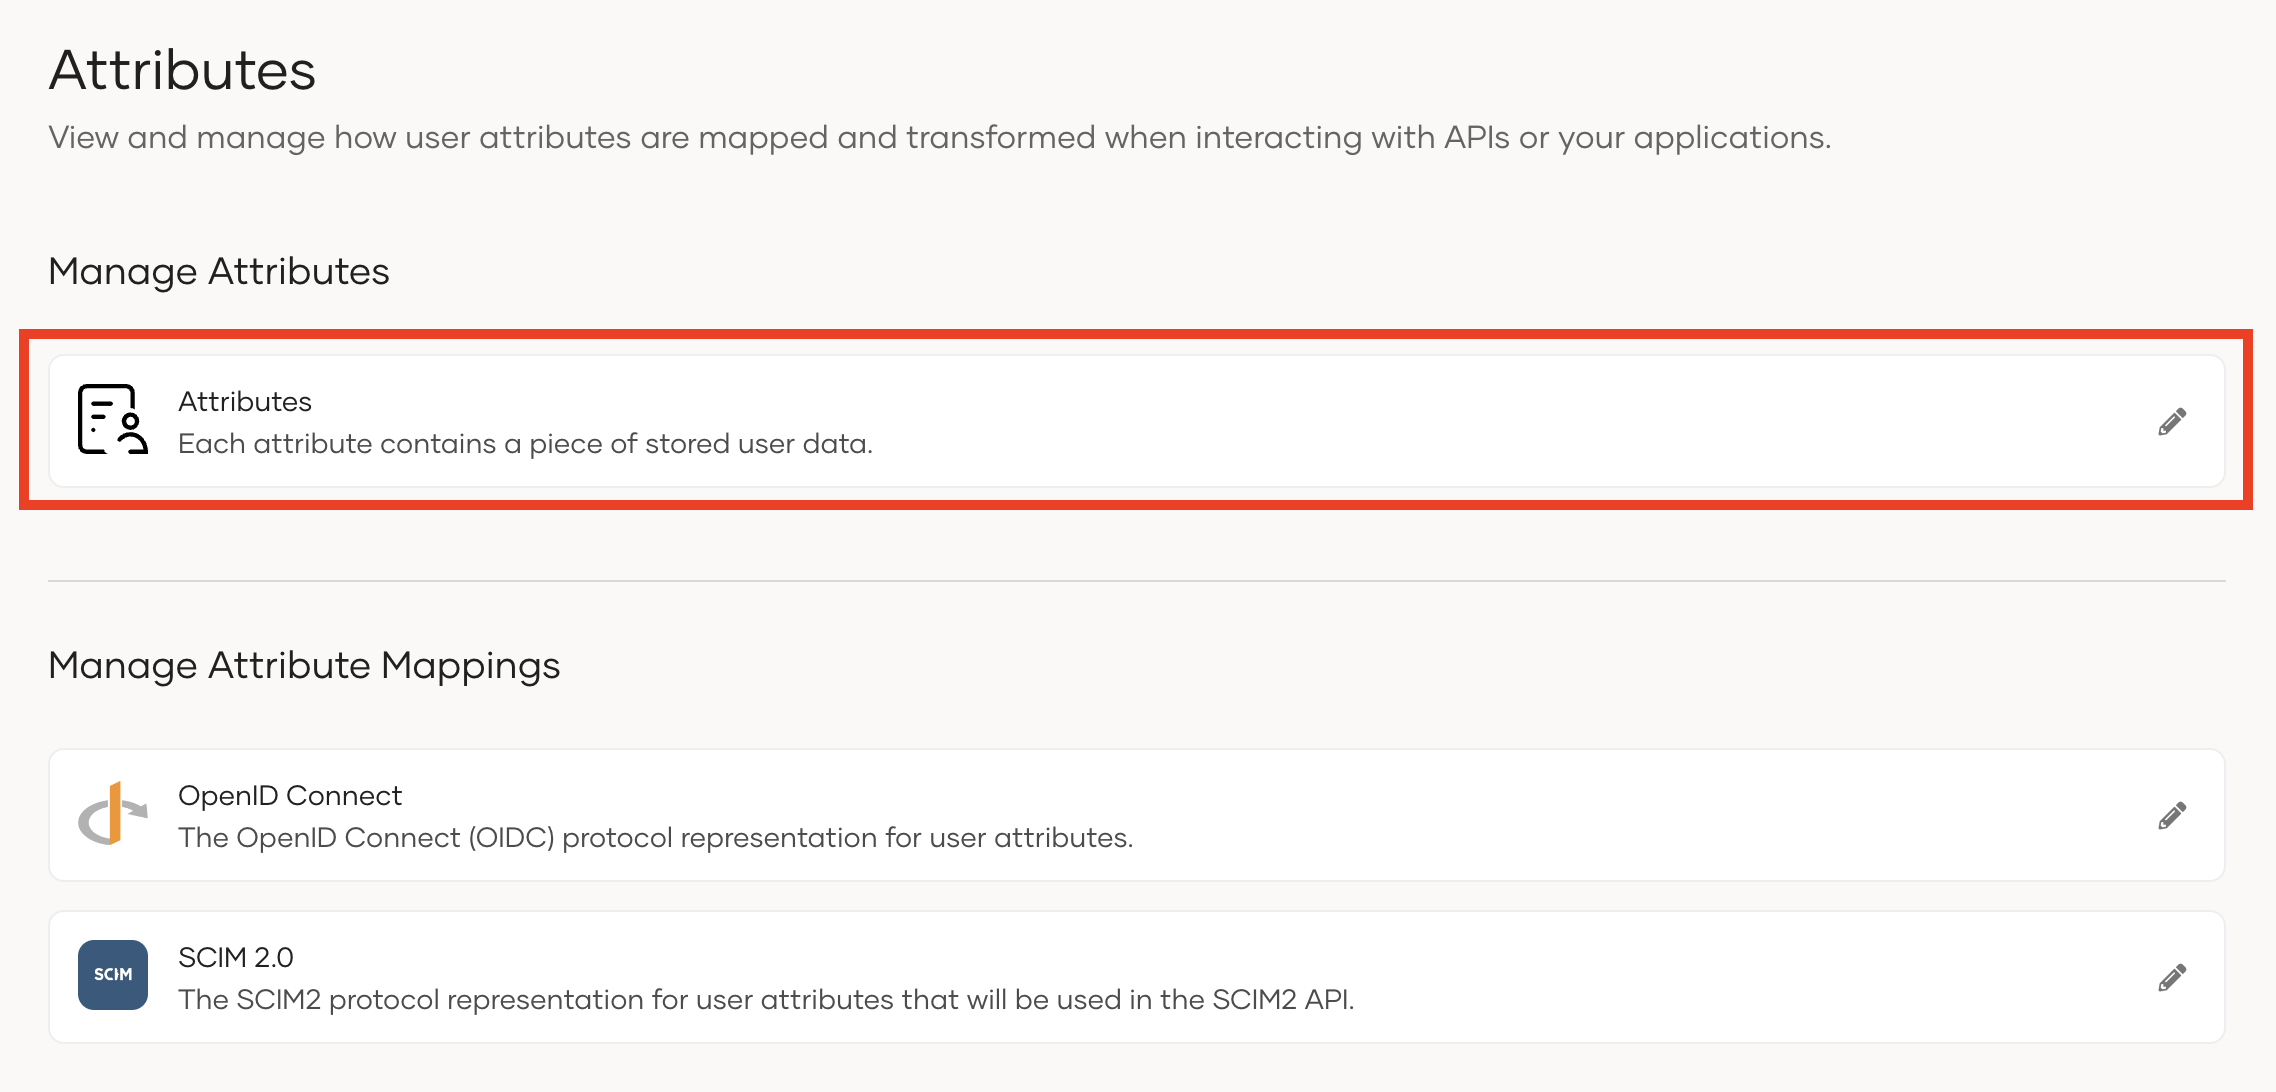
- On the WSO2 Identity Server Console, go to User Attributes and Stores > Attributes.
- Click Attributes again under the Manage Attributes section.
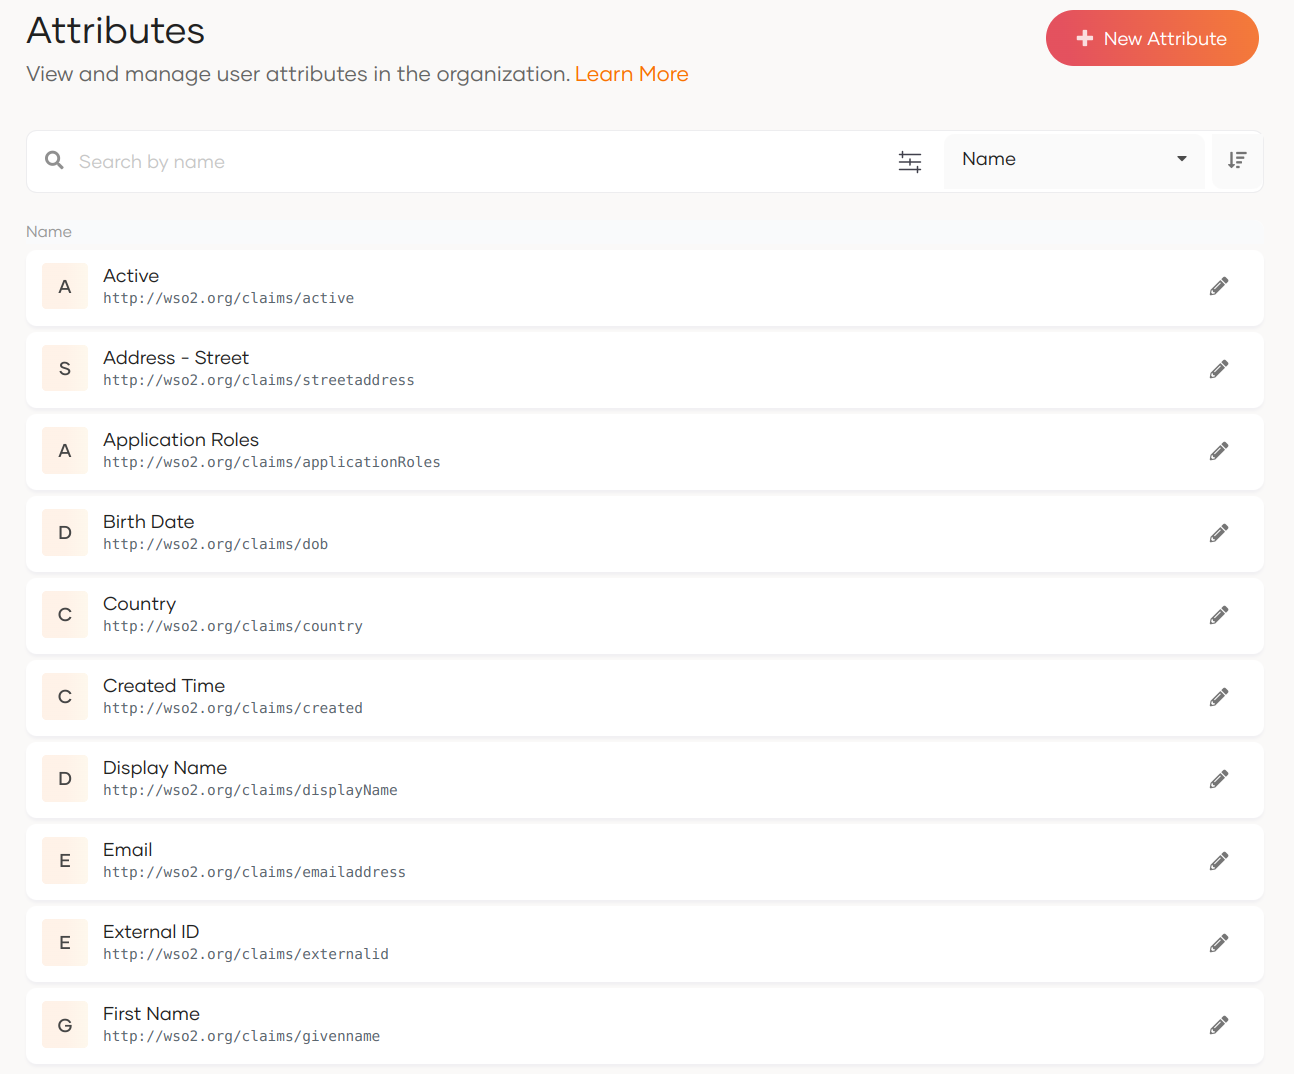
You can now see the complete list of attributes along with Attribute Display Name and Attribute name.
Add custom attributes
To add a custom attribute:
- On the WSO2 Identity Server Console, go to User Attributes and Stores > Attributes.
- Click Attributes to see the list of attributes.
-
Click New Attribute and enter values for the following properties:
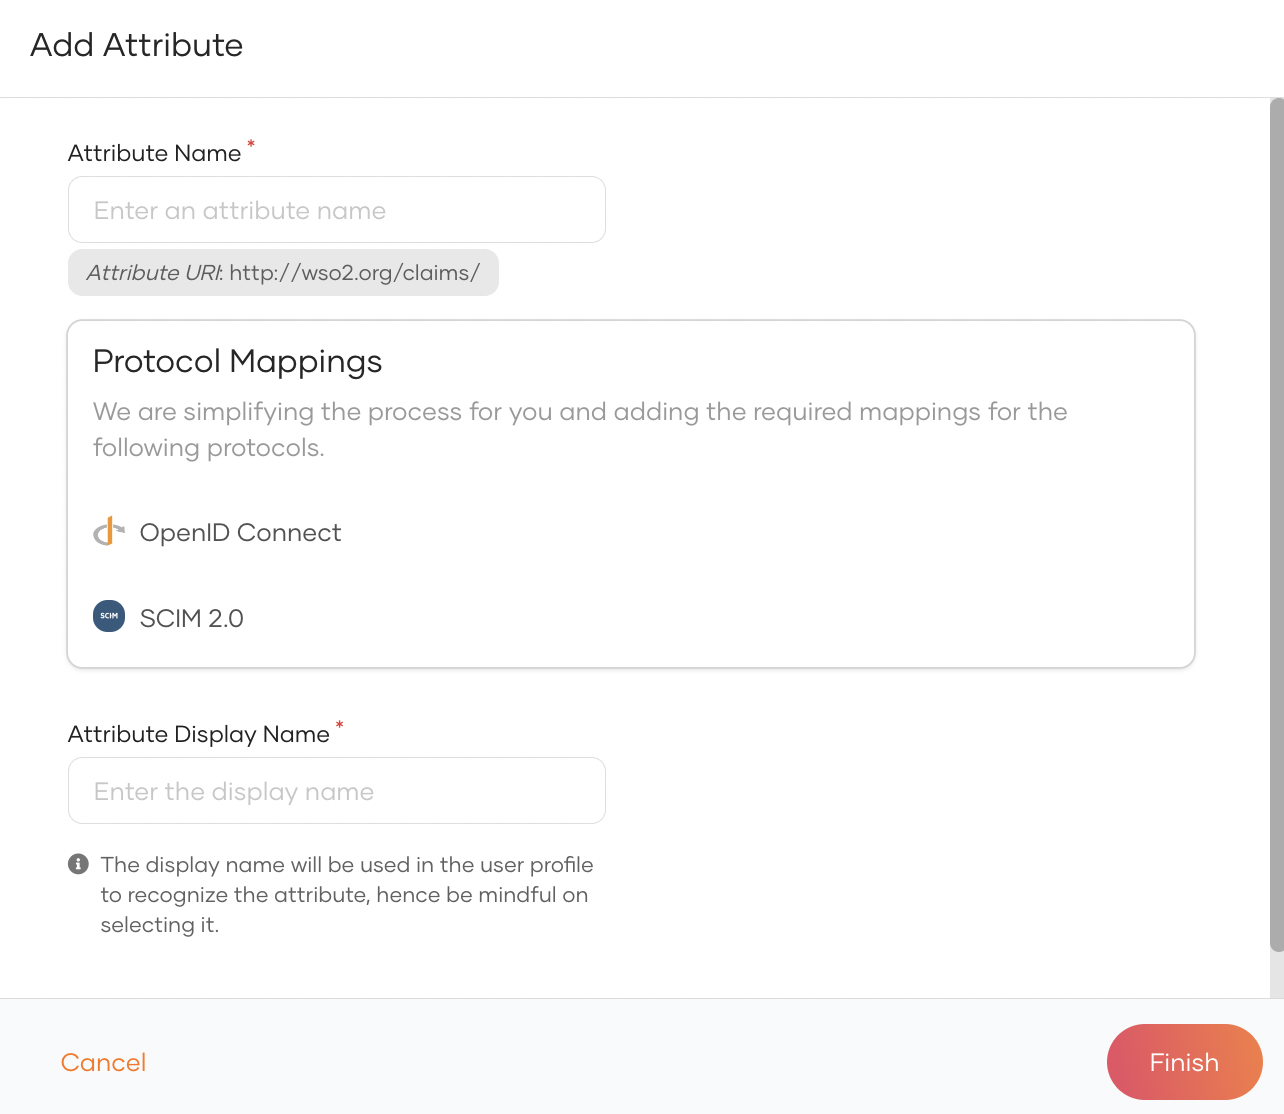
Attribute Name The name that will be shared with applications. Protocol Mappings Mappings are auto-generated for the protocols. You can customize them here. Attribute Display Name The name that will be used in a user's profile. -
Click Finish.
Update attributes
To update the properties of a user attribute:
- On the WSO2 Identity Server Console, go to User Attributes and Stores > Attributes.
- Click Attributes to see the list of attributes.
-
Click Edit for the attribute you want to update.
Note
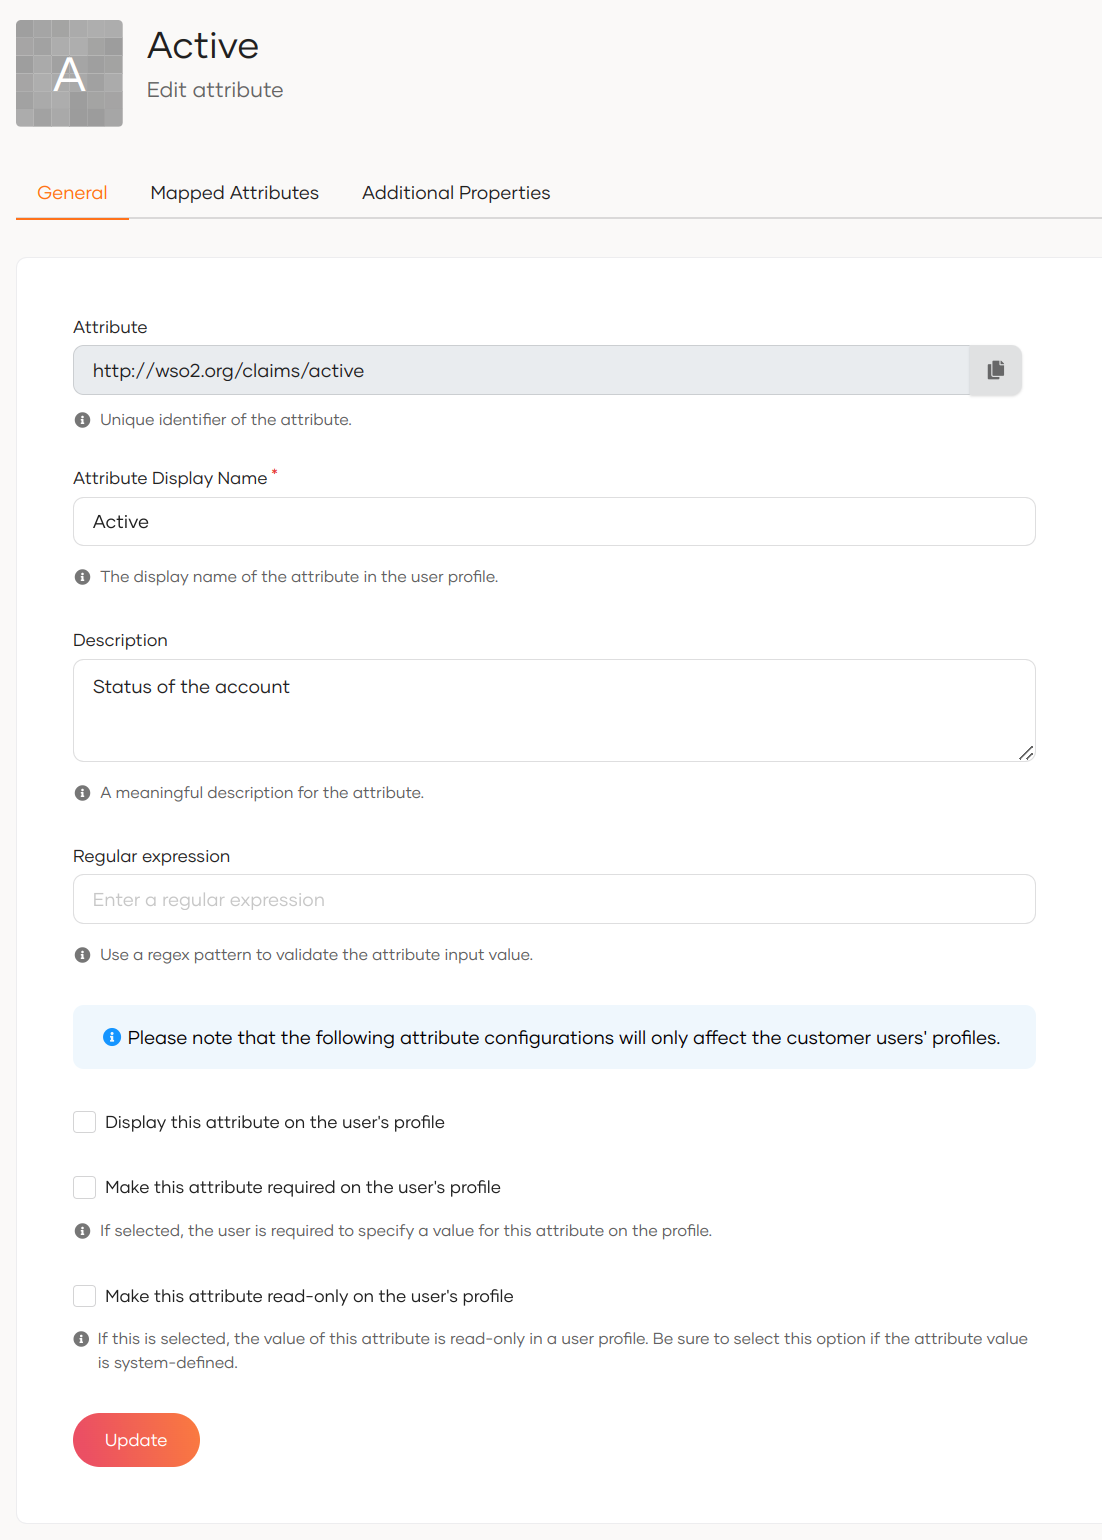
The Attribute field specifies the unique identifier of the attribute. It always starts with
http://wso2.org/claims. This cannot be edited. -
In the General tab, update the following values.
Attribute Display Name Update the display name of the attribute that will show in user profiles. Description Update the description for the attribute. Display this attribute on the user's profile If this checkbox is selected, the attribute is displayed in user profiles. Make this attribute required on user's profile If this checkbox is selected, users are required to specify a value for this attribute on their profile. Make this attribute read-only on user's profile If this checkbox is selected, the value for this attribute will be read-only in user profiles. -
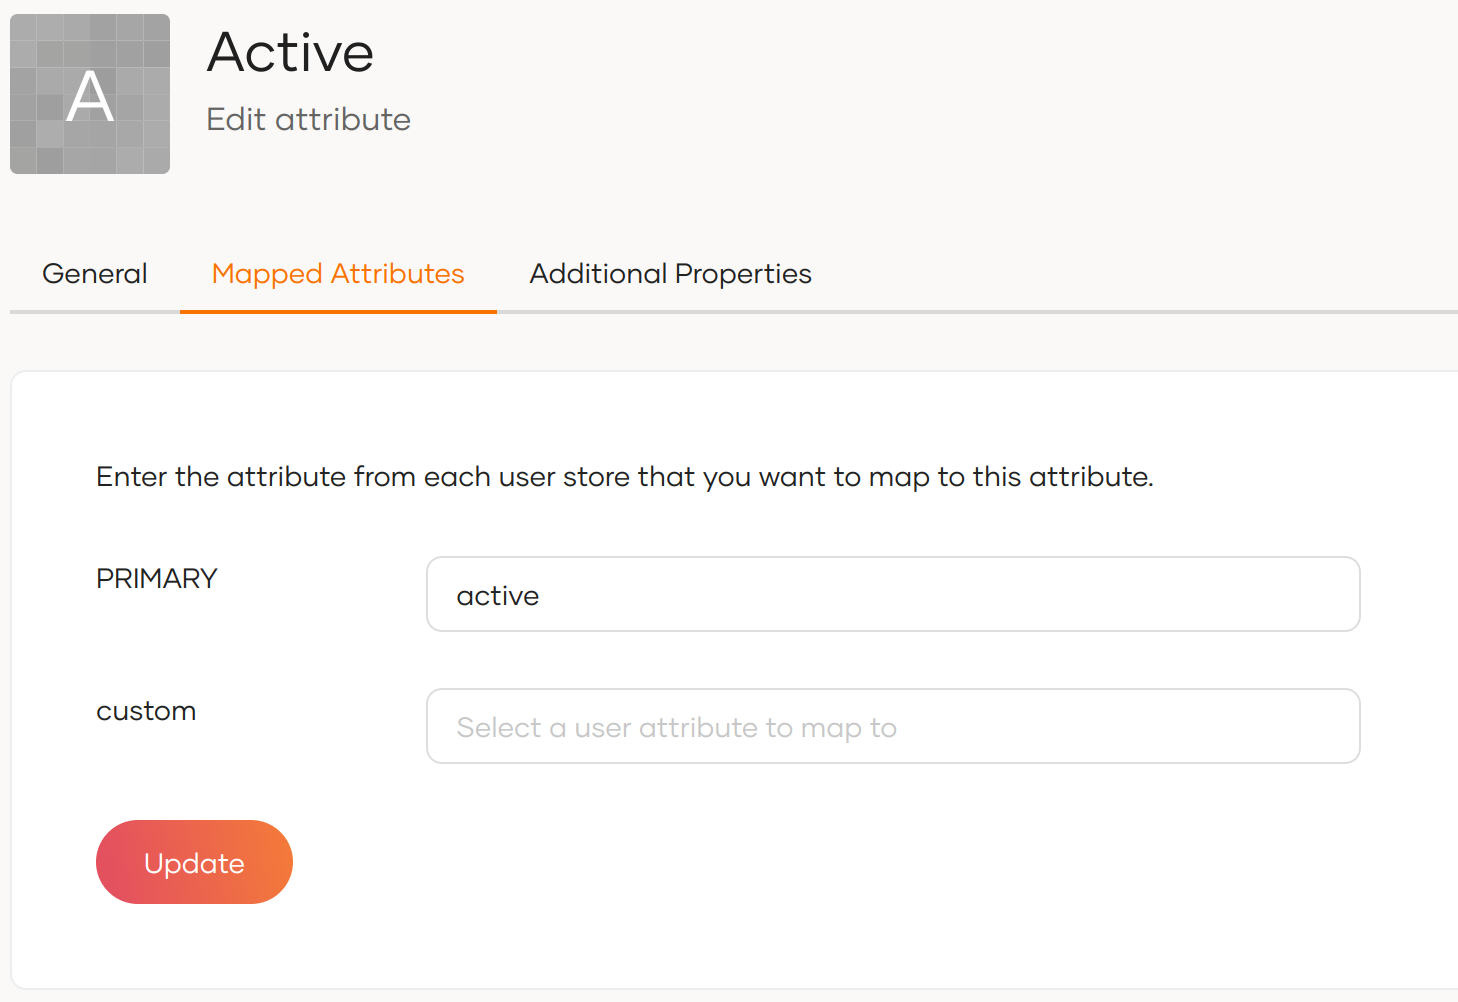
Go to the Mapped Attributes tab and enter the attribute from each user store that you need to map.
-
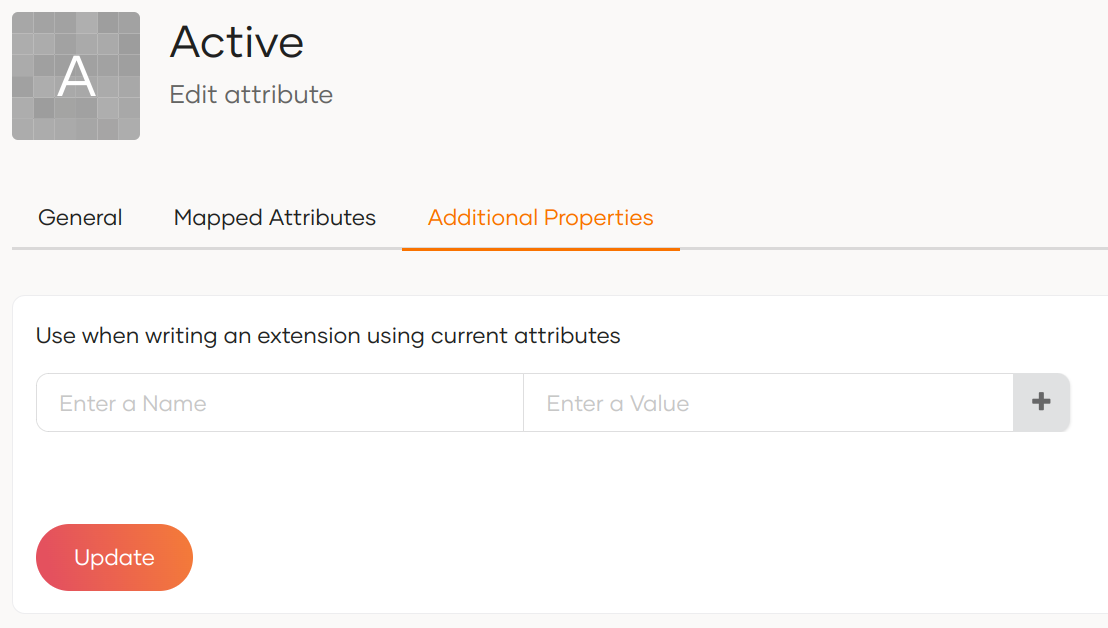
Go to the Additional Properties tab and add additional properties that can be used when writing an extension.