Quick Start Guide
WSO2 Identity Server is a comprehensive identity and access management (IAM) solution. It caters to identity management requirements across many platforms such as enterprise applications, services, and APIs. This guide gives you a quick walk-through to WSO2 Identity Server using a sample scenario.
Sample Scenario
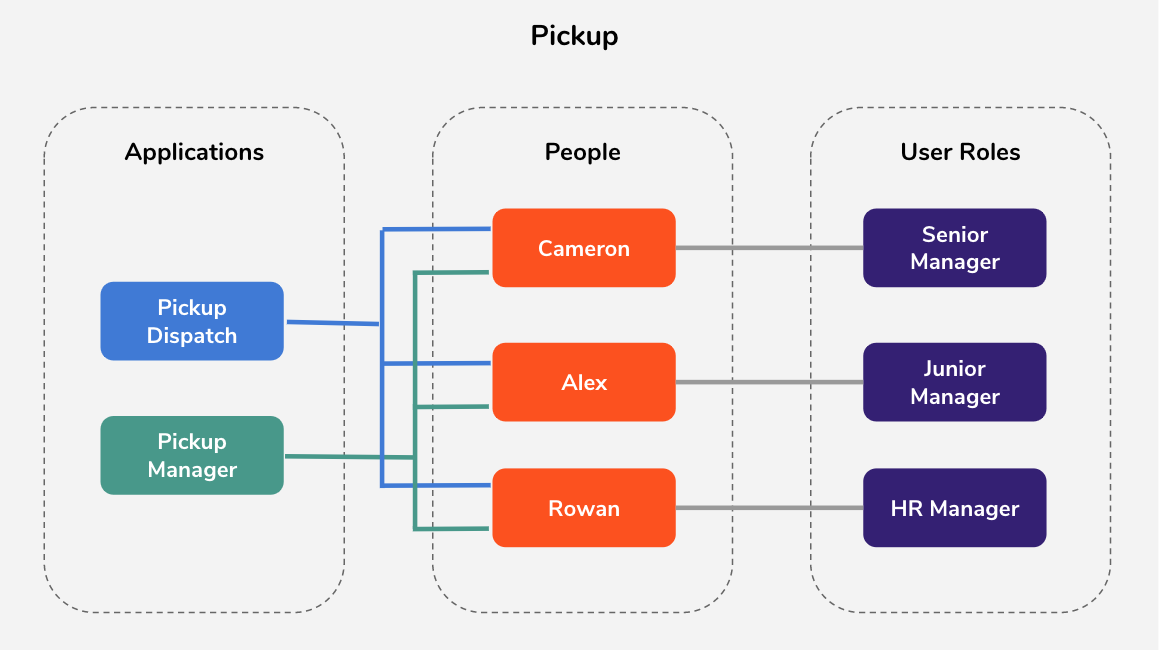
Pickup is a cab company that has many employees who use different credentials to sign in to different internal enterprise applications. Following are two such applications:
- Pickup Dispatch : This application helps to manage the overall operations at Pickup.
- Pickup Manager : This application helps to allocate vehicles to drivers.
Pickup needs to identify the necessary permission levels to be granted to the employees and any security vulnerabilities.
Cameron is a senior manager at Pickup who is responsible for resolving these issues using WSO2 Identity Server. Alex is a junior manager attending to day-to-day tasks and Rowan is the HR manager.
Let's assume that you are Cameron, and you want to resolve these issues using WSO2 Identity Server.
Before you begin
Set-up
-
Download and install Oracle Java SE Development Kit (JDK) version version 1.8 or 11).
-
Install WSO2 Identity Server by downloading the installer. The WSO2 Identity Server installation location varies according to the OS as given below.
OS Home Directory macOS /Library/WSO2/IdentityServer/<IS_HOME>Windows C:\Program Files\WSO2\IdentityServer\<IS_HOME>Ubuntu /usr/lib/wso2/IdentityServer/<IS_HOME>CentOS /usr/lib64/IdentityServer/<IS_HOME>In this guide, the installation location of WSO2 Identity Server is referred to as
<IS_HOME>. -
Download and install curl. Make sure you install the binary type file of the version you choose.
-
Open the
/etc/hostsfile and add the following entry.127.0.0.1 localhost.comNotes
- If you are planning to use Single Sign-On (SSO), do not use
localhostas it will cause the Tomcat naked host issue. Uselocalhost.cominstead. If you are using Windows,localhost.comis considered as127.0.0.1. - Make sure that this is the only such entry available for this IP address in the
/etc/hostsfile to avoid any conflicts.
- If you are planning to use Single Sign-On (SSO), do not use
-
Start WSO2 Identity Server. You are now ready to deploy the sample.
Steps to configure and run the samples
-
Download the samples from GitHub and unzip.
unzip is-samples-distribution.zipNote
From this point onwards:
<IS_HOME>is the directory in which the WSO2 Identity Server is installed.<IS_SAMPLE_DISTR>is the directory where downloadedis-samples-distribution.ziparchive is extracted.
-
Open the server.properties file in
<IS_SAMPLE_DISTR>/IS-QSG/conf/and make sure thatwso2is.host.domainandwso2is.host.portare configured as shown below.
#localhost.com is used to resolve naked hostname validation issue wso2is.host.domain=localhost.com wso2is.host.port=9443 server.host.domain=localhost.com server.host.port=8080 -
Navigate to
<IS_HOME>/binusing the command prompt and start the server.
Note that the following appears in the command prompt after the server start.Linux --> sh wso2server.sh Windows --> wso2server.bat
Shutting down the server
To shutdown the server, press
Ctrl + C. Note that following log appears in the command prompt after the server shutdown.
-
Navigate to
<IS_SAMPLE_DISTR>/IS-QSG/binand execute either of the following commands to start the sample application.Linux --> sh app-server.sh Windows --> app-server.bat -
Navigate to
<IS_SAMPLE_DISTR>/IS-QSG/binand execute the following commands to start the Quick Start samples accordingly.Linux --> sh qsg.sh Windows --> qsg.bat -
When prompted, confirm the configurations.
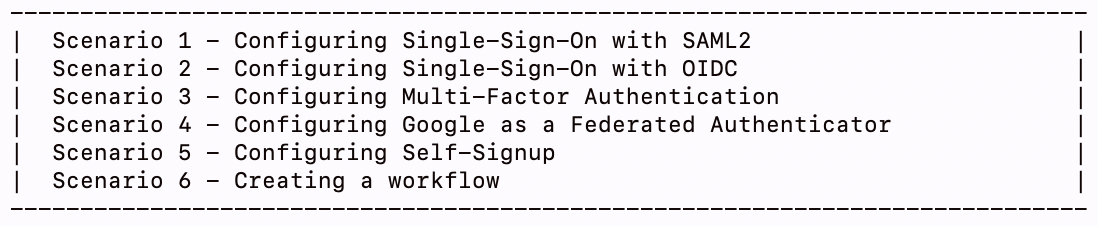
- Note that a message appears to pick a scenario, which indicates that the samples are deployed and WSO2 Identity Server is up and running.
Let's try out the samples.
Single Sign-On
Problem Scenario
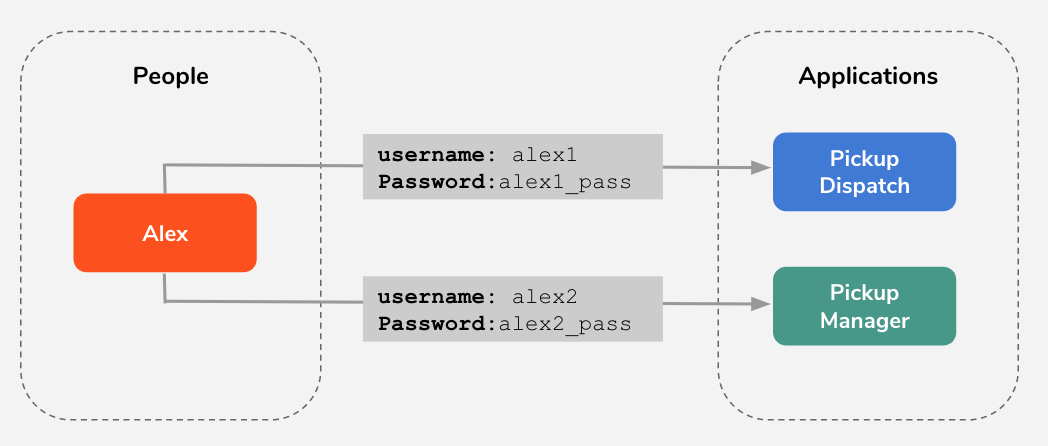
The first problem that Pickup faces is that each employee has to use separate sets of user names and passwords (credentials) to log in to Pickup Dispatch and Pickup Manager.
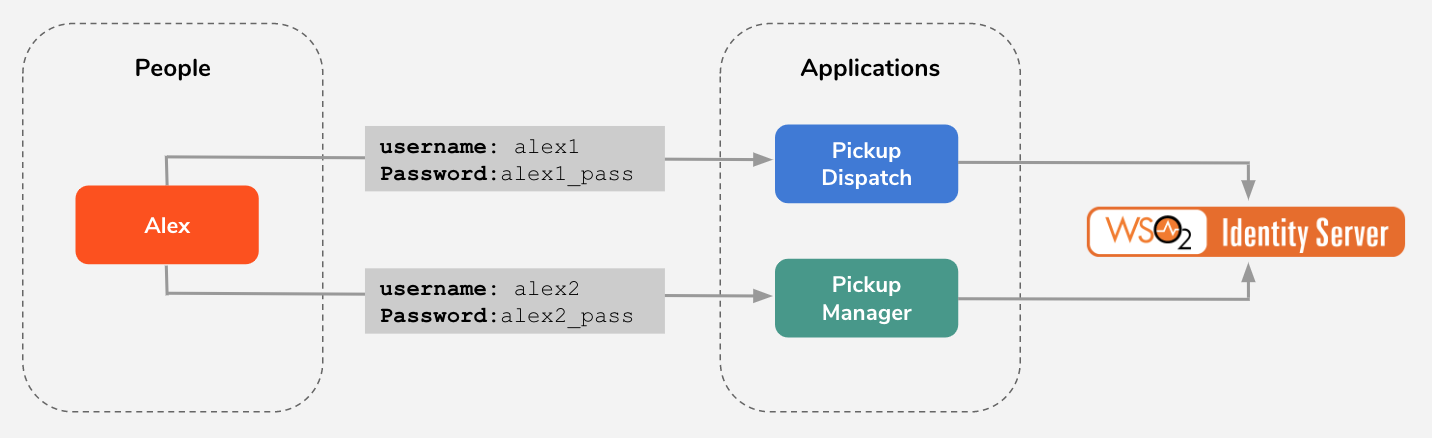
When the number of applications that are used in Pickup increases, the employees have to maintain more credentials. This is not scalable. Cameron decides to use Single Sign-On (SSO) to overcome this situation. With SSO, when a user signs in to one application (authentication), that user is automatically authenticated to other applications, eliminating the need to maintain multiple credentials.
Cameron decides to use WSO2 Identity Server to configure SSO.
Let's use the command-line to check the SSO functionality with SAML2 or OIDC.
Configuring SSO with SAML2
If the two applications are using SAML2 as their authentication protocol, follow the steps below:
-
Enter
1as the scenario number at the command prompt to:- Create the two users, Cameron and Alex.
- Create and assign the user role Manager to Cameron.
- Create service providers for Pickup Dispatch and Pickup Manager.
- Configure SAML2 web SSO for Pickup Dispatch and Pickup
Manager.
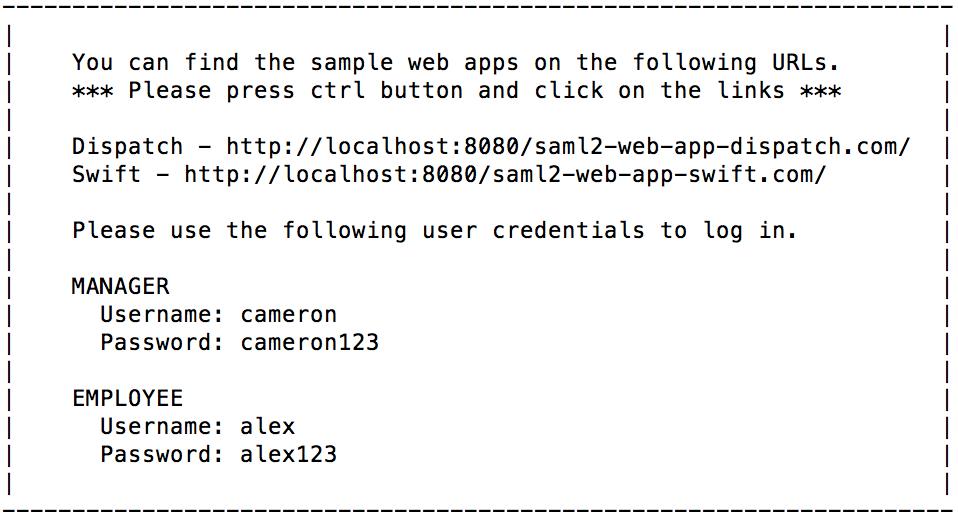
- Note that a message with the user and web application details
appears.

Note
You can also perform the above using the WSO2 Identity Server Management Console. For more information, see Creating users and roles, Configuring service providers, and Configuring web app for SSO.
-
Go to the URL http://localhost.com:8080/saml2-web-app-pickup-dispatch.com using a web browser to access the Dispatch application.
-
Click Log in.
-
Enter either of the following credentials to sign in to the application.
Senior Manager --> Username: cameron | Password: cameron123 Junior Manager --> Username: alex | Password: alex123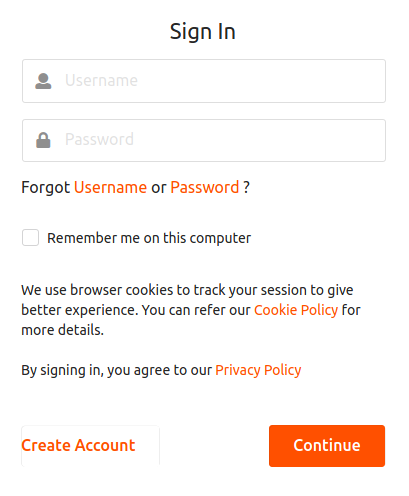
-
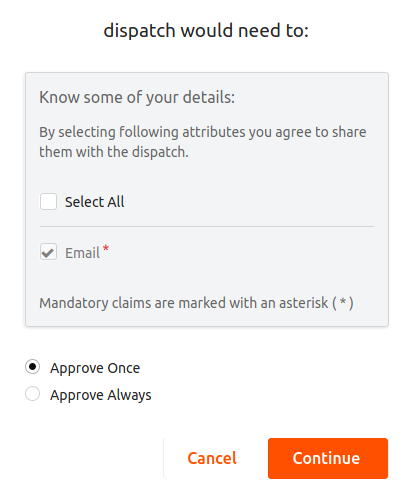
Select the attributes that you want to share with Dispatch and click Continue.

Note
Obtaining the user consent is one of the fundamental requirements of the GDPR regulation. WSO2 Identity Server facilitates this through its Consent Management features. To know more about GDPR and how WSO2 Identity Server handles consent, see Consent Management.
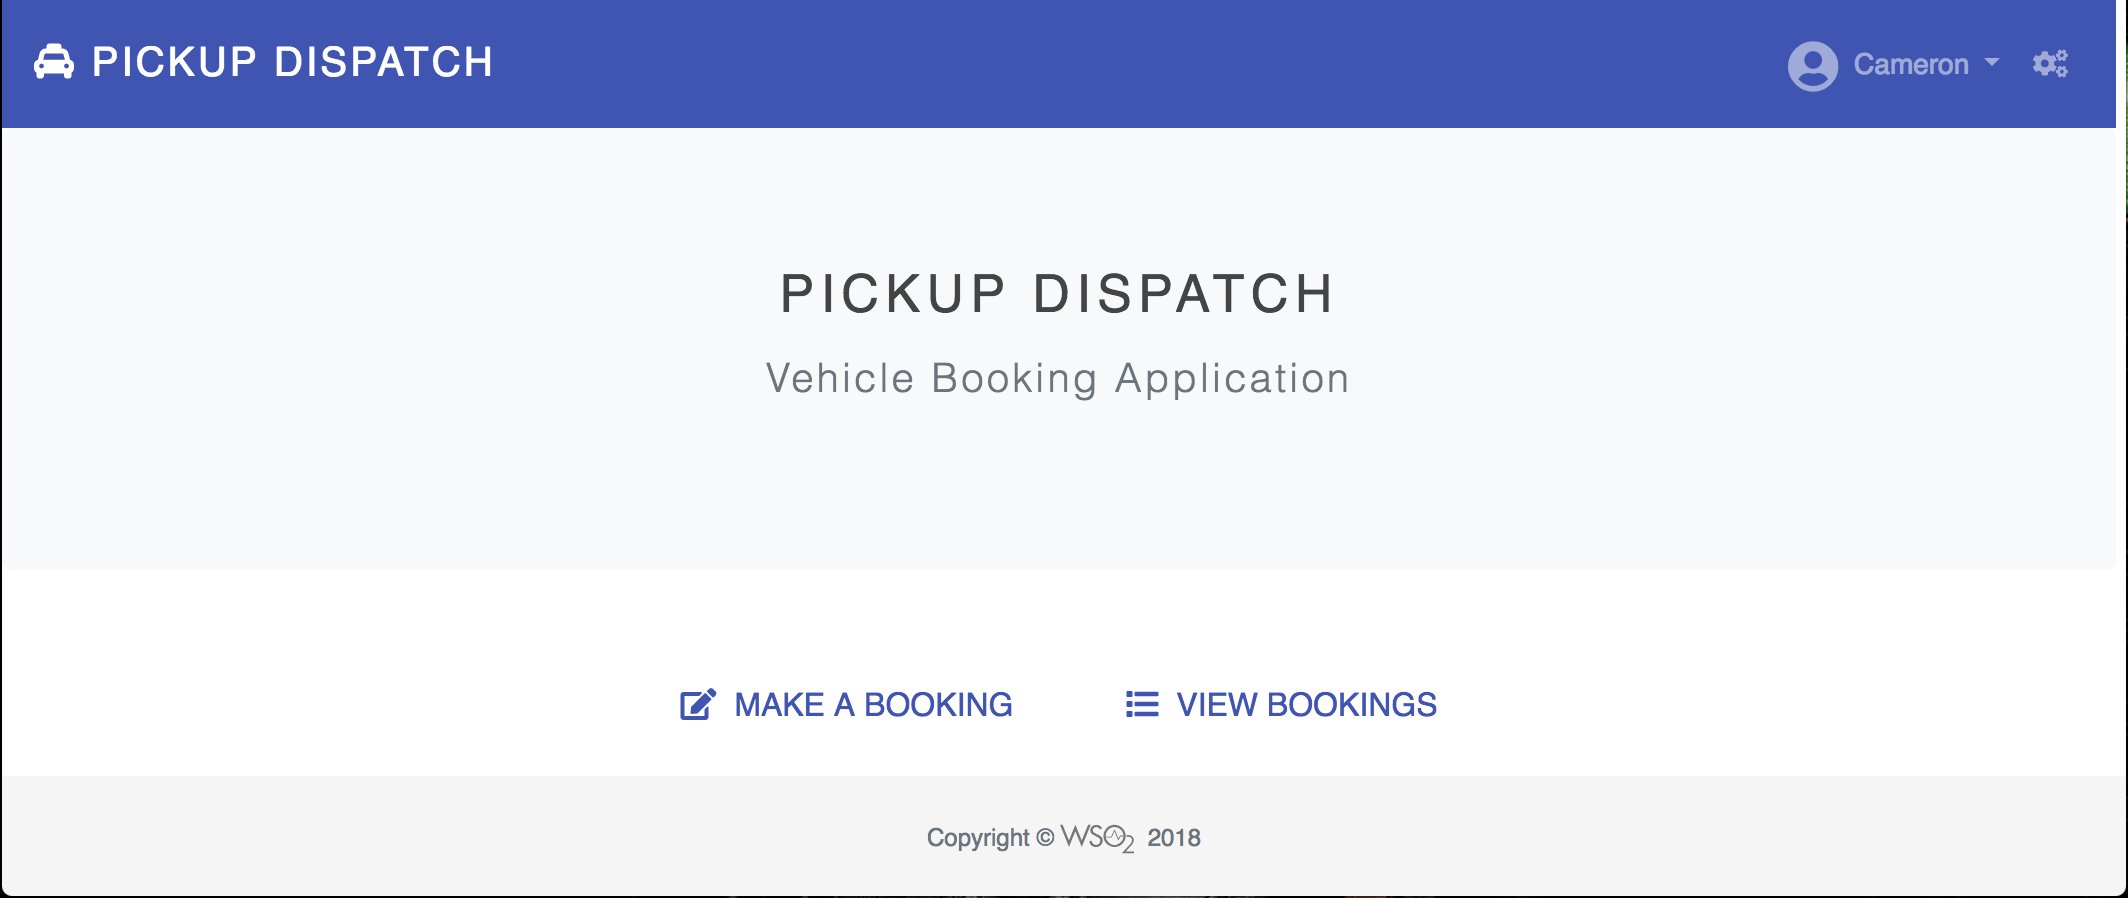
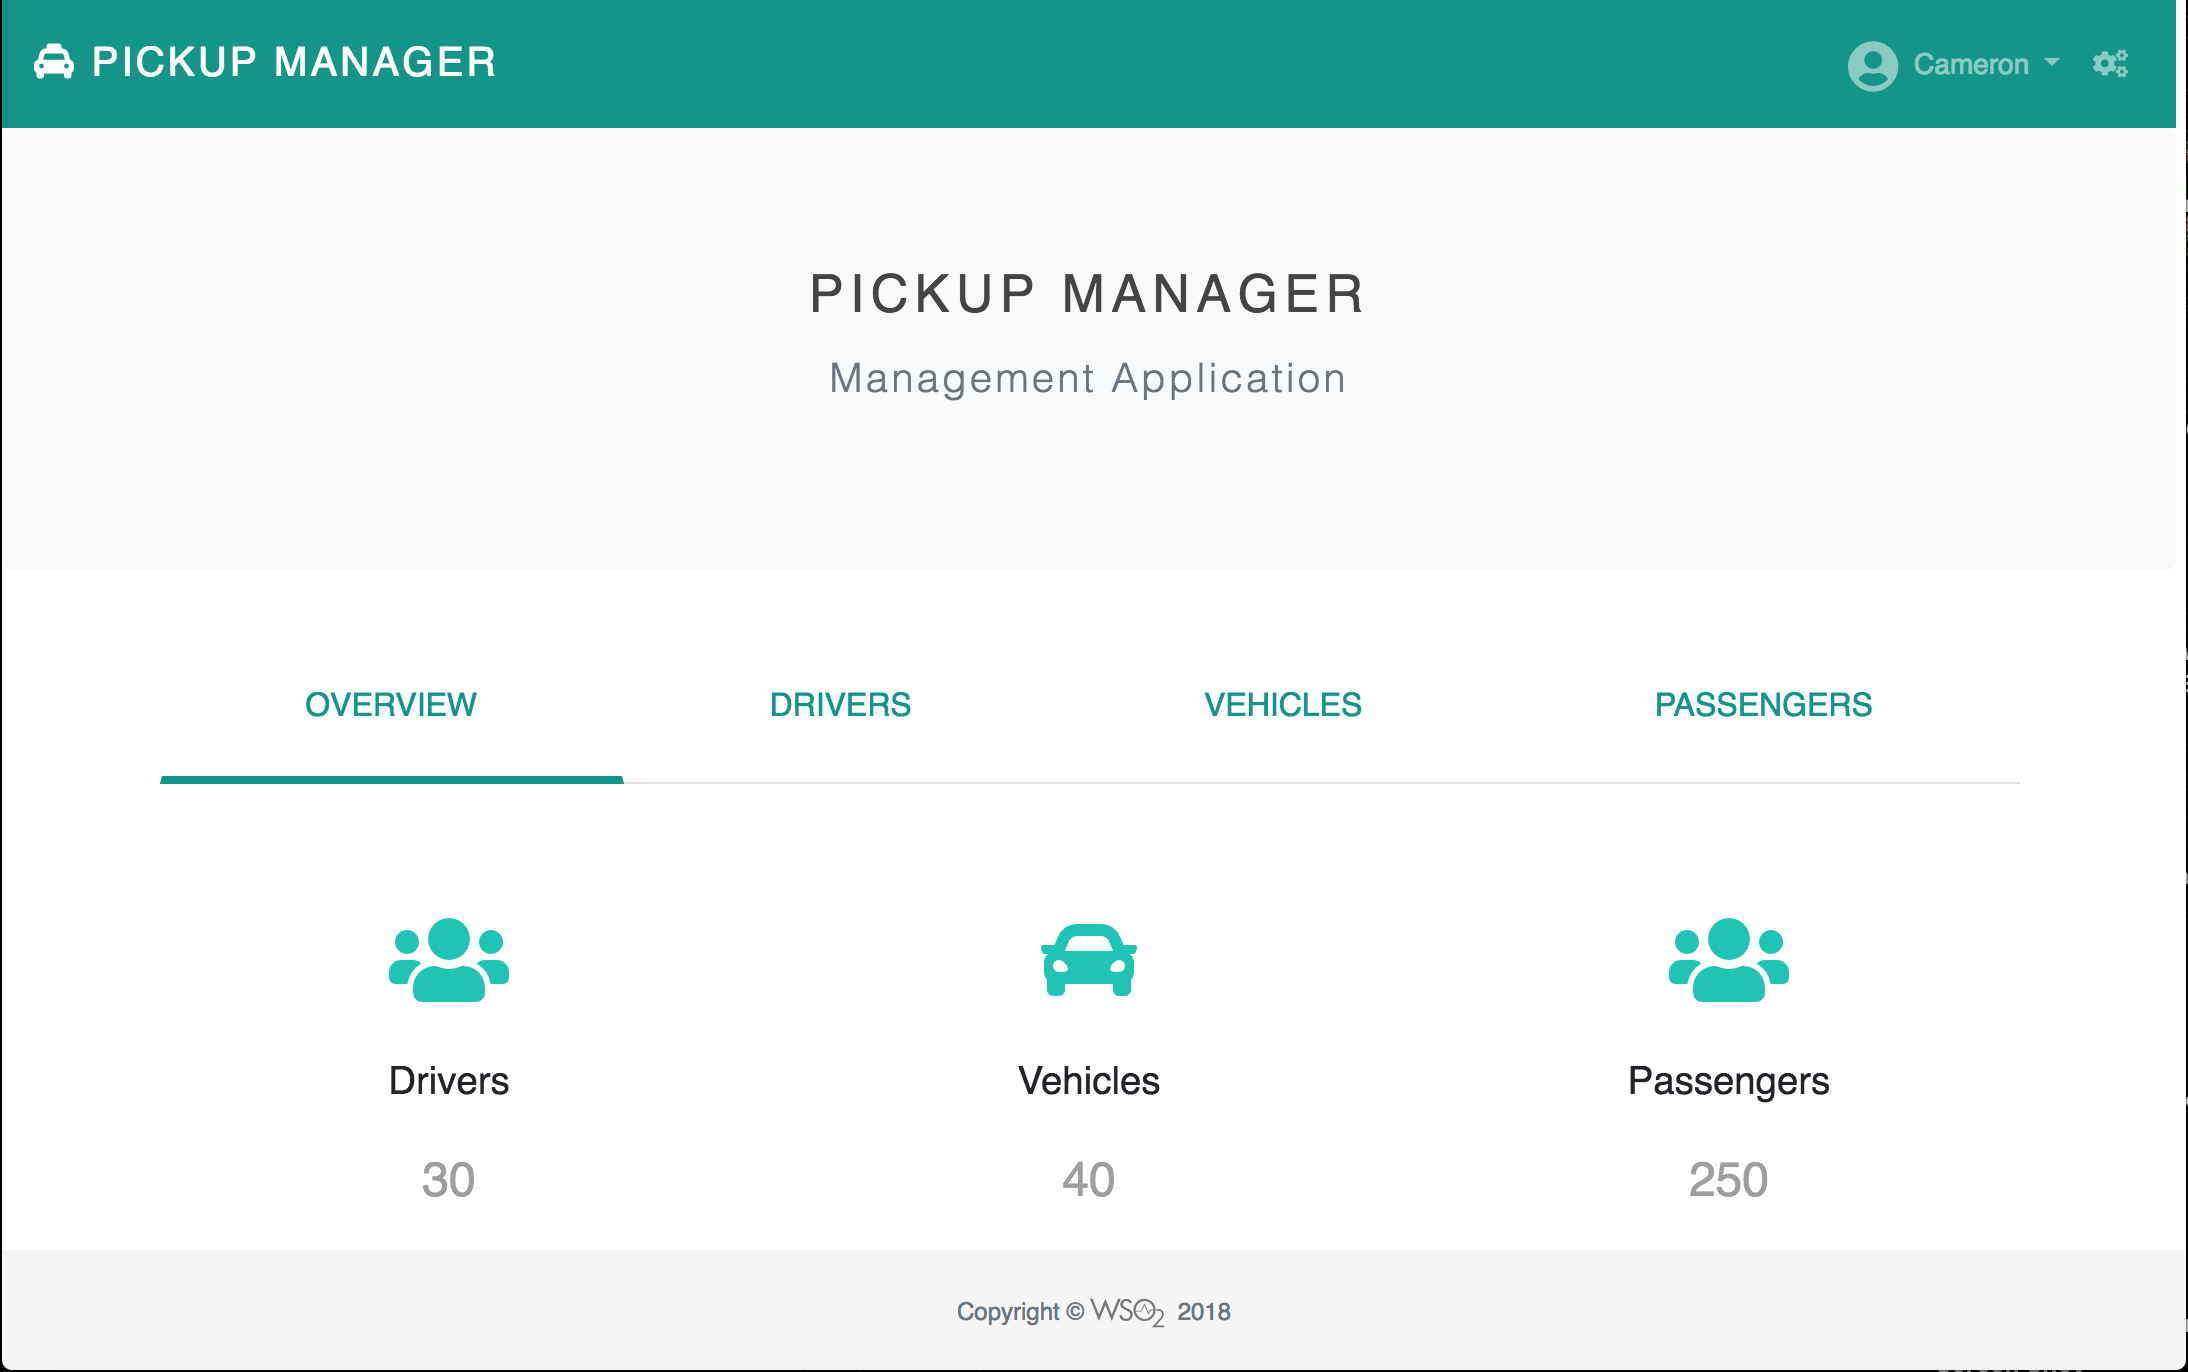
Note that the Pickup Dispatch home screen appears.
-
Similarly, go to the URL http://localhost.com:8080/saml2-web-app-pickup-manager.com Using your browser to access the Pickup Manager application.
-
Click Log in.
-
Note that the Pickup Manager application opens without having to enter the user credentials again.
-
To try out other scenarios, navigate back to where you ran the Quick Start sample on the command-line and enter
yto clean the setup.

Configuring SSO with OIDC
If the two applications are using OIDC as their authentication protocol, follow the steps below:
-
Enter
2as the scenario number at the command prompt.- Create the two users: Cameron and Alex.
- Create and assign the user role Manager to Cameron.
- Create service providers for Pickup Dispatch and Pickup Manager.
- Configure SAML2 web SSO for Pickup Dispatch and Pickup Manager.
Note that a message with the user and web application details appears.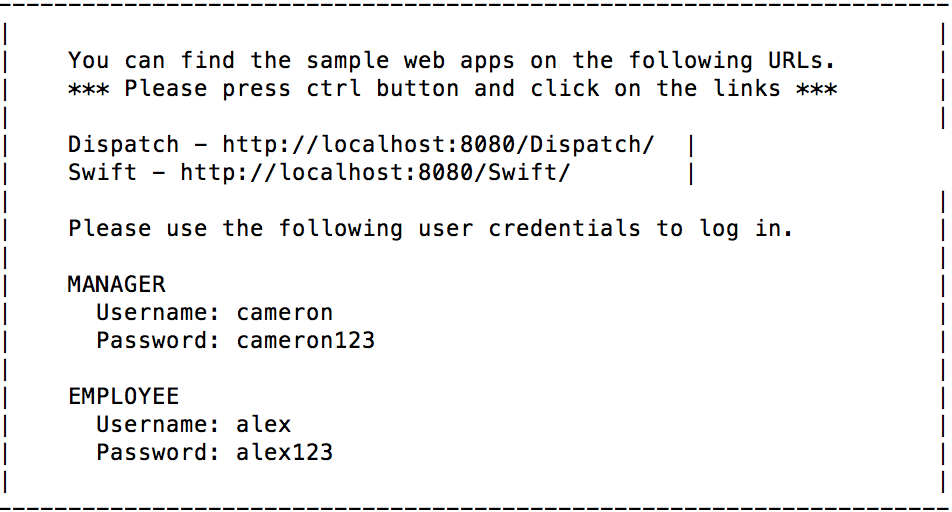
-
Enter the http://localhost.com:8080/pickup-dispatch URL on a web browser to access the Pickup Dispatch application.
- Click Log in.
-
Enter either of the following credentials to sign in to the application.
Senior Manager --> Username: cameron | Password: cameron123 Junior Manager --> Username: alex | Password: alex123 -
Select the approval type that you wish provide and the attributes that you wish to share with the application and click Continue .
Note
Obtaining the user consent is one of the fundamental requirements of GDPR regulation. WSO2 Identity Server facilitates this through its Consent Management features. To know more about GDPR and how WSO2 Identity Server handles consent, see Consent Management.
Note that the Pickup Dispatch home screen appears.
-
Similarly, enter http://localhost:8080/pickup-manager on a browser to access the Pickup Manager application. Notice that the Pickup Manager application opens without having to enter the user credentials.
You have set up SSO and your employees are happy with their
experience as they only have to provide credentials once in order to
access both Pickup Dispatch and Pickup Manager.
7. Next, in order to try out other scenarios, navigate back to the
command prompt where you ran the Quick Start sample and enter
yto clean the setup.
Multi-factor Authentication
Problem Scenario
Pickup has a secure, hassle-free identity management system in place to better protect the data resources and applications. However, the traditional authentication mechanism that uses a user ID and password is not sufficient. Cameron wants to enhance the security standards by introducing another level of authentication. As a result, Cameron decides to use the Multi-factor Authentication (MFA) capability in WSO2 Identity Server using the following factors:
- First factor : password
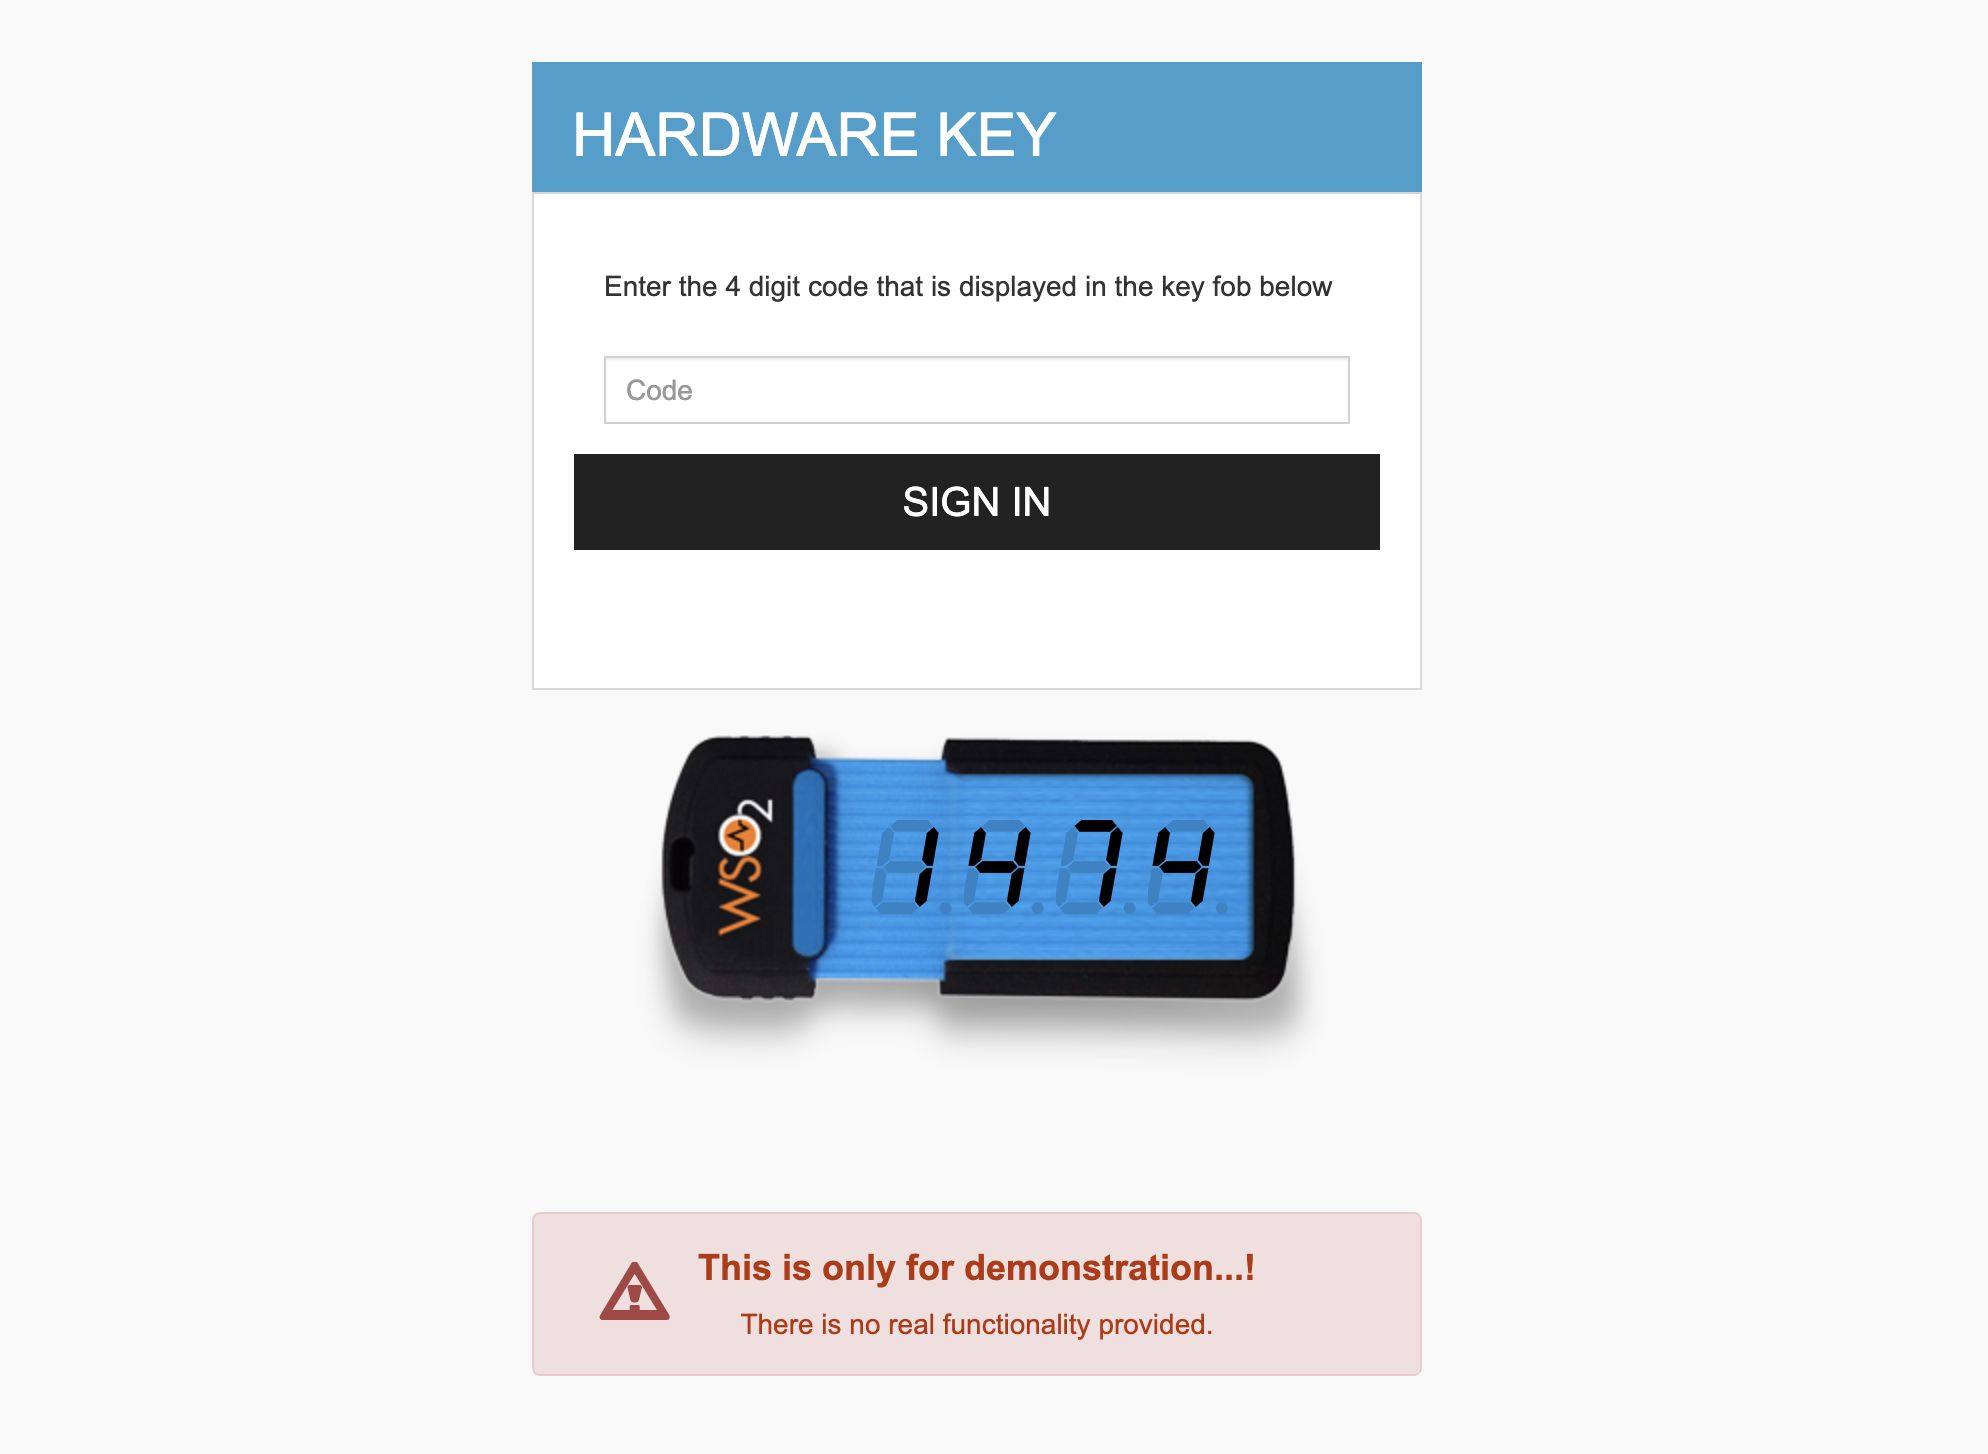
- Second factor : HARDWARE KEY
Let's use the command-line to check the MFA functionality.
Configuring Multi-Factor Authentication
First deploy the sample authenticator dependency and web application in WSO2 Identity Server.
- Stop the Identity Server if already running.
-
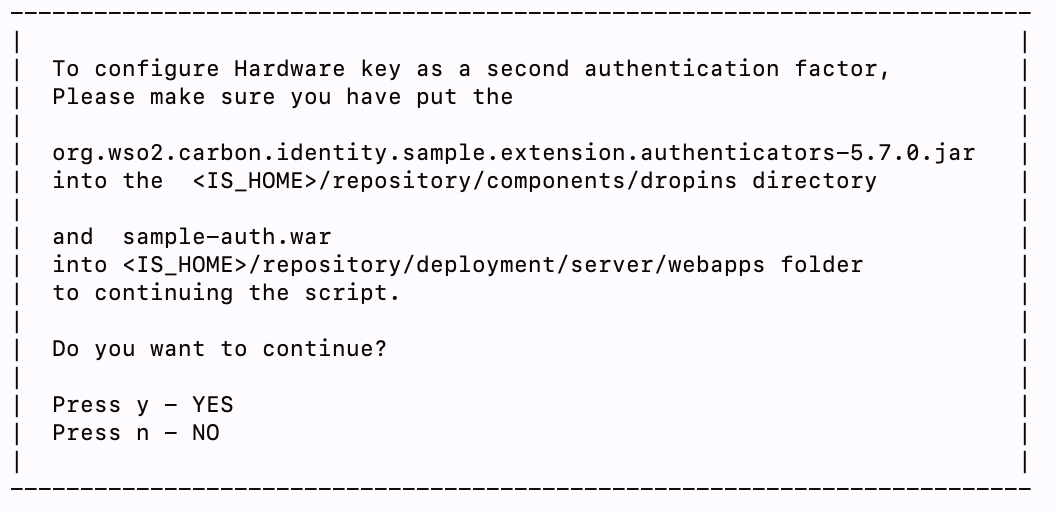
Download the sample-auth.war file and paste it inside the
<IS_HOME>/repository/deployment/server/webappsfolder.This
.warfile contains the WEB UI for the sample authenticators used in this tutorial. -
Add the following configurations to the
deployment.tomlfile in the<IS_HOME>/repository/confdirectory and restart the server.
3. Start the Identity Server.[[resource.access_control]] context = "(.*)/sample-auth/(.*)" secure = false http_method = "all"
Follow the steps below to configure MFA on the Pickup Dispatch and Pickup Manager applications where HARDWARE KEY is the second authentication factor.
Before you begin
If you have run any other samples in this Quick Start Guide, navigate
back to the <IS_SAMPLE_DISTR>/IS-QSG/bin using the command-line and
execute either of the following commands to start the Quick Start
samples.
Linux --> sudo sh qsg.sh run
Windows --> sudo qsg.bat runA message appears to pick a scenario.
-
Navigate back to the
<IS_SAMPLE_DISTR>/IS-QSG/binusing the command-line and execute either of the following commands to start the Quick Start samples.Linux --> sudo sh qsg.sh run Windows --> sudo qsg.bat run -
Enter
3as the scenario number at the command prompt.
- Enter y to confirm that you have already done the folloing steps.
-
Enter the http://localhost:8080/saml2-web-app-pickup-dispatch.com URL on a web browser to access the Dispatch application.
-
Click Log in.
-
Enter either of the following credentials to sign in to the application.
Manager --> Username: cameron | Password: cameron123 Employee --> Username: alex | Password: alex123The HARDWARE KEY login page appears as HARDWARE KEY is the second authentication factor.
-
Enter the DEMO key that appears in the browser and click Sign In.
After successful authentication, the User Consents form of the Dispatch application appears.
-
Select the attributes that you want to share with Dispatch and click Continue.
Note
Obtaining user consent is one of the fundamental requirements of the GDPR regulation. WSO2 Identity Server facilitates this through its Consent Management features. To know more about GDPR and how WSO2 Identity Server handles consent, see Consent Management.
-
Note that the Dispatch home screen appears.
-
To try out other scenarios, navigate back to where you ran the Quick Start sample on the command-line and enter
yto clean the setup.
Federated Authentication
Problem Scenario
Pickup works with a team of external consultants. Cameron wants to grant them access to the Pickup Dispatch and Pickup Manager applications. However, it is a hassle to keep adding and maintaining their accounts in the employee database as these consultants are temporary and they keep rotating. Therefore, Cameron decides to use the identity federation capability of WSO2 Identity Server. This facilitates the external consultants to use their already existing Google account credentials to sign in to the Pickup applications.
Let's use the command line utility to check out how an external consultant uses the command utility to configure federated authentication.
Configuring Federated Authentication
Follow the steps below to configure federated authentication using WSO2 IS
Before you begin
If you have run any other samples in this Quick Start Guide, navigate
back to the <IS_SAMPLE_DISTR>/IS-QSG/bin using the command-line and
execute either of the following commands to start the Quick Start
samples.
Linux --> sudo sh qsg.sh run
Windows --> sudo qsg.bat runA message appears to pick a scenario.
-
Enter
4as the scenario number at the command prompt to:- Create the two users: Cameron and Alex.
- Create and assign the user role Manager to Cameron.
- Create service providers for Pickup Dispatch and Pickup Manager.
- Configure SAML2 web SSO for Pickup Dispatch and Pickup Manager.
-
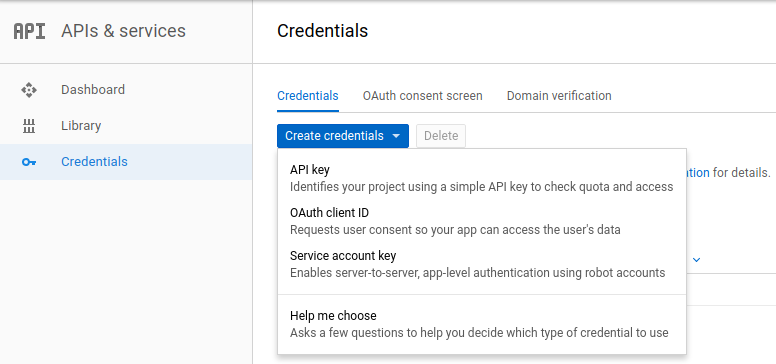
Register OAuth 2.0 Application in Google. As the first step, go to Google API Console and navigate to the Credentials tab from the sidebar. You can configure OAuth web application in Google by selecting OAuth Client ID . You can find more details from here.
Select a web application and give it a name (e.g., SampleWebApplication). Enter the Authorized redirect URI as
https://localhost.com:9443/commonauth(this is the endpoint in WSO2 Identity Server that accepts the response sent by Google). -
Note down the
API keyandsecretfor later use.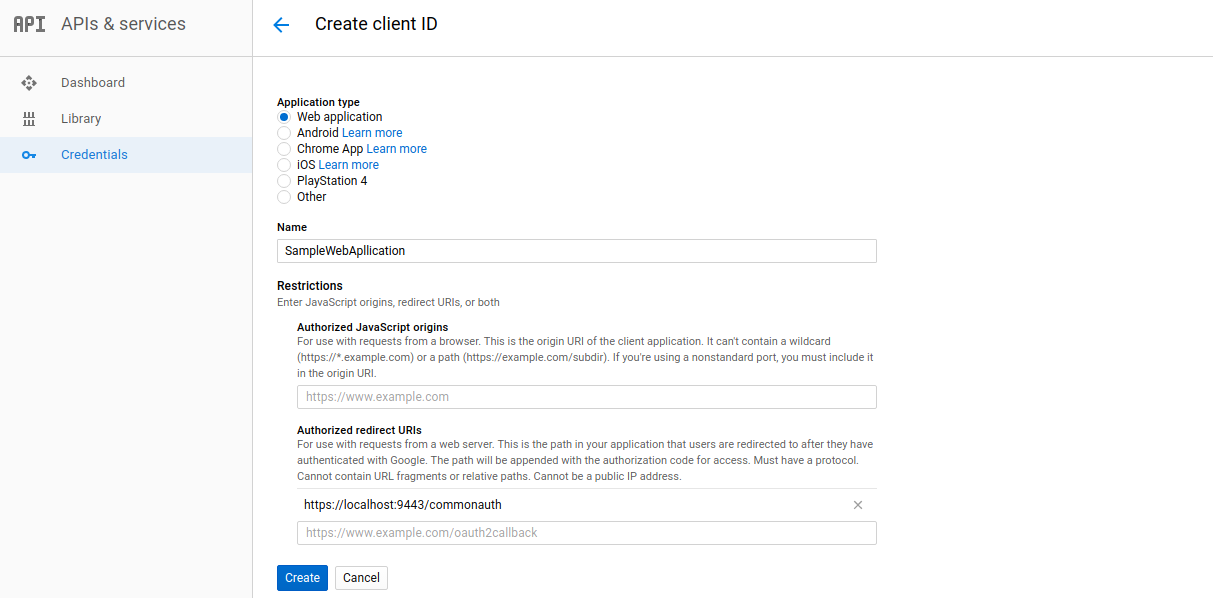
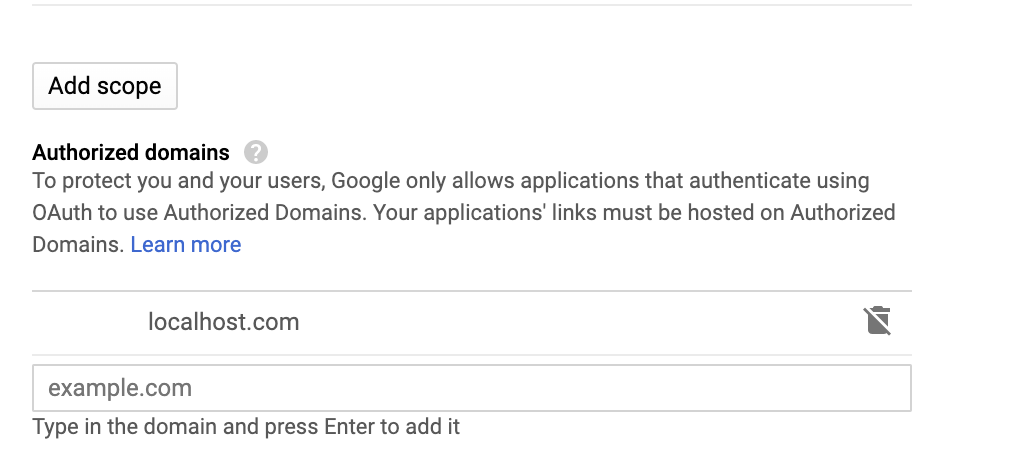
Tip
In order to avoid getting the following error message, add
localhost.comto the authorized domains list.
If Invalid Redirect: domain must be added to the authorized domains list before submitting.
-
Enter
yto confirm that you have already registered an app in Google. (See Prerequisites tab)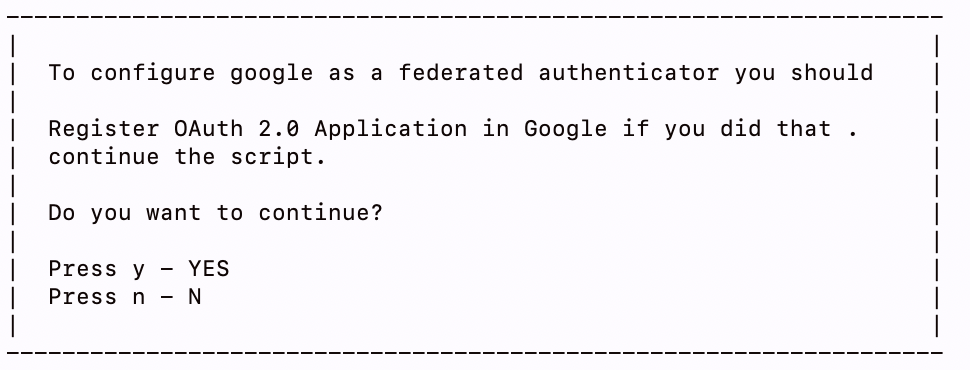
-
Enter the
client-idand the secret of the Google application when prompted.Note that a message with the user and application details appears.
-
Enter the http://localhost:8080/saml2-web-app-pickup-dispatch.com URL on a web browser to access the Pickup Dispatch application.
-
Click Log in.
The Google login page appears. -
Enter your Google
usernameandpasswordand click Sign In.After a successful authentication, the User Consents form of the Dispatch application appears.
-
Select the attributes that you wish to share with Pickup Dispatch and click Continue.
Note
Obtaining the user consent is one of the fundamental requirements of GDPR regulation. WSO2 Identity Server facilitates this through its Consent Management features. To know more about GDPR and how WSO2 Identity Server handles consent, see Consent Management.
Note that the Pickup Dispatch home screen appears.
You have just signed in to the Pickup Dispatch application
as an external consultant using your Google credentials. -
Next, in order to try out other scenarios, navigate back to the command prompt where you ran the Quick Start sample and enter
yto clean the setup.
Self Sign-up
Problem Scenario
Pickup is going through a major expansion and is in the process of hiring new employees. Currently, when a new employee joins, the Pickup HR team requests for their details, and creates user accounts and then asks them to verify, edit and customize their user profiles. This process sometimes takes few days. Thus, Rowan and the Pickup HR team is having a hard time doing this one by one for especially when a larger number of employees come on-board. Cameron realizes that allowing the new employees to self sign-up to Pickup web applications will speed up the onboarding process. As a result Cameron sets this up for Pickup HR using WSO2 Identity Server.
Let's use the command line utility to check out the self sign-up functionality.
Configuring Self-Sign-up
Follow the steps below to configure self sign-up for Pickup Dispatch and Pickup Manager applications using WSO2 Identity Server.
-
Enable the email sending configurations of the WSO2 Identity Server as explained here.
-
Restart WSO2 Identity Server.
Linux --> sh wso2server.sh Windows --> wso2server.bat -
Navigate to
<IS_SAMPLE_DISTR>/IS-QSG/binand execute either of the following commands to start the Quick Start samples.Linux --> sudo sh qsg.sh run Windows --> sudo qsg.bat run -
Enter
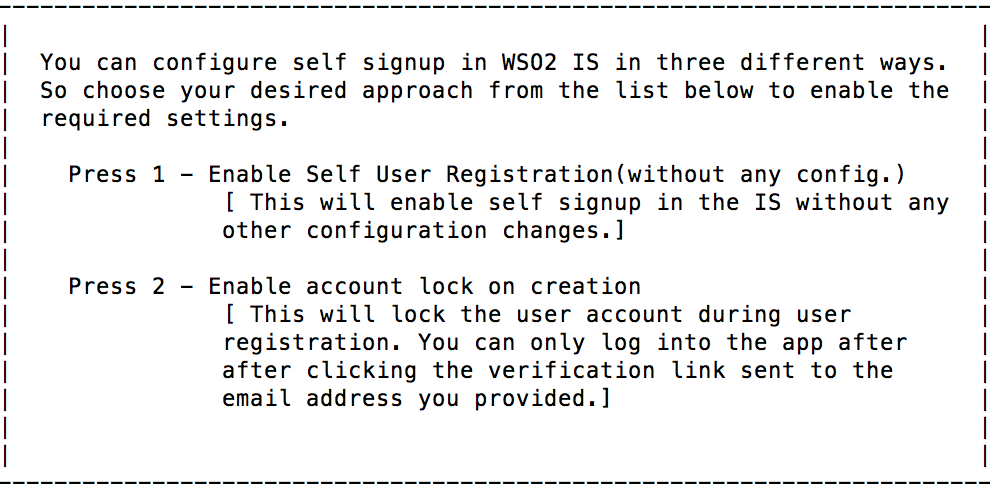
5as the scenario number at the command prompt.A prompt appears to choose the user sign-up approach.
- Enable self user registration (without any config) : This enables self sign-up without having to do additional configurations. Once registered, the user receives an email to the provided email address.
- Enable account lock on creation : This locks the user account during user registration. The user can only sign in to the application after clicking the verification link sent to the user-provided email address. A confirmation mail is sent to the user but user account is locked until the user confirms the account by clicking on the account confirmation mail sent by WSO2 Identity Server.
 2. Enter
 numberthat matches with the approach you would like to try.
-
Enter the http://localhost.com:8080/pickup-dispatch URL on a web browser to access the Dispatch application.
-
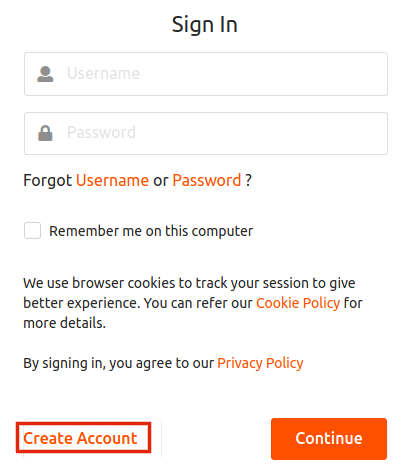
Click Log in.
-
Click Create Account.
-
Enter a
usernamefor your user account and click Proceed to Self Register.Note
If you want a user to self register for a specific tenant, provide the
usernamein the following format:<USERNAME>@<TENAND_DOMAIN>. -
Provide the
user profile details, agree to the Privacy Policy, and click Register.
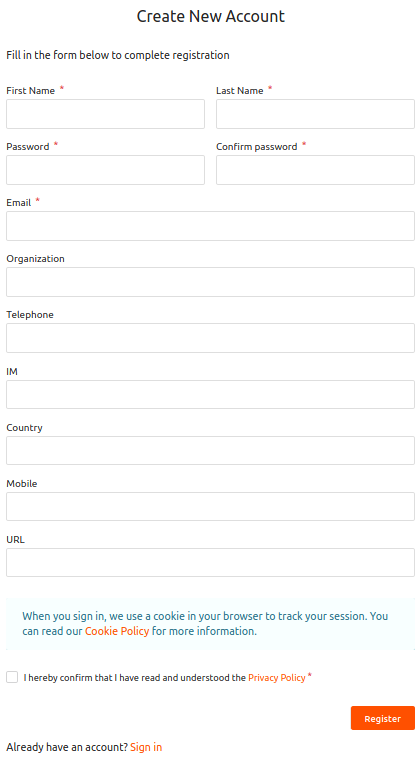
A confirmation message appears.

-
Click Close.
-
If you selected Enable User Registration (without any config) at step 1, navigate back to the Pickup Dispatch application and sign in using the new user credentials.
-
If you selected Account Lock on Creation at step 1, access your email account to view the account registration confirmation mail.
-
Click Confirm Registration in the email or copy the link in the email to your browser and confirm the account creation.
The account gets unlocked and an email is sent.
-
Navigate back to the Pickup Dispatch application and sign in using the new user credentials.
Note that the Dispatch home screen appears.
You have just self-signed up to a Pickup web application.
-
-
-
Next, in order to try out other scenarios, navigate back to the command prompt where you ran the Quick Start sample and enter
yto clean the setup.
Workflows
Problem Scenario
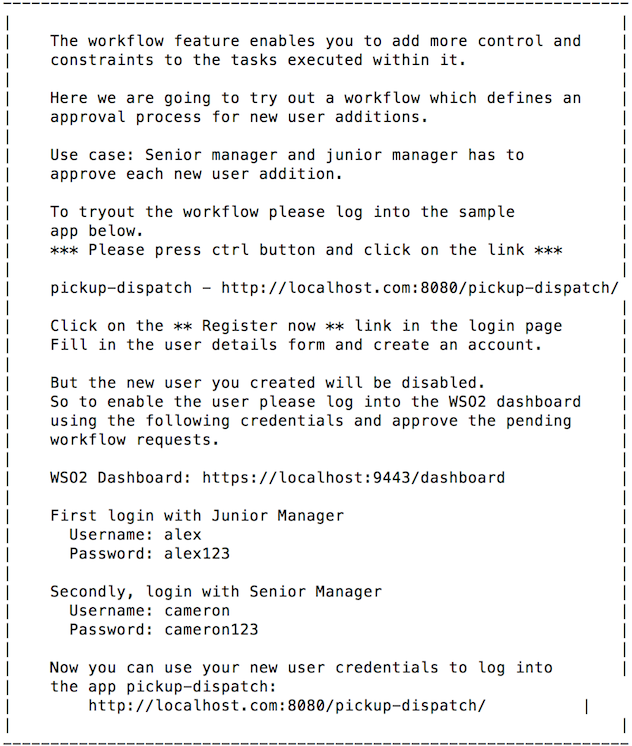
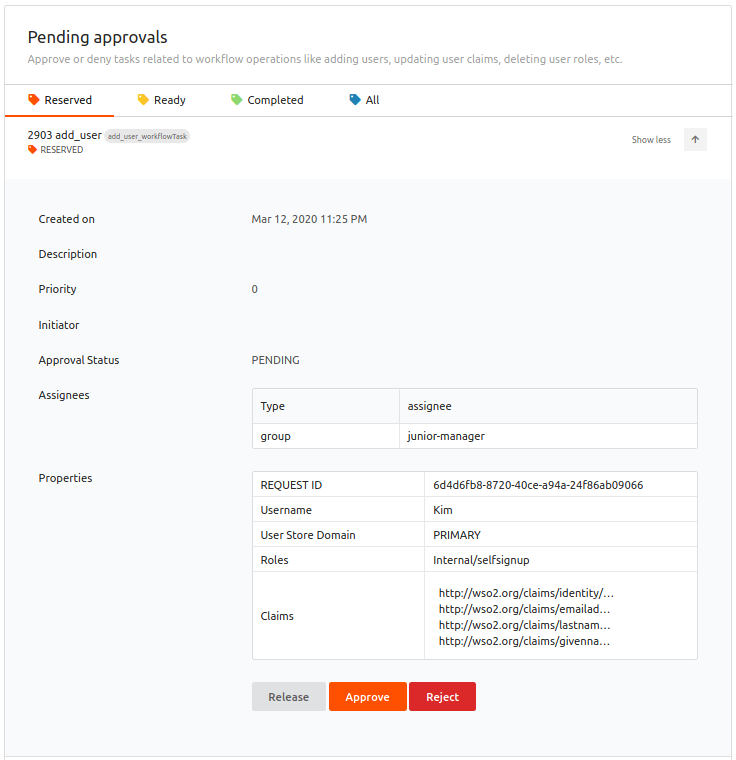
After Cameron sets up self registration for Pickup web applications, Rowan is concerned about the security. Rowan prefers to review and approve new user accounts before granting access to the Pickup web applications. Thus, Rowan reaches out to Cameron with these concerns. Cameron realizes the possibility of creating a workflow using WSO2 Identity Server and granting role-based authorization, so that each account registration will be subject to approval.
Let's use the command-line to check out the workflow functionality.
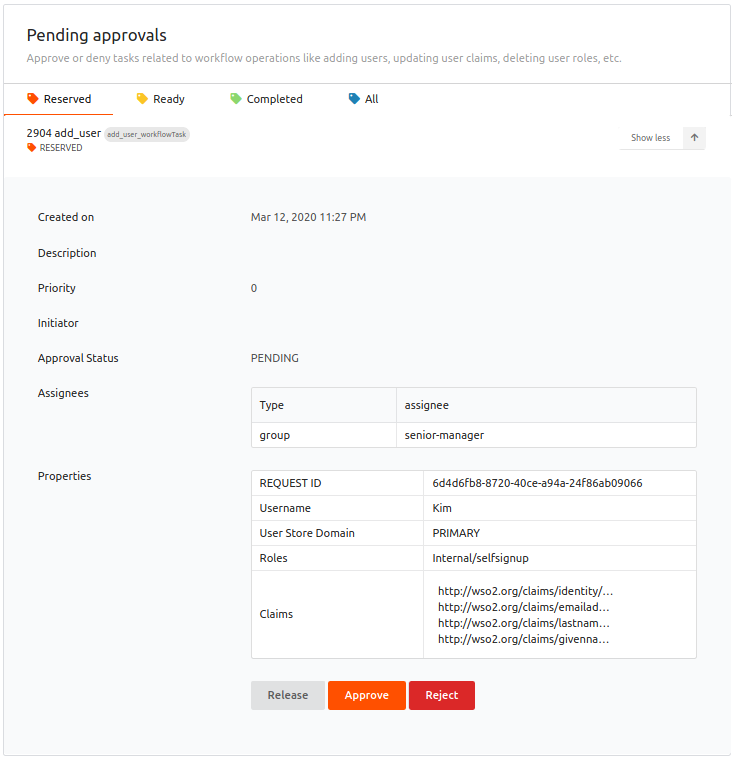
In this workflow, whenever a new user account is created, first it creates a task for a junior manager (Alex) to approve/reject the account creation. Upon the junior manager approving the account creation, a task will be created for the senior manager (Cameron) to approve or reject the user account.
Configuring a Workflow
Follow the steps below to configure a workflow.
Before you begin
If you have run any other samples in this Quick Start Guide, navigate
back to the <IS_SAMPLE_DISTR>/IS-QSG/bin using the command-line and
execute either of the following commands to start the Quick Start
samples.
Linux   --> sudo sh qsg.sh run
Windows --> sudo qsg.bat run
A message appears to pick a scenario.
-
Enter
6as the scenario number at the command prompt.
Note that a message with the user and web application details appears.
-
Enter the http://localhost.com:8080/pickup-dispatch URL on a web browser to access the Pickup Dispatch application.
-
Click Log in.
-
Click Register Now.
-
Enter a
usernamefor your user account and click Proceed to Self Register.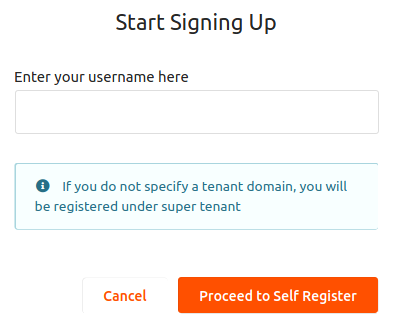
Note
If you want a user to self register for a specific tenant, provide the
usernamein the following format:<USERNAME>@<TENAND_DOMAIN>. -
Provide the
user profile details, agree to the Privacy Policy, and click Register.
Even though a new user account is created successfully, it is in disabled state. To enable the user, you need to sign in to the WSO2 user portal and approve the pending workflow requests.
-
Enter the http://localhost:9443/myaccount URL on a web browser to access the WSO2 My Account Portal.
-
Enter the following credentials to sign in as Alex and click Sign In.
Username: alex | Password: alex123 -
Click Operations.
-
Click Show more under Pending approvals.
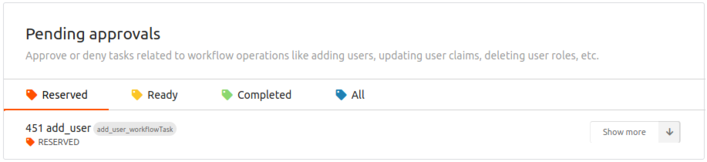
-
Click Approve to approve the user account creation.
-
Click Sign out to sign out of WSO2 User Portal as Alex.
-
Enter the following credentials to sign in as Cameron and click Sign In.
Username: cameron | Password: cameron123 -
Click Show more under Pending approvals.
-
Click Approve to approve the user account creation.
-
Navigate back to the Pickup Dispatch application and sign in using the new user credentials.
Select the attributes that you wish to share with Pickup Dispatch and click Continue.
Note
Obtaining the user consent is one of the fundamental requirements of GDPR regulation. WSO2 Identity Server facilitates this through its Consent Management features. To know more about GDPR and how WSO2 Identity Server handles consent, see Consent Management.
Note that the Pickup Dispatch home screen appears.
This concludes the Quick Start Guide!
You have set up WSO2 Identity Server and gone through the basic use cases of the product. For more advanced use cases, check our Basic Tutorials.
Top