Configuring Multi-factor Authentication with Username and Password
This scenario involves obtaining the username first and validating that prior to autenticating the user using the password.
- Log in to the Management Console.
- Navigate to the Main menu to access the Identity menu. Click Add under Service Providers.
-
Create a new Service Provider:
Info
For more information on creating a service provider, see Adding and Configuring a Service Provider.
- Fill in the Service Provider Name and provide a brief Description of the service provider. Only Service Provider Name is a required field.
- Click Register to add the new service provider.
-
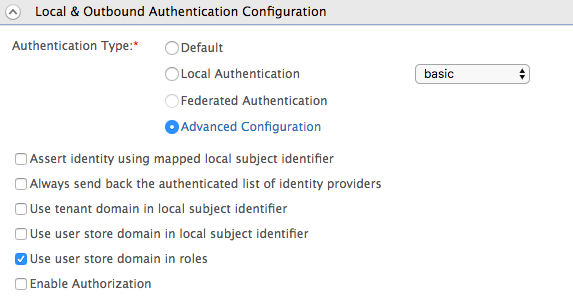
Access the service provider you just created and expand Local & Outbound Authentication Configuration.
Info
For more information on configuring the local and outbound authentication configuration, see Configuring Local and Outbound Authentication for a Service Provider .
-
Select Advanced Configuration to configure multi-factor authentication.
-
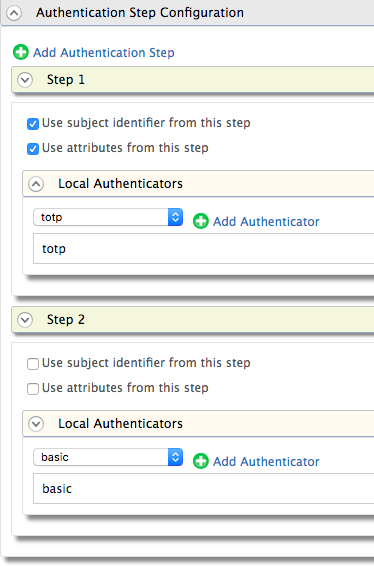
Click Add Authentication Step. Then add a local authenticator from Local Authenticators section. Select identifier from the dropdown. This is used to identify the user.
Note
Note : The identifier is not an authenticator, so having only the identifier in the authentication flow will fail the authentication. If there are no authenticators configured other than identifier, an error occurs when updating the service provider.
-
Click Add Authentication step and add the basic authenticator from Local Authenticators section. This will enable the password as the 2nd step authenticator.
-
Click the Update button. This navigates you to the previous screen with your newly configured authentication steps.
Tip
However, by default, the username is not validated and WSO2 Identity Server does not check whether it exists in the userstore. This can be configured by setting the following parameter in the
<IS_HOME>/repository/conf/deployment.tomlfile as shown below.[authentication.authenticator.user_identifier] name ="IdentifierExecutor" enable=true [authentication.authenticator.user_identifier.parameters] validate_username= false
Try it out
- Access the following sample PickUp application URL: http://localhost.com:8080/saml2-web-app-pickup-dispatch.com
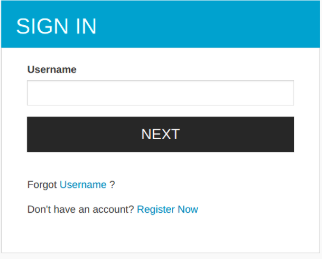
- Enter the username and click NEXT.
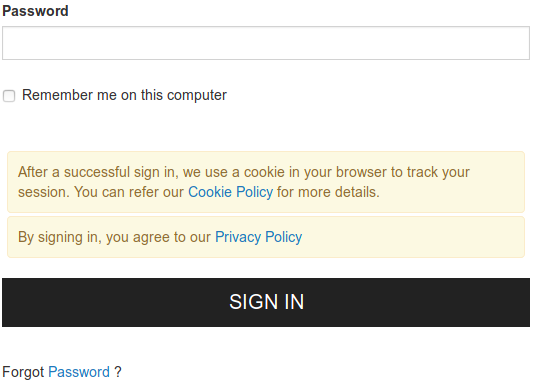
- Enter the password and click SIGN IN.