Configuring Account Disabling
WSO2 Identity Server enables the privileged users to disable user accounts for longer durations. These disabled user accounts can only be unlocked by privileged users.
Scenario
Pickup is a cab company that has many employees who use different credentials to sign in to different internal enterprise applications. Sam is an administrator at Pickup. Larry is an employee who had served Pickup for 7 years and is entitled for sabbatical leave. As Larry is going on sabbatical leave for 2 years, Sam wants to disable Larry's account.
Let's learn how Sam can disable Larry's user account!
Set up
Follow the steps below to configure account disabling in WSO2 Identity Server.
-
Open the
deployment.tomlfile in the<IS_HOME>/repository/confdirectory.-
Check whether the following listener configs are in place:
[event.default_listener.identity_mgt] priority= "50" enable = false [event.default_listener.governance_identity_mgt] priority= "95" enable = true -
To configure the email server to send emails that informs about the disabled account to the user, add the following configurations:
- from_address: This is the email address from which the confirmation email will be sent.
- username: This is the username of the given email address.
- password: This is the password of the given email address.
```toml tab="Format" [output_adapter.email] from_address= "" username= "" password= "" hostname= "smtp.gmail.com" port= 587 enable_start_tls= true enable_authentication= true
```toml tab="Sample"
[output_adapter.email]
from_address= "[email protected]"
username= "wso2iamtest"
password= "Wso2@iam70"
hostname= "smtp.gmail.com"
port= 587
enable_start_tls= true
enable_authentication= true
If you are using a Google email account
Google has restricted third-party applications and less secure applications from sending emails by default. As WSO2 Identity Server acts as a third-party application when sending emails for password entry, follow the steps below to enable your Google email account to provide access to third-party applications.
-
Under Signing in to Google section, turn off the 2-step Verification option.
-
Enable Less secure app access in Google Account Security section.
-
-
To configure the account locking requirements:
-
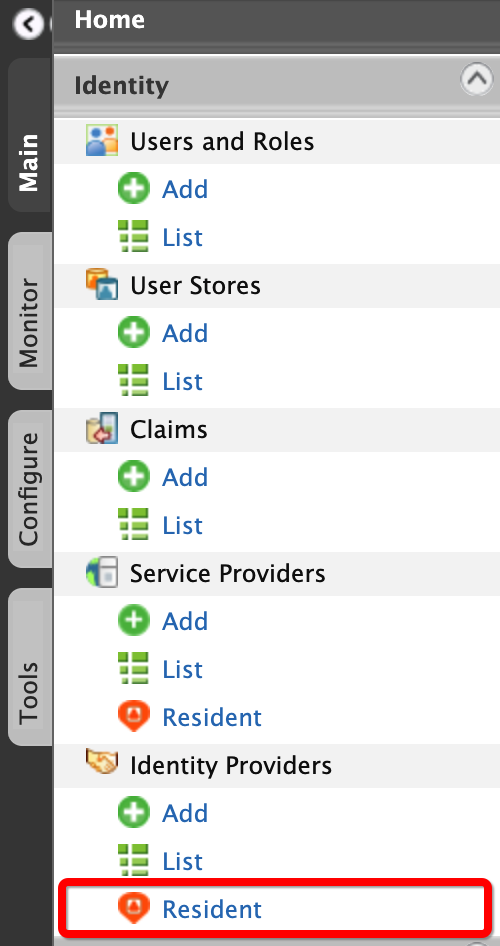
On the Main menu of the Management Console, click Identity > Identity Providers > Resident.
-
Under the Account Management section, click Account Disable.
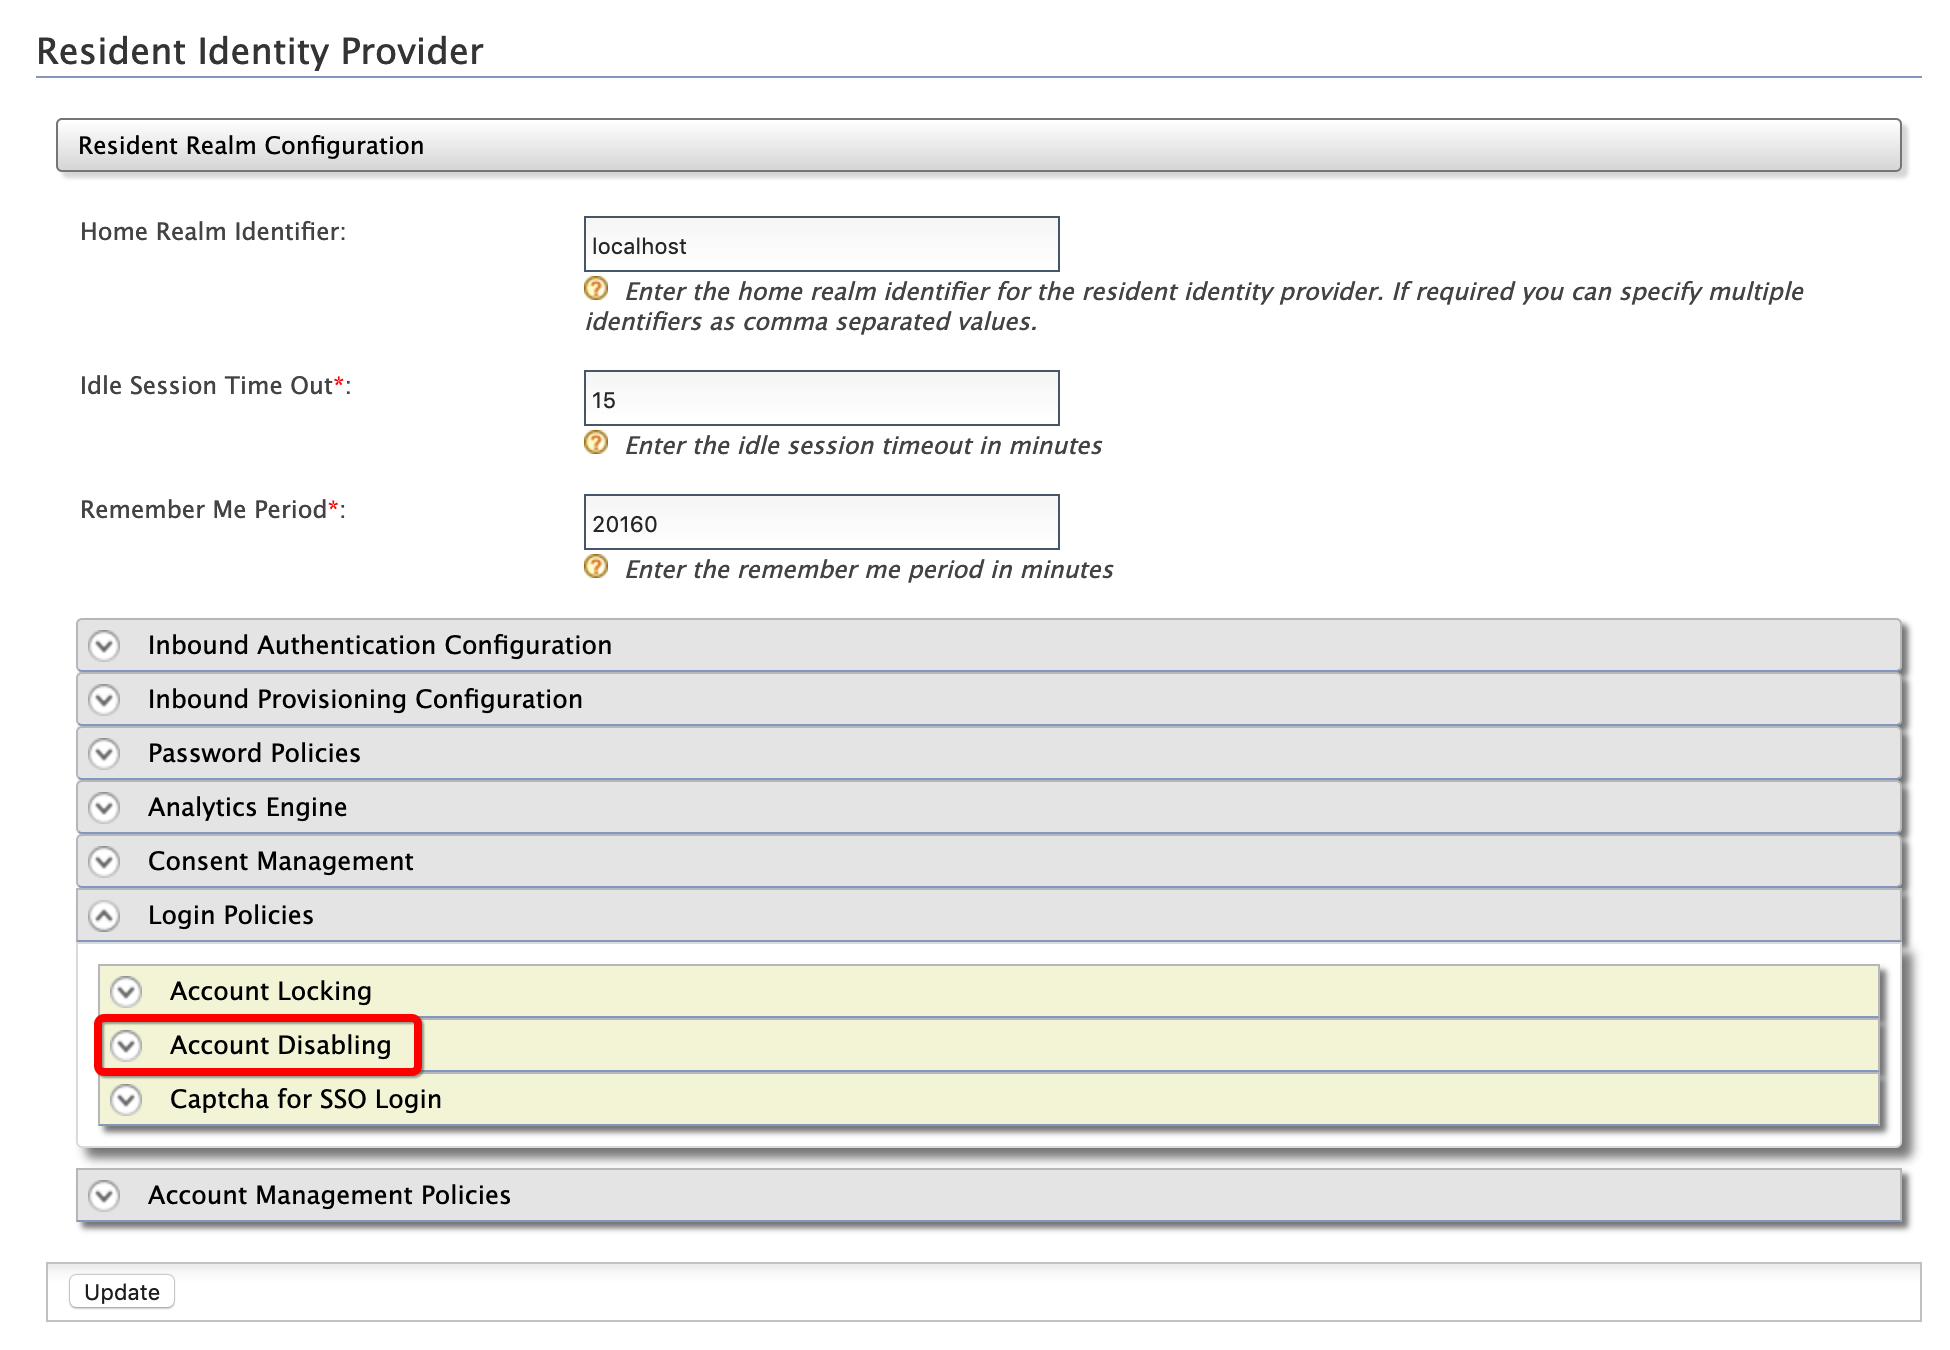
-
Select the Enable Account Disabling check box.

-
Click Update.
-
-
To enable the account disabling claim:
-
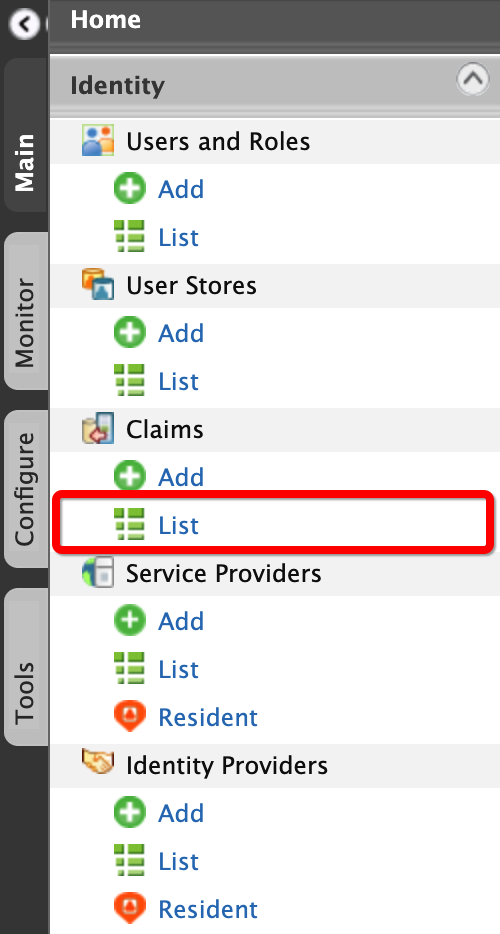
On the Main menu of the Management Console, click Identity > Claims > List.
-
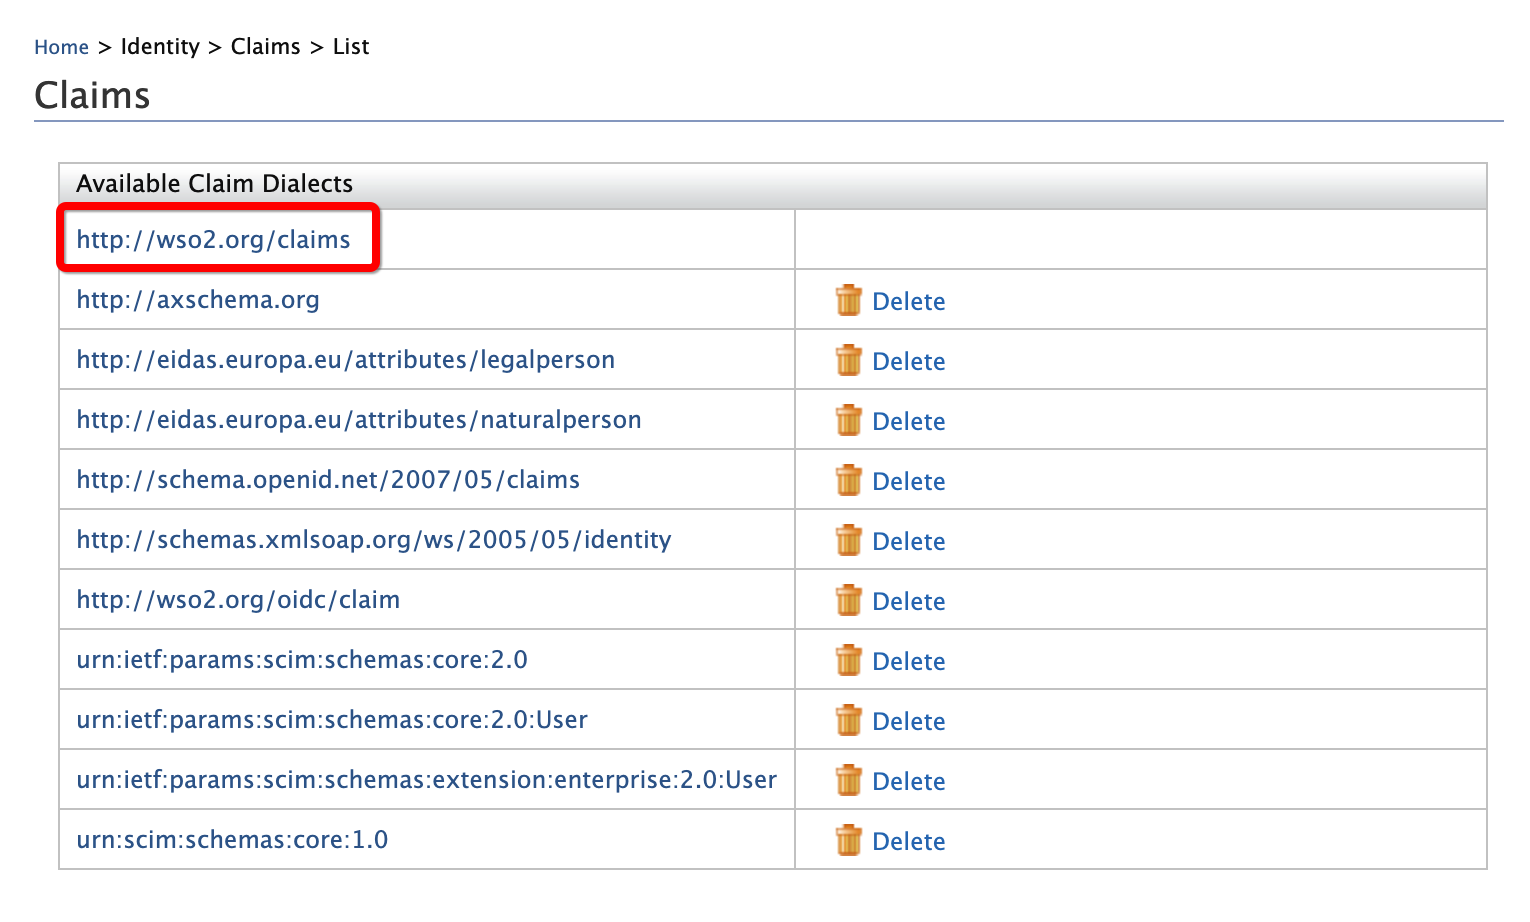
Click http://wso2.org/claims.
-
Under Account Disabled, click Edit.

-
Select Supported by Default.
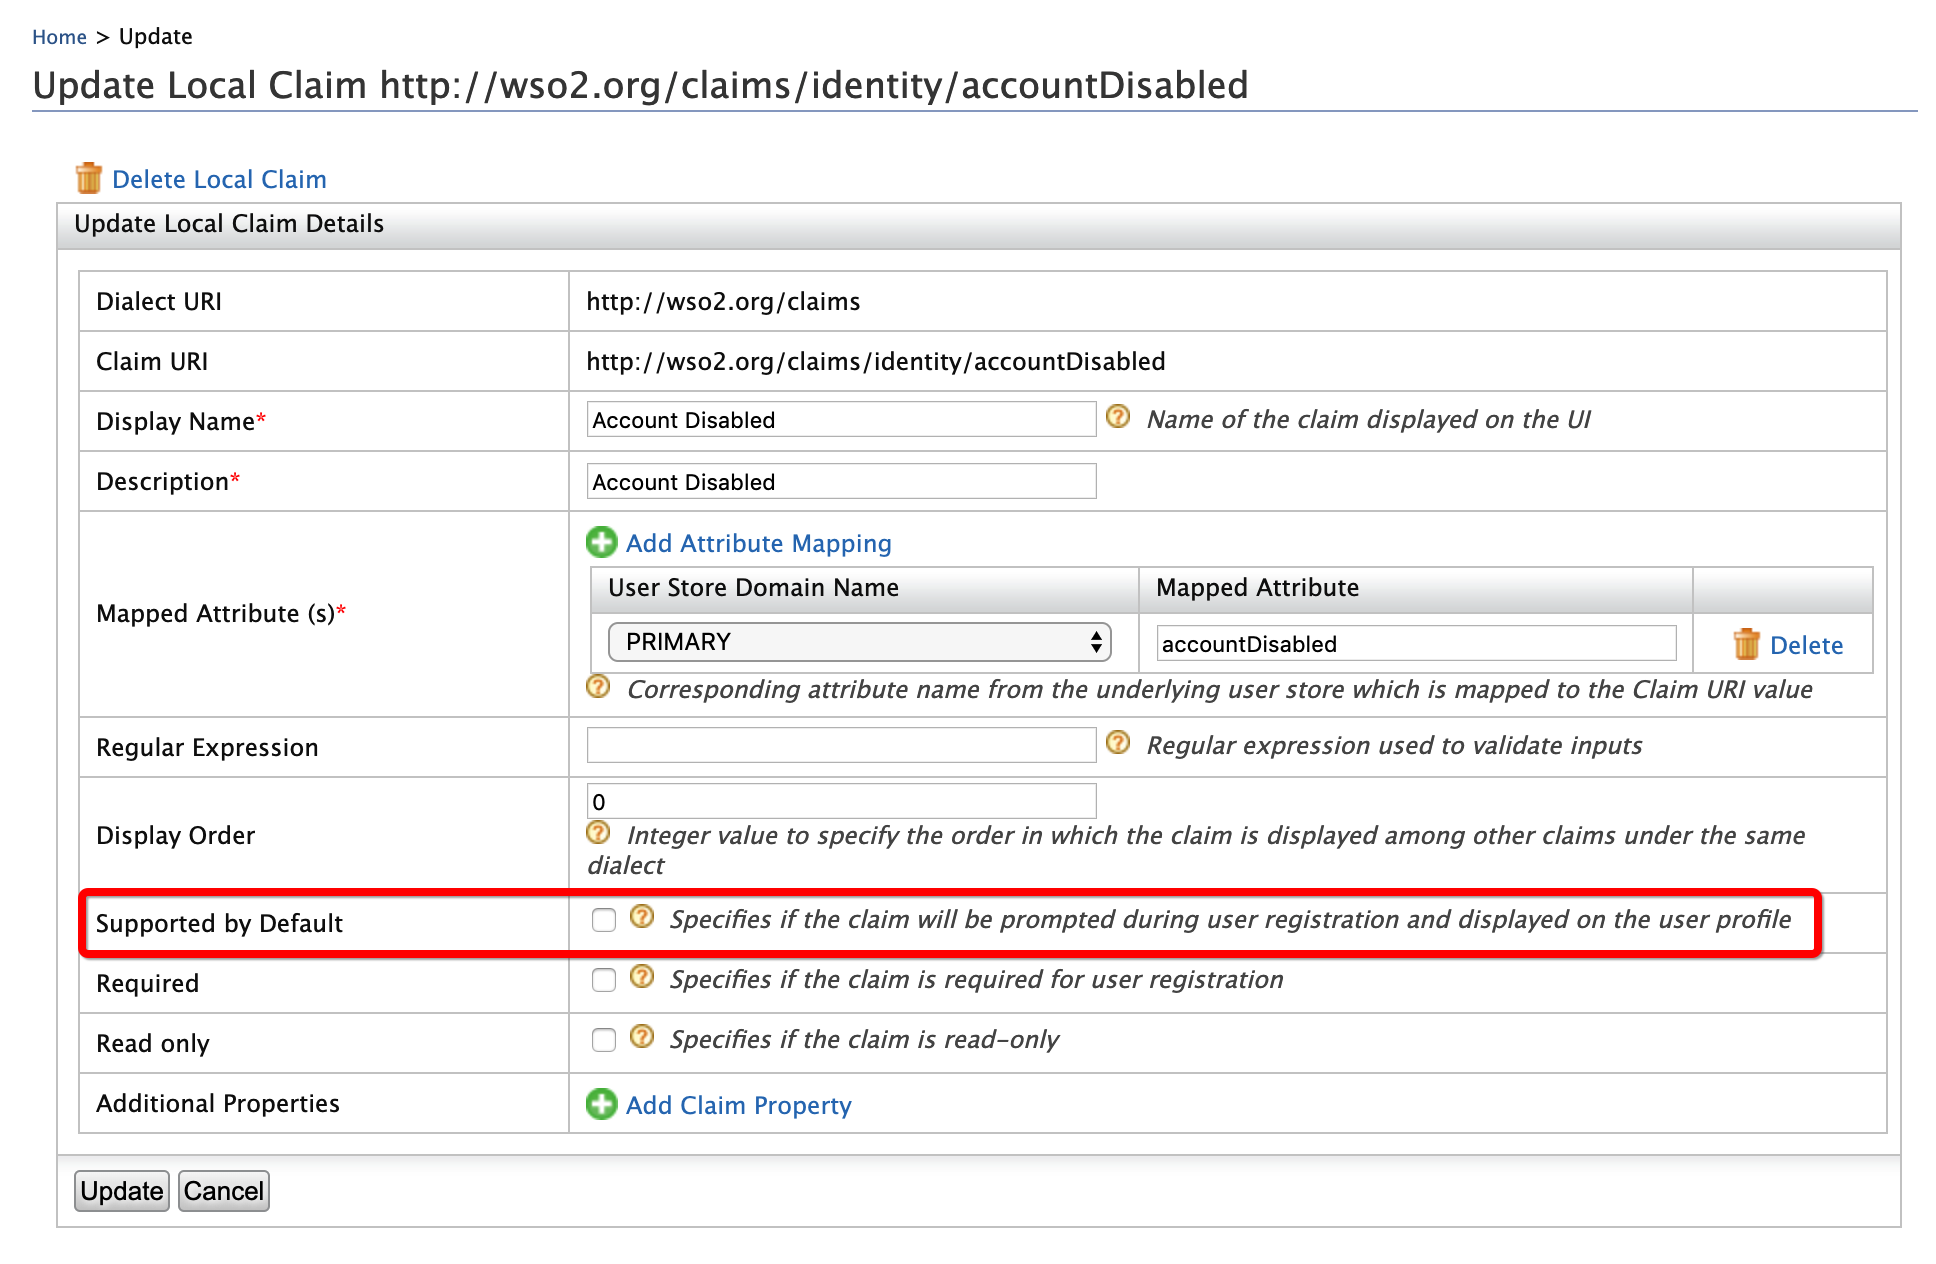
-
Click Update.
-
Try out
-
To create the user account for Larry:
-
On the Main menu of the Management Console, click Identity > Users and Roles > Add.
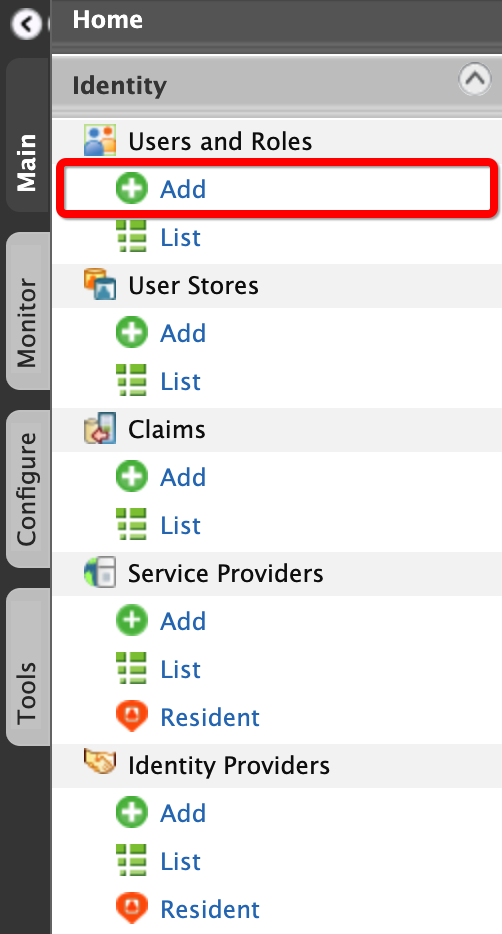
-
Click Add New User.

-
Enter the required data as follows.
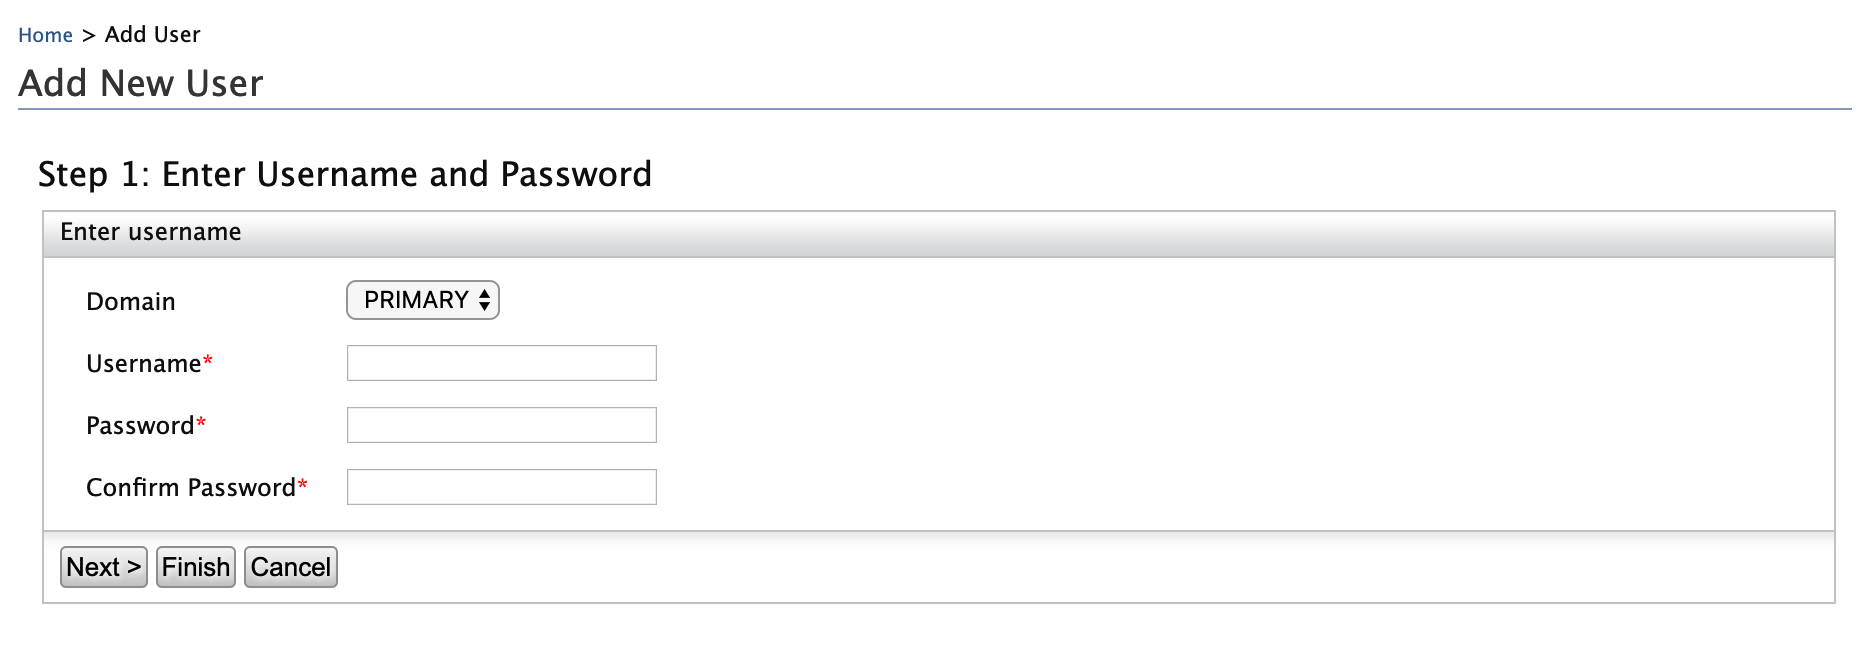
- Domain:
Primary - Username:
Larry
- Domain:
-
Click Finish.
-
-
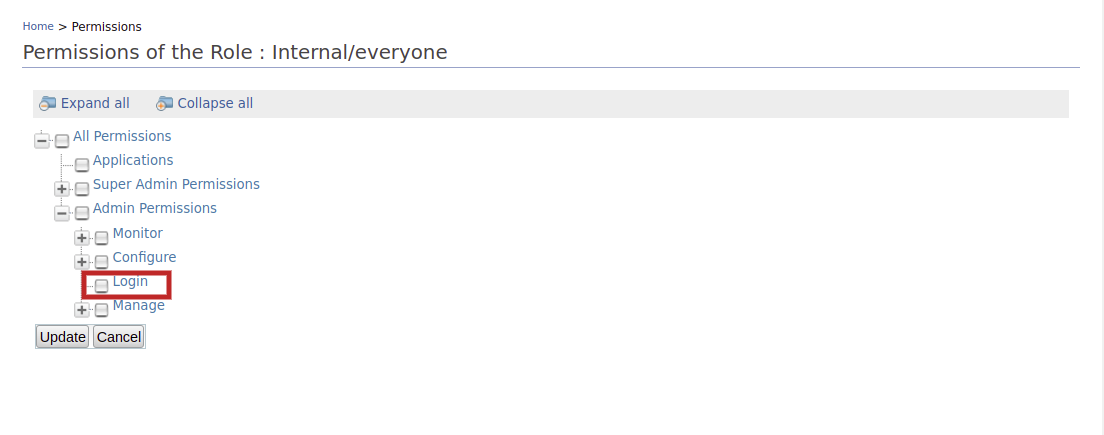
To assign login permissions to the user:
-
Click the View Roles option of Larry.

-
Click Permissions.
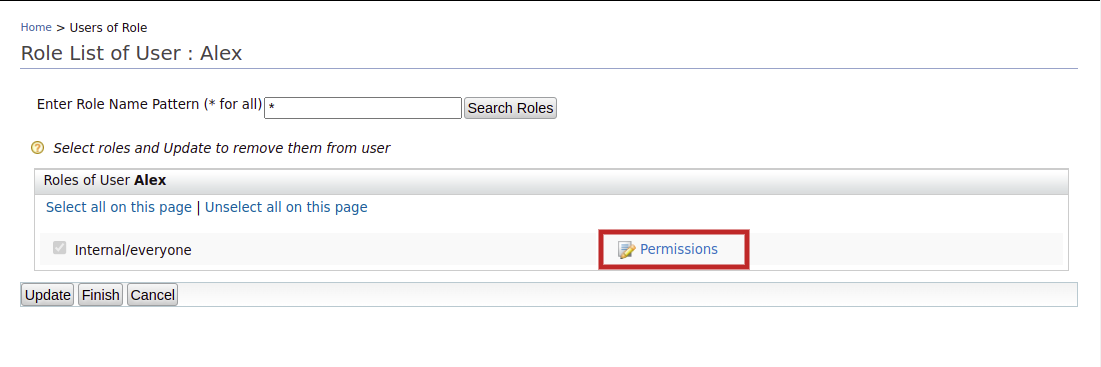
-
Select Login and click Update.
-
-
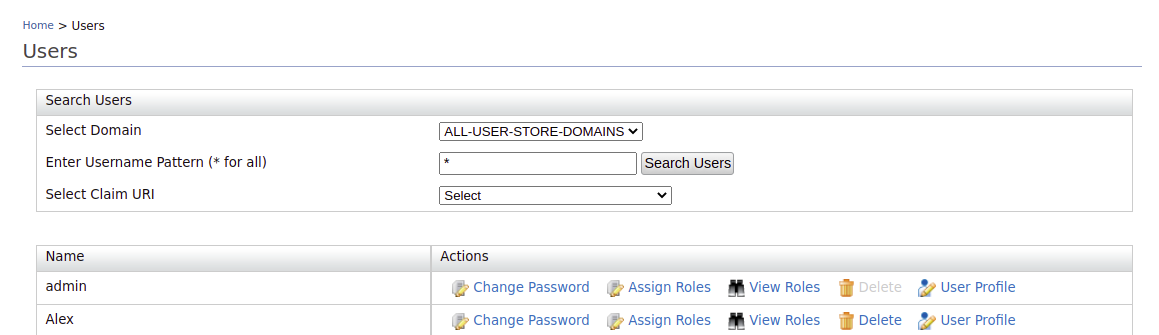
To disable Larry's user account:
-
Click User Profile option of Larry.
-
Enter an email address to which Larry's account disabling emails will be sent and select the Account Disabled check box.
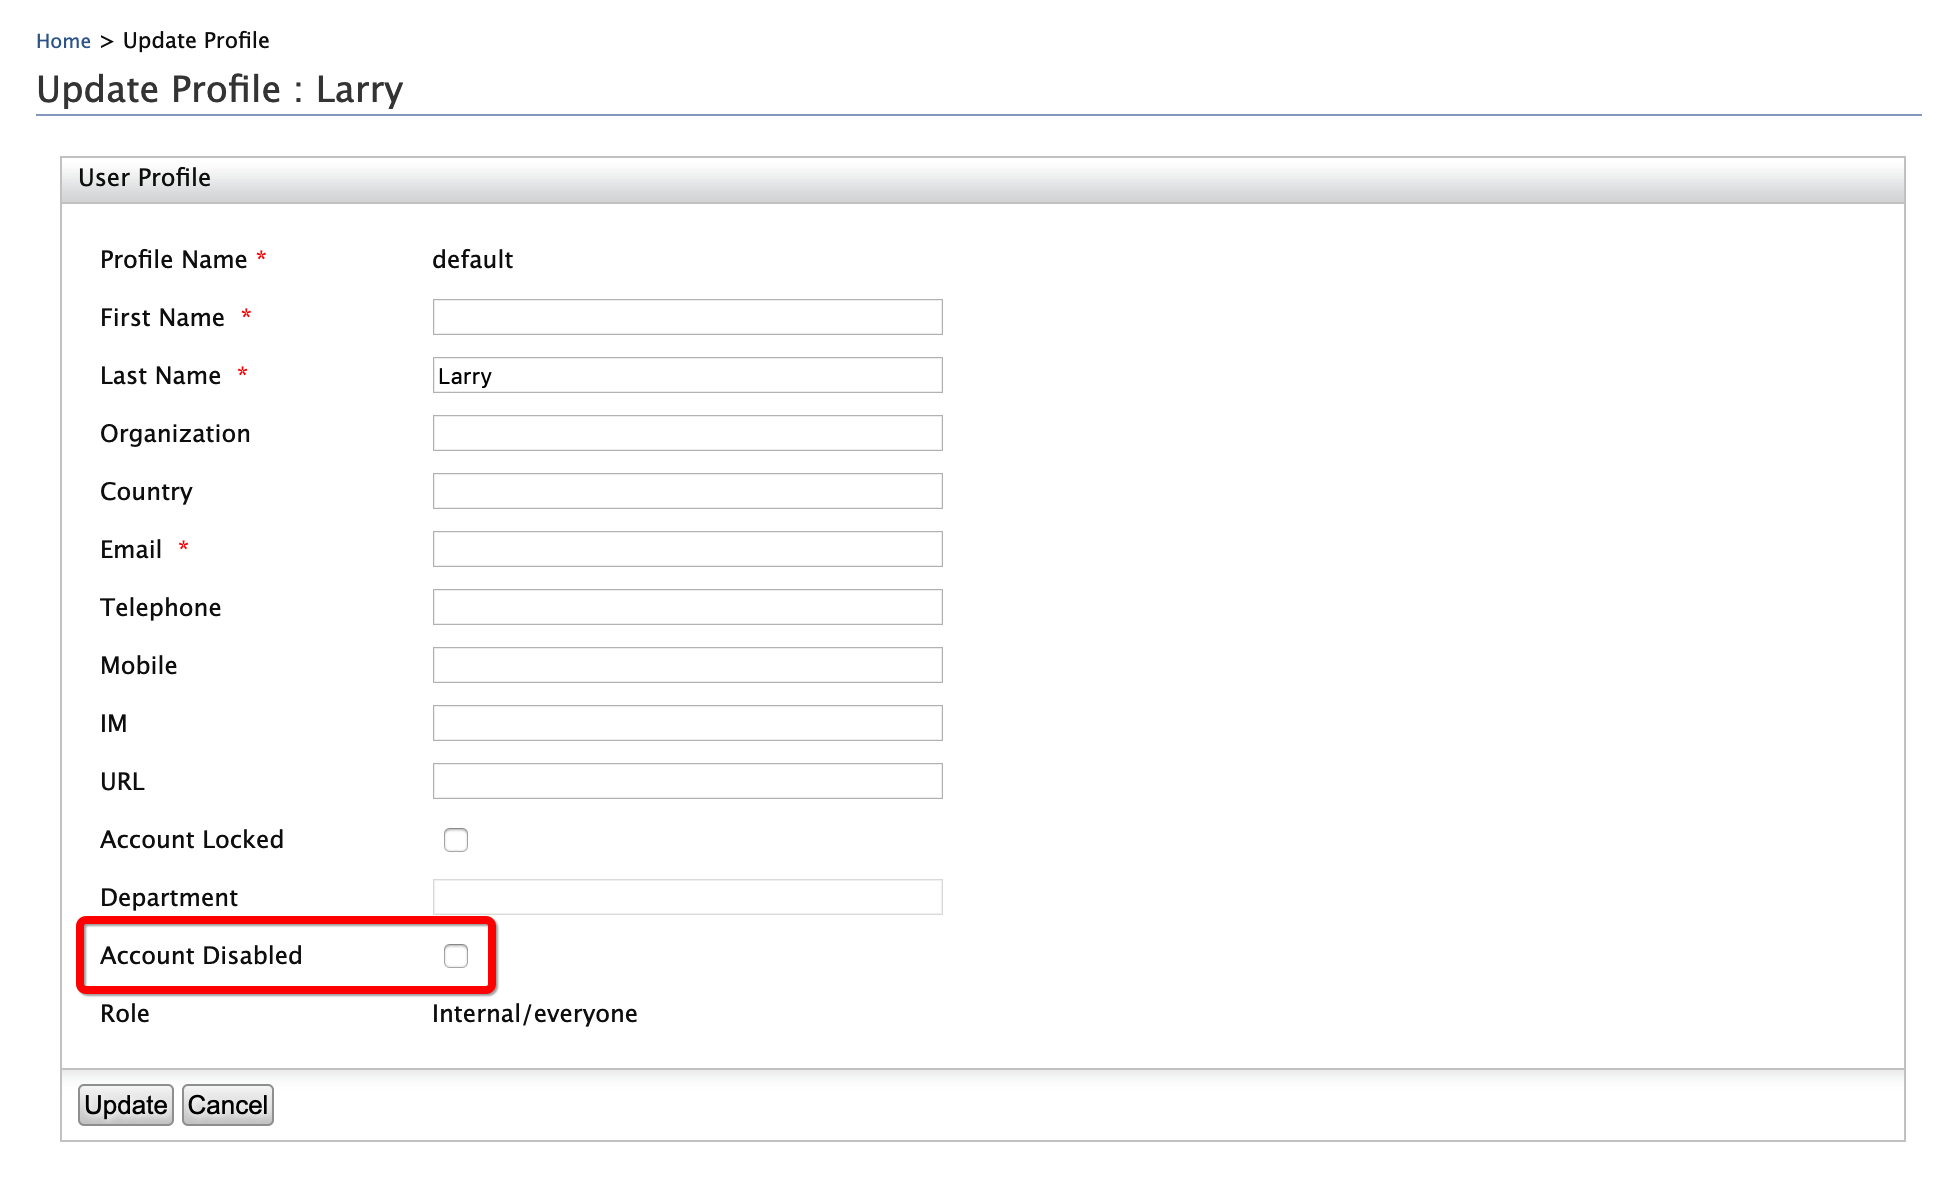
-
Click Update.
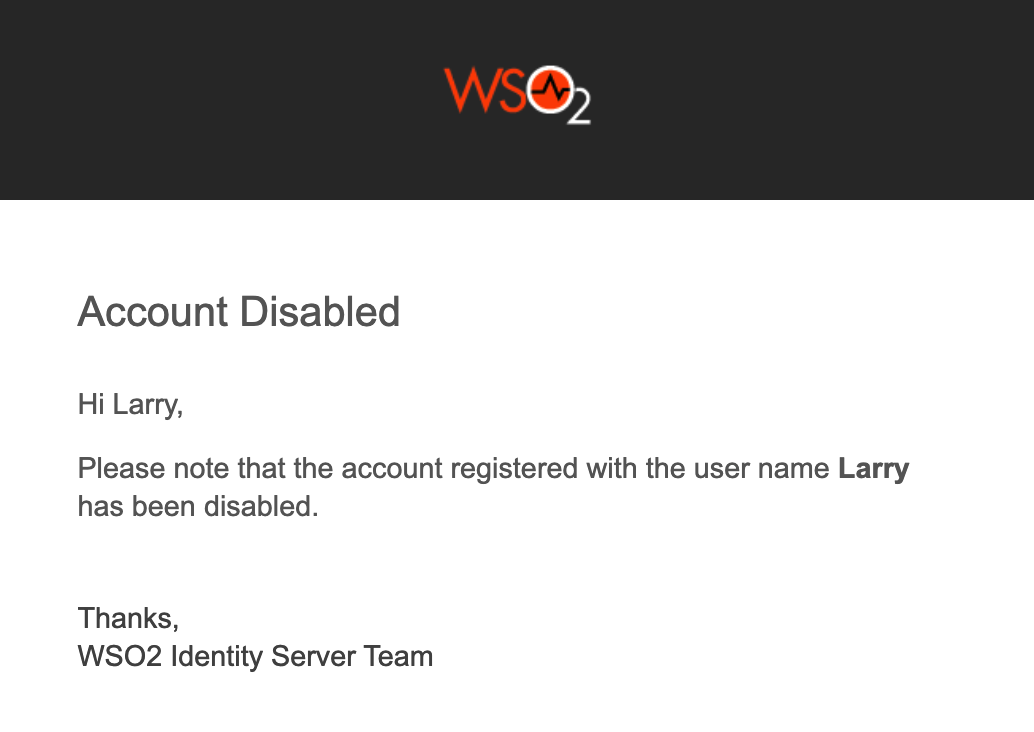
-
An email that informs about the disabled account is sent to the given email address.
-
Access the WSO2 Identity Server My Account at
https://localhost:9443/myaccount.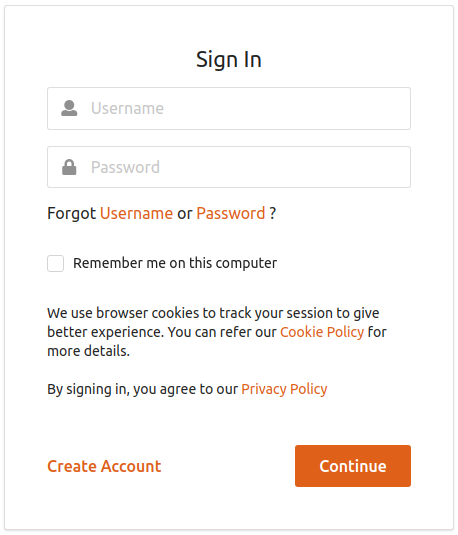
-
Try logging in with Larry's credentials. Note that an error message appears.
-
-
To revoke the account disabling:
-
Click User Profile option of Larry.
-
Unselect the Account Disabled check box.
-
Click Update.
-
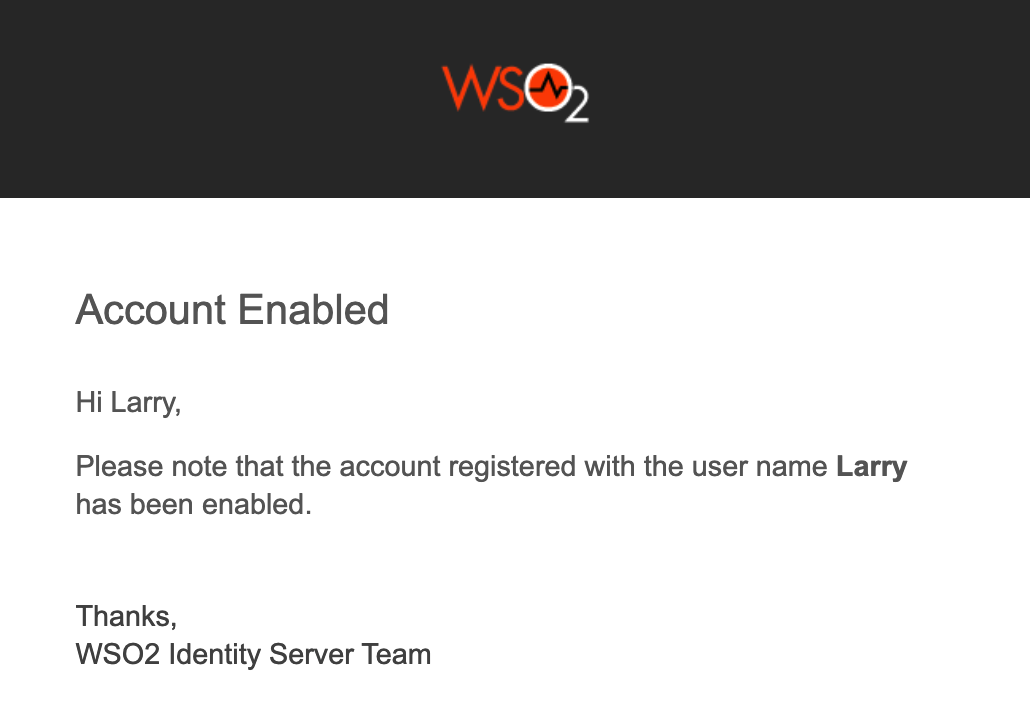
An email that informs about the enabled account is sent to the given email address.
-
Trying logging in to the WSO2 Identity Server User Portal with Larry's credentials. The WSO2 Identity Server User Portal home screen appears.
-