Self-Registration
Self-registration is an account management feature offered by WSO2 Identity Server.
In this approach, when a user self-registers, a user account gets created and an email requesting for account confirmation is sent to the user's registered email ID. The account remains locked for a predefined duration during which the user should confirm the account creation. If the user does not confirm the account creation before the predefined duration, the user account gets locked. Such accounts can be deleted by administrators to manage resources effectively.
Scenario
Pickup is a cab company that has many employees who use different credentials to sign in to different internal enterprise applications. While Robert is an administrator at Pickup, Mark is a new recruit who wishes to use the self-registration option to create a user account.
When Mark self-registers, an email requesting for account creation confirmation is sent to Mark's registered email account. Mark should respond to the confirmation email before the confirmation acceptance window expires. If Mark fails to confirm the account creation, the user account will be locked and Robert will be able to delete this user account.
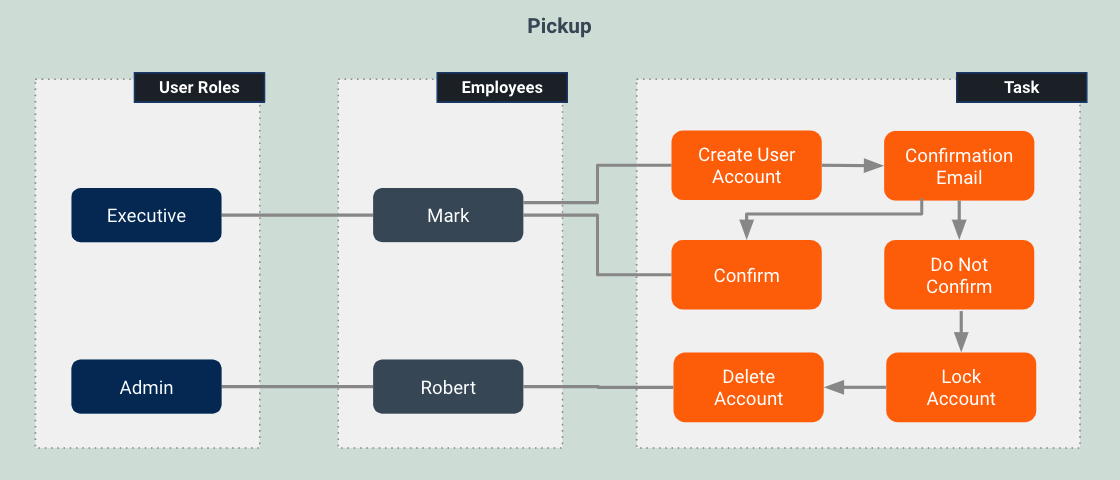
Let's learn how it's done!
Set up
Follow the steps below to configure WSO2 Identity Server to enable password entry for account confirmation.
-
Open the
deployment.tomlfile in the<IS_HOME>/repository/confdirectory.-
Make sure the following listener configs are in place.
[event.default_listener.identity_mgt] priority= "50" enable = false [event.default_listener.governance_identity_mgt] priority= "95" enable = true [event.default_listener.governance_identity_store] priority= "97" enable = true -
To send user account creation confirmation email, add the following configurations.
[identity_mgt.user_onboarding] enable_email_verification = true lock_on_creation=true -
To configure the email server to send emails requesting a password entry, add the following configurations.
- from_address: This is the email address from which the confirmation email will be sent.
- username: This is the user name of the given email address.
- password: This is the password of the given email address.
[output_adapter.email] from_address= "" username= "" password= "" hostname= "smtp.gmail.com" port= 587 enable_start_tls= true enable_authentication= true[output_adapter.email] from_address= "[email protected]" username= "wso2iamtest" password= "Wso2@iam70" hostname= "smtp.gmail.com" port= 587 enable_start_tls= true enable_authentication= trueIf you are using a Google email account
Google has restricted third-party applications and less secure applications from sending emails by default. As WSO2 Identity Server acts as a third-party application when sending emails for password entry, follow the steps below to enable your Google email account to provide access to third-party applications.
-
Under Signing in to Google section, turn off the 2-step Verification option.
-
Enable Less secure app access in the Google Account's Security section.
-
-
Sign in to the WSO2 Identity Server Management Console at
https://<SERVER_HOST>:9443/carbonas an administrator. -
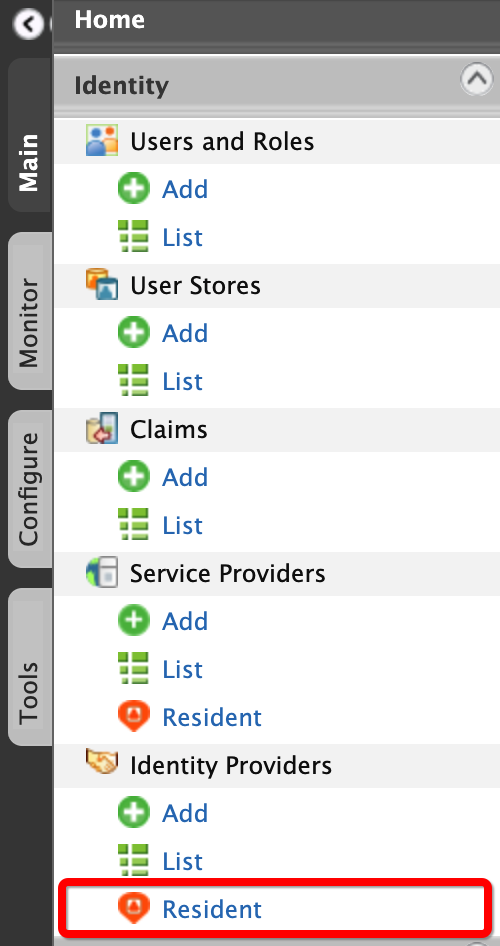
On the Main menu of the Management Console, click Identity > Identity Providers > Resident.
-
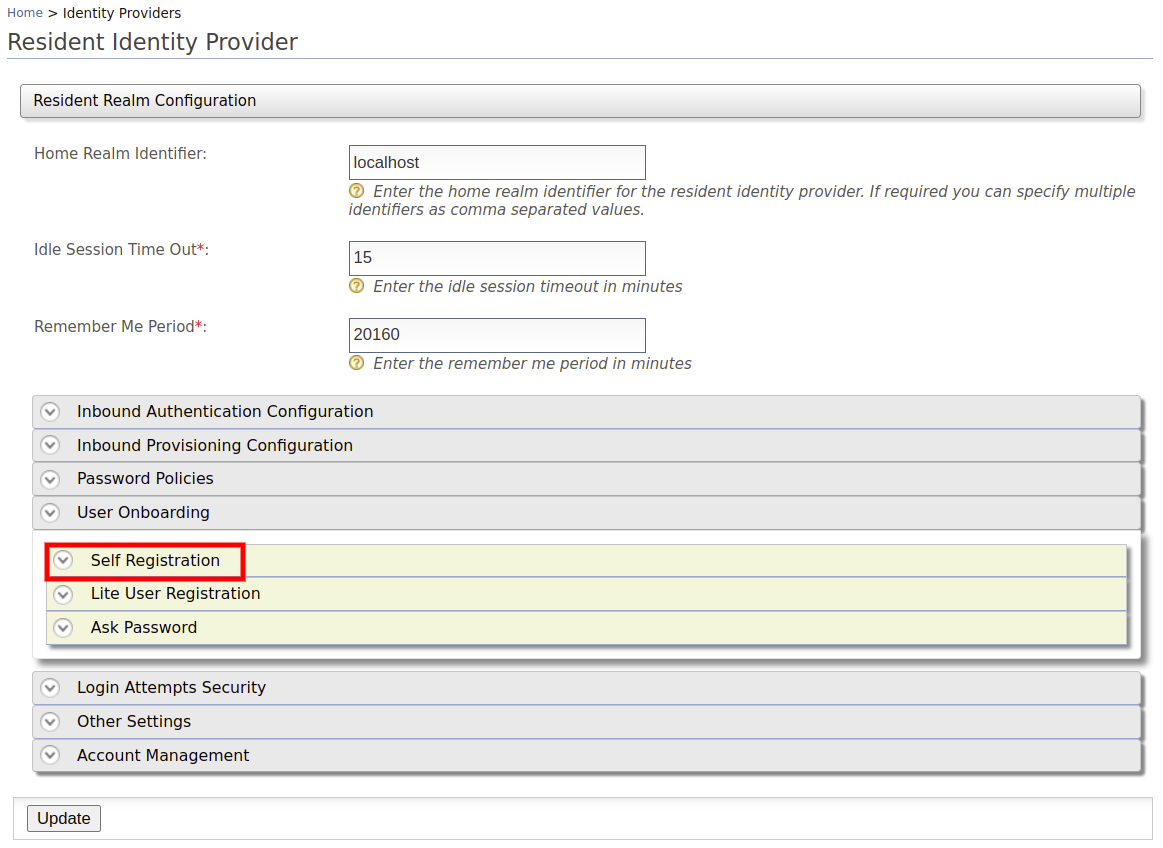
Under the User Onboarding section, click Self Registration.
-
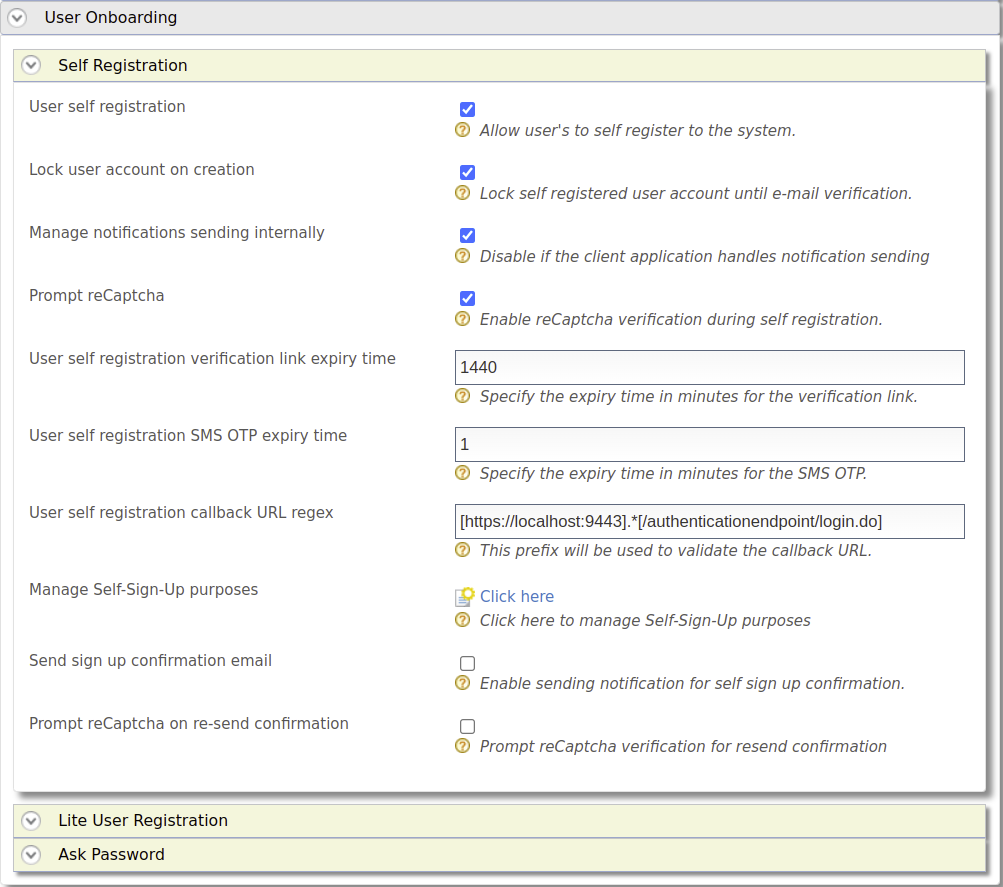
Enter the required information as given below.
-
To enable self-registration, select the Enable Self User Registration check box.
-
To keep the user account that is created through self-registration locked until the user responds to the account confirmation email, select the Enable Account Lock On Creation Enabled check box.
-
To enables sending confirmation emails to the user, select the Enable Notification Internally Management check box. If the client application handles notifications, unselect.
-
You may enter the account confirmation email validity period (in minutes) in the User self registration code expiry time text box.
-
To set attributes that the user will consent to share:
-
Click Click here under Manage Self-Sign-Up purposes.
-
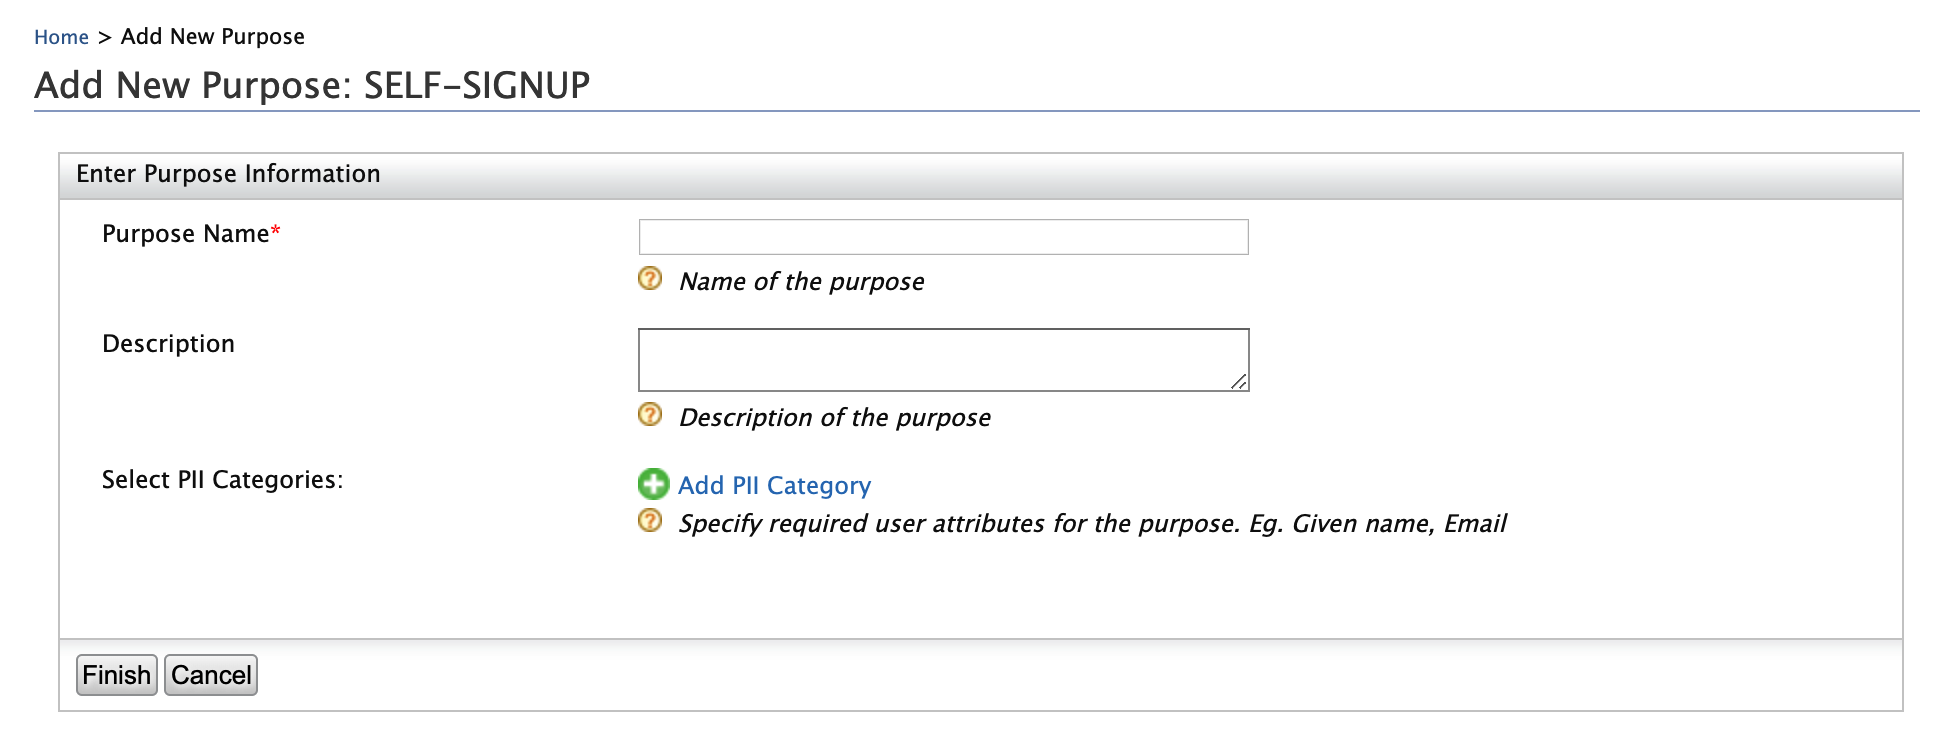
Click Add New Purpose.

The Add New Purpose screen appears.
-
Enter
To send marketing materialin the Purpose Name text box. -
Enter
To send product marketing material via email and text messagesin the Description text area. -
Under Select PII Categories, click Add PII Category.
What's PII?
Personally Identifiable Information (PII) is any information that can be used to identify the user who is consenting to share the user's information. For more information, see Definitions for consent management
-
Select the following options.
http://wso2.org/claims/givennamehttp://wso2.org/claims/emailaddresshttp://wso2.org/claims/mobile

-
Set the First Name and Email display names to mandatory.
-
Click Finish. Note that the Consent Purposes screen appears.
-
Click Finish. Note that the User Self Registration screen appears.
-
-
-
Click Update.
You have now configured WSO2 Identity Server to enable self-registration. Let's try it out!
Try out
-
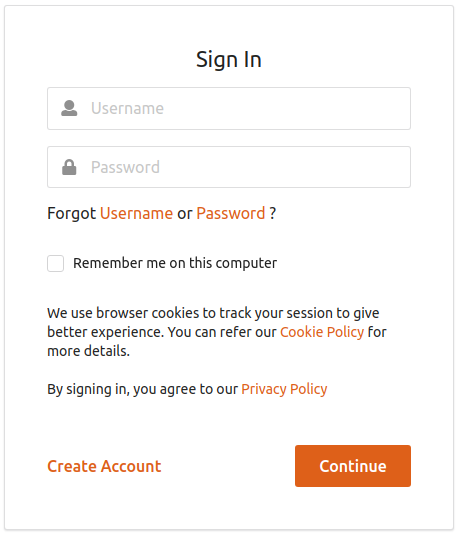
Access WSO2 Identity Server User Portal at
https://localhost:9443/myaccount/. -
Click Create Account.
-
Enter the user name as
Markand click Proceed to Self Register.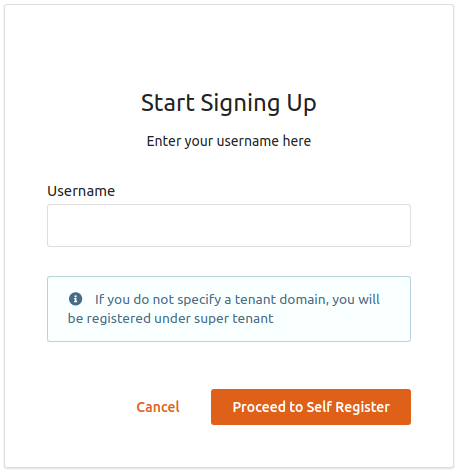
Using special characters in the username
Note that the special characters
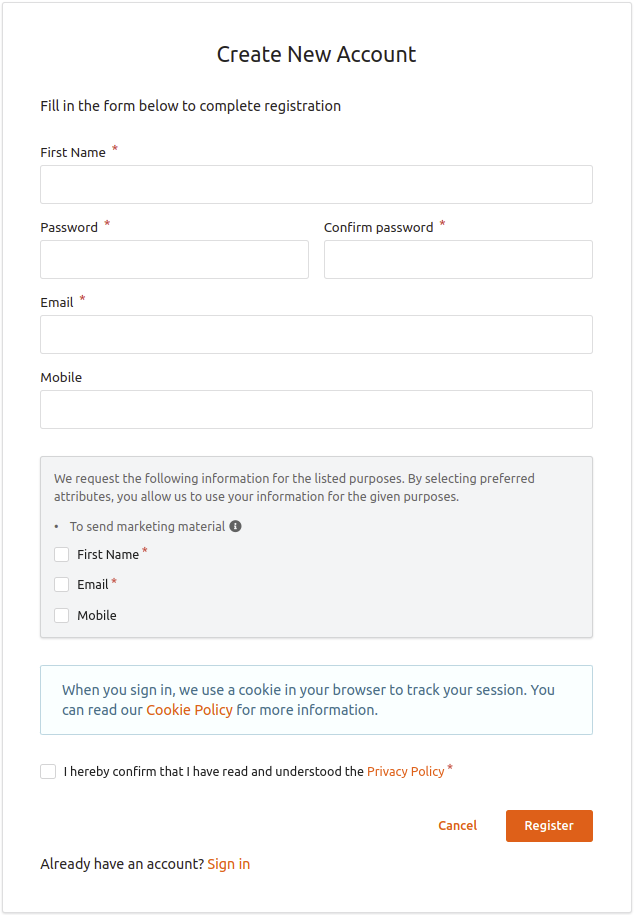
@,/,\,!,(,),*,~,<,>, and whitespaces are not allowed in usernames as they have been reserved for other purposes. See Usernames in WSO2 Identity Server for more information on this.The Create New Account screen appears.
-
Enter
Markin the First Name text box. -
Enter a preferred password in the Password and Confirm password text boxes.
-
Enter your email address in the Email text box. Note that as per the PII configurations, this text box appears mandatory.
-
You may enter other details in the given text boxes. Note that as per the PII configurations, those text boxes appear optional.
-
Read the Privacy Policy and select the Privacy Policy check box.
-
Click Register.
-
-
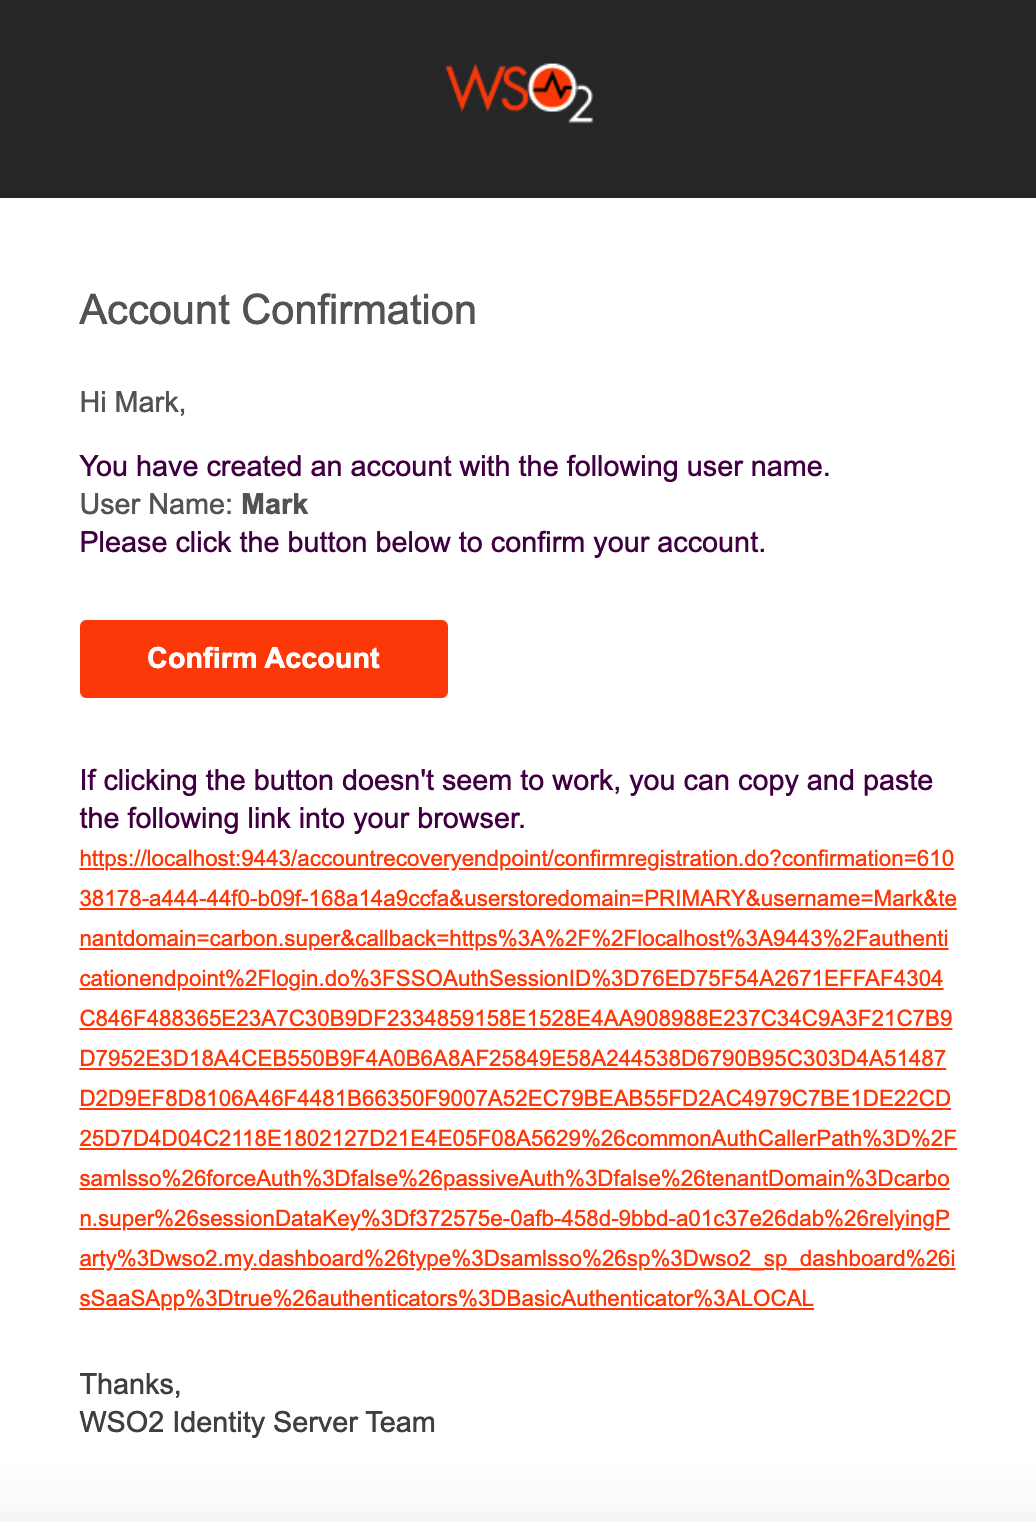
An email requesting to confirm the user account creation is sent to the given email address.
-
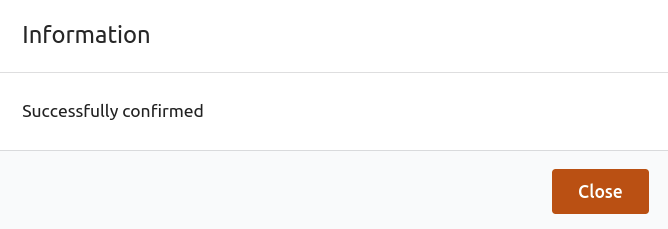
To respond to the account confirmation email, click Confirm Account. A confirmation message appears.
-
Click Close. The WSO2 Identity Server User Portal Login screen appears.
-
Log in with Mark's credentials and navigate to the Home screen.
Tip
Following are more self-registration methods: