Configuring Login Attempts-Based Adaptive Authentication
This tutorial demonstrates how you can set up login attempts-based adaptive authentication with WSO2 Identity Server (WSO2 IS). This is useful when you want to add security for users who successfully log in after a specific number of failed login attempts.
To understand how to set up login-attempts-based adaptive authentication with WSO2 IS, let's consider a scenario where you want a user who successfully logs in after 3 failed login attempts to perform an additional level of authentication to access a resource.
Before you begin
- Configure the service provider and sample application for adaptive authentication if you have not done so already. For instructions on how to do this, see Configuring a Service Provider for Adaptive Authentication.
- For more information about adaptive authentication with WSO2 Identity Server, see Adaptive Authentication.
Configuring the sample scenario
- Log in to the management console and create a new user named 'Alex'.
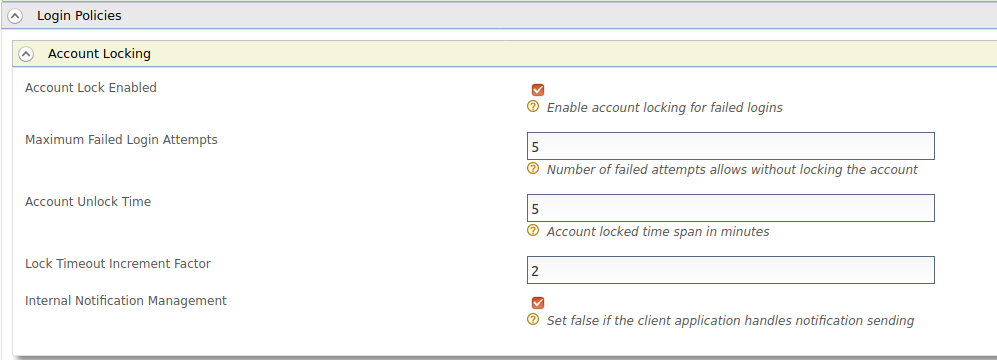
- Navigate to Resident > Identity Providers and expand the Login Policies > Account Locking section.
- Enable Account Lock Enabled.
- Enter a value for Maximum Failed Login Attempts
Note
Maximum Failed Login Attempts should be greater than the number of failed login attempts you are going to consider for prompting two factor authentication. (In this example, since we are going to prompt two factor authentication after 3 failed login attempts, Maximum Failed Login Attempts should be greater than 3).
-
Navigate to Service Providers > List.
-
Click Edit on the
saml2-web-app-pickup-dispatch.comservice provider. - Expand the Local and Outbound Configuration section and click Advanced Authentication.
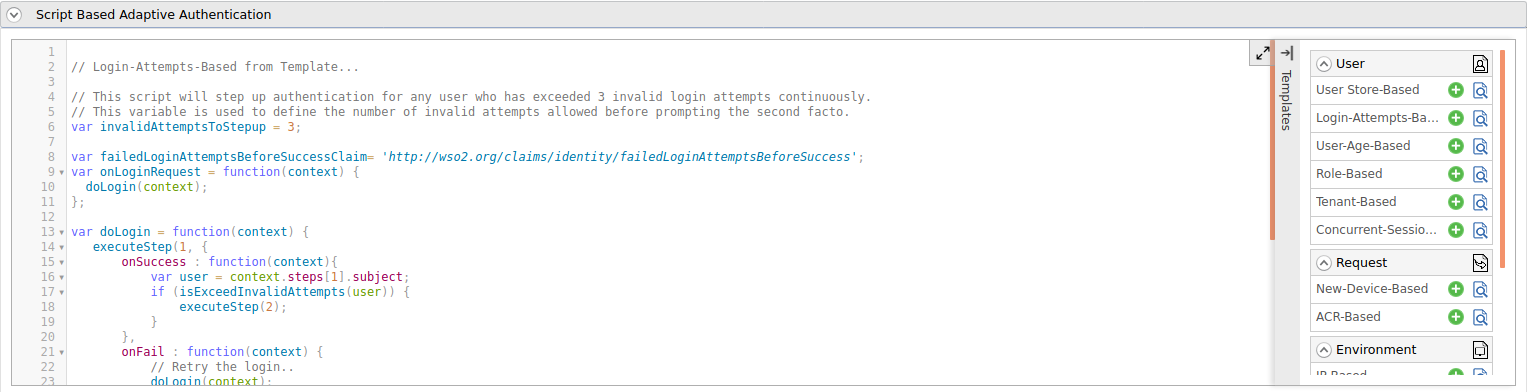
- Expand Script Based Conditional Authentication.
- Click Templates on the right side of the Script Based Conditional Authentication field and then click Login-Attempts-Based.
-
Click Ok. The authentication script and authentication steps are configured. The authentication script defines a conditional step that executes the second authentication step (i.e., hardware key authenticator) only if the user logs in after a specific number of invalid login attempts defined by
invalidAttemptsToStepupparameter. -
The authentication steps added are
totpandfido. However, these are authentication steps that you would normally use in production. To try out sample authenticators with the sample application, delete the two authenticators and add the following sample authenticators instead.-
Click Delete to remove the
totpandfidoauthenticators from Step 2 (the second authentication step).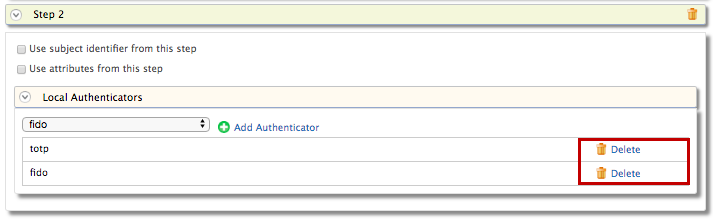
-
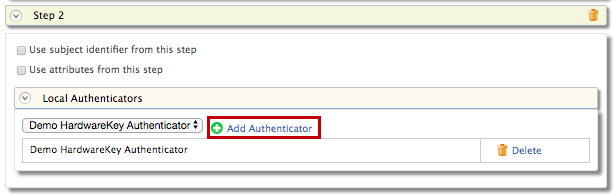
Select Demo Hardware Key Authenticator and click Add.
-
-
Click Update.
Testing the sample scenario
-
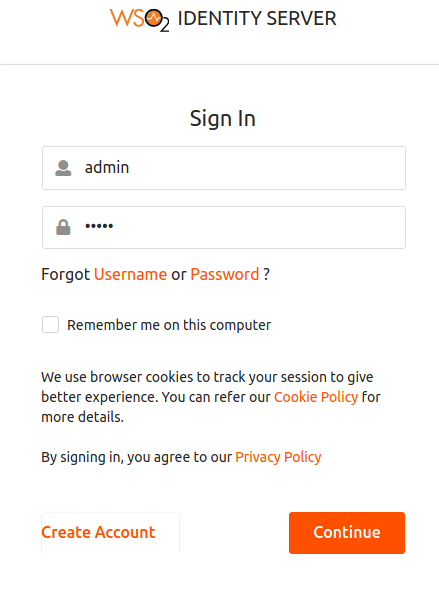
Access the following sample PickUp application URL: http://localhost.com:8080/saml2-web-app-pickup-dispatch.com
-
Click Login and try to login using an invalid password, causing a failed login attempt.
- Then try to log in using the correct username and password. The user is not prompted with the second factor authentication since the number of failed attempts has not exceeded the value specified in Maximum Failed Login Attempts.
- Make invalid failed attempts until you exceed the allowed failed attempts and try to login with the correct credentials.
-
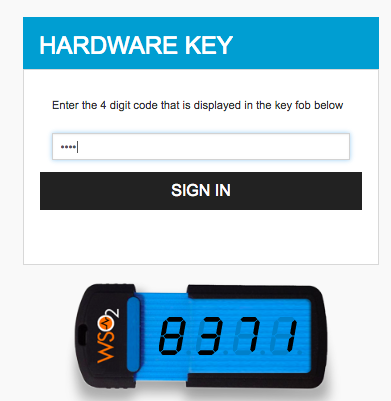
Now you are prompted to use the hardware key after basic authentication according to the authentication step defined in the JavaScript above.
-
Enter the 4-digit key given on the screen and click Sign In.
Note
The failed login attempts need not be made during a given time period. Login attempts-based adaptive authentication is valid even if the user makes two login attempts now and the other in a few days' time, before trying to log in with the correct credentials.