Configuring User Store-Based Adaptive Authentication
This tutorial demonstrates user-store-based adaptive authentication with WSO2 Identity Server using sample authenticators. This is useful if you want to add security for users logging in from other user store domains. Using the user-store-based adaptive authentication template, you can add certain user store domains to the allowlist so that users from those domains are prompted to perform an additional level of authentication, while users from any other user store domain can simply provide their credentials (basic authentication) to access a resource.
Follow the instructions in the sections given below:
Configuring the sample scenario
Follow the instructions given below to create a new LDAP database and configure it as a user store in WSO2 IS. In this tutorial, the new secondary user store will be added to the allowlist in the authentication script so that users beloging to the new user store are prompted for an extra step of authentication.
Before you begin
- Set up the service provider and sample application for adaptive authentication. For instructions on how to do this, see Configuring a Service Provider for Adaptive Authentication.
- Download and install Apache Directory Studio.
- For more information about adaptive authentication with WSO2 Identity Server, see Adaptive Authentication.
-
Login to the mangement console.
-
Navigate to Service Providers>List and click Edit on the
saml2-web-app-pickup-dispatch.comservice provider. - Expand the Local and Outbound Configuration section and click Advanced Authentication.
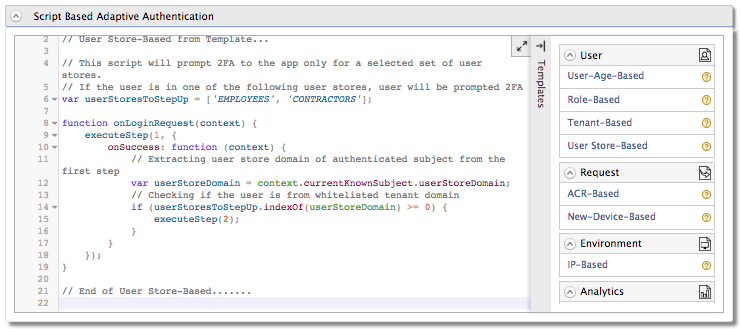
- Click on Templates on the right side of the Script Based
Conditional Authentication field and then click User
Store-Based.
-
Click Ok. The authentication script and authentication steps are configured. The authentication script prompts the second step of authentication for users that belong to the user stores named "
EMPLOYEES" and "CONTRACTORS". -
The second authentication step that is added is
totp.However,totpis an authentication step that you would normally use in production. To try out this scenario sample authenticators with the sample application, delete thetotpauthenticator and add the following sample authenticator instead.- Click Delete to remove the
totpauthenticator from Step 2 (the second authentication step).

- Select Demo Hardware Key Authenticator and click Add.

- Click Delete to remove the
- Click Update.
- Next, set up the database. This database will be connected to WSO2
Identity Server as a user store named "
EMPLOYEES". If you do not already have an existing database, you can create a new LDAP server using Apache Directory Studio (Apache DS). Click below for instructions on how to set this up.
Info
Alternatively, you can also use a Active Directory or JDBC database or an existing LDAP database.
Click here for instructions on how to create an LDAP server
- Open Apache Directory Studio.
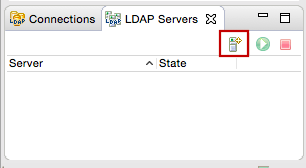
- In the LDAP Servers tab found on the bottom left corner,
click New Server.
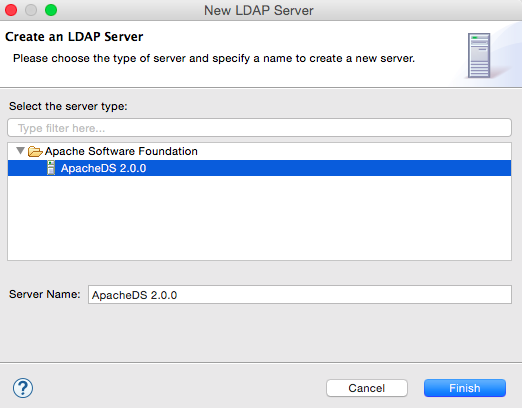
- Select LDAP server ApacheDS 2.0.0 and click Finish.
-
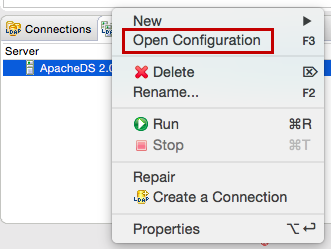
Right-click on the newly created server and click Open Configuration.
-
Port offset the LDAP and LDAP server ports by changing the LDAP port to 10390 and the LDAP server port to 10637. This ensures that the embedded LDAP server running in the prior installation of WSO2 IS does not conflict with the current installation.
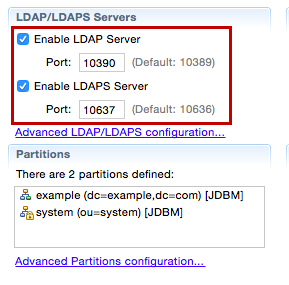
-
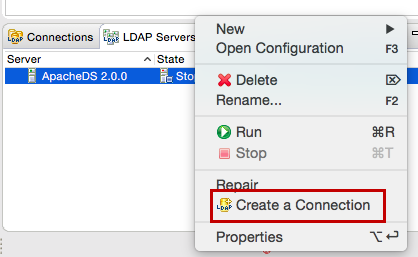
Right-click on the new server and click Create a Connection.
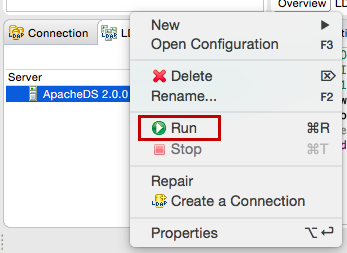
- Right-click on the server and click Run to start the server.
9. Click Add under User Stores on the Main tab and add a new secondary user store named "EMPLOYEES".

10. Configure the user store properties as follows.
Info
- The following sample values are based on default settings of a new LDAP server. If you have changed the default configurations of the LDAP server in Apache DS, configure the values accordingly.
- For more information about secondary user store properties, see Configuring Secondary User Stores.
- Connection URL: ldap://localhost:10390
- Connection Name: uid=admin,ou=system
- Connection Password: secret
- User Search Base: ou=users,ou=system
- User Entry Object Class: inetOrgPerson
- Username Attribute: uid
- User Search Filter: (&(objectClass=person)(uid=?))
-
User List Filter: (objectClass=person)
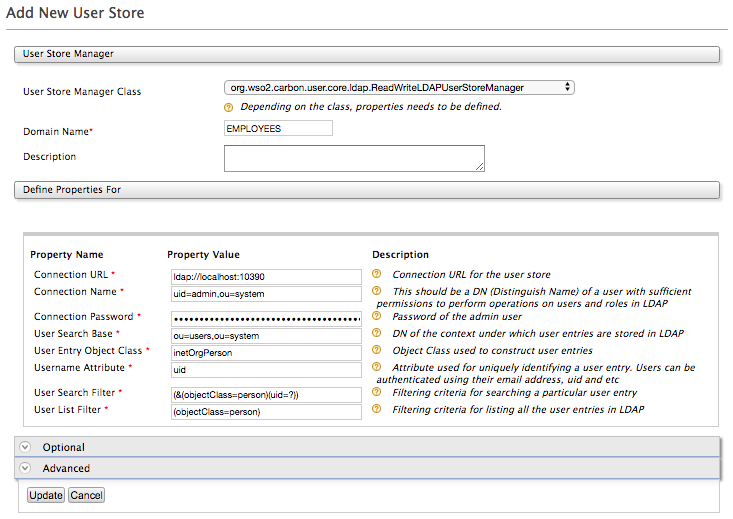
11. Expand the Optional tab and set the Group Search Base property as follows.
Group Search Base: ou=groups,ou=system

12. Click Update to save the configurations.
Trying out the sample scenario
- Create a new user named "Alex" in the
PRIMARYuser store. SelectPRIMARYas the Domain when creating the user. -
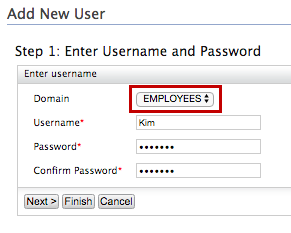
Create another new user named "Sam" in the
EMPLOYEESuser store. SelectEMPLOYEESas the Domain when creating the user.
-
Access the following sample PickUp application URL: http://localhost.com:8080/saml2-web-app-pickup-dispatch.com
-
Click Login and enter Alex's credentials. Note that Alex is successfully logged in to the application after going through only the basic authentication step.
-
Log out and login again using Sam's credentials. Note that Sam is prompted for a second step of authentication (i.e., hardware key authenticator) since Sam belongs to the allowlisted user store domain "
EMPLOYEES".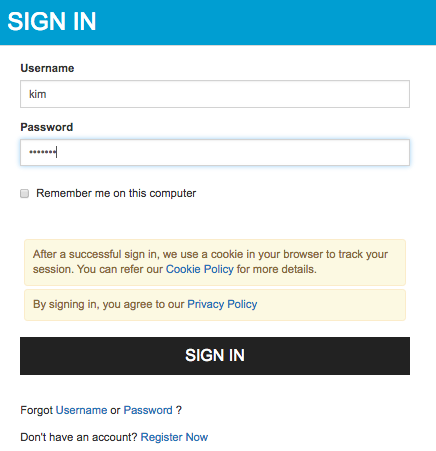
Enter the 4 digit key and click Sign In.
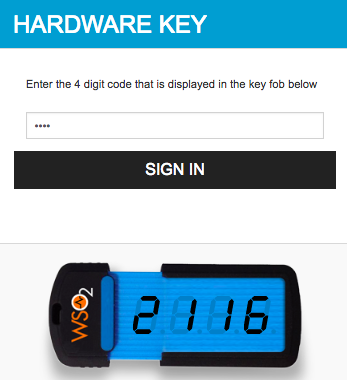
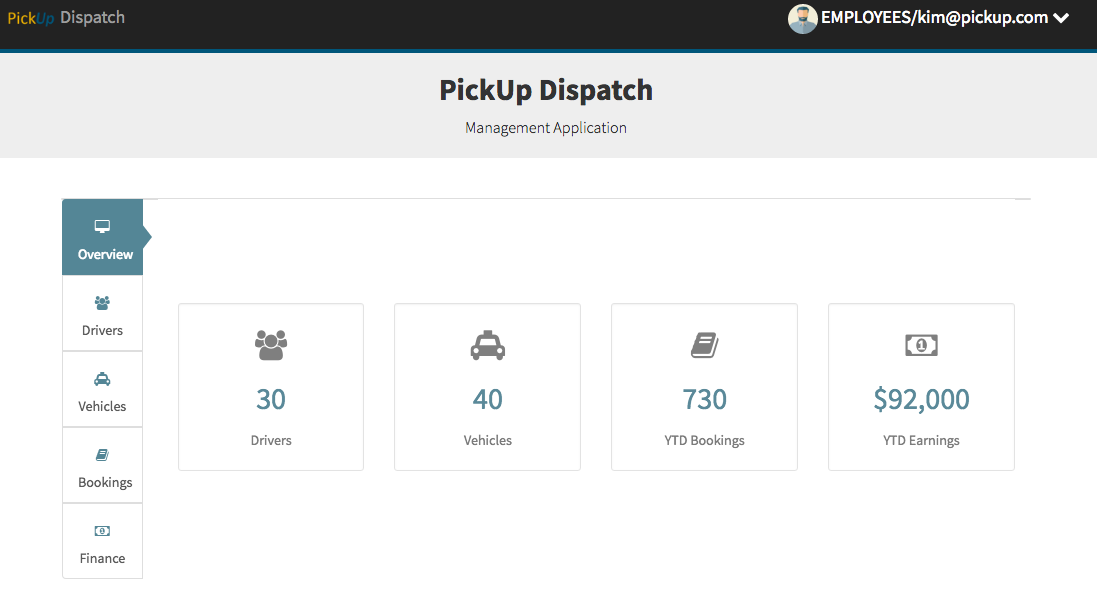
Provide consent and you will be successfully logged in to the application.
Tip
Ensure that the LDAP server in Apache DS is running when attempting to log in as Sam.