Adding Claim Mapping
You can add new claim mapping to an existing claim dialect (see the Configuring Claim Dialects page for configuring dialects). You can add either a new local claim, or an external claim:
- Add Local Claim - Follow the steps in this section to add a new claim to the https://wso2.org/claims (local) claim dialect.
- Add External Claim - Follow the steps in this section to add a new claim to any claim dialect other than the local (https://wso2.org/claims) dialect. To do this, map the relevant local claim from the local claim dialect ( https://wso2.org/claims).
Add local claim
- Sign in to the Management Console by entering your username and password.
- In the Main menu, click Add under Claims.
-
Click Add Local Claim to add a new claim to the https://wso2.org/claims (local) claim dialect.
-
Enter the required information.
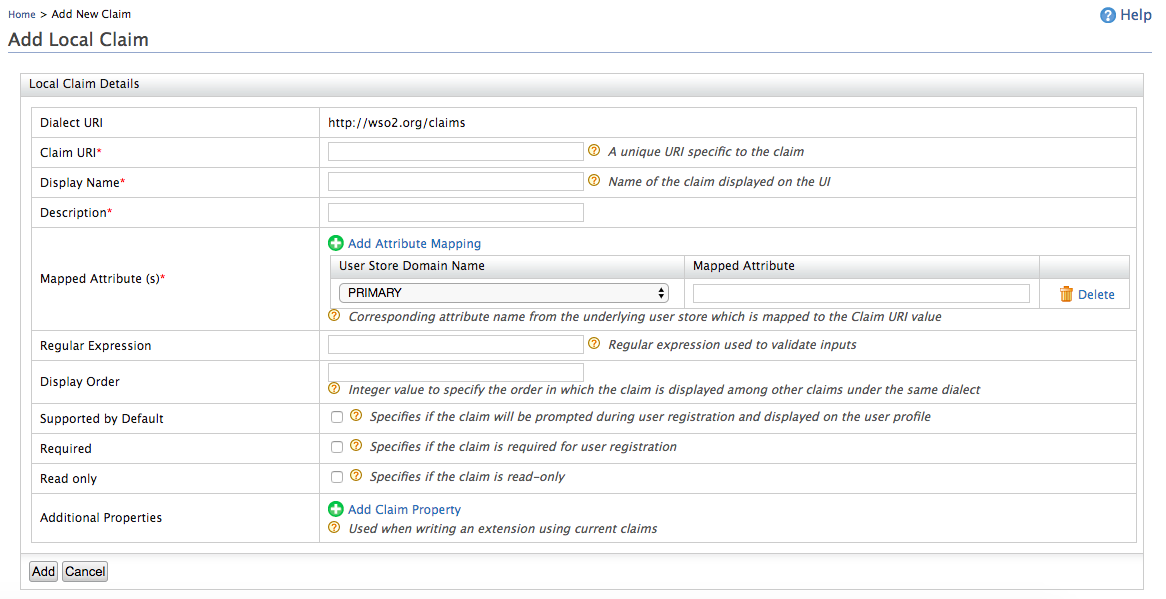
See the following table for descriptions of these fields.
Claim details Description Claim URI This is the URI defined under the dialect, specific to the claim. There are different URIs available in the Identity Server and these equate to user attributes displayed in the profile of users. These URIs are mapped to the attributes in the underlying user store. Display Name This is the name of the claim displayed on the UI. This can be viewed in the user's profile by navigating to the Main tab in the management console and clicking List in Users and Roles. In the resulting page, click Users and in the list of users that are displayed, click User Profile next to the one you wish to check. Description This gives you the option to describe the functionality of the claim. Mapped Attribute This is the corresponding attribute name from the underlying user store that is mapped to the Claim URI value.
When you have multiple user stores connected to the Identity Server, this maps the equivalent attribute in all of them to the Claim URI you are configuring.
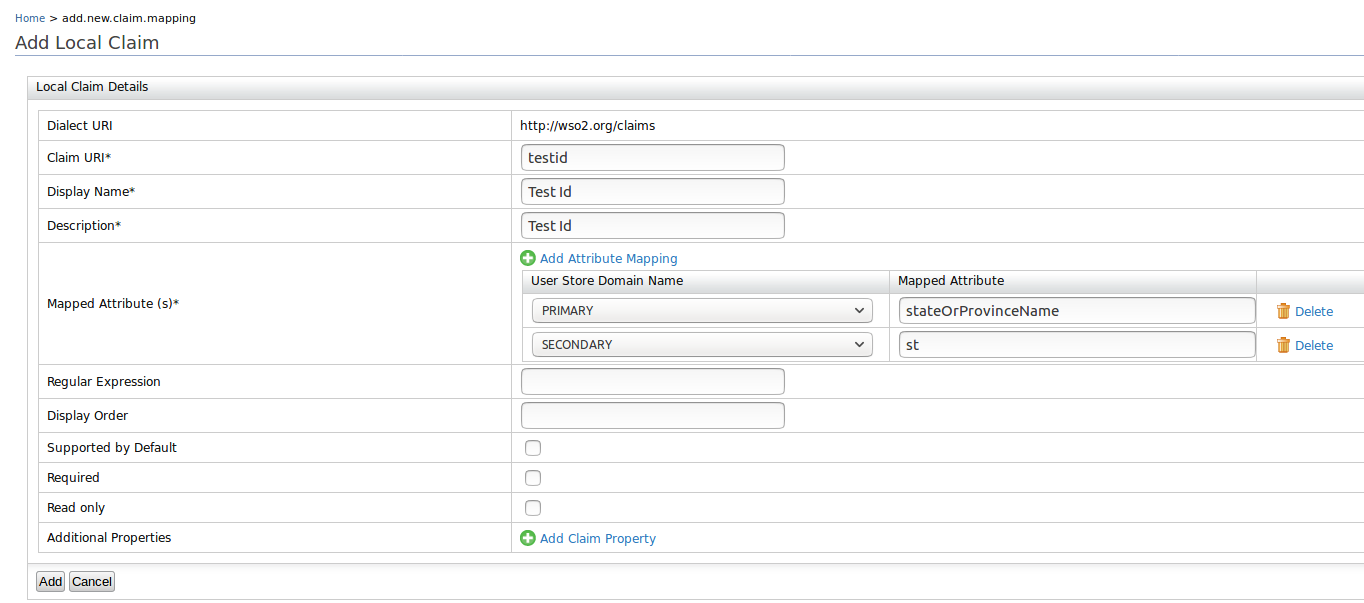
For example, if you specify thecnattribute, this is mapped to thecnattribute in all the connected user stores. If you want to specify the attribute in a specific user store, you must add the domain name in addition to the mapped claim. For example, in a scenario where you have a primary user store configured called PRIMARY and secondary user stores called AD (representing Active Directory), you can map an attribute from each of these user stores to the Claim URI value by clicking Add Attribute Mapping, selecting the respective user store from the drop-down list, and mentioning the attribute of the userstore the attribute needs to be mapped to.
Example:
Regular Expression This is the regular expression used to validate inputs. Example : For a claim URI like http://wso2.org/claims/email the regex should be something like " ^([a-zA-Z0-9_-.]+)@([a-zA-Z0-9_-.]+).([a-zA-Z]{2,5})$ ". This will validate the claim value and will not let other values except an email. Display Order This enables you to specify the order in which the claim is displayed, among the other claims defined under the same dialect. Supported by Default If unchecked, this claim will not be prompted during user registration. Required This specifies whether this claim is required for user registration. Read-only This specifies whether the claim is read-only or not. If the claim is read-only, it can't be updated by the user. Additional Properties These properties are not currently used in current WSO2 Identity server. If we need to write an extension using current claims we can use these property values. -
Click on the Add button.
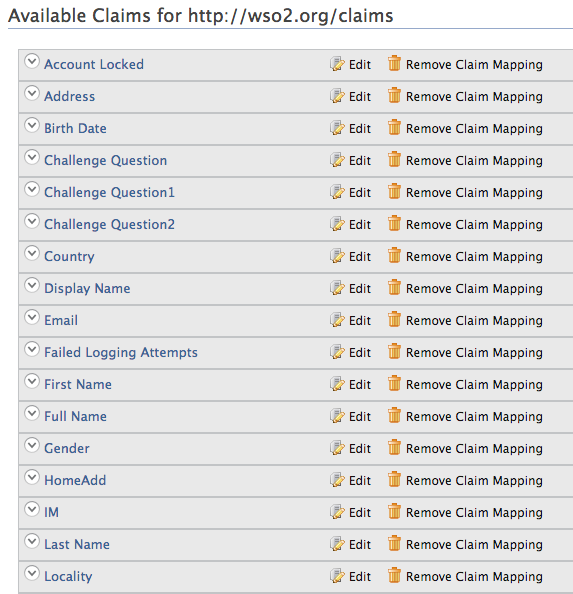
- A new claim mapping is displayed in the list.
Add external claim
- Sign in to the Management Console by entering your username and password.
- In the Main menu, click Add under Claims.
- Click Add External Claim to add a new claim to any existing dialect other than the local dialect, i.e, https://wso2.org/claims.
- Select the Dialect URI of the dialect you want to add the claim
to and enter the required information.
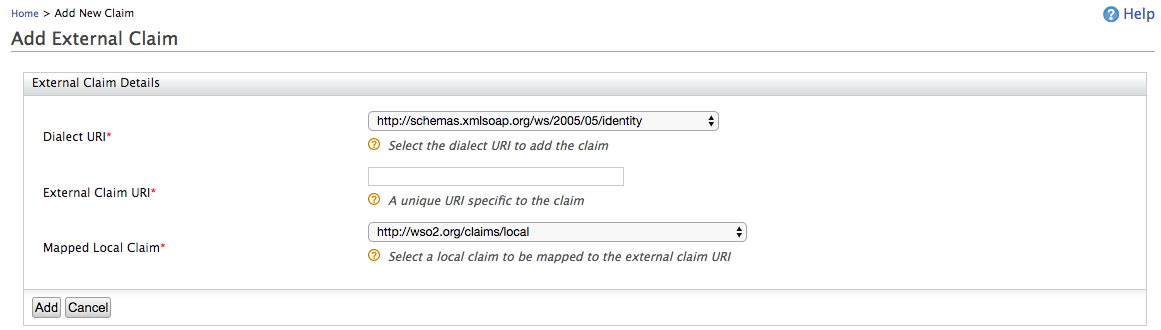
- External Claim URI: This is the URI defined under the dialect, specific to the claim. There are different URIs available in the Identity Server and these equate to user attributes displayed in the profile of users. These URIs are mapped to local claims in the https://wso2.org/claims dialect which are in turn mapped to the the relevant attributes in the underlying user store.
- Mapped Local Claim: This is the claim that is defined in the local claim dialect ( https://wso2.org/claims ) that is mapped to the relevant attribute in the underlying user store.
- Click on the Add button.
Note
Alternatively, you can also add a claim mapping using the configuration file instead of via the management console. To do this,
-
Open the
claim-config.xmlfile found in the<IS_HOME>/repository/conf/folder and add the necessary claim mapping under the relevant claim dialect.Sample claim mapping
<Claim> <ClaimURI>country</ClaimURI> <DisplayName>Country</DisplayName> <AttributeID>country</AttributeID> <Description>Country name component</Description> <MappedLocalClaim>http://wso2.org/claims/country</MappedLocalClaim> </Claim> -
Save the file and restart the server.
The claims configured in <IS_HOME>/repository/conf/claim-config.xml file get applied only when you start the product for the first time, or for any newly created tenants. With the first startup, claim dialects and claims will be loaded from the file and persisted in the database. Any consecutive updates to the file will not be picked up and claim dialects and claims will be loaded from the database.