Register an application in WSO2 Identity Server
2 min
First unless you already have done that, you need to create an organization in WSO2 Identity Server and register your application as a single page application.
-
Download and setup WSO2 Identity Server
-
Sign into WSO2 Identity Server console and navigate to Applications > New Application.
- Select Single Page Application
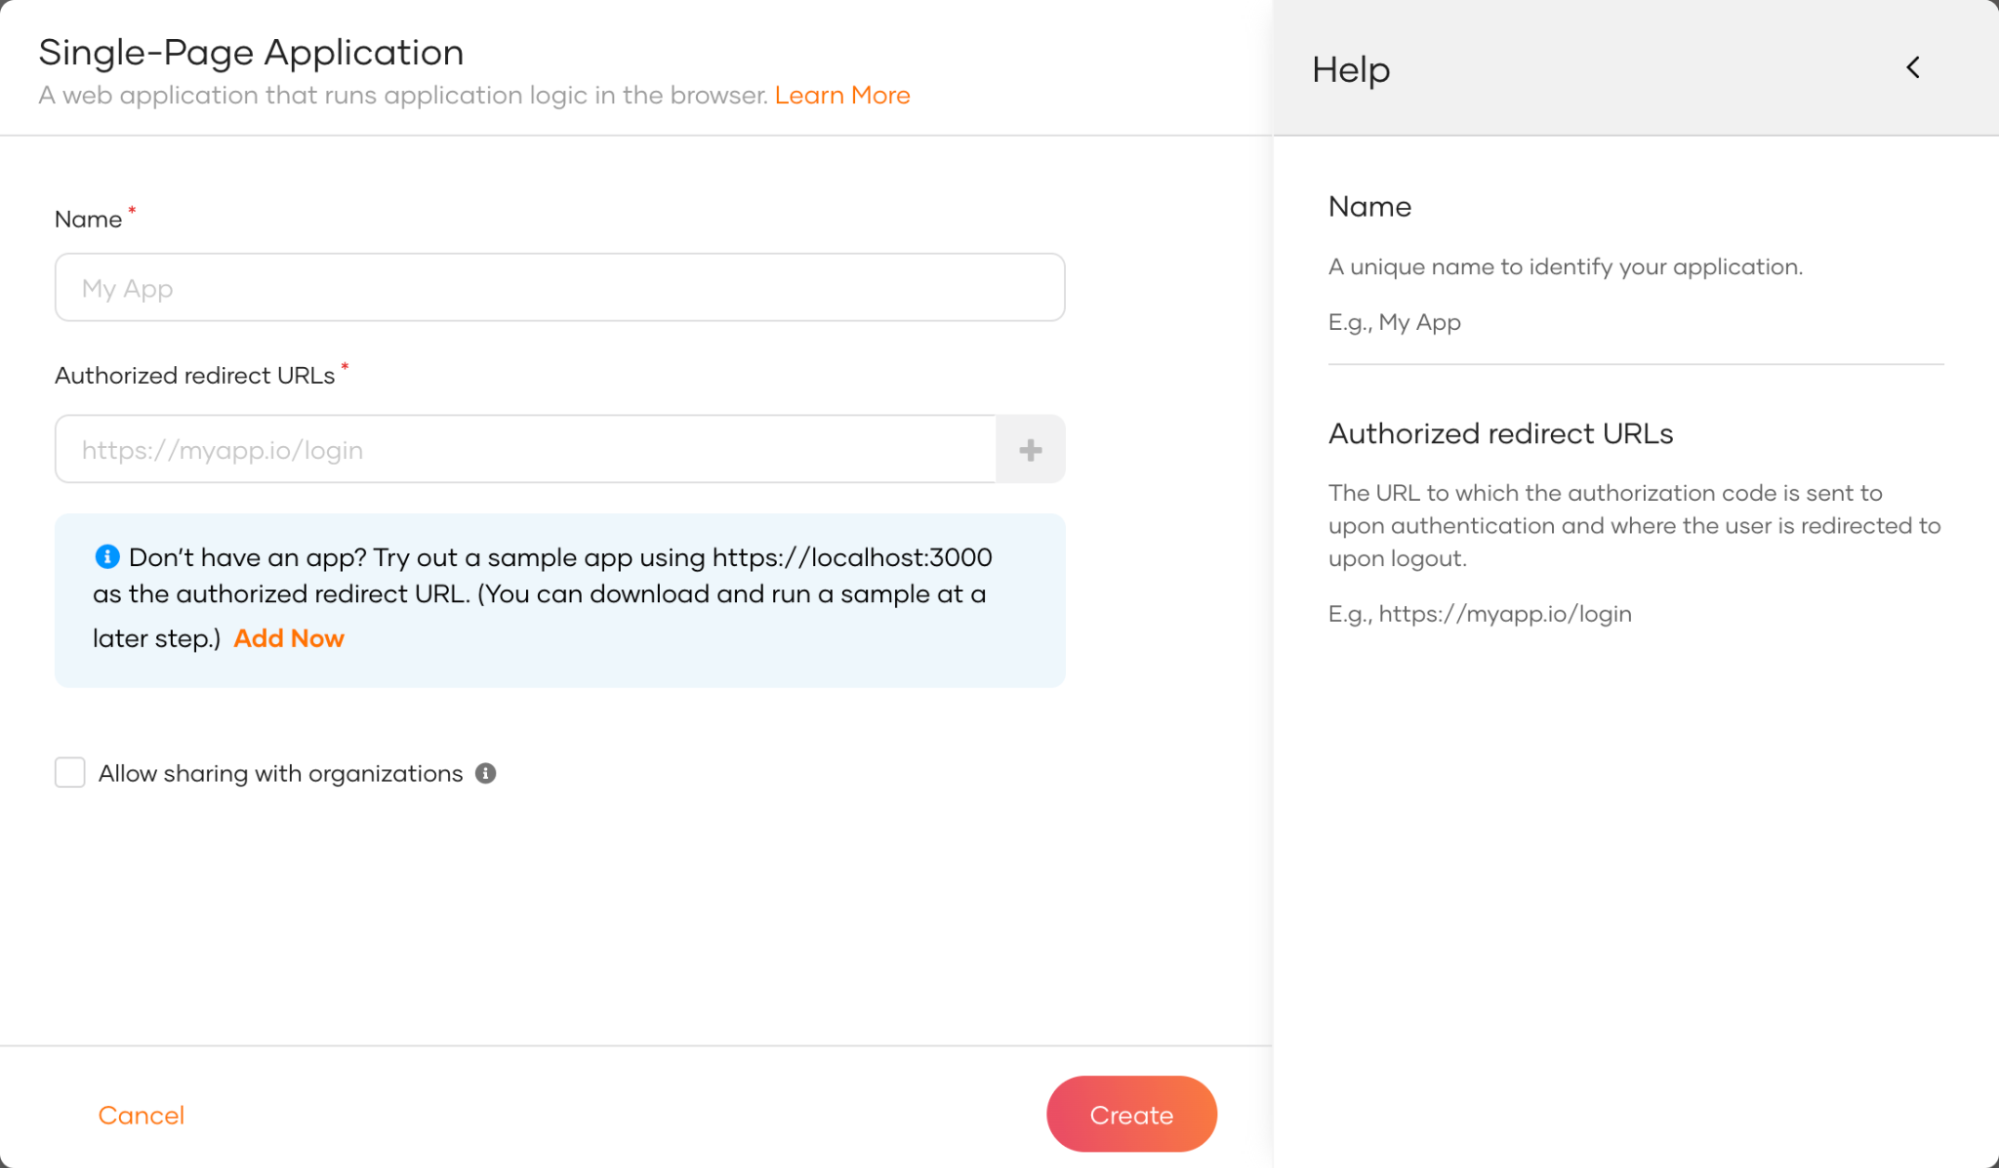
Next, complete the wizard popup by providing a suitable name and an authorized redirect URL.
Example
name: is-angular
Authorized redirect URL: http://localhost:4200
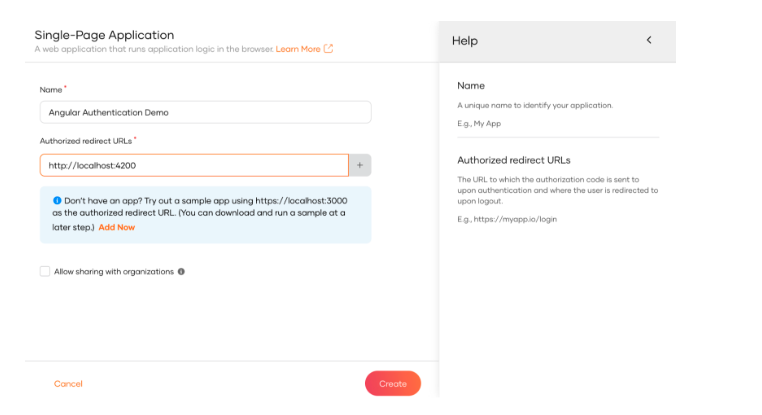
Info
The authorized redirect URL determines where WSO2 Identity Server should send users after they successfully log in. Typically, this will be the web address where your app is hosted. For this guide, we'll use http://localhost:4200, as the sample app will be accessible at this URL.
Make a note of the following values from the Protocol and Info tabs of the registered application. You will need them to configure the authentication SDK
client-idfrom the Protocol tab.issuerfrom the Info tab.
In this step, we have ve registered our Angular app as an application in the WSO2 Identity Server console and generated the required metadata. Next, we will create a Angular app.