Add login with Active Directory Federation Services (AD FS)
Active Directory Federation Service (AD FS) enables federated identity and access management by securely sharing digital identity and entitlements rights across organizational and security boundaries.
Follow this guide for to configure AD FS as a federated authenticator with WSO2 Identity Server.
Note
Refer to the Microsoft documentation for instructions on configuring AD FS.
Step 1: Configure WSO2 IS as a relying party trust
Follow the steps below on your AD to register WSO2 Identity Server as a relying party trust:
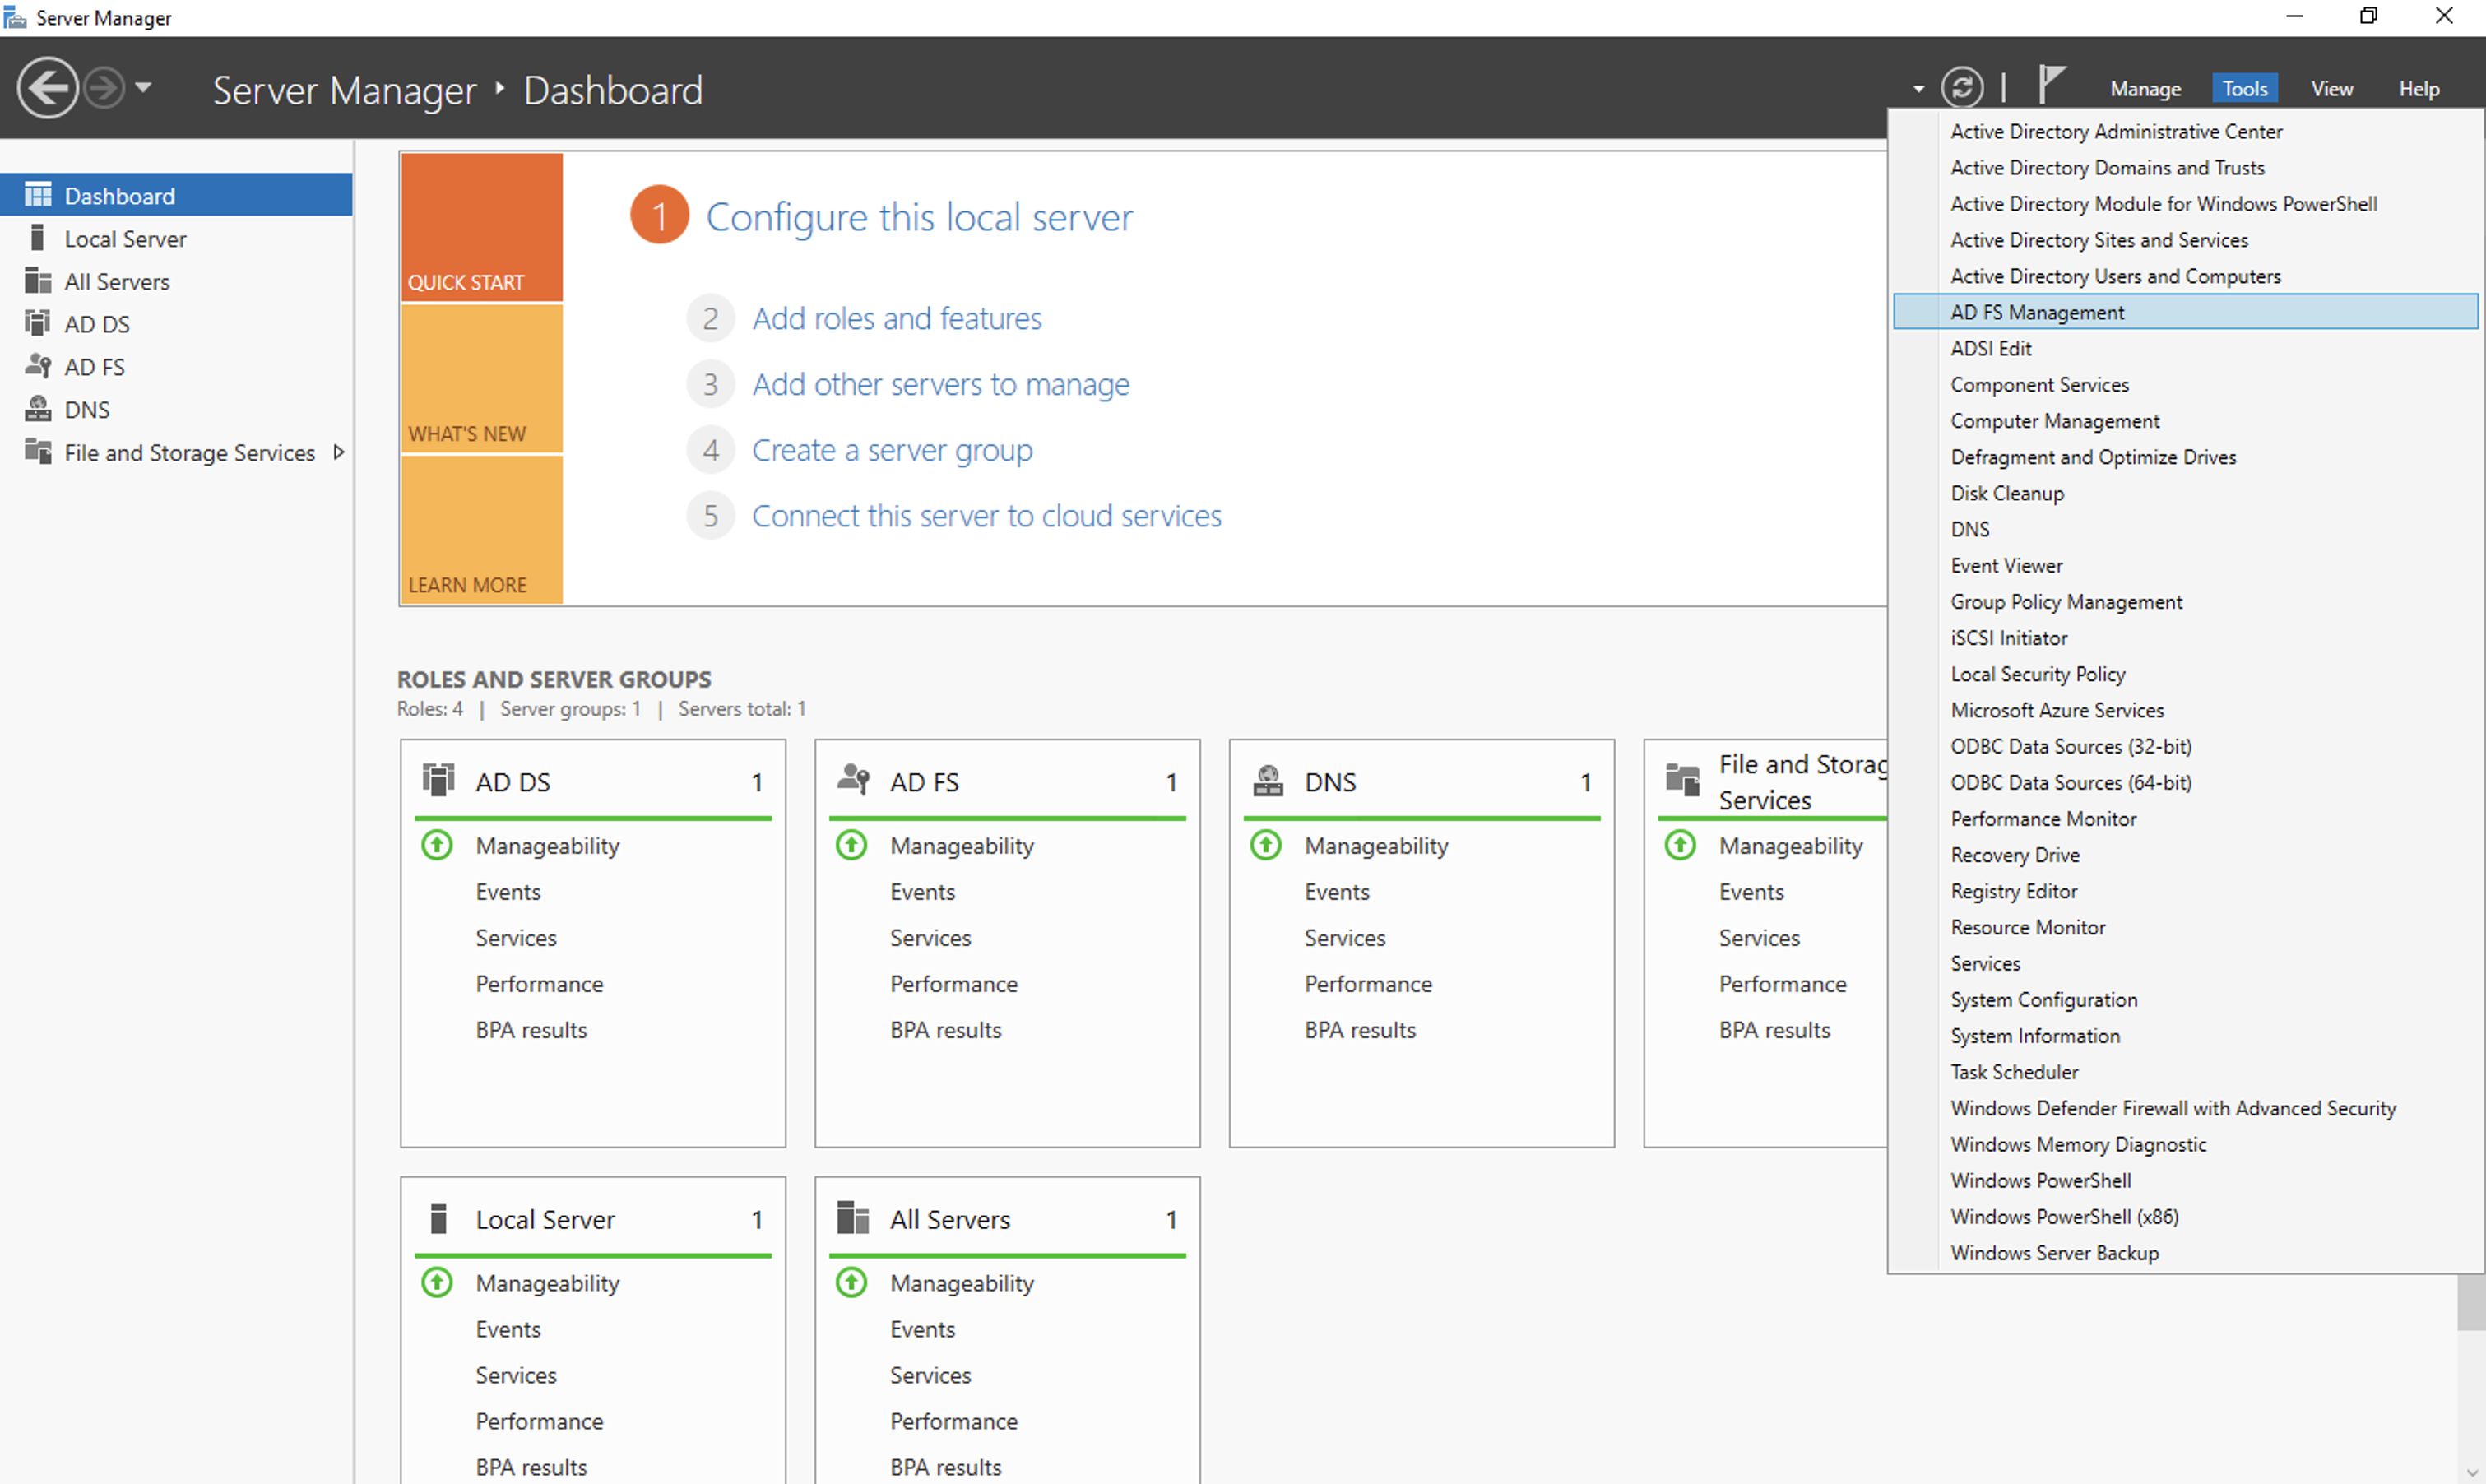
- Open the Server Manager application.
-
Click on Tools and select AD FS Management to open the AD FS Management Console.
-
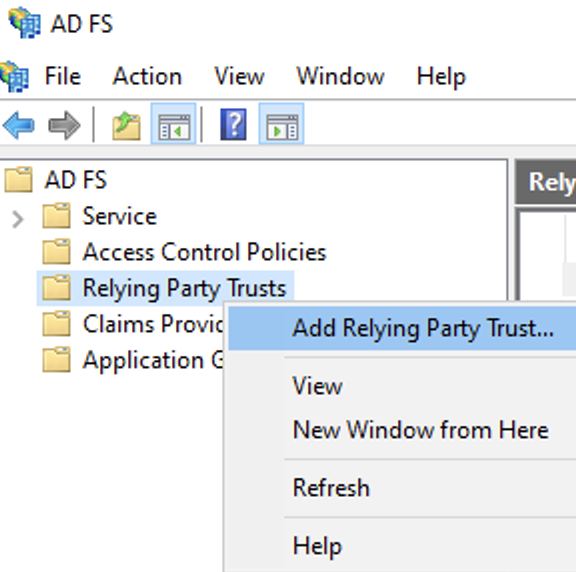
Under AD FS, right-click Relying Party Trusts and select Add Relying Party Trust.
-
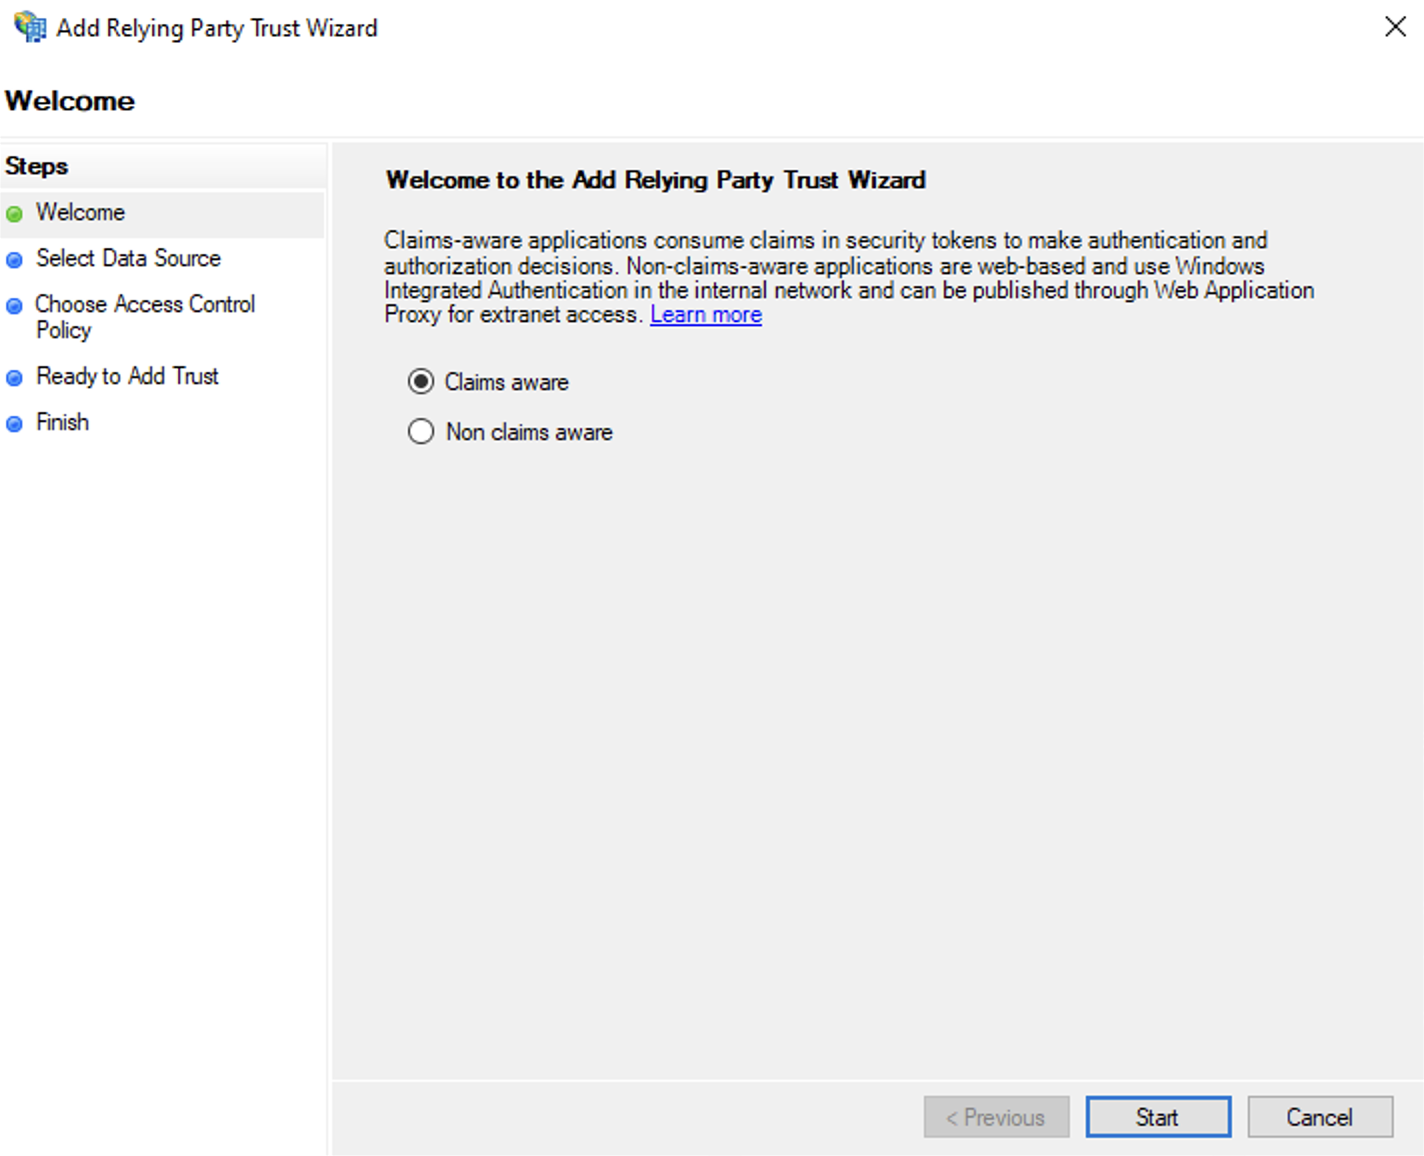
In the wizard that opens, select Claims aware and click Start.
-
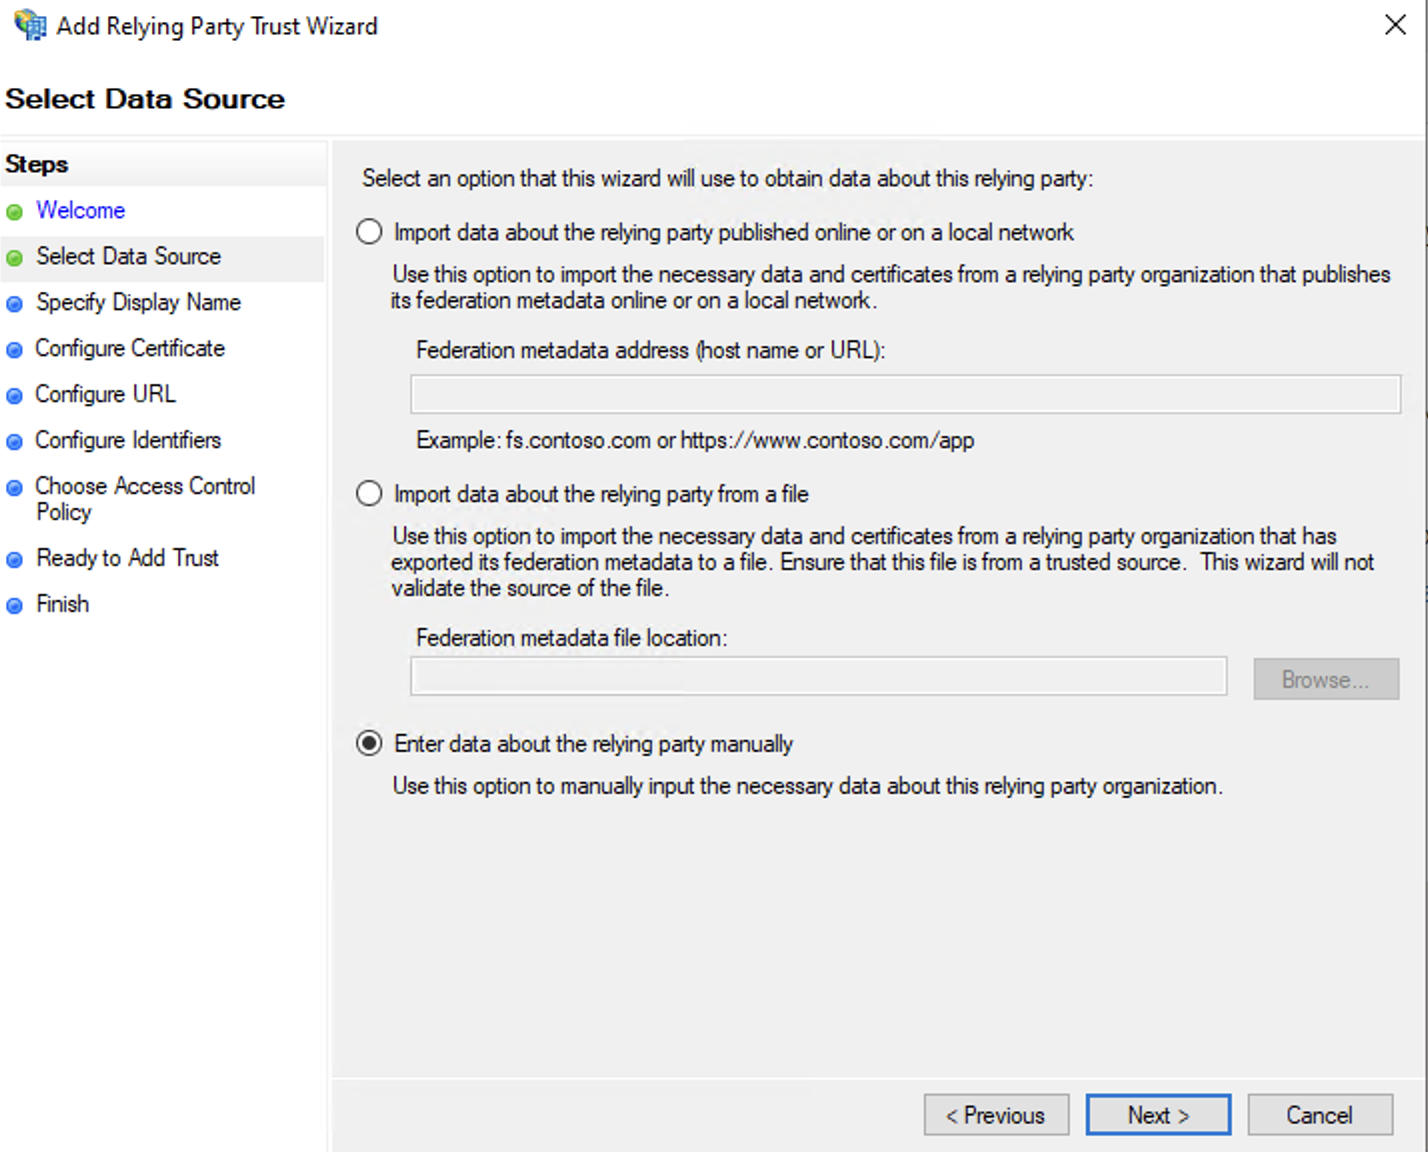
Select Enter data about the relying party manually and click Next.
-
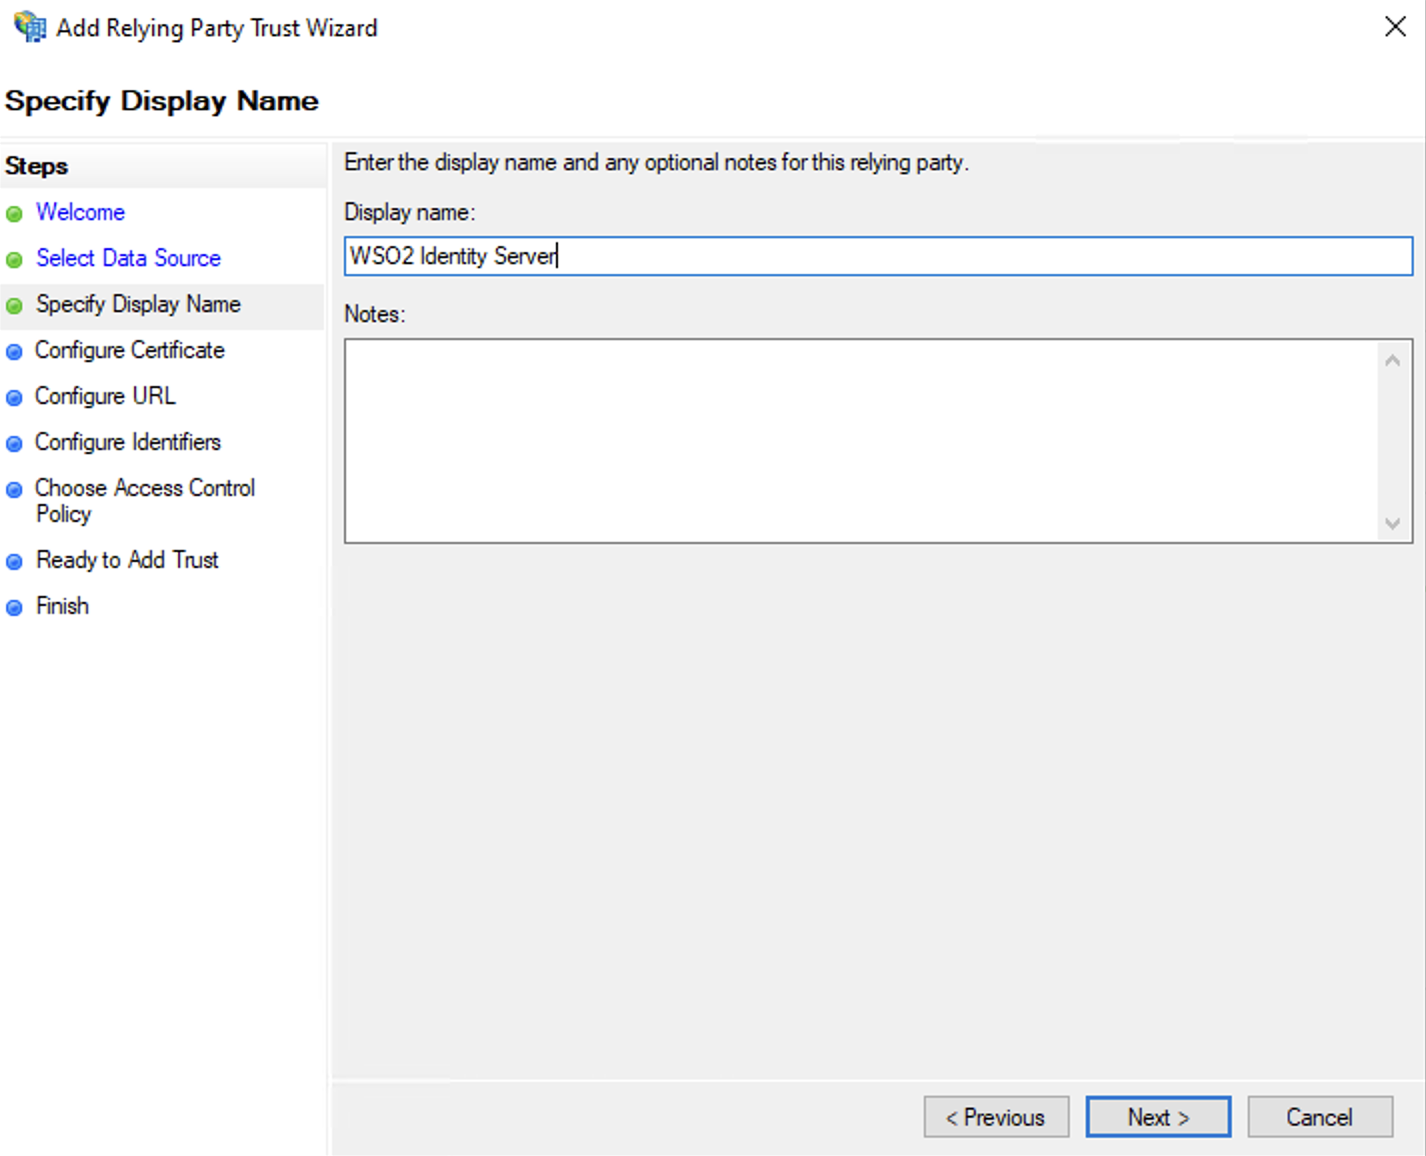
Enter a preferred display name to represent WSO2 Identity Server as the relying party. For this tutorial, we will be using the name WSO2 Identity Server. Optionally, you may also add notes about the relying party.
-
Click Next.
- On the encryption certificate page, click Next again as an encryption profile is not necessary.
-
Select Enable support for the SAML 2.0 WebSSO protocol and set the Relying party SAML 2.0 SSO Service URL to
https://<IS_HOST>:<PORT>/commonauth.
-
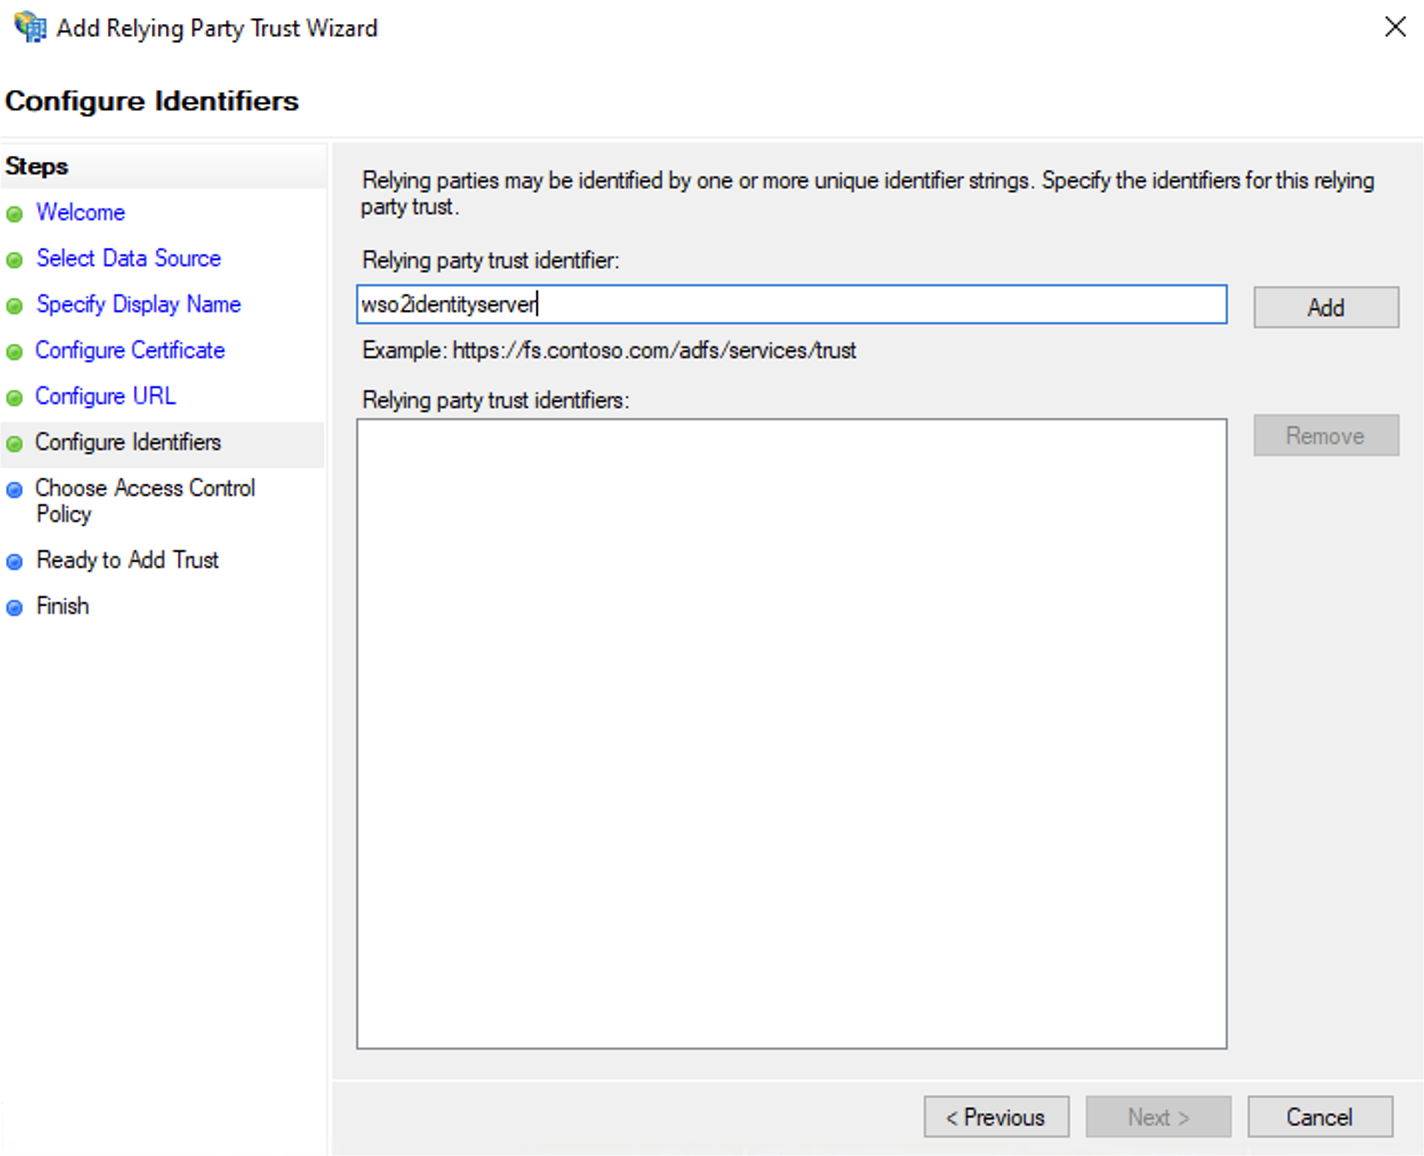
Enter a preferred value for the relying party trust identifier and click Add.
Important
This is the value that will be used as the service provider entity id later when configuring the federated authenticator connection in WSO2 Identity Server, therefore take note of this value.
-
Click Next.
-
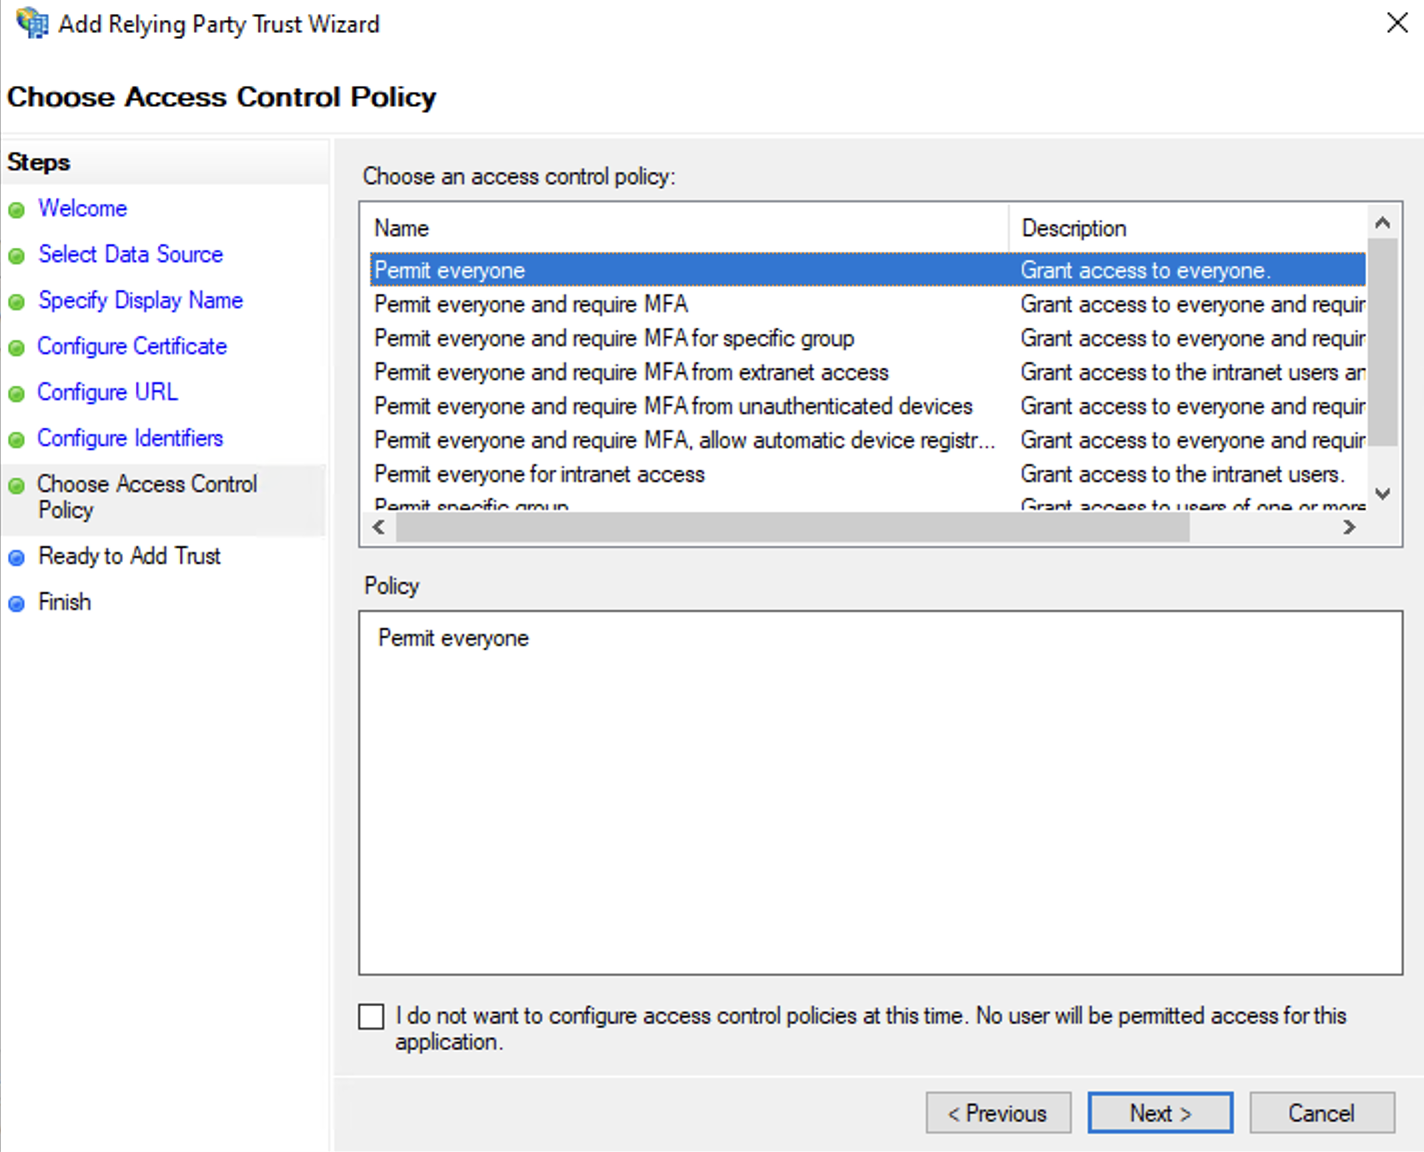
Set the access policy as necessary. For this tutorial, we will be using Permit everyone.
-
Click Next.
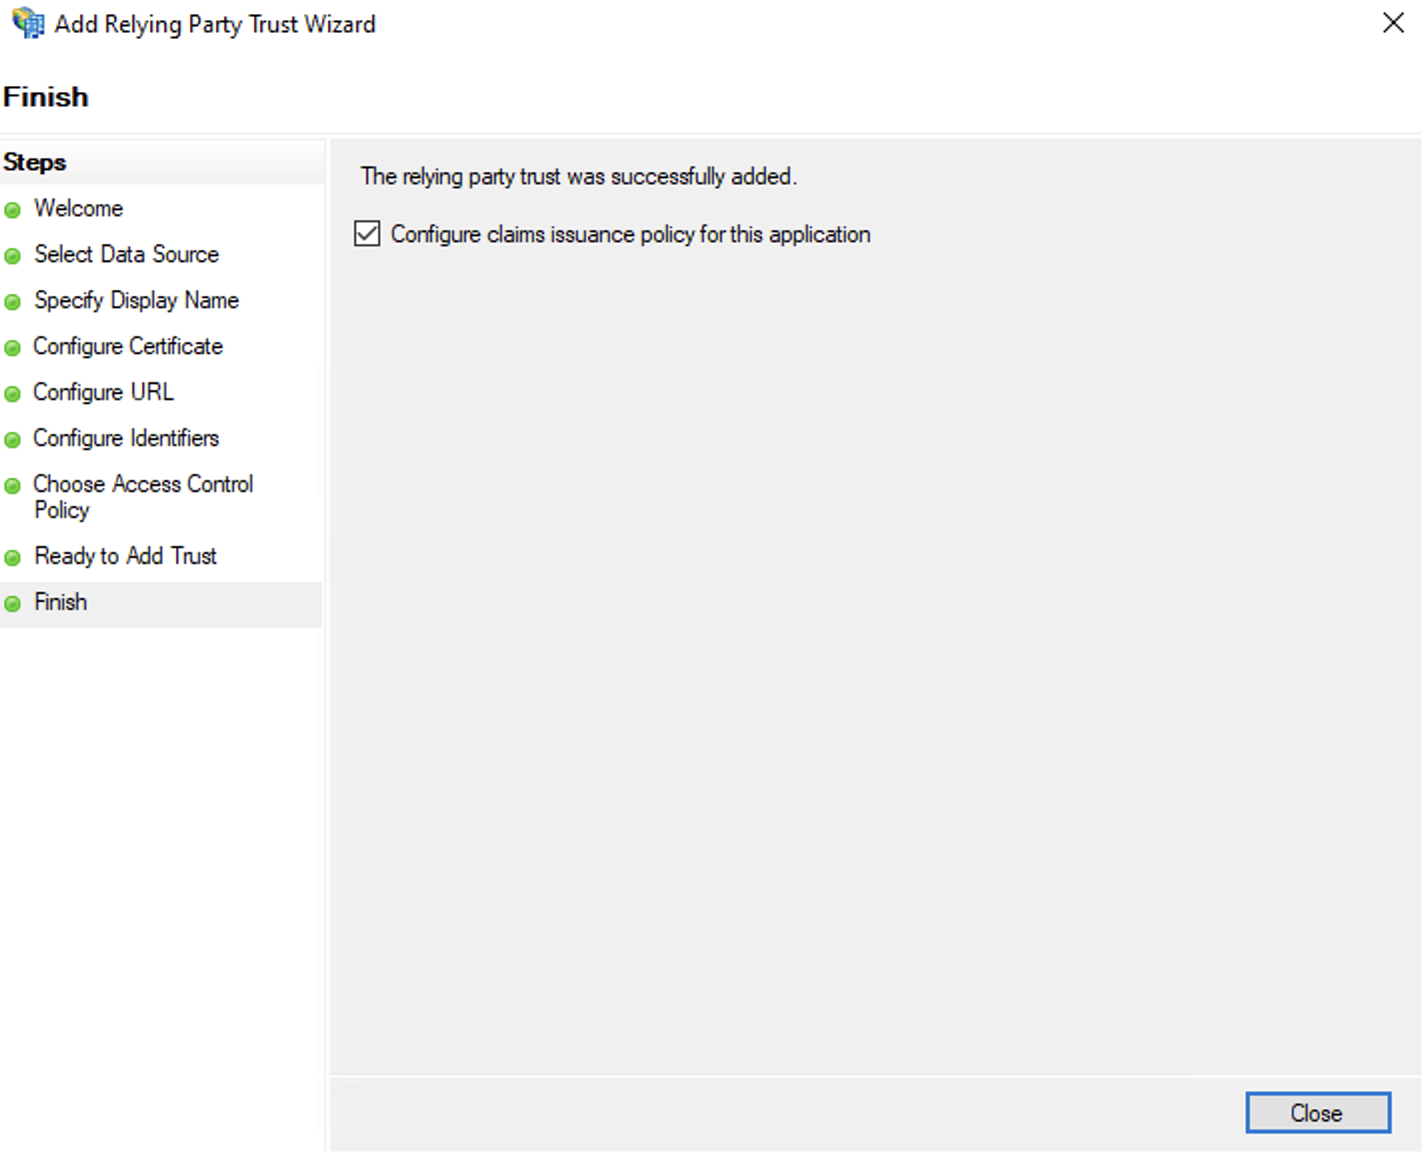
- Review the details of the trust and click Next.
-
Click Close to finish adding the relying party trust.
Step 2: Configure the claim issuance policies for the relying party trust
Follow the steps below on your AD to configure the claims that AD FS will send to WSO2 Identity Server:
- Right-click the newly added relying party trust "WSO2 Identity Server" and select Edit Claim Issuance Policy.
- Click Add Rule.
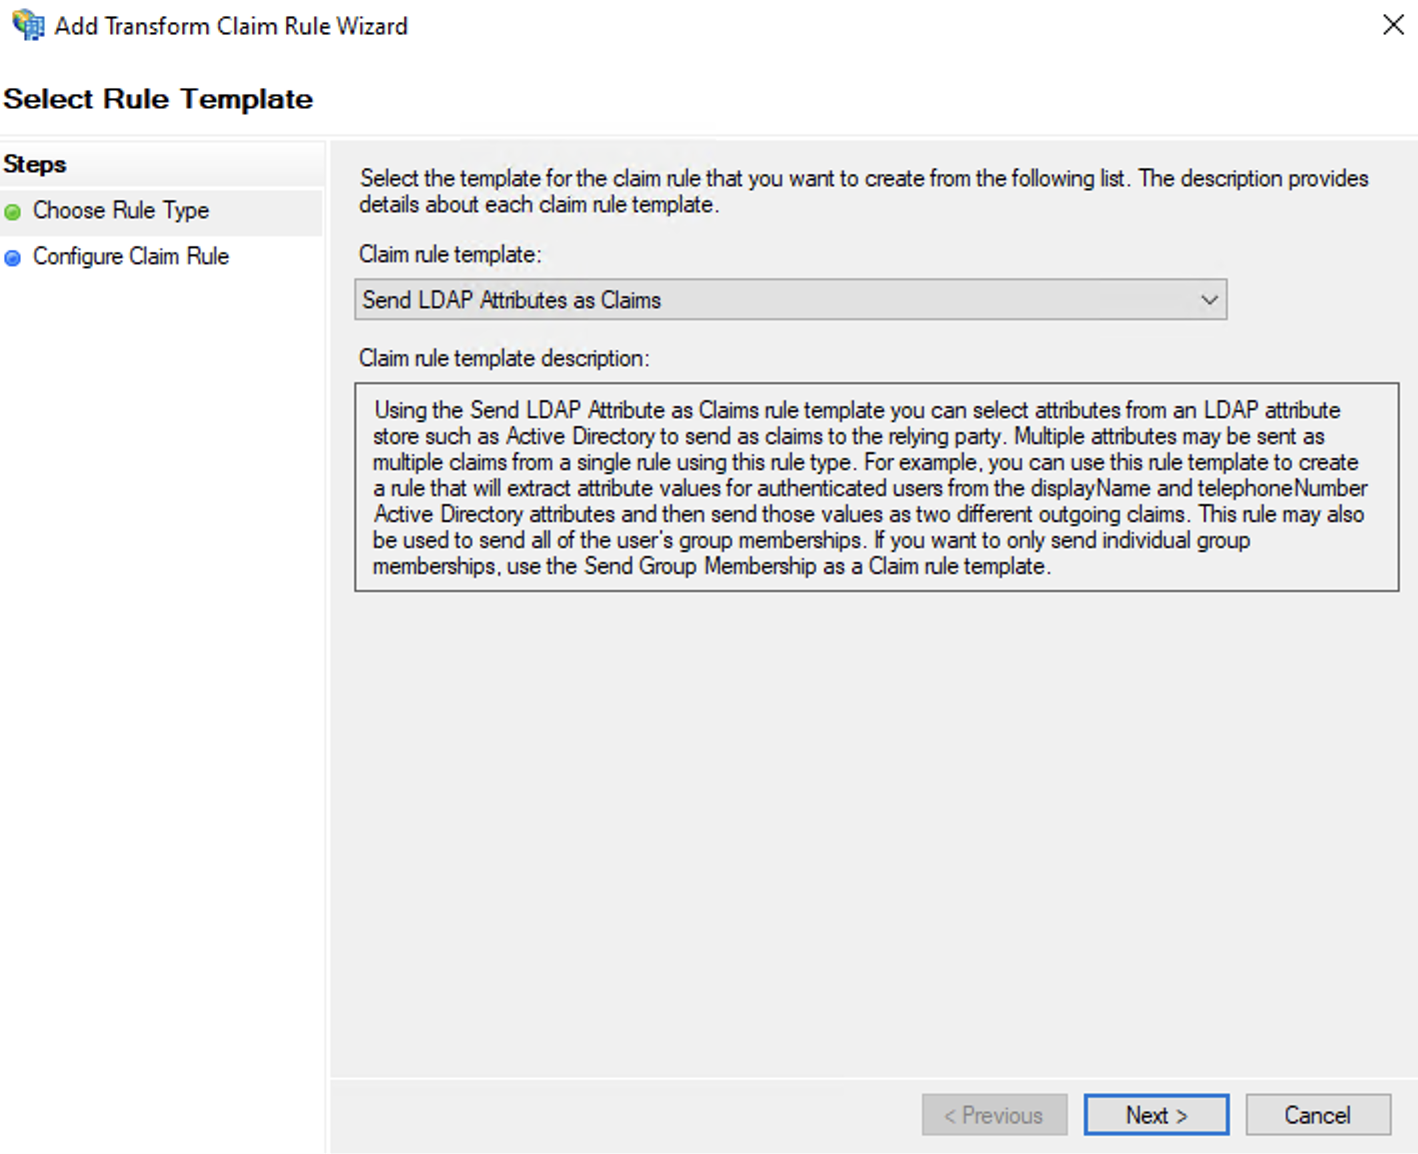
-
Set the claim rule template to Send LDAP Attributes as Claims and click Next.
-
Enter a suitable value for the name of the claim rule.
- Set the Active Directory as the attribute store.
-
Map the SAM-Account-Name LDAP attribute with the E-Mail Address outgoing claim type.
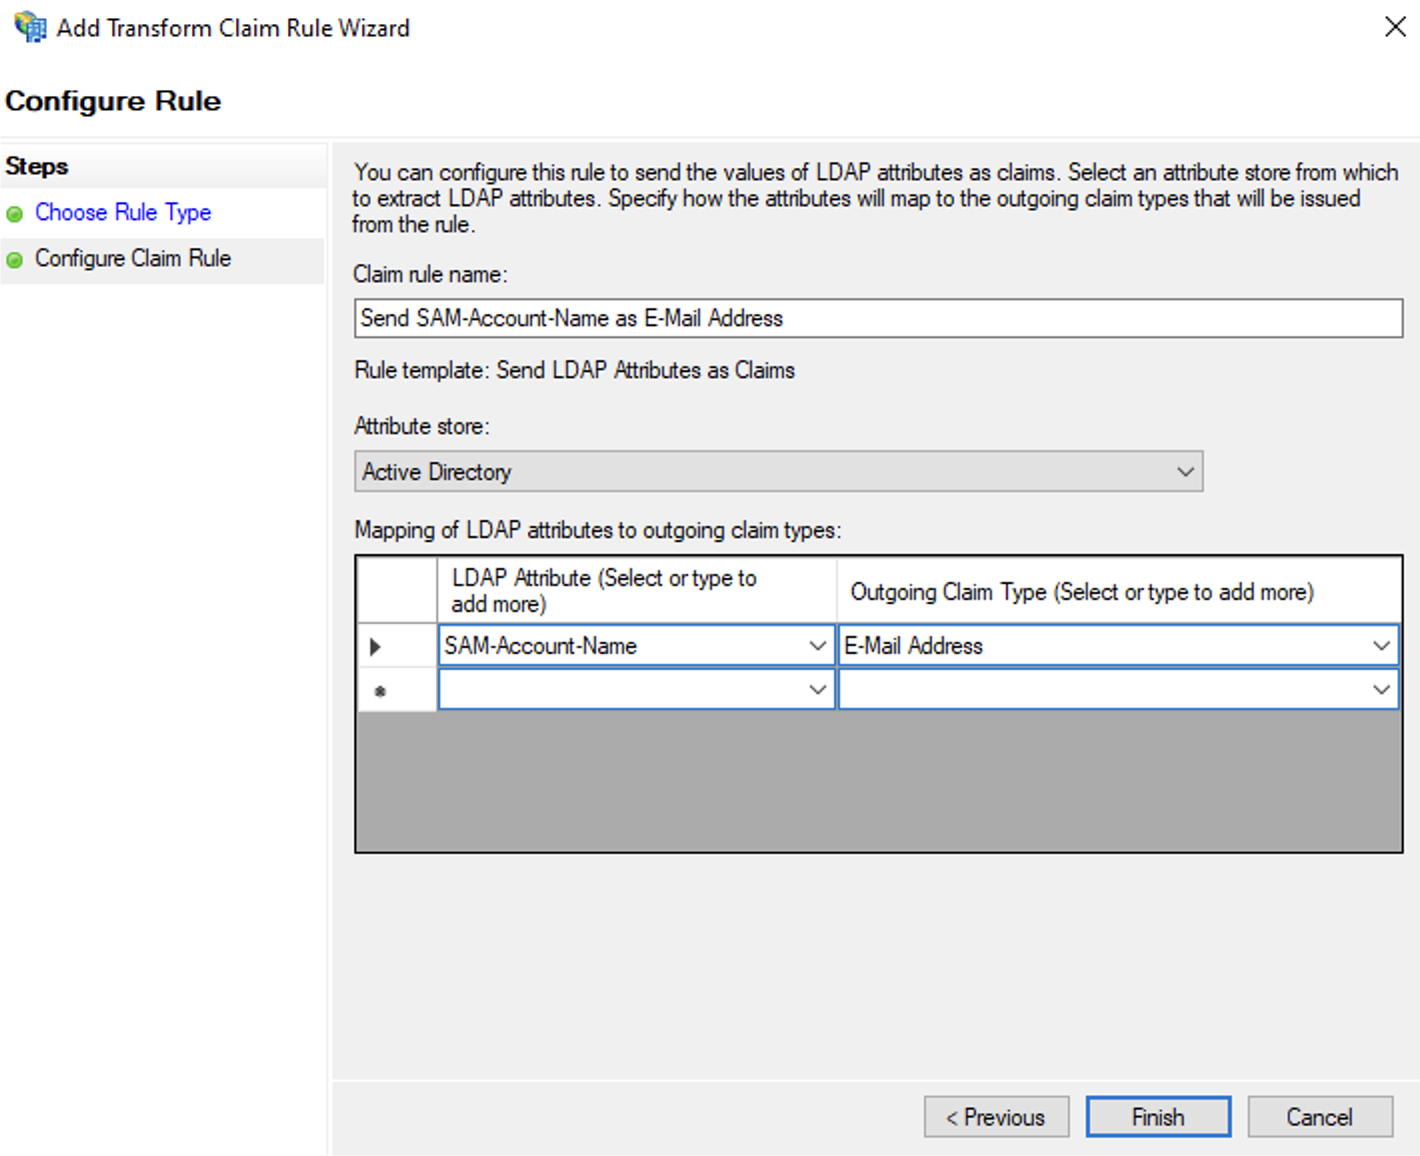
-
Click Finish to add the first rule.
- Click Add Rule again.
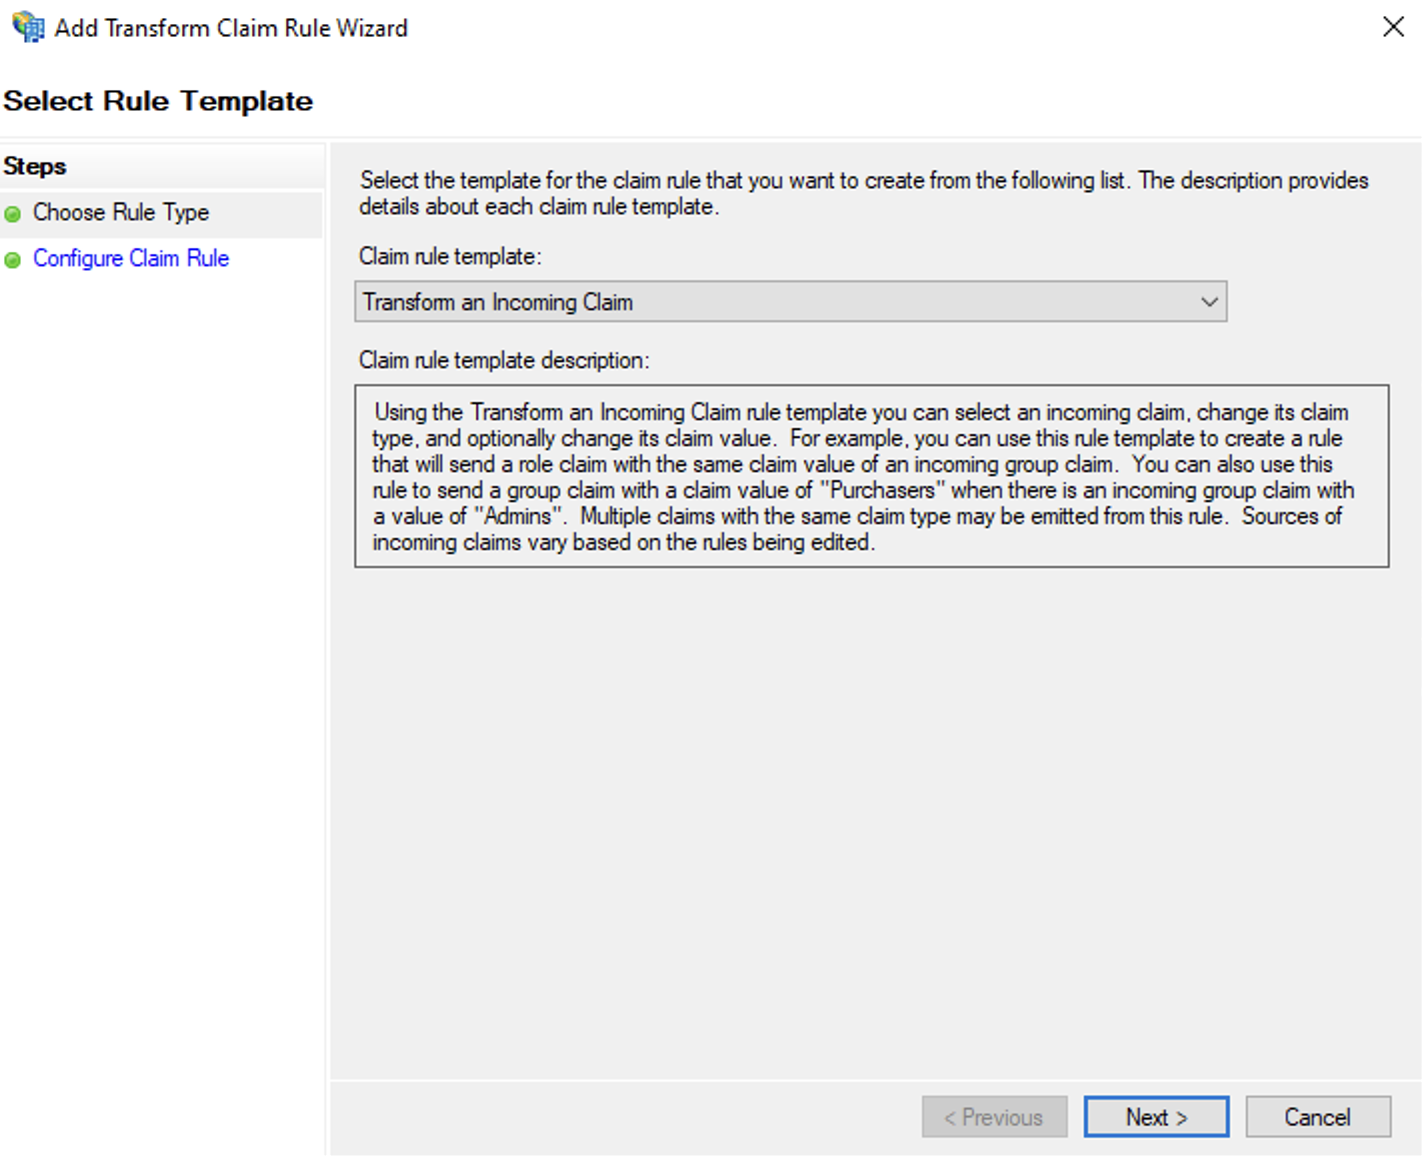
-
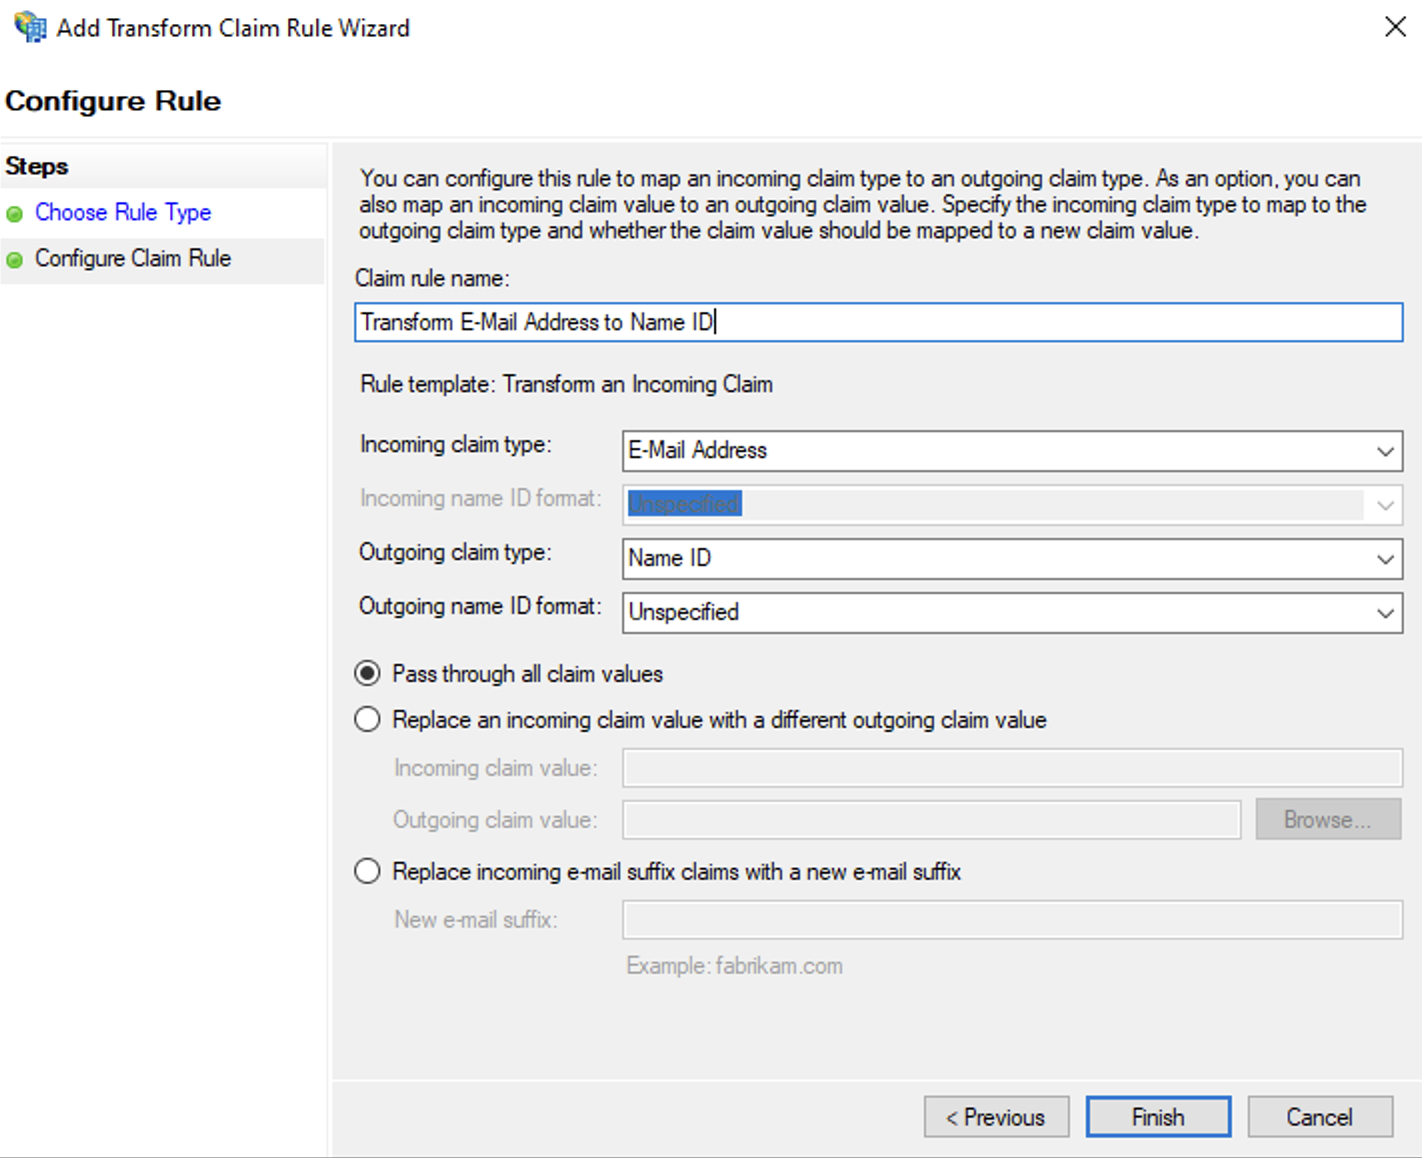
Set the claim rule template to Transform an Incoming Claim and click Next.
-
Enter a suitable value for the name of the claim rule.
- Select E-Mail Address as the incoming claim type.
- Select Name ID as the outgoing claim type.
- Set Unspecified as the outgoing name ID format.
-
Check Pass through all claim values and click Finish.
-
Click Apply.
Step 3: Configure the relying party trust signature properties
The following steps involve establishing a trust relationship between AD FS and WSO2 Identity Server, ensuring secure communication and authentication.
Step 3.1: Extract the public certificate of WSO2 IS
This step extracts the public key from the WSO2 Identity Server keystore which will then be uploaded to AD FS in the following step. Depending on the tenant in which your application is created, the certificate extraction differs as outlined below.
-
If the application is in the
carbon.supersuper tenant, the public certificate of WSO2 Identity Server needs to be uploaded. It can be exported as follows.- Navigate to
<IS_HOME>/repository/resources/security. -
Run the following command to export the
wso2carbonpublic certificate of the super tenant.keytool -exportcert -keystore wso2carbon.p12 -storetype PKCS12 -alias wso2carbon -file exported_certificate.cer
- Navigate to
-
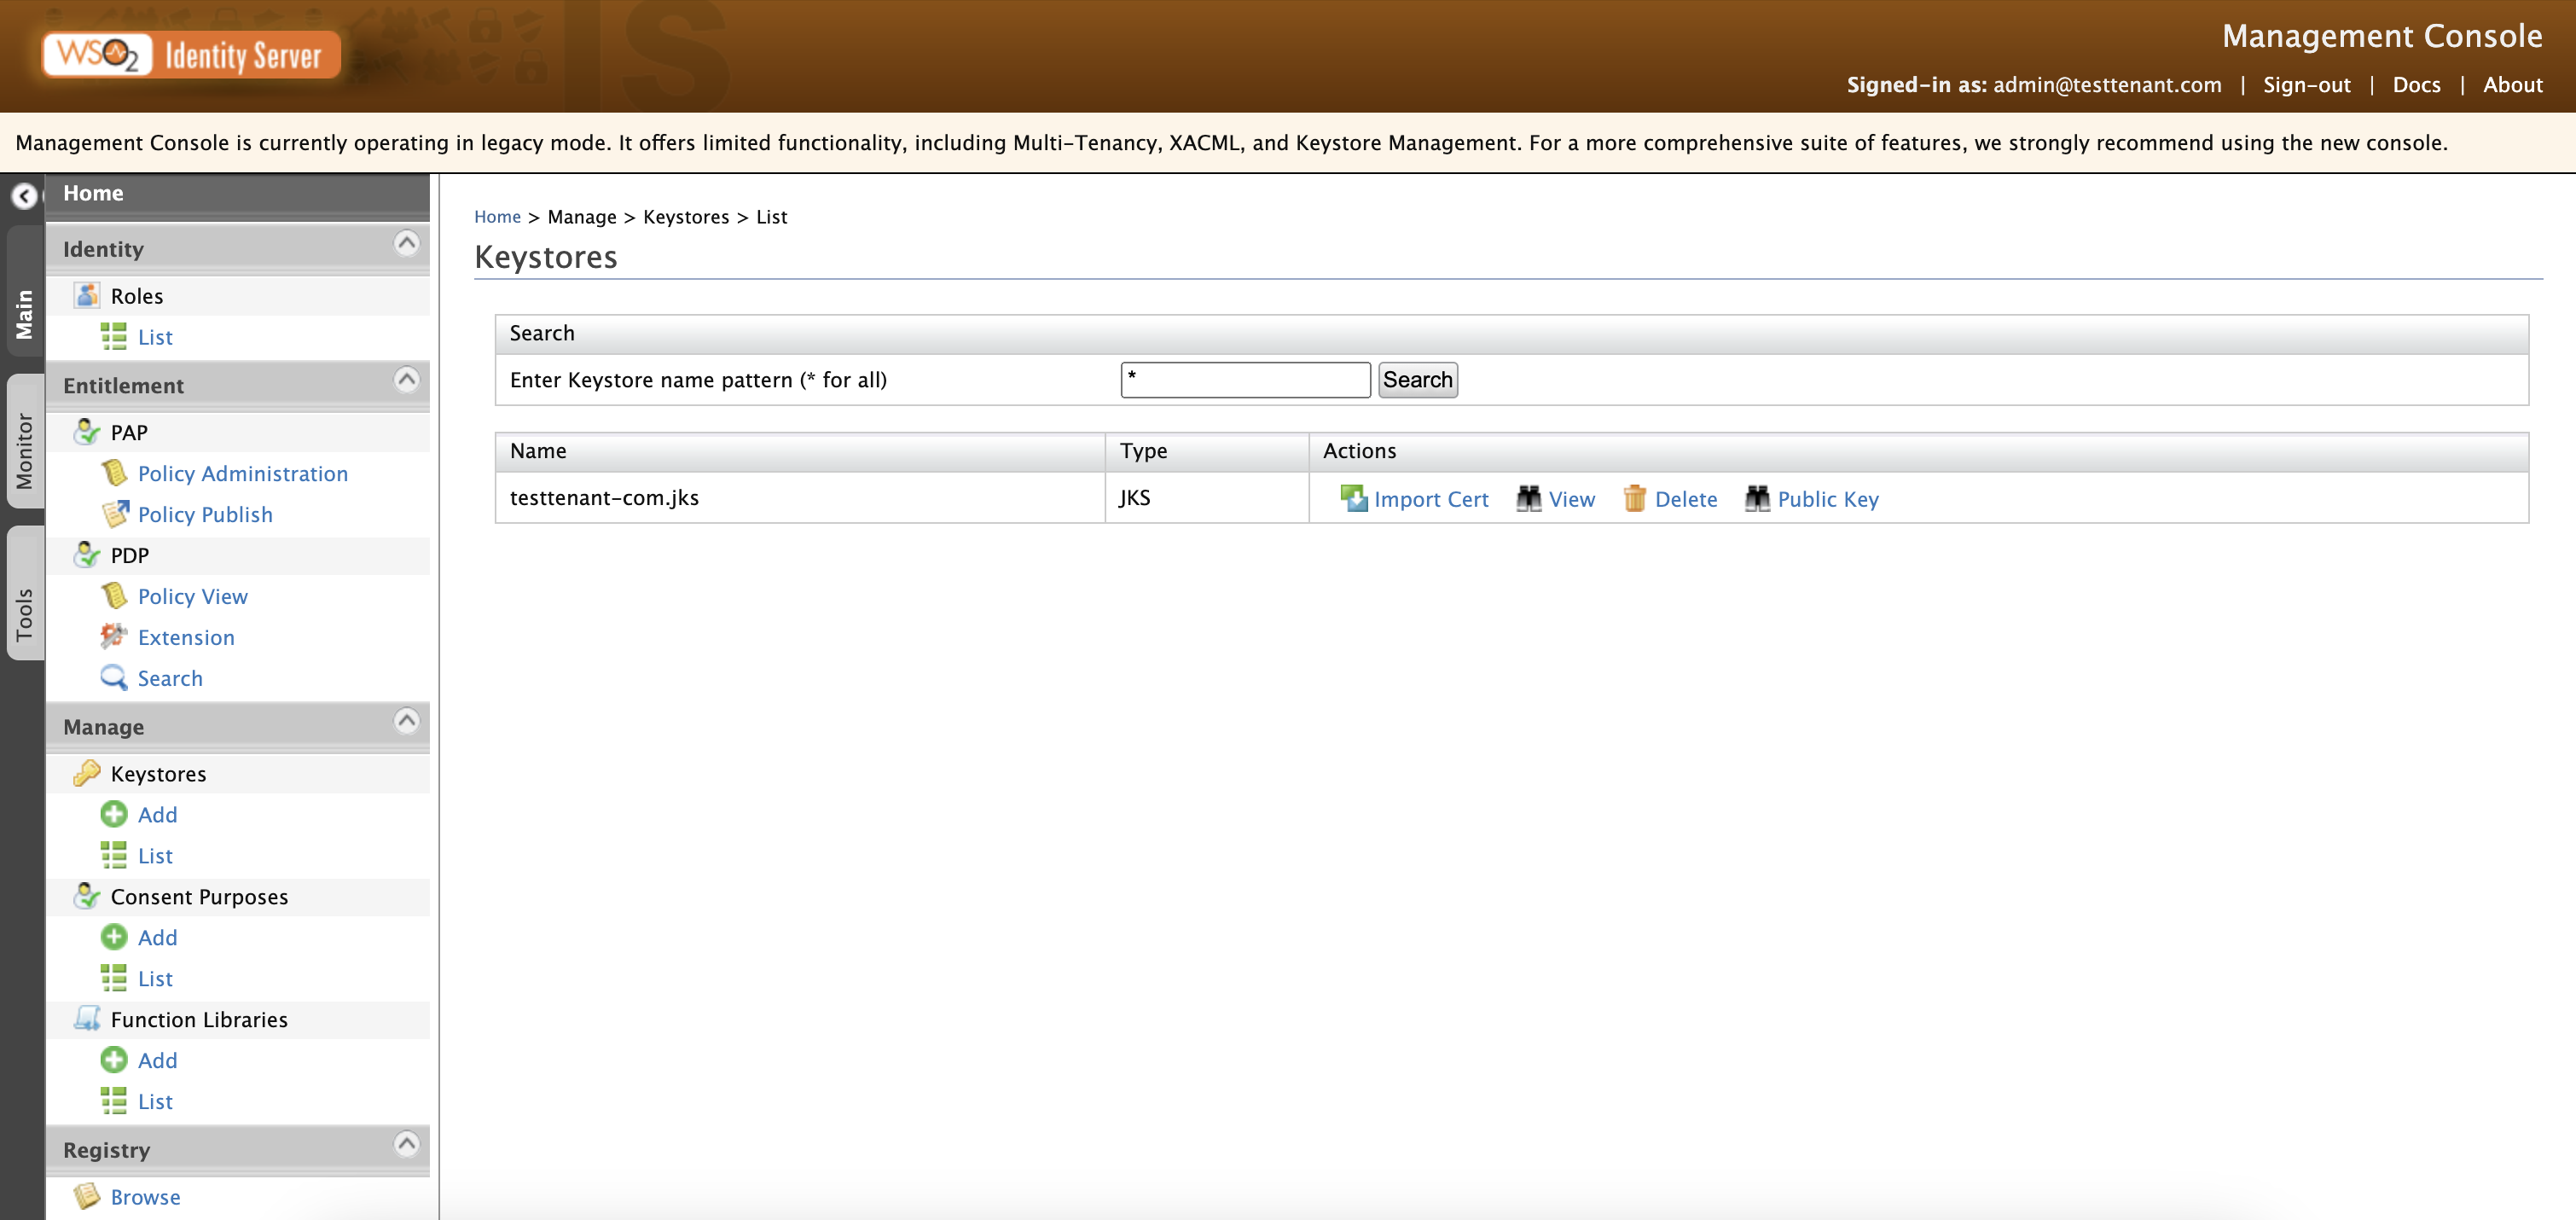
However, if the application is under another tenant, the public certificate of the relevant tenant needs to be uploaded.
- Login to the Carbon Management Console at
https://localhost:9443/carbon/admin/login.jspwith the tenant admin credentials. - In the left-hand menu, under Main > Manage > Keystores, click on List.
-
Click Public Key to download the public certificate of the tenant.
- Login to the Carbon Management Console at
In this guide, we are using an application created in the super tenant and the default keystore remains unchanged. As a result, the default wso2carbon certificate located in the <IS_HOME>/repository/resources/security directory is used.
Step 3.2: Upload the public certificate to AD FS
AD FS uses the public certificate of WSO2 Identity Server to verify the signatures of incoming SAML requests and responses. To upload the public certificate,
-
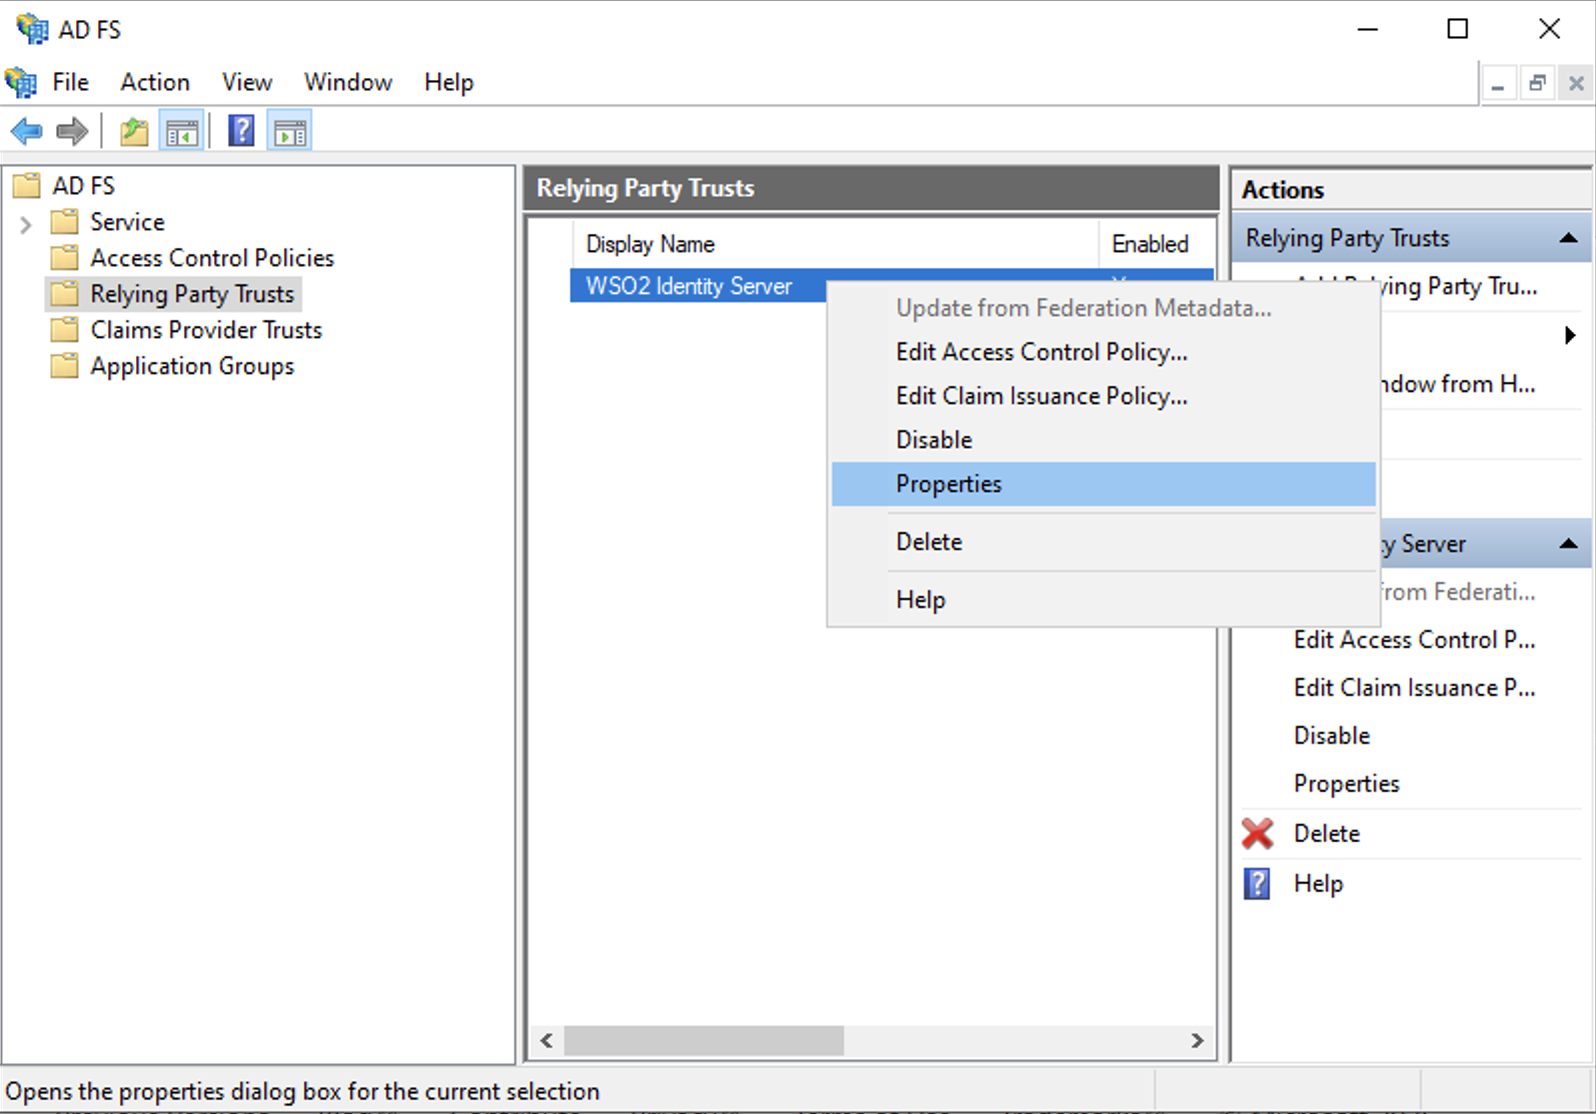
On the AD FS management console, right-click the relying party trust "WSO2 Identity Server" and select Properties.
-
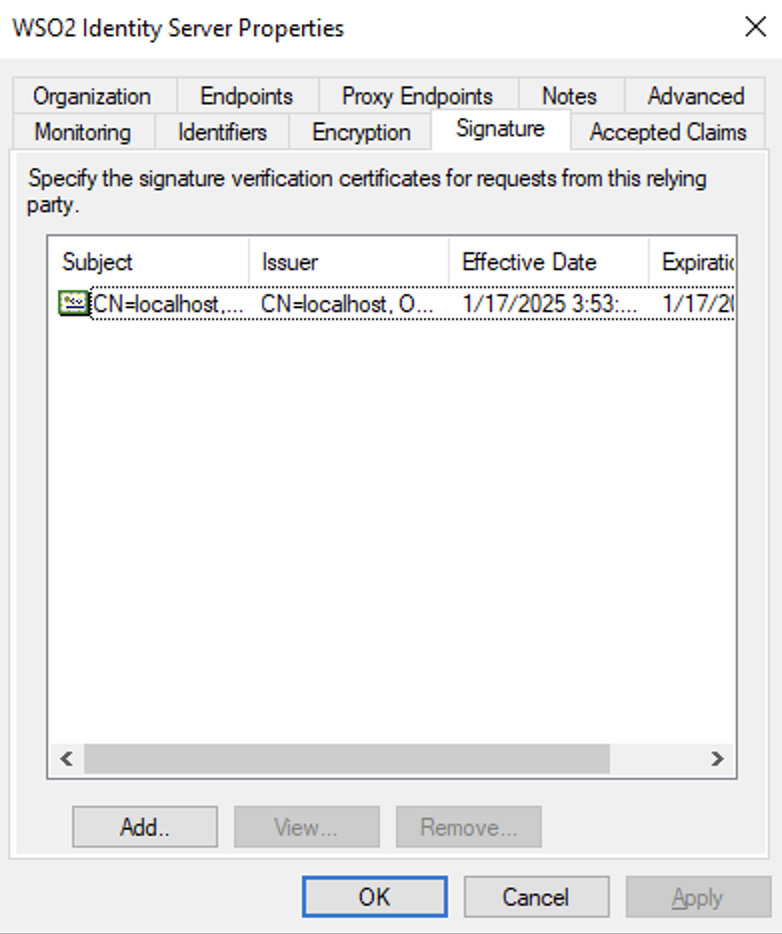
Open the Signature tab and click Add.
-
Upload the certificate that was exported in the previous step.
-
Click Apply.
Step 4: Configure the relying party trust endpoint properties
This step involves establishing the specific URLs and protocols AD FS will use to communicate with WSO2 Identity Server. To do so,
- Switch to the Endpoint tab under the relying party trust properties and click Add SAML.
- Set SAML Logout as the endpoint type.
- Set POST as the binding.
- Set the Trusted URL as
https://<AD_FS_server>/adfs/ls. -
Set the Response URL as the
https://<IS_HOST>:<IS_PORT>/commonauthendpoint of WSO2 IS.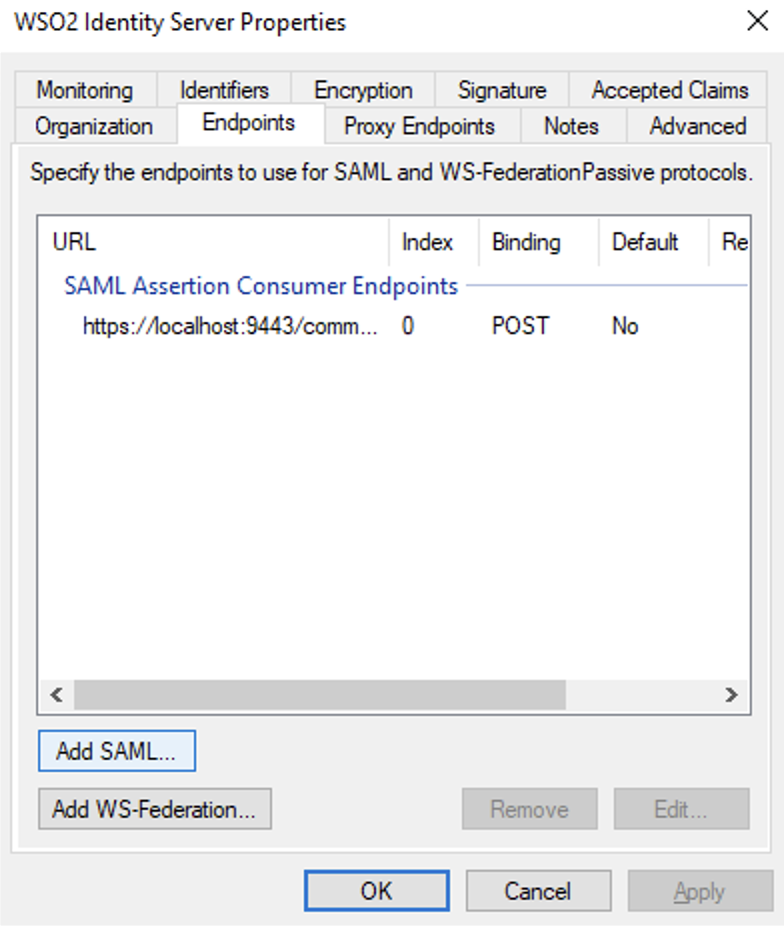
-
Click OK, then Apply.
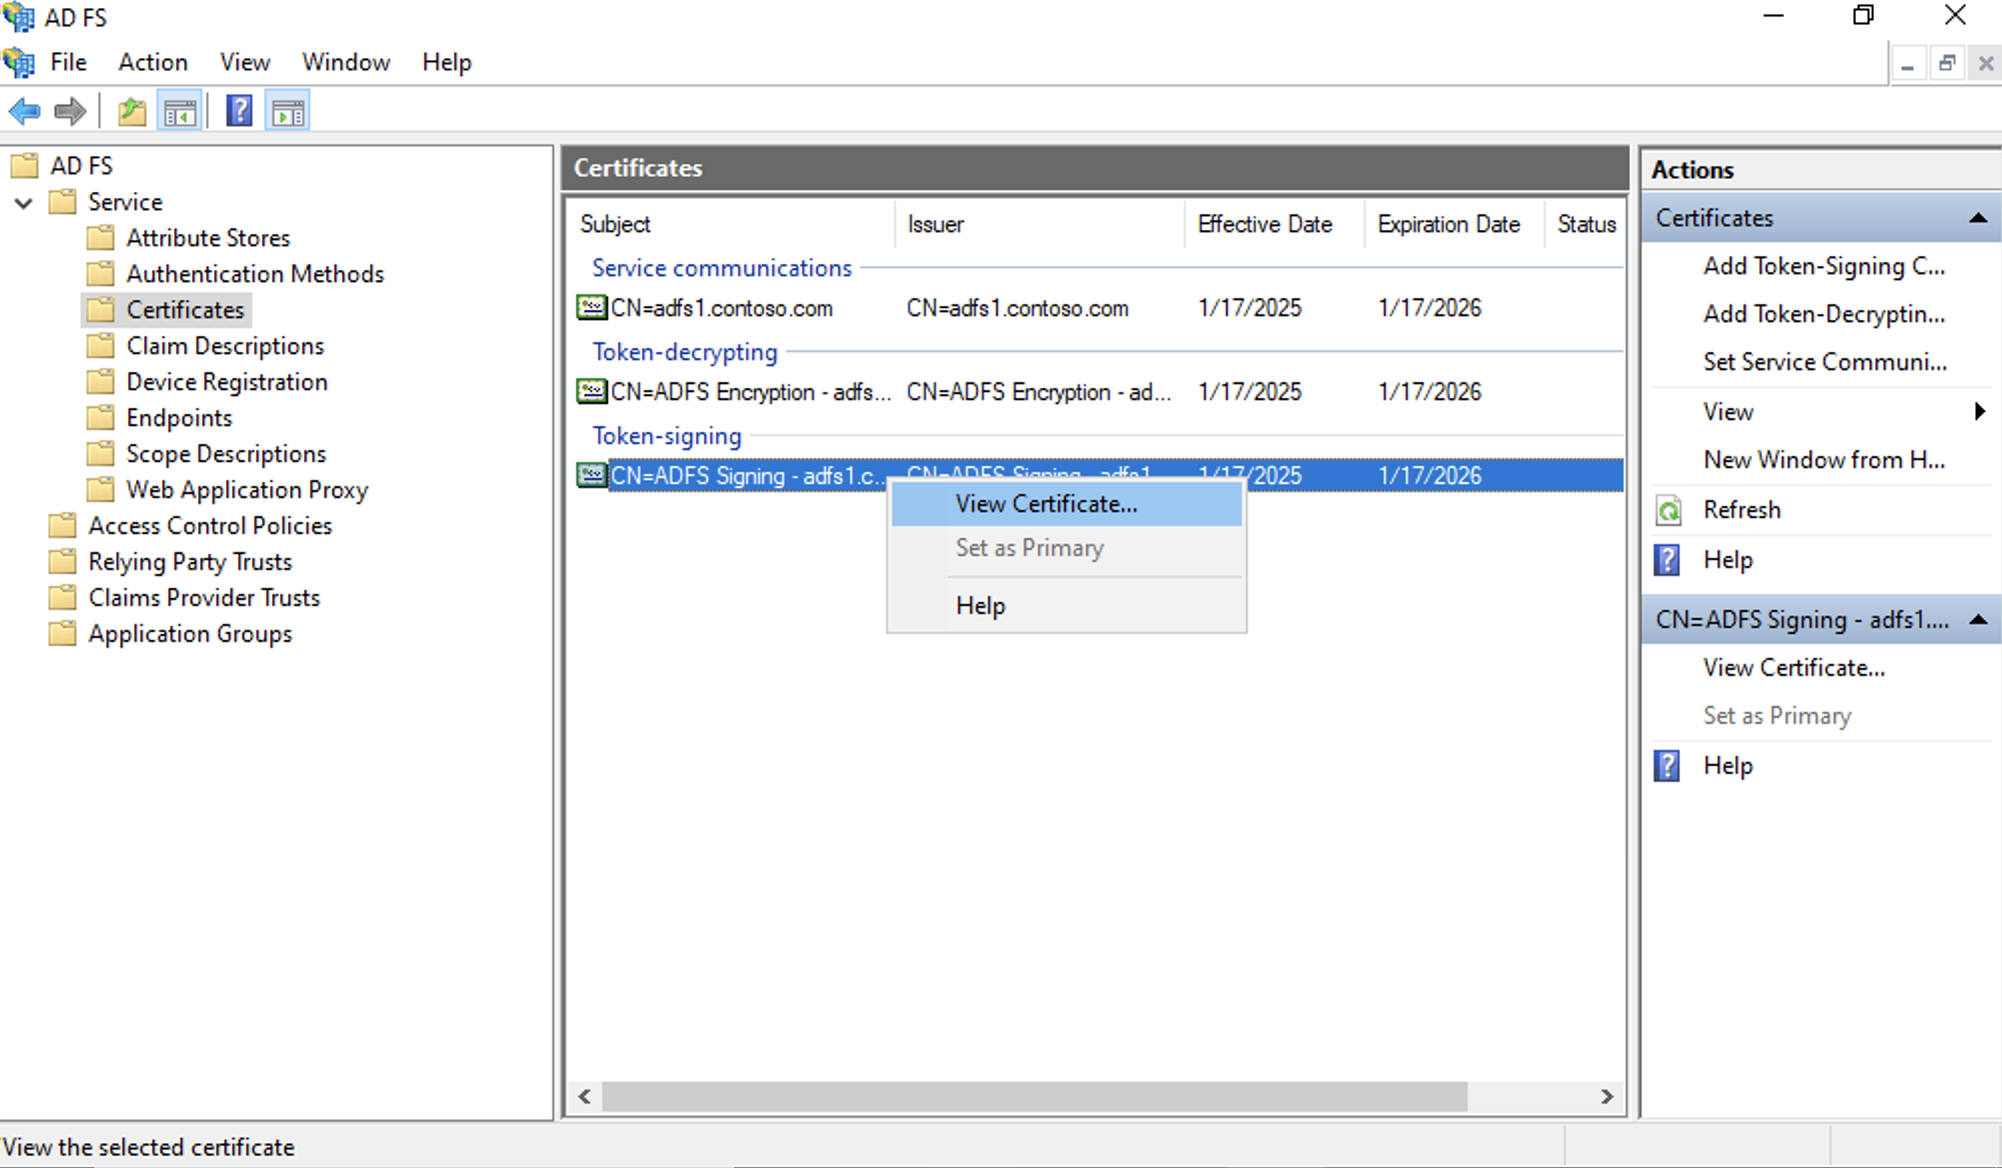
Step 5: Export the token signing certificate of the relying party trust
WSO2 Identity Server uses the token signing certificate of AD FS to validate tokens issued during federated authentication. To export the token signing certificate,
-
On the AD FS management console, under AD FS, expand Service.
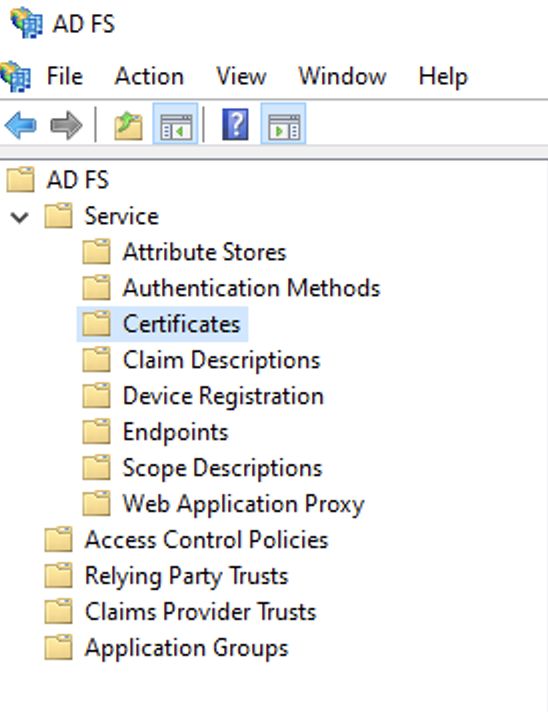
-
Click Certificates.
-
Right-click on the token-signing certificate and select View Certificate.
-
Open the Details tab and click Copy to File.

-
In the wizard that opens, click Next.
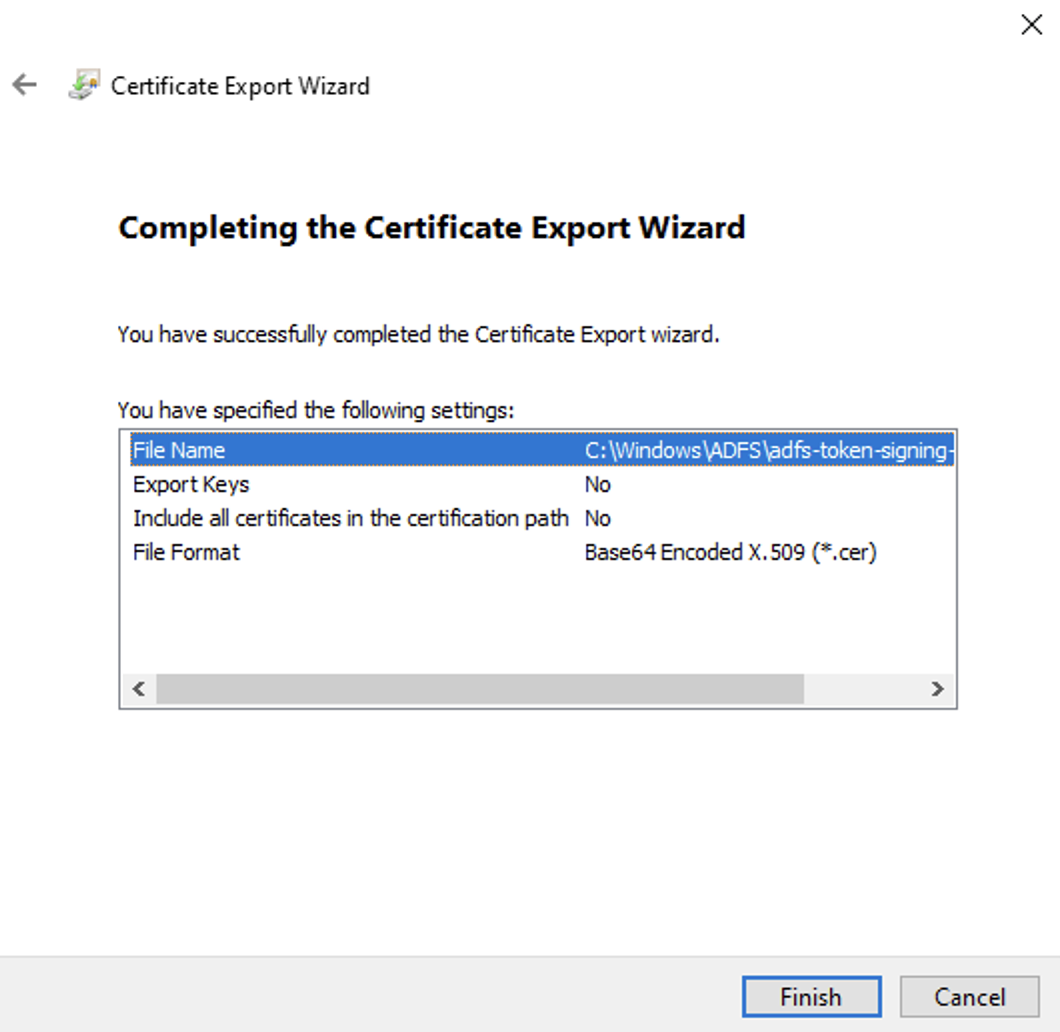
- Select the Base-64 encoded X.509 (.CER) option and click Next.
- Specify a name for the certificate file to be exported.
- Click Browser to select the desired location to which the certificate should be saved. If no location is set, the certificate is saved to
C:Windows\ADFSby default. -
Click Next > Finish.
Step 6: Configure AD FS as a connection
Now that you have successfully configured WSO2 Identity Server as a relying party in AD FS, it is time to configure AD FS as a connection in WSO2 Identity Server. To do so,
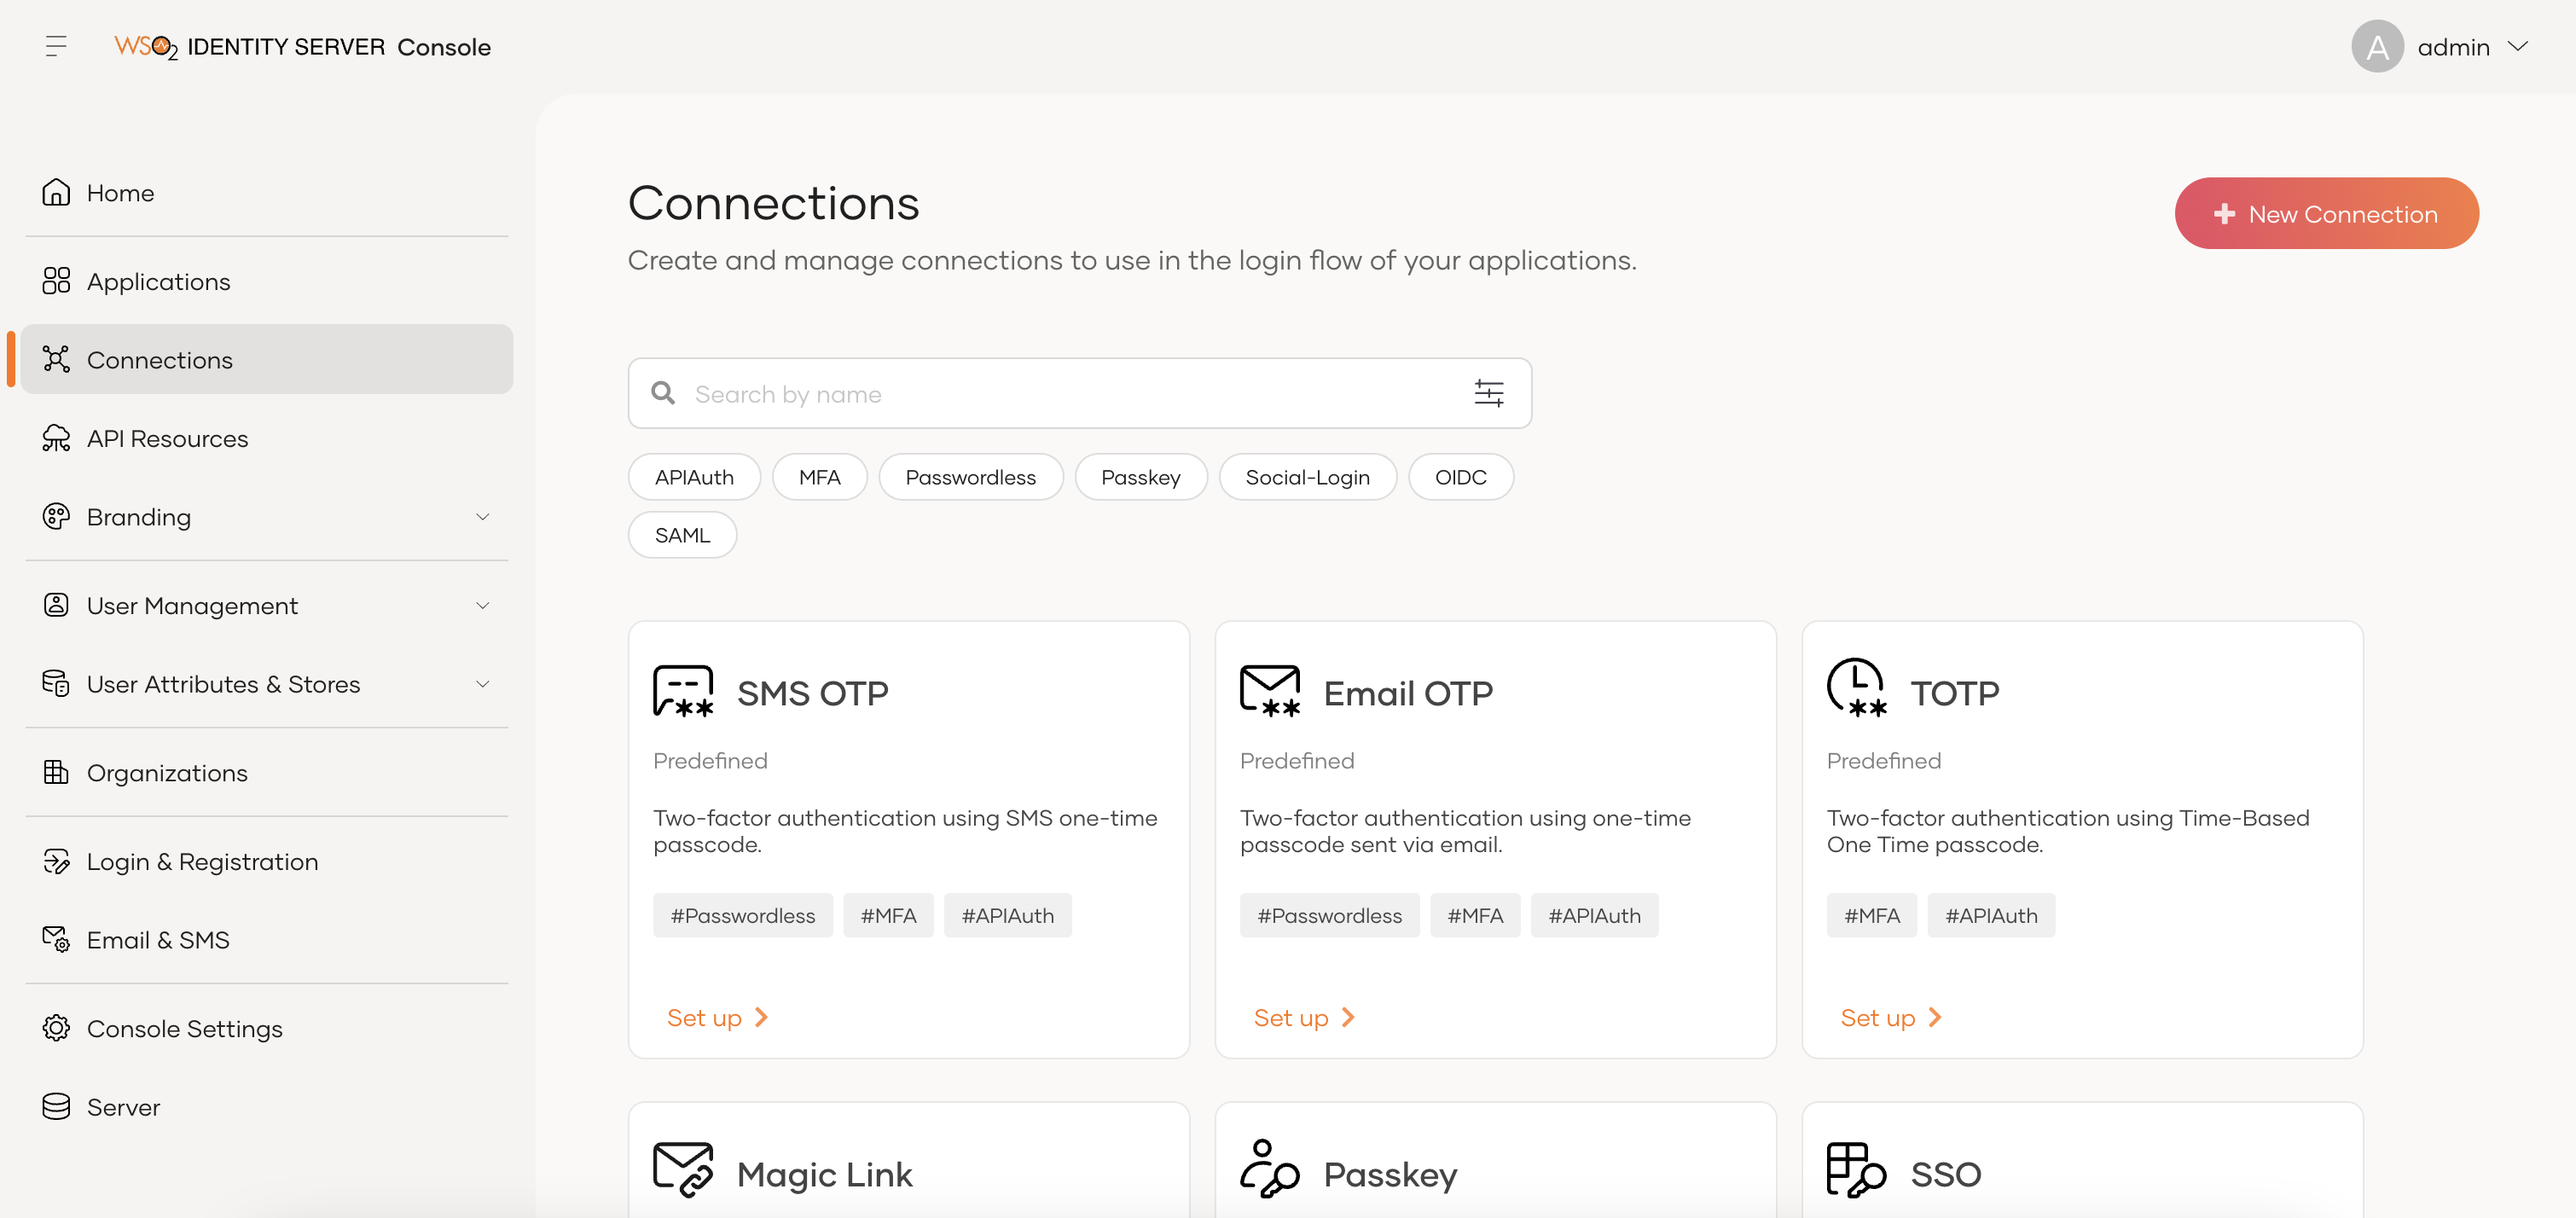
- Log in to the WSO2 Identity Server Console at
https://<IS_HOST>:<IS_PORT>/consoleas an admin. -
Navigate to Connections and click New Connection.
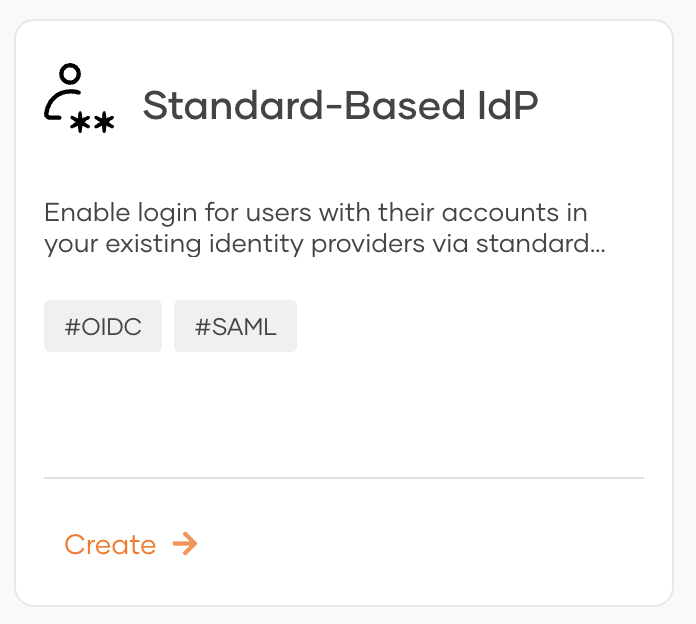
-
Under Standard-Based IdP, click Create.
-
Enter a suitable name for the connection and select SAML as the protocol.
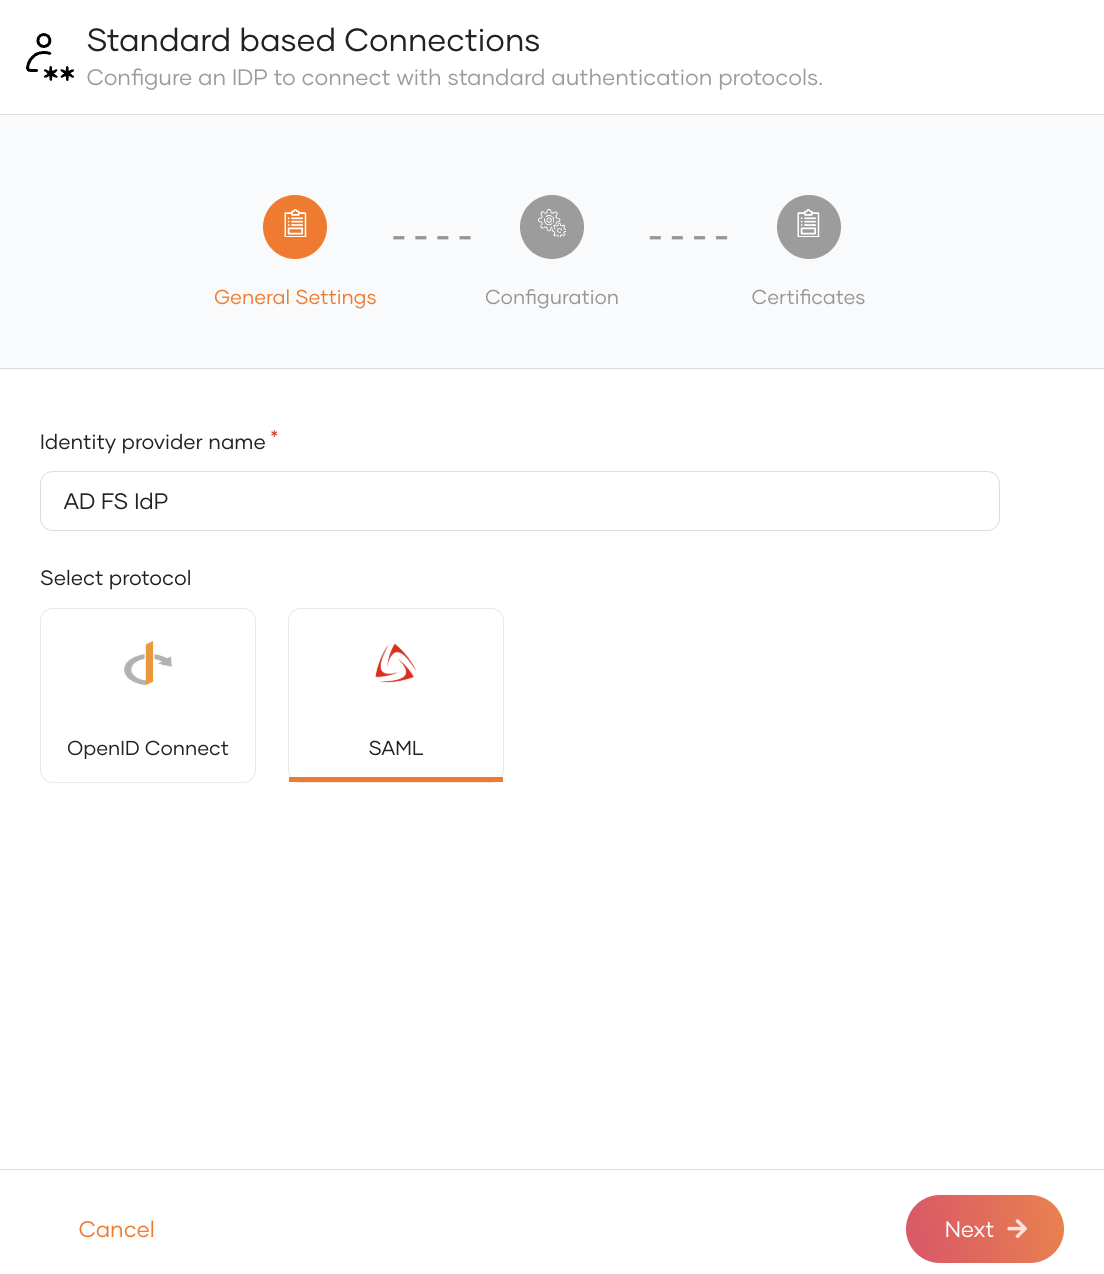
-
Click Next.
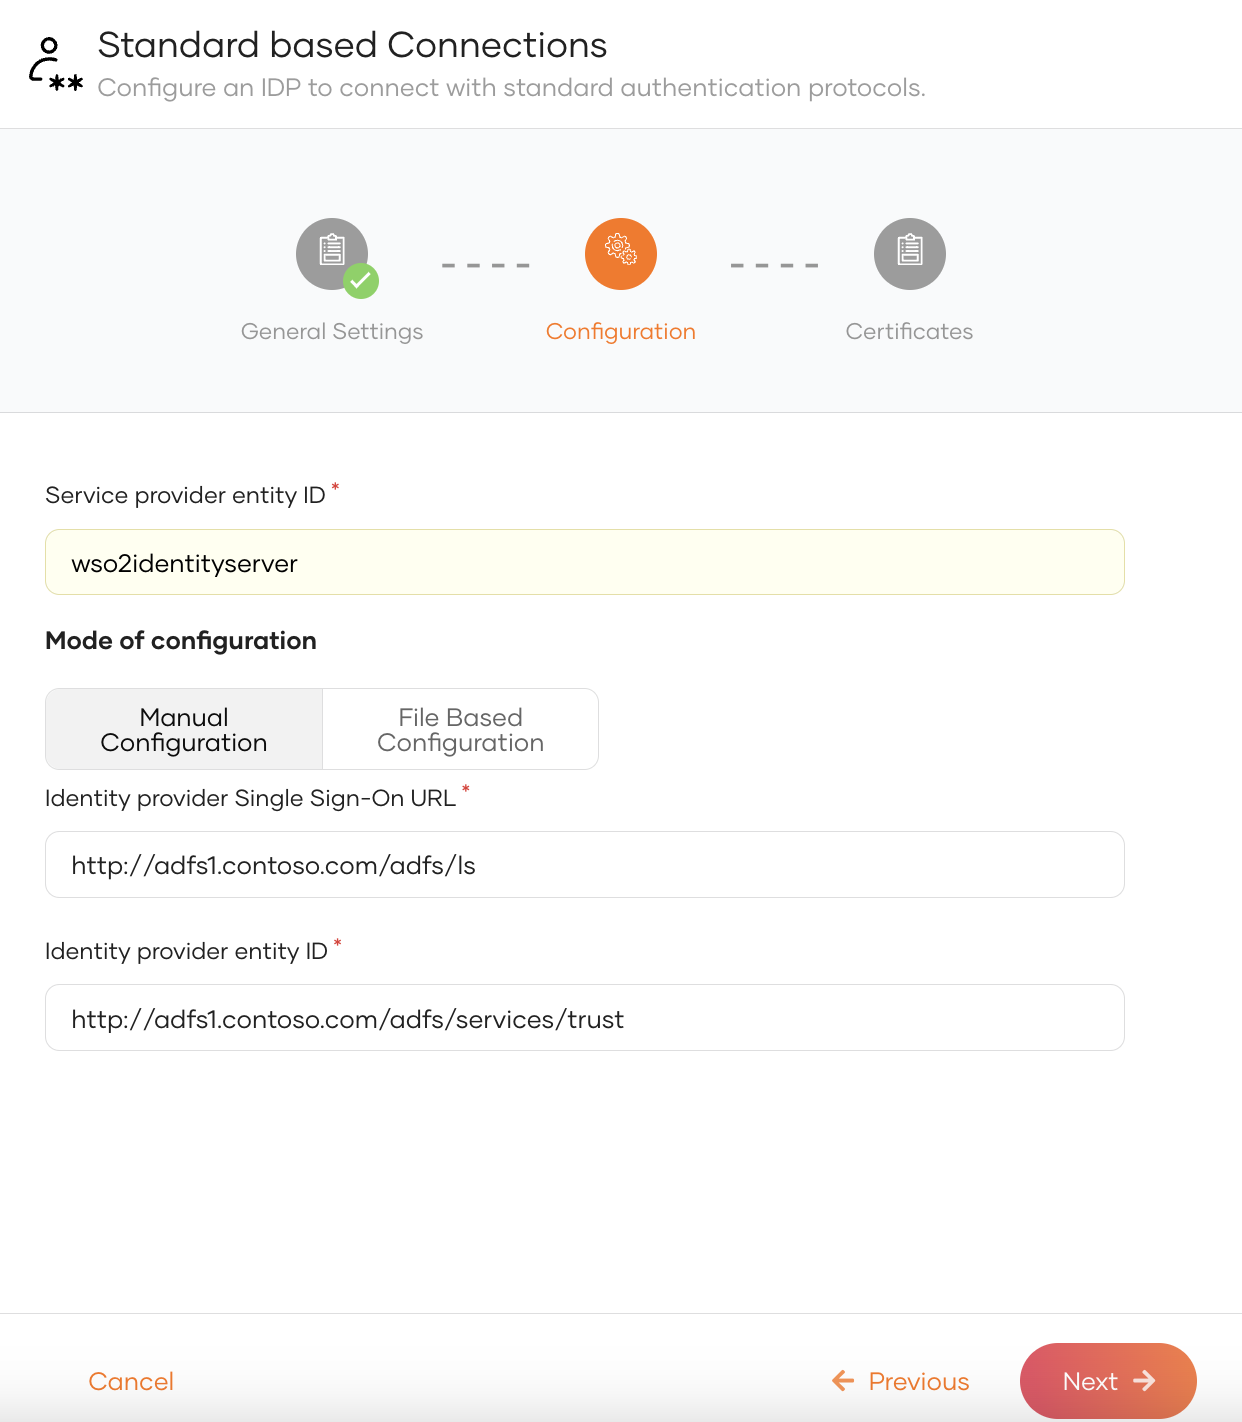
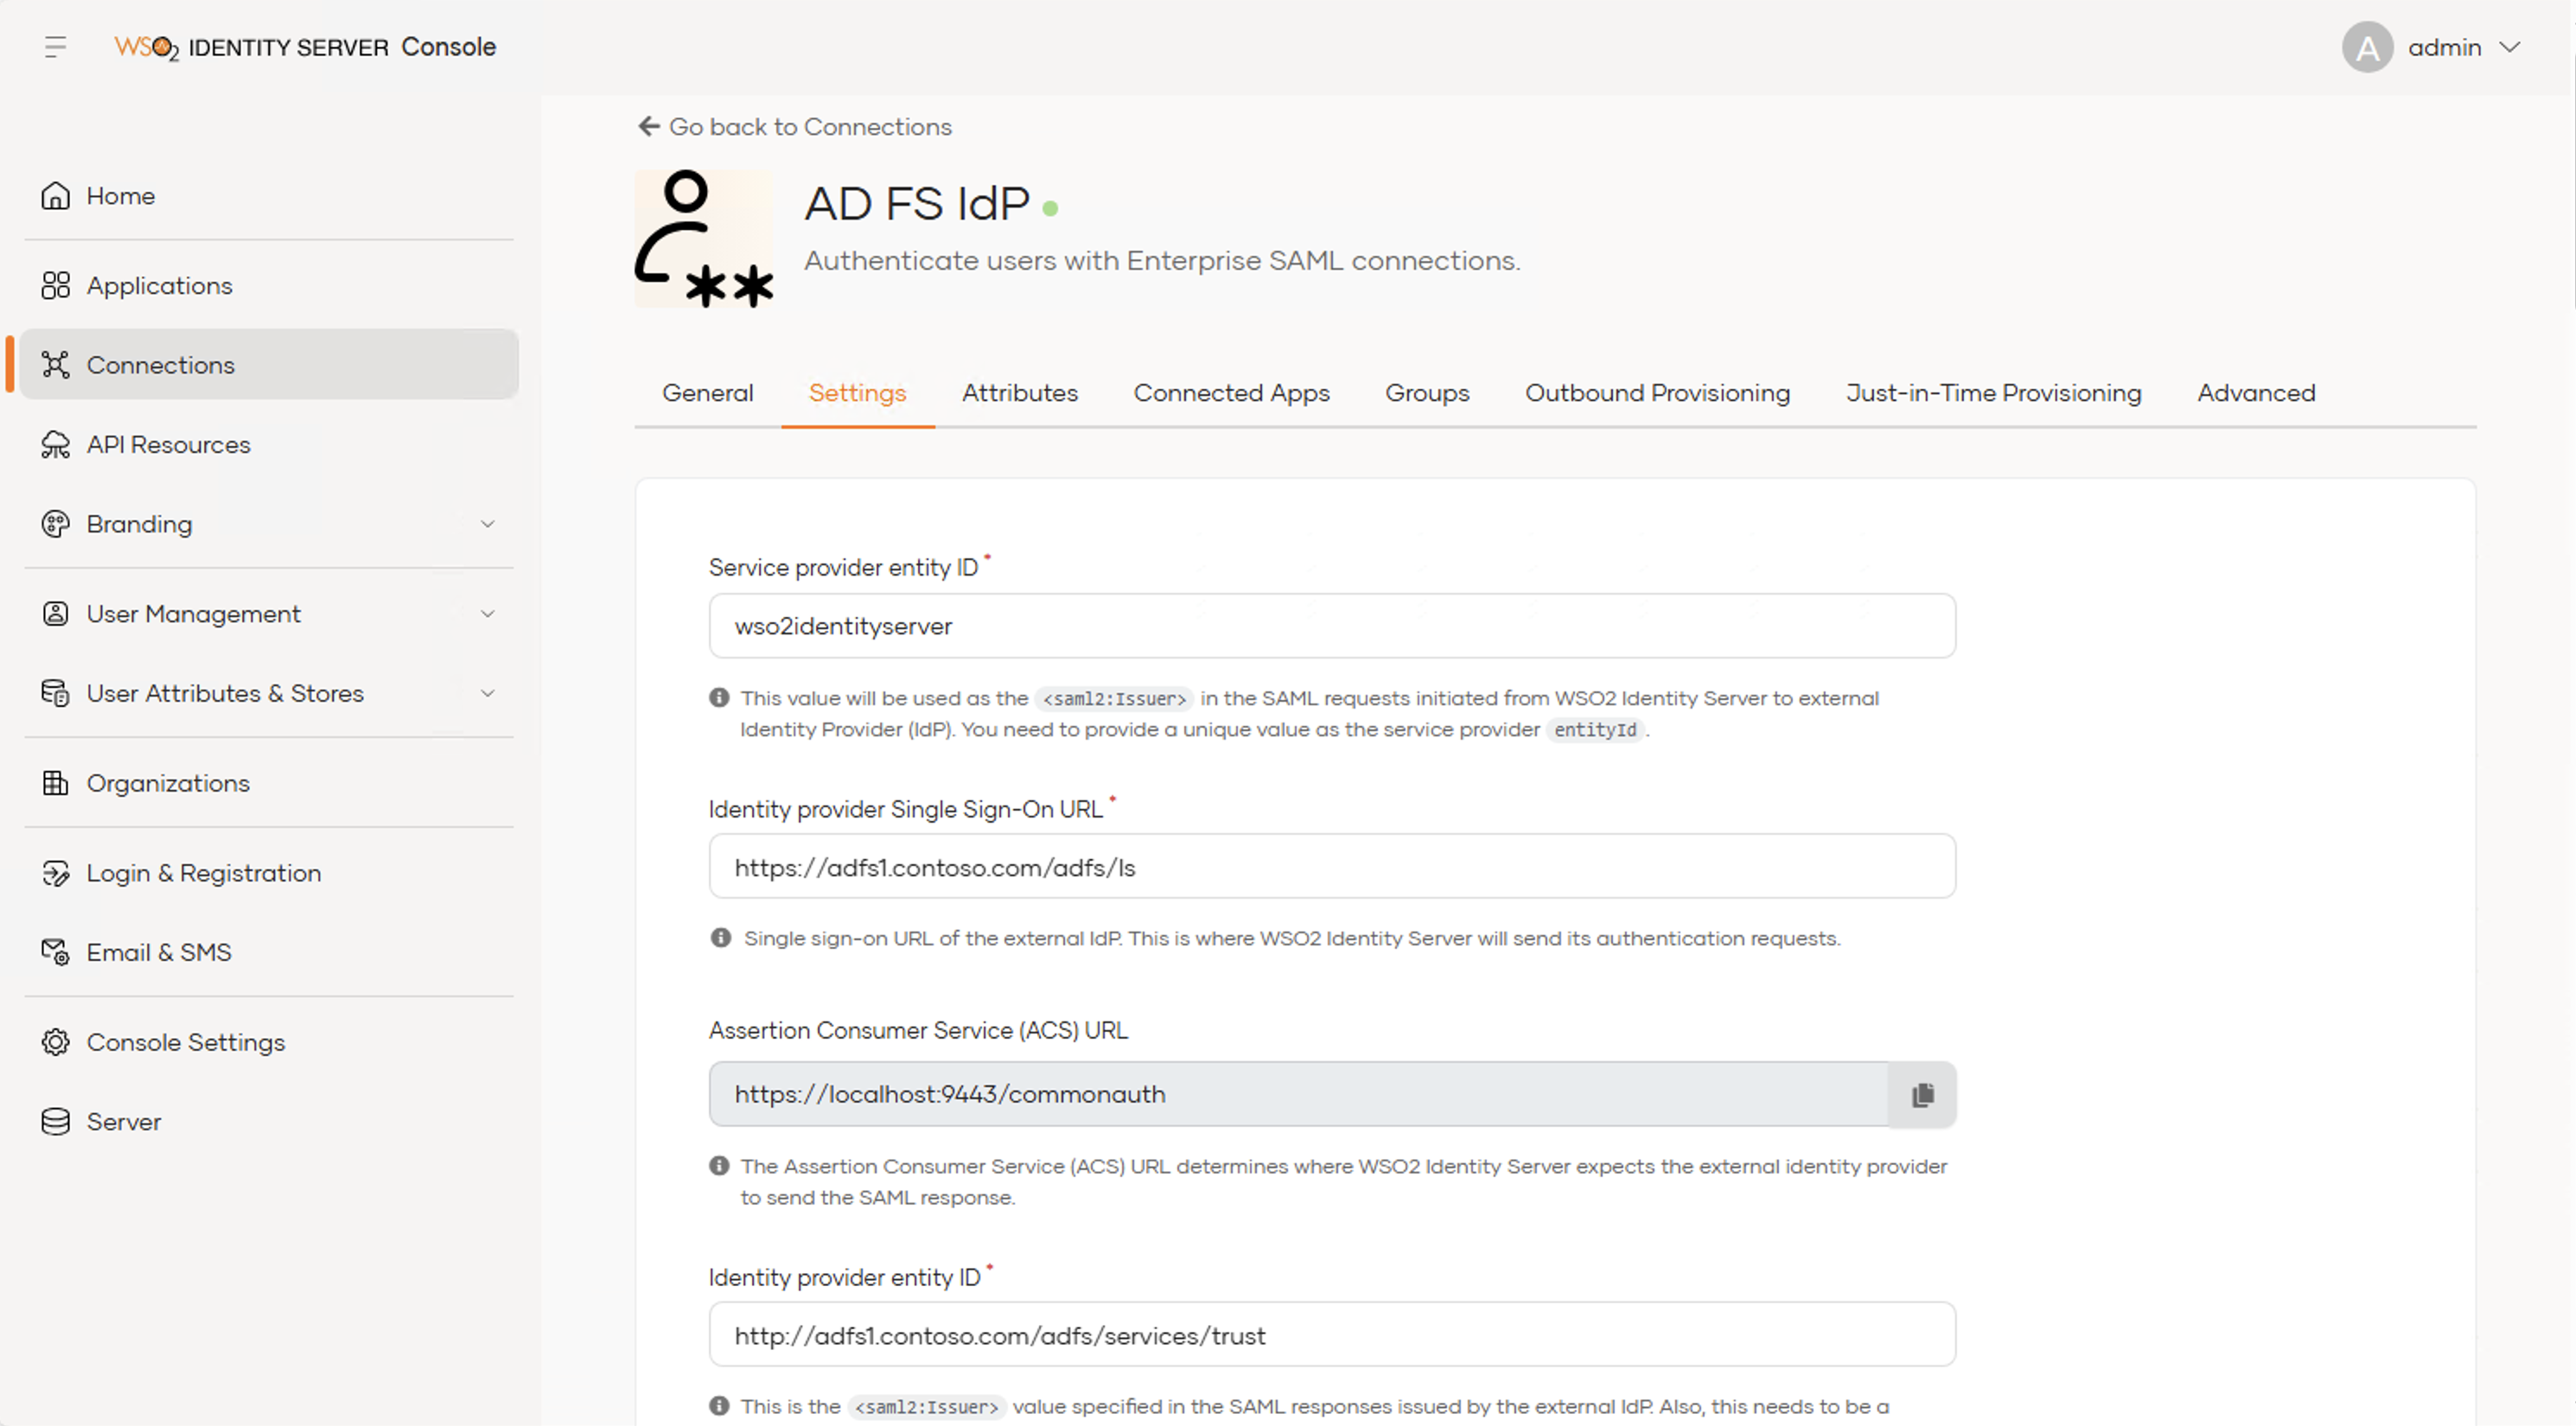
- Enter the Service Provider Entity ID. This should be the same value configured as the relying party trust identifier in step 1.
- Select Manual Configuration as the mode of configuration.
- Enter the Identity provider Single Sign-On URL, usually in the format
http://<AD_FS_server>/adfs/ls. -
Enter the Identity provider entity ID. This can be found in
https://<AD_FS_server>/FederationMetadata/2007-06/FederationMetadata.xmlunder theentityIDattribute and usually takes the formhttp://<AD_FS_server>/adfs/services/trust.
-
Click Next.
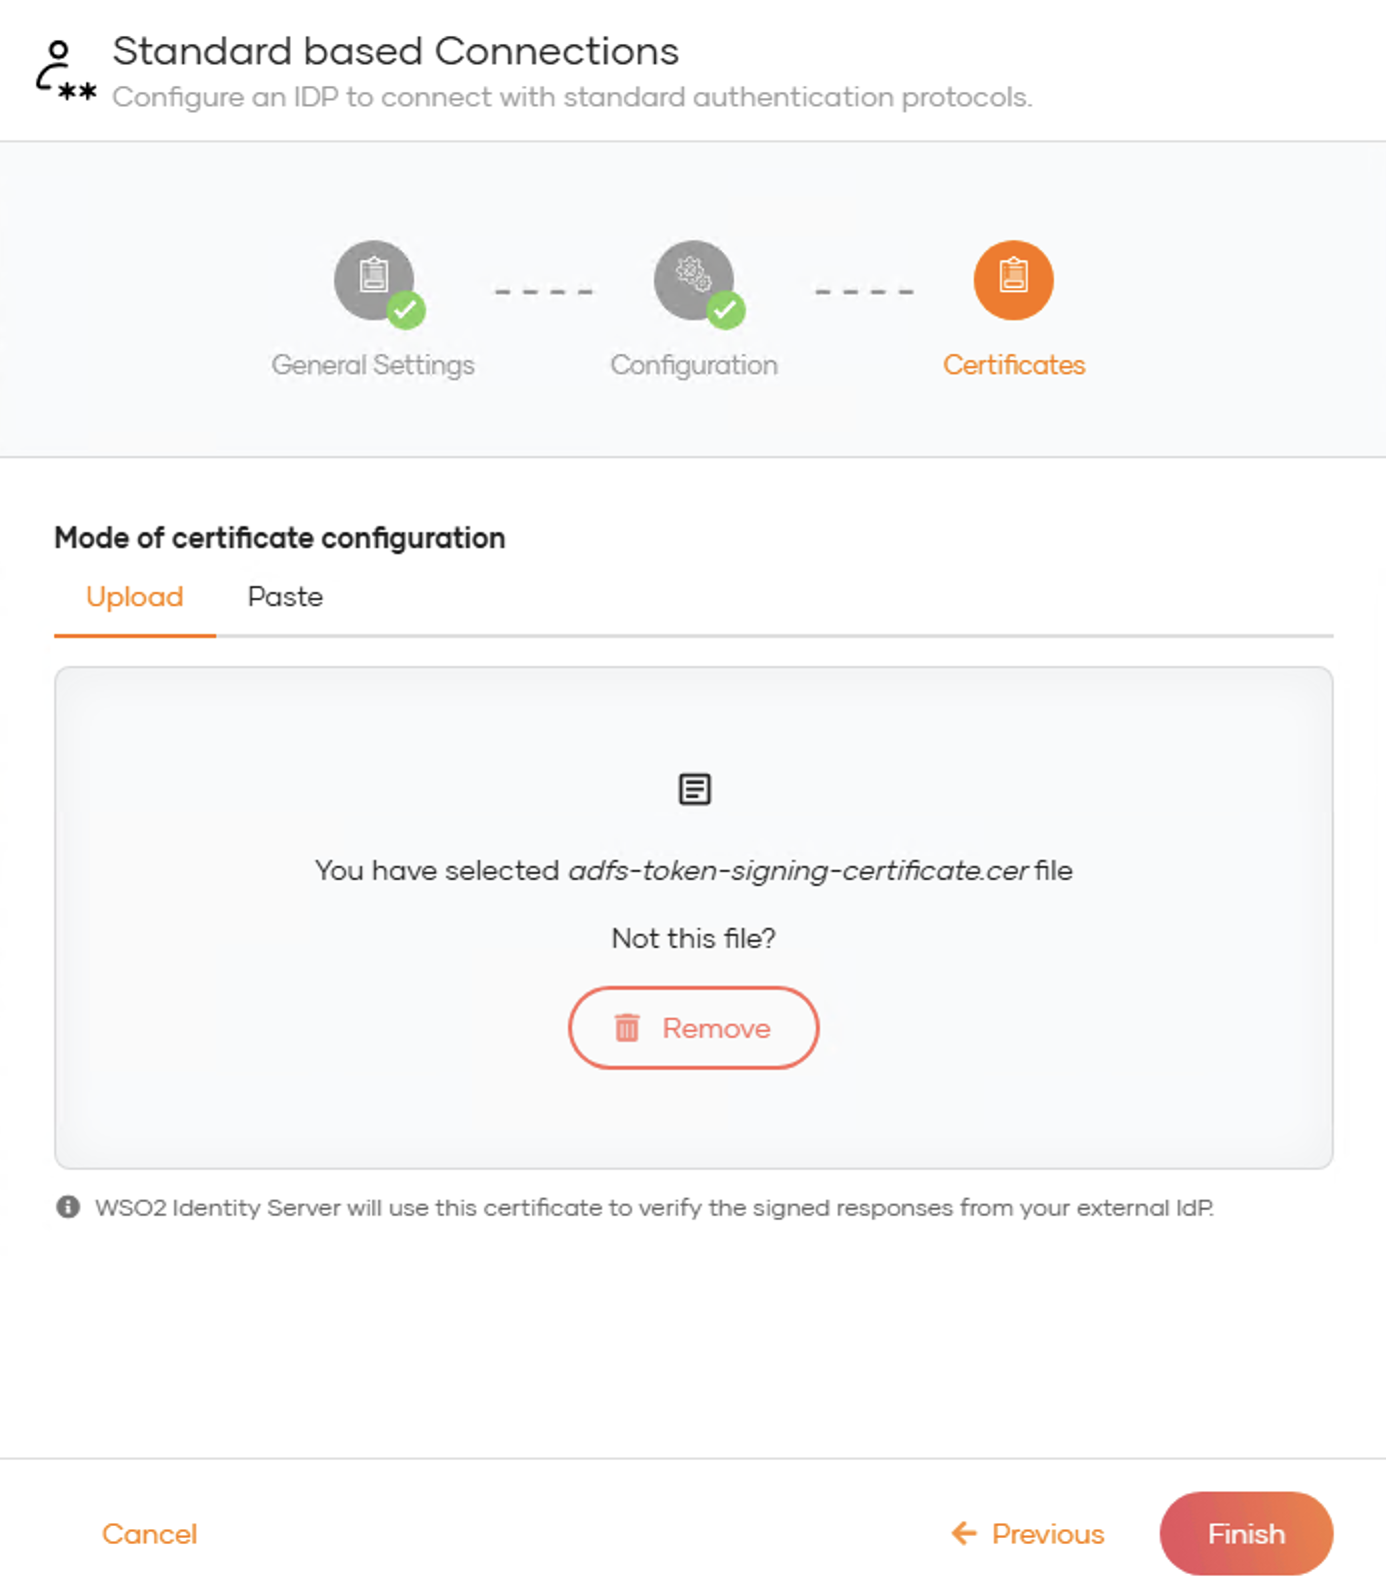
-
Upload the token signing certificate exported in step 5 and click Finish.
-
Switch to the Settings tab in the newly created connection.
-
Scroll down to the Request & Response Signing settings and check Logout request signing.
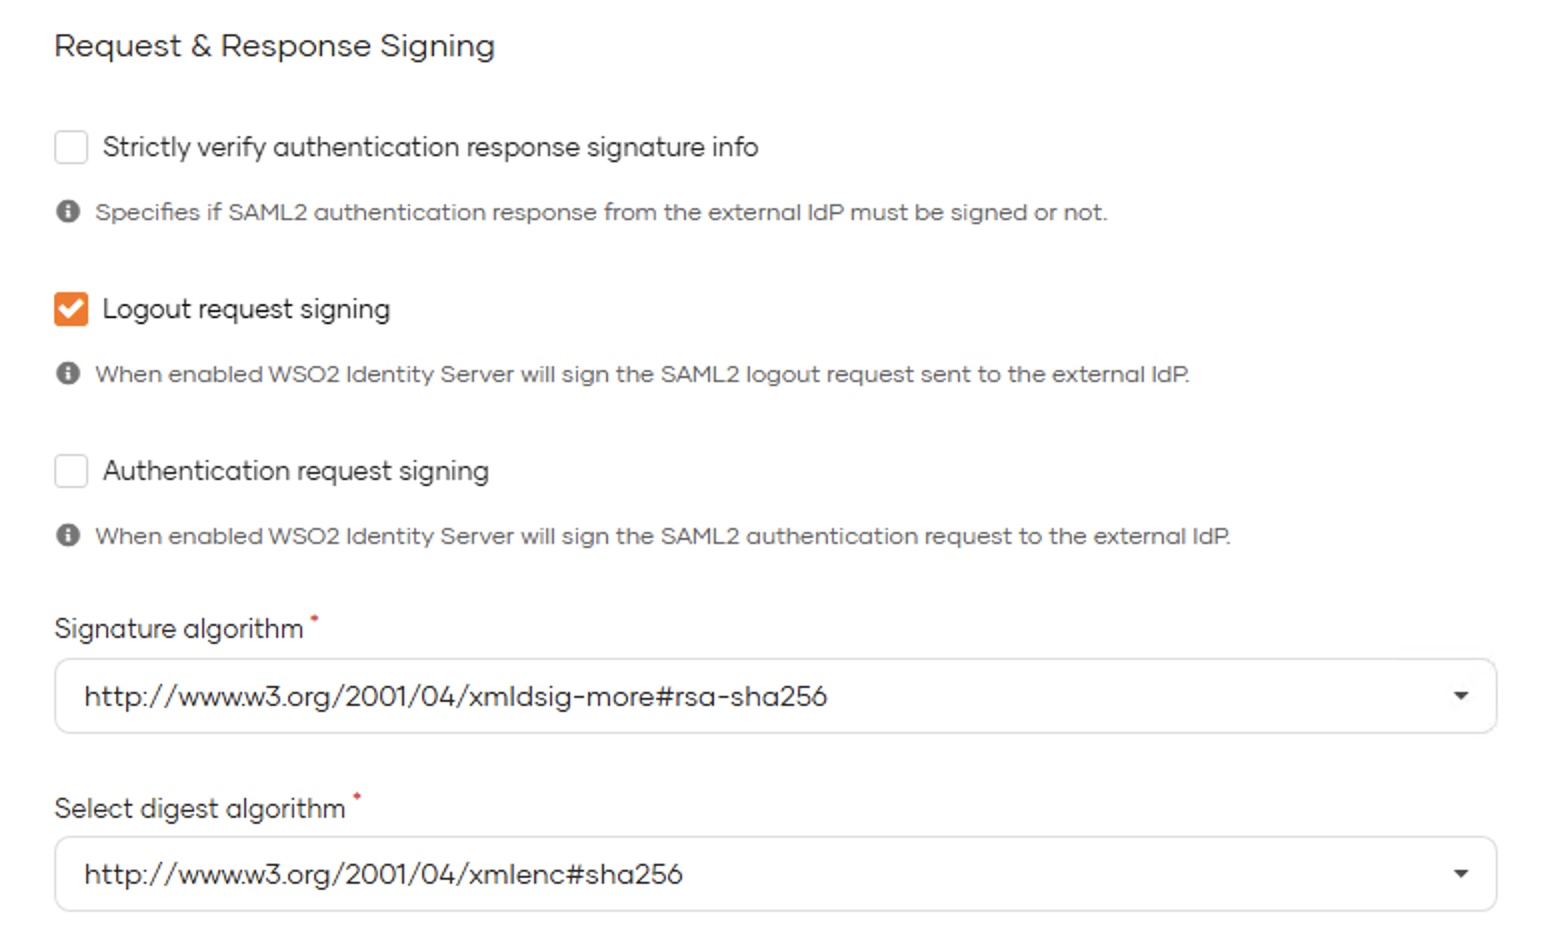
-
Click Update to save the changes.
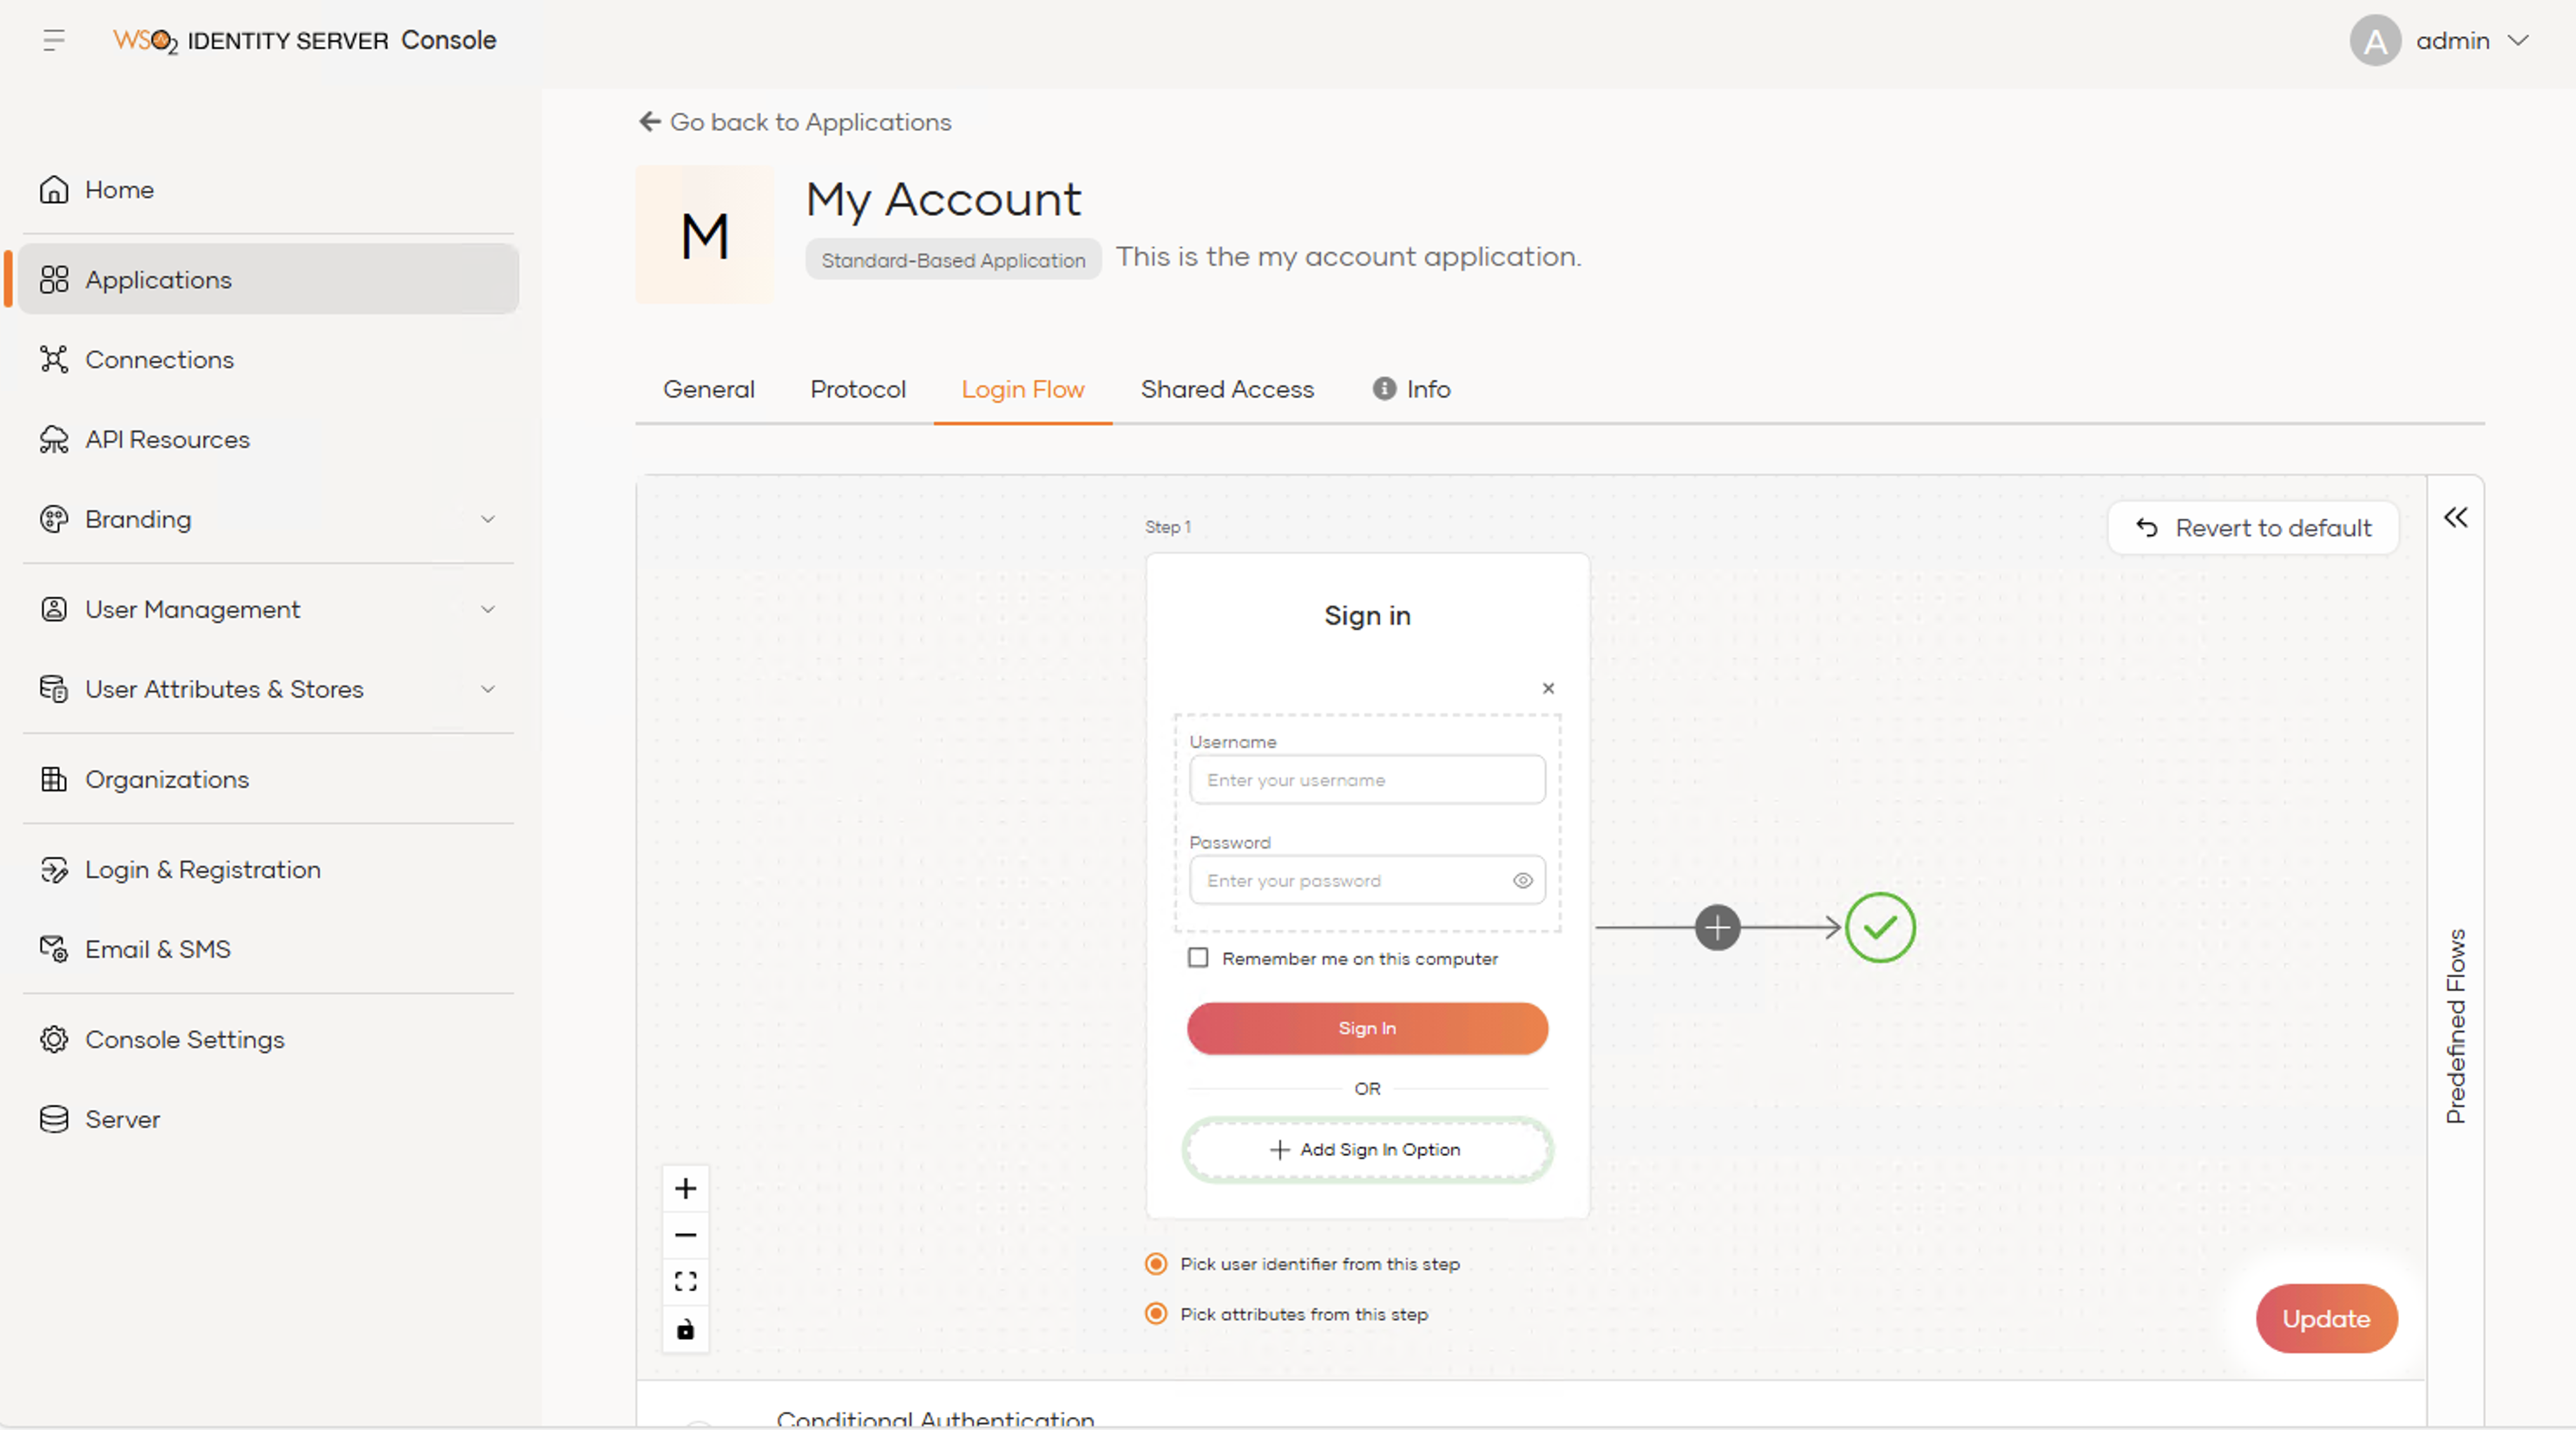
Step 7: Enable AD FS login in your application
Now that you have registered AD FS as a connection in WSO2 Identity Server, let's look at how you can add this connection as a login option to your application. The following steps explain the process for the My Account application.
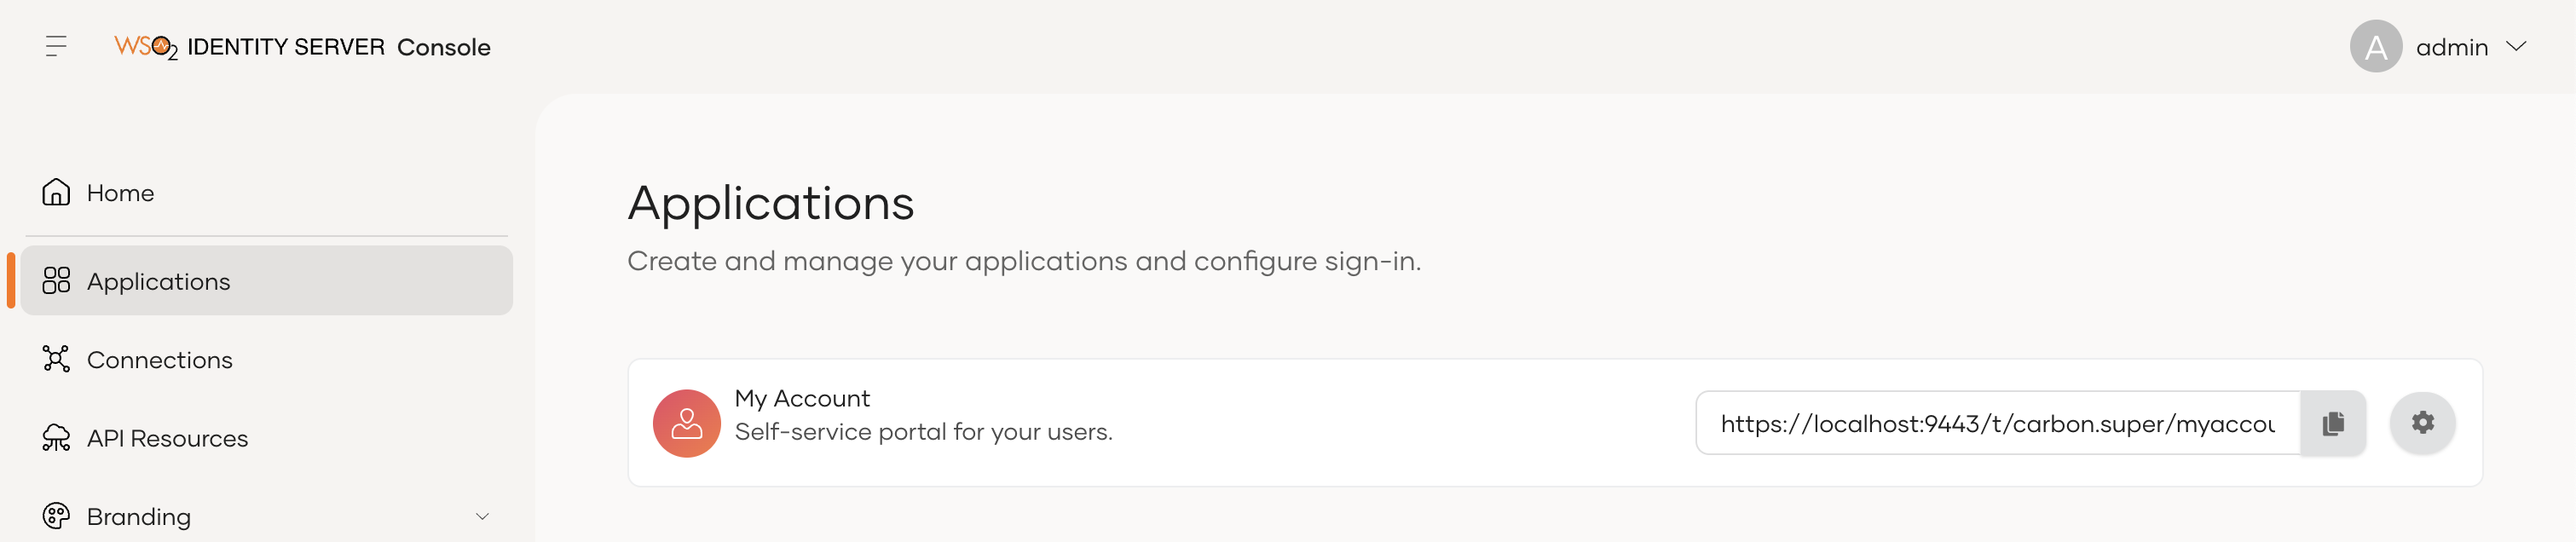
- On the left-hand menu, click Applications.
-
Click on the settings icon corresponding to My Account.
-
Switch to the Login Flow tab of the application.
-
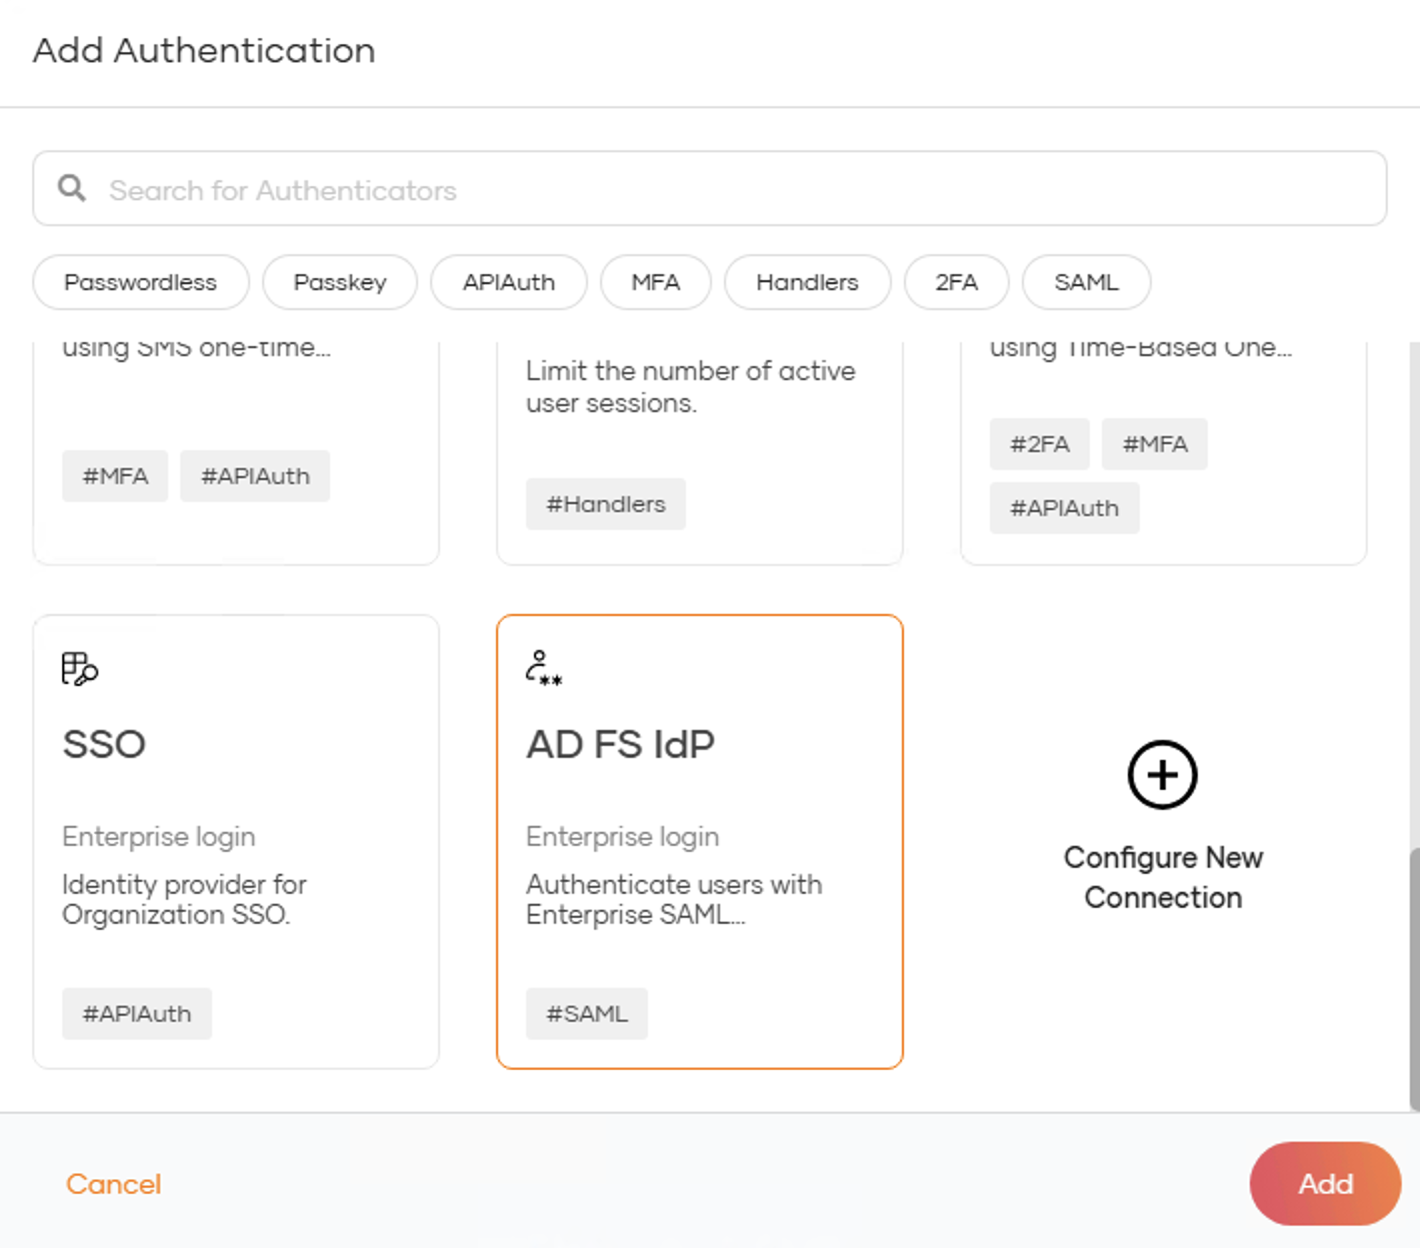
Click Add Sign-in Option.
-
Select the AD FS connection and click Add.
-
Click Update.
Try it Out
-
Now open the my account page at
https://<IS_HOST>:<IS_PORT>/t/<tenantdomain>/myaccount.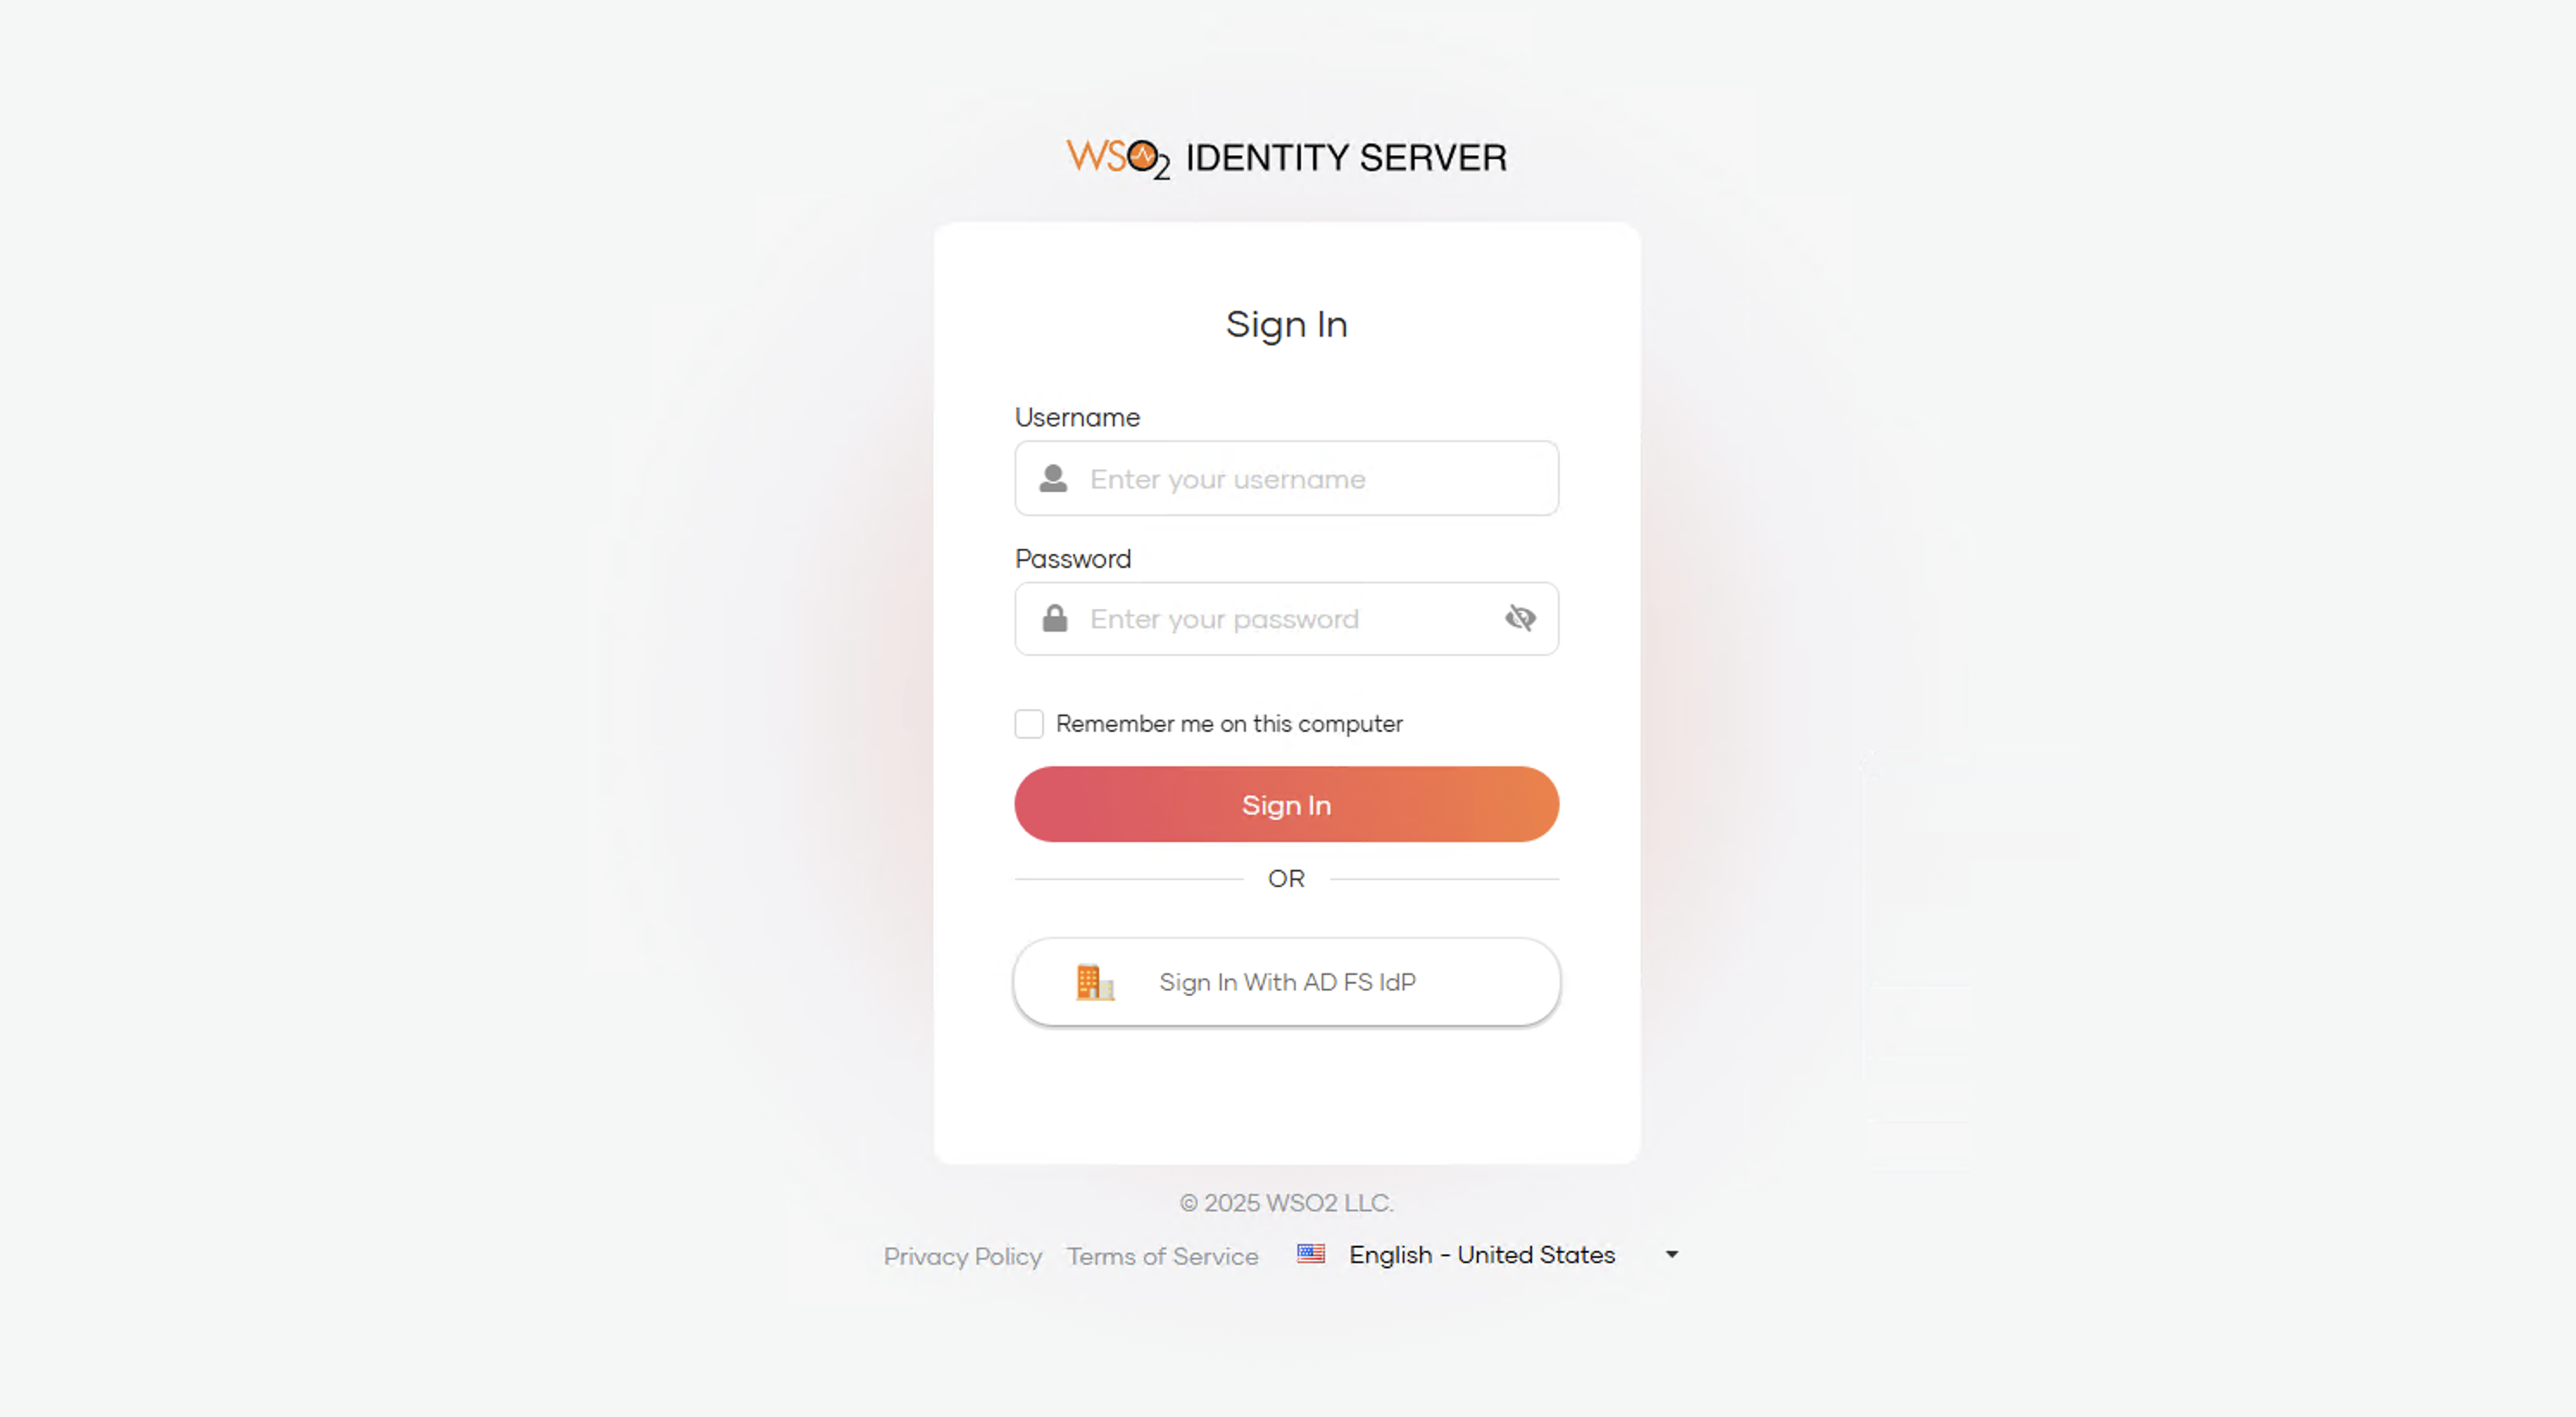
-
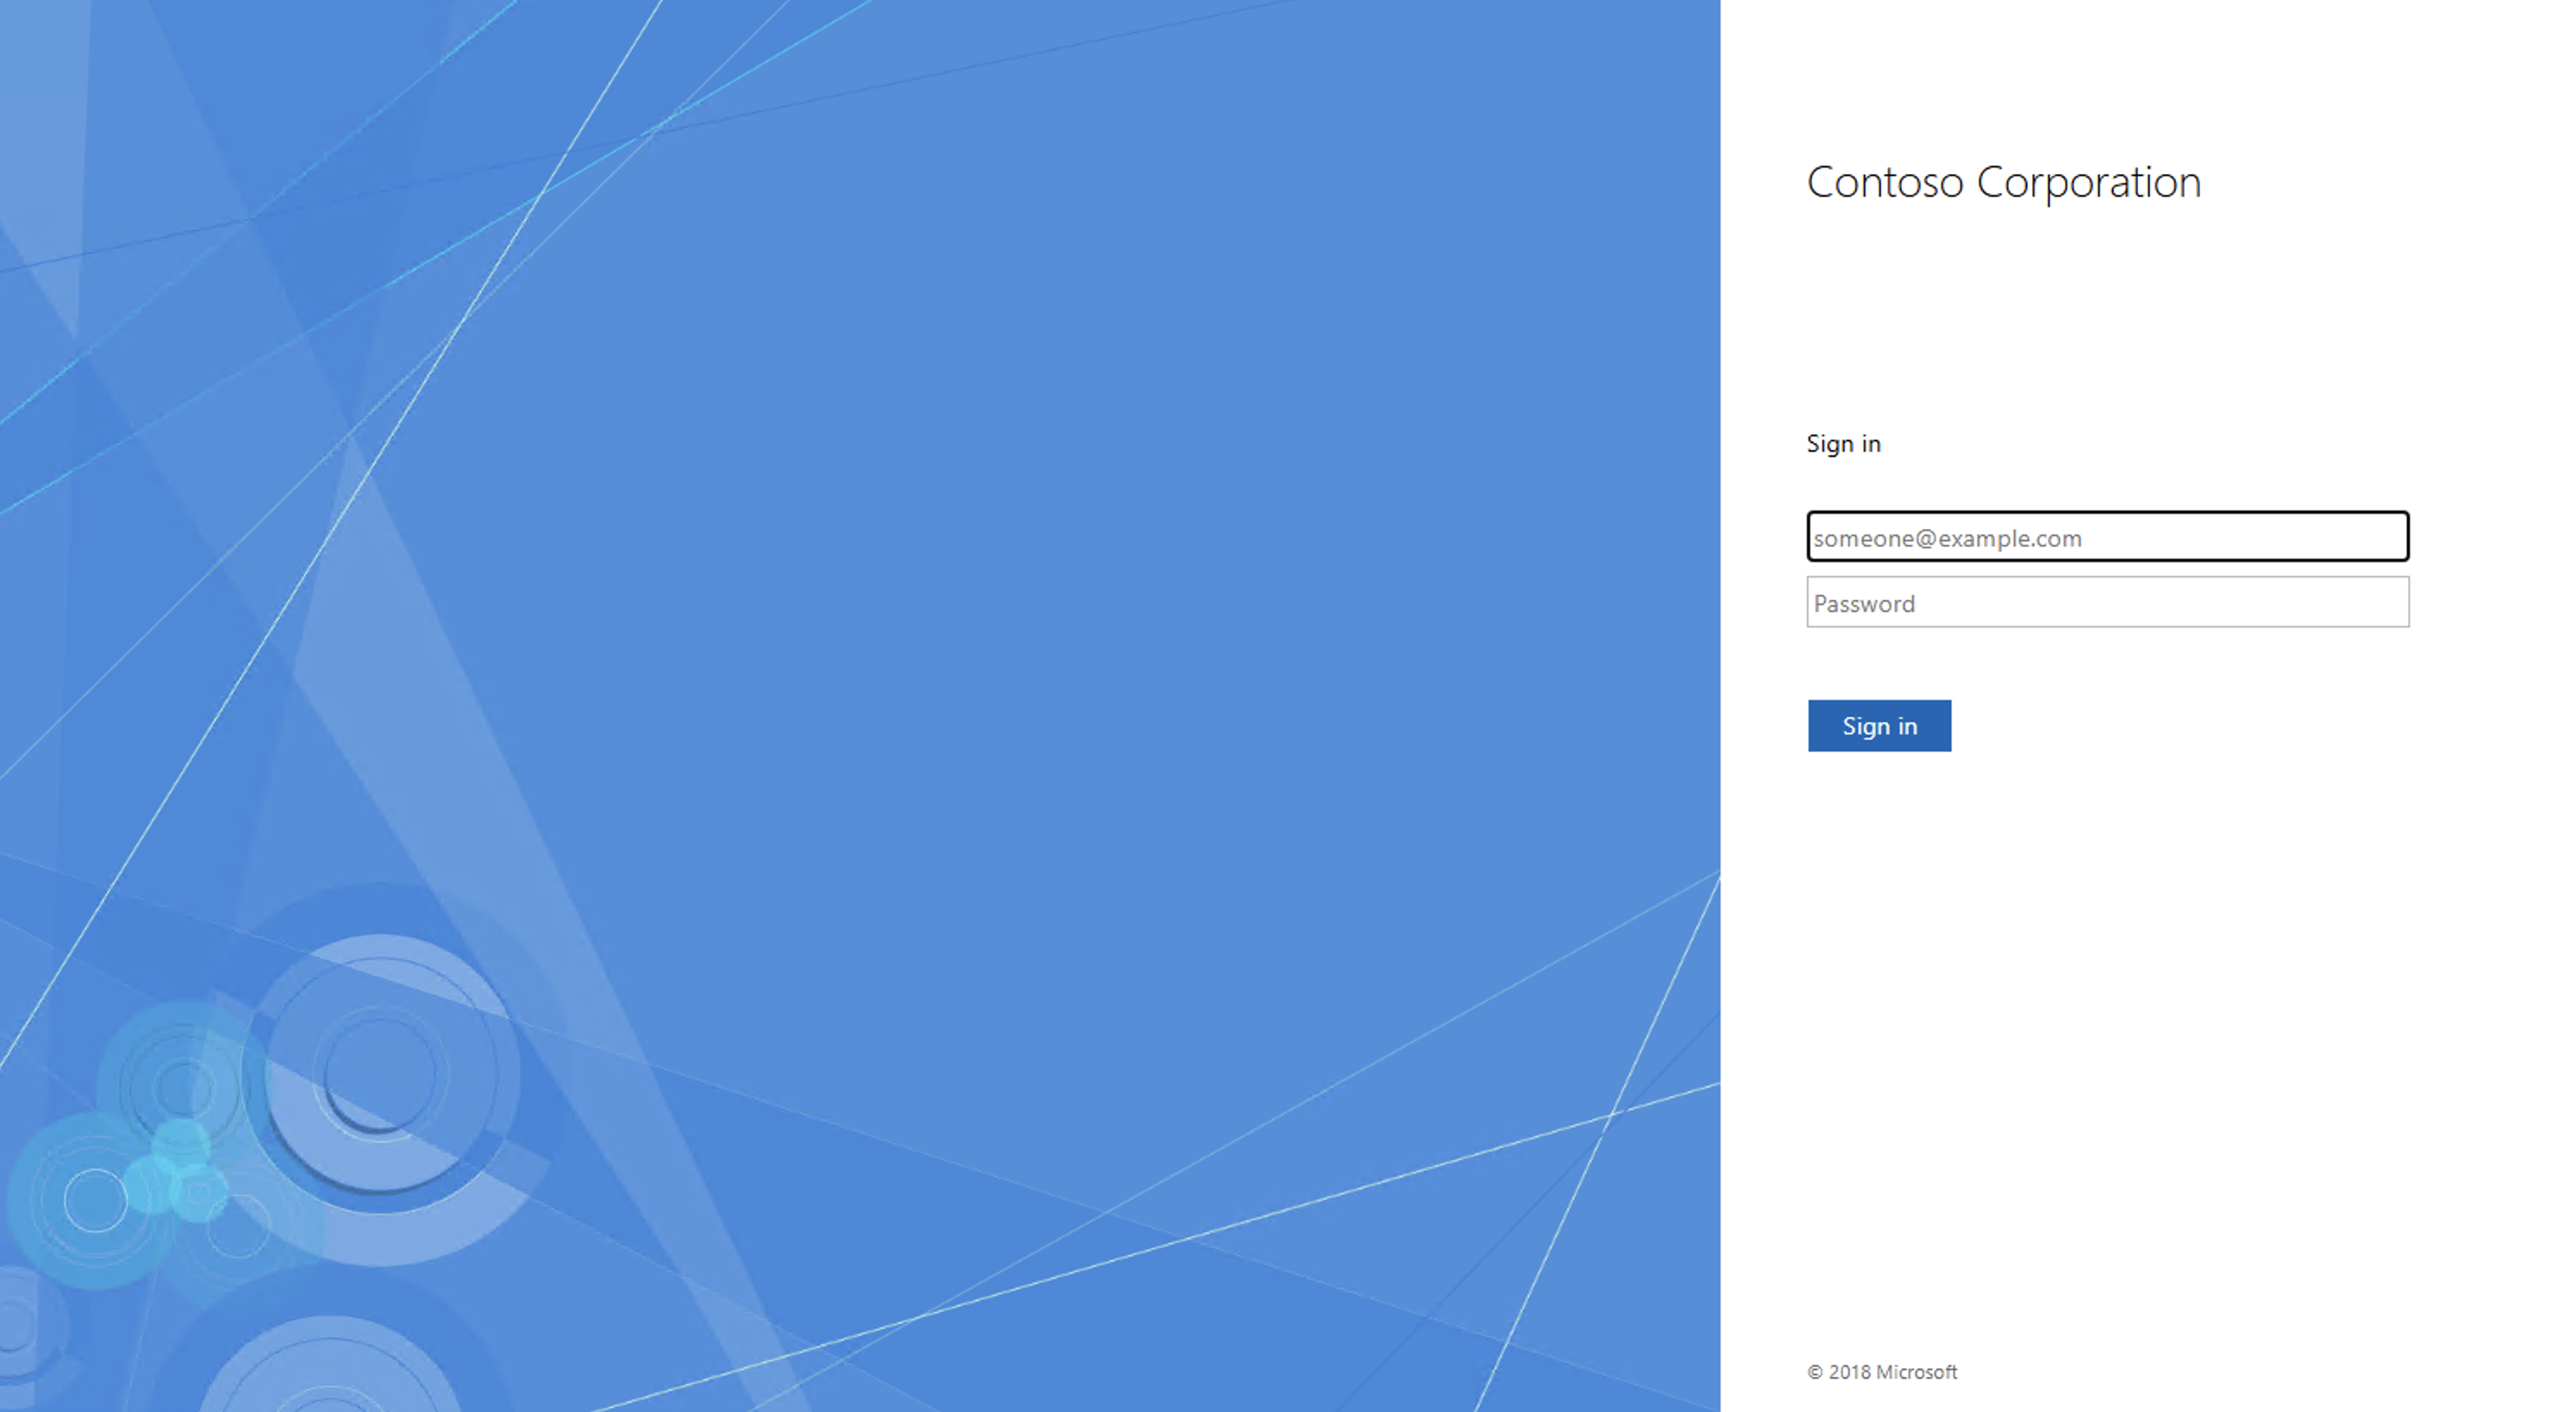
Click Sign In With AD FS IdP.
-
You will be successfully redirected to the AD FS sign in page.