Log in to Salesforce using WSO2 Identity Server
This page guides you through integrating WSO2 Identity Server for Single Sign-On (SSO) with Salesforce.
Before you begin
Ensure your Salesforce edition supports SSO. Check the Salesforce documentation.
Create the Salesforce application
Follow the steps given below to register the Salesforce application in WSO2 Identity Server.
-
On the WSO2 Identity Server Console, go to Applications.
-
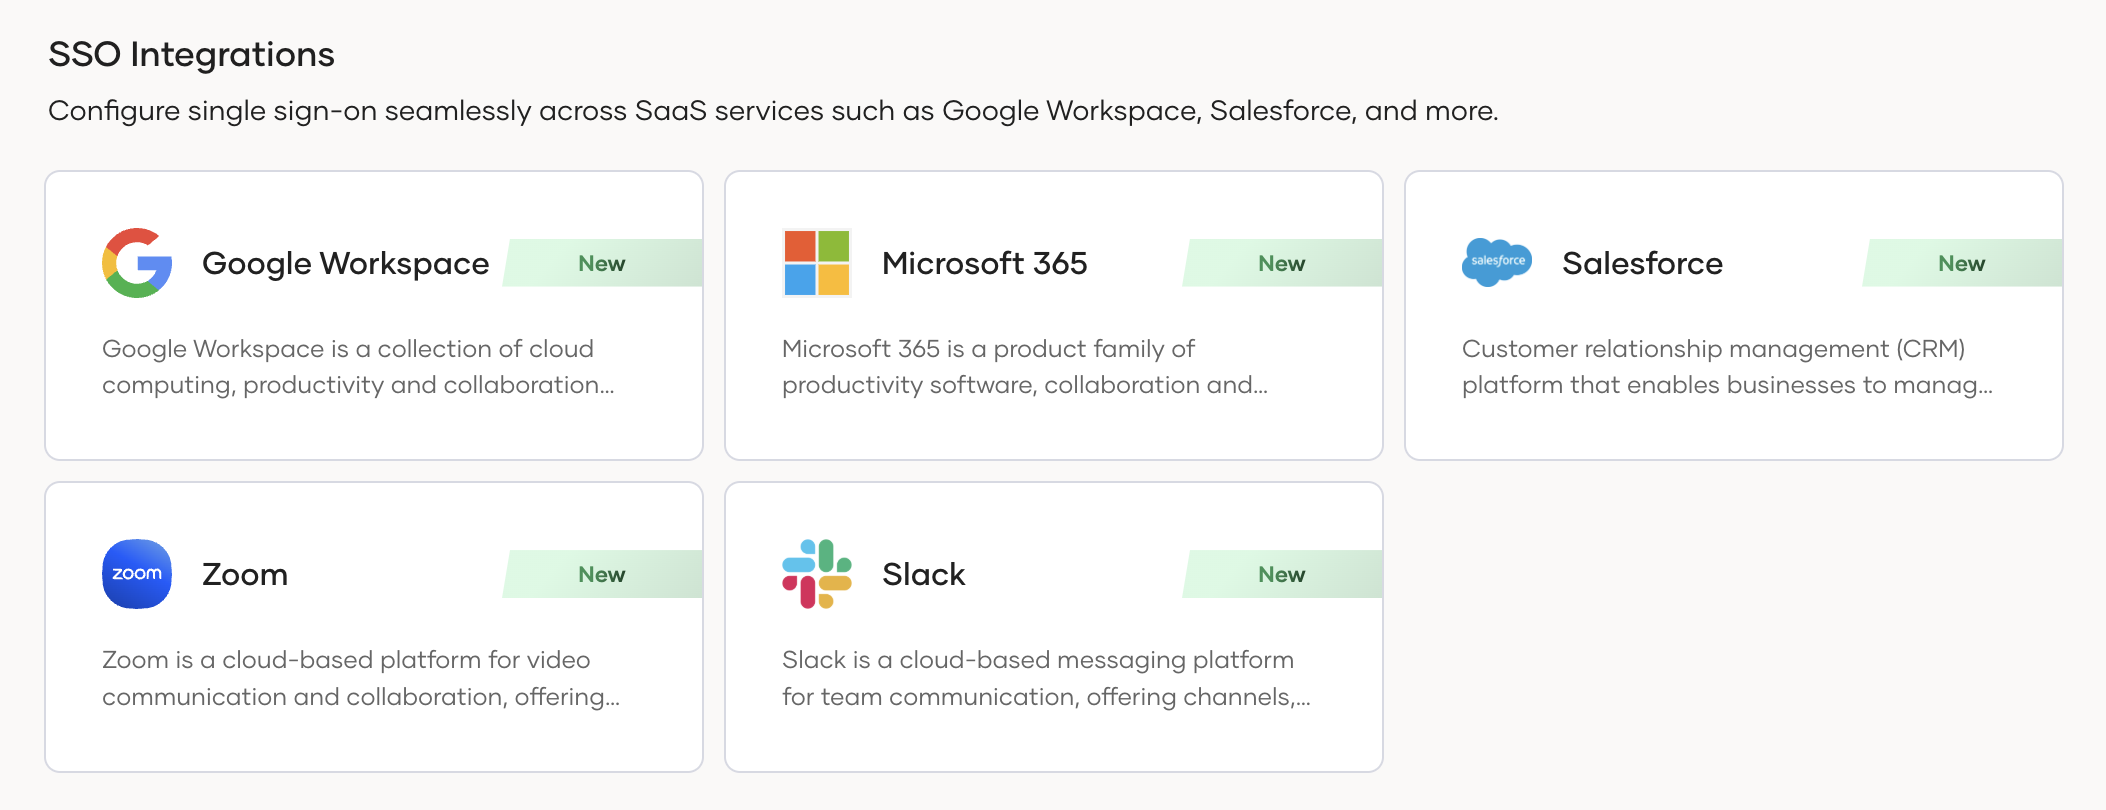
Click New Application and under SSO Integrations, select Salesforce.
-
Provide a name for the application.

-
Click Create to complete the registration.
-
Download the SAML Metadata file and copy the Entity ID from the
Guidetab of the created application.
Configure Salesforce
Follow the steps below to configure Salesforce for SSO authentication with WSO2 Identity Server.
-
Log in to Salesforce.
Note
If using a custom domain, access your organization via the
Use Custom Domainoption on the Salesforce login page. -
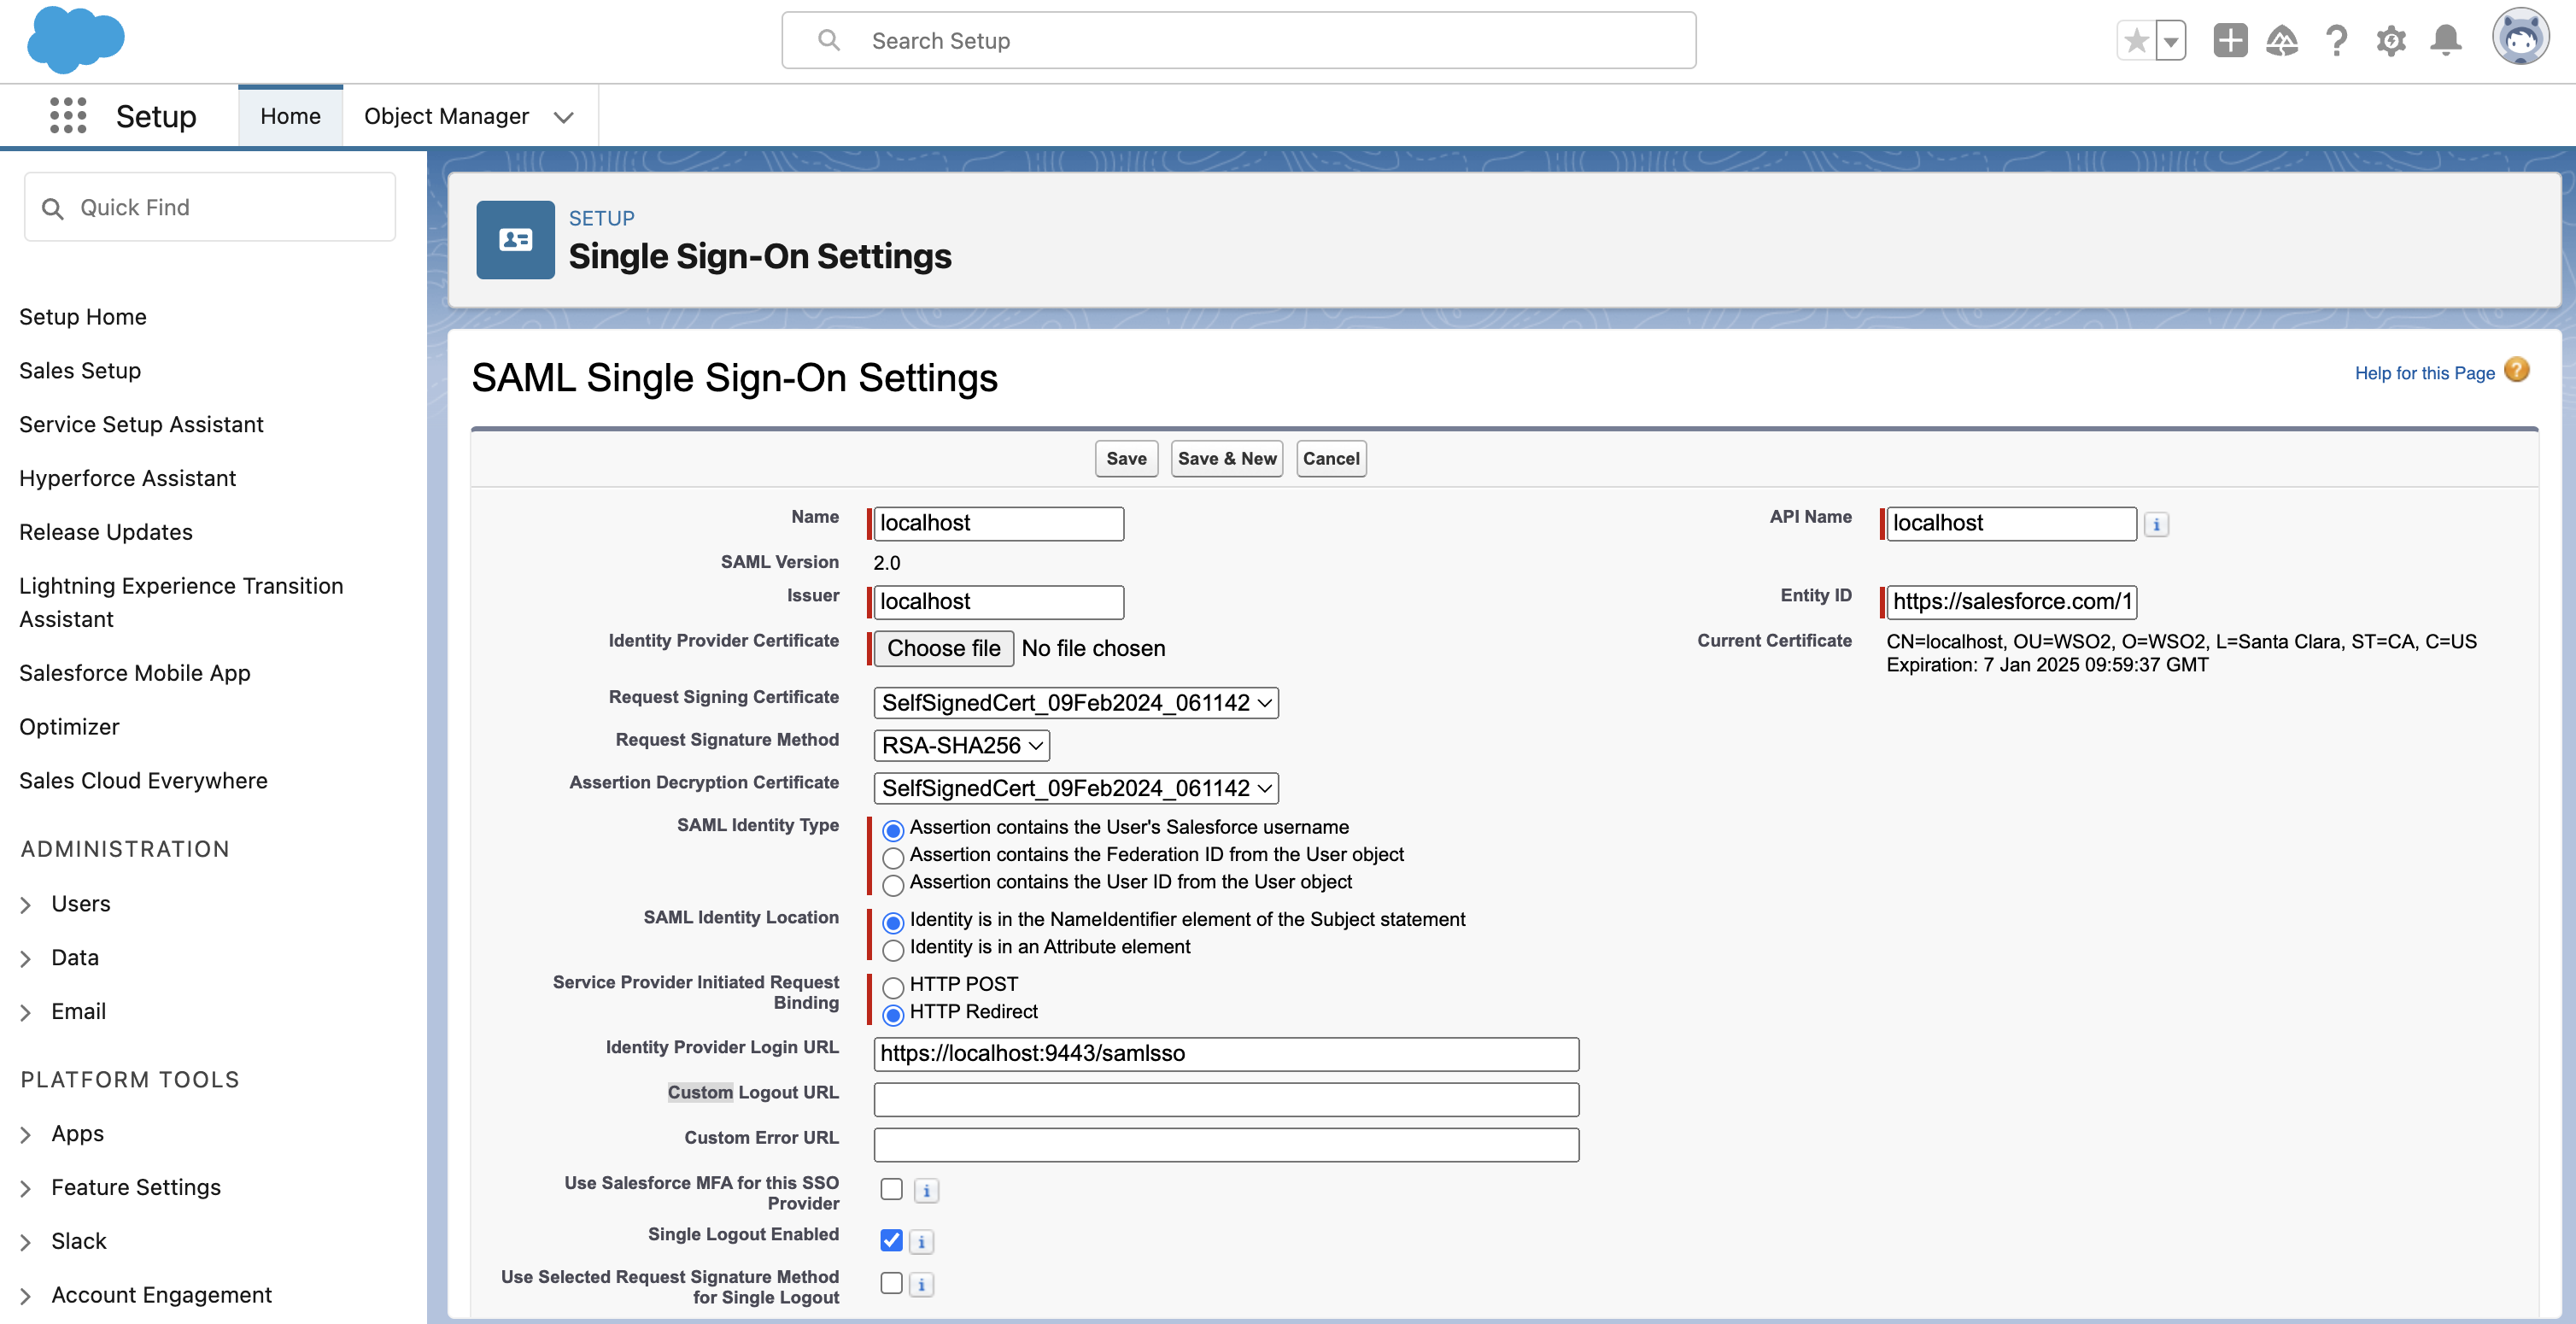
Navigate to the Setup > Settings > Identity > Single Sign-On Settings page.
-
To enable SAML SSO, select the SAML Enabled checkbox under Federated Single Sign-On Using SAML.
-
Click on the New From Metadata file button and upload the SAML metadata file you downloaded earlier.

-
In the SAML Single Sign-On settings form, replace the Entity ID with that you copied earlier.
-
Choose the same certificate for Assertion Decryption Certificate and Request Signing Certificate. Add your Salesforce organization’s URL in Custom Logout URL, and click Save.
-
Scroll down to the Endpoints section and copy the Login URL and Logout URL.
-
Download the request signing certificate.
Apply the settings in WSO2 Identity Server
Return to the WSO2 Identity Server Console and do the following.
-
Navigate to Applications and select your created Salesforce application.
-
Go to its Protocol tab and enter the following details:
- Under Assertion consumer service URLs, paste the login URL.
- Under the Single Logout Profile section, paste the logout URL.
- Under the Certificate section, select the Provide certificate option and upload the obtained request signing certificate.
Try it out
Now that you have integrated WSO2 Identity Server with Salesforce, follow the steps below to test it.
- Create the Salesforce guide and add the option to login with WSO2 Identity Server to your Salesforce login page.
- Create a user in Salesforce.
- Using the same email address used to create the Salesforce account, create an account for the user in WSO2 Identity Server.
- Access your Salesforce login URL on an incognito or private browser.
- Log in to Salesforce using WSO2 Identity Server and enter the user's credentials. The user will be logged in and redirected back to Salesforce.
Troubleshooting guidelines
To troubleshoot SSO failures on the Salesforce side, you may use the Salesforce SAML Assertion Validator. Follow the Salesforce documentation to learn more.